


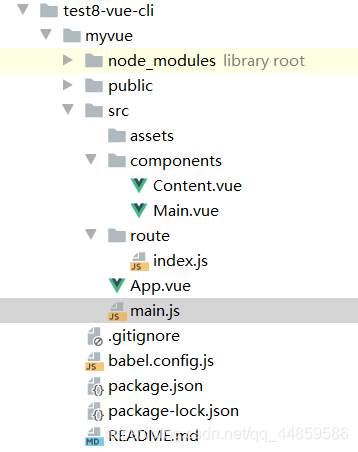
1.创建一个Vue-cli项目
使用IDEA打开,把关于Helloworld的Vue删掉。下面控制台运行命令npm run serve查看网页是否是空白。
2.安装vue-route
npm install vue-router --save-dev
安装完成查看是否导入到node_modules文件中

3.在components 目录下编写组件

Content.vue
<template>
    <div>
        <h1>内容页</h1>
    </div>
</template>

<script>
    export default {
        name: "Content"
    }
</script>

<style scoped>

</style>
Main.vue
<template>
    <div>
        <h1>首页</h1>
    </div>
</template>

<script>
    export default {
        name: "Main"
    }
</script>

<style scoped>

</style>
4.创建route文件夹配置路由

index.js
import Vue from 'vue'
// 导入路由插件
import Router from 'vue-router'
// 导入上面定义的组件
import Content from '../components/Content'
import Main from '../components/Main'
// 安装路由
Vue.use(Router);
// 配置路由
export default new Router({
    routes: [
        {
            // 路由路径
            path: '/content',
            // 路由名称
            name: 'content',
            // 跳转到组件
            component: Content
        },
        {
            // 路由路径
            path: '/main',
            // 路由名称
            name: 'main',
            // 跳转到组件
            component: Main
        }
    ]
});
5.main.js设置路由
import Vue from 'vue'
import App from './App.vue'
// 导入路由配置目录
import router from './route'
Vue.config.productionTip = false

new Vue({
  router,
  render: h => h(App),
}).$mount('#app')
6.App.vue使用路由
<template>
  <div id="app">
    <router-link to="/main">首页</router-link>
      <router-link to="/content">内容</router-link>
      <router-view></router-view>
  </div>
</template>

<script>


export default {
  name: 'App',

}
</script>
7.运行
npm run serve


 1762
1762

 被折叠的 条评论
为什么被折叠?
被折叠的 条评论
为什么被折叠?
 到【灌水乐园】发言


