


Spring 的声明式事务管理可以通过两种方式来实现,一种是基于 XML 的方式,另一种是基于Annotation注解的方式
一、基于xml文件的方式
基于XML方式的声明式事务是在配置文件中通过<tx:advice>元素配置事务规则来实现的。当配置了事务的增强处理后,就可以通过编写的AOP配置,让Spring自动对目标生成代理。配置<tx advice>元素时,通常需要指定 id和transaction-manager 属性,其中 id 属性是配置文件中的唯一标识, transaction-manager 属性用于指定事务管理器 除此之外,还需要配置一个<tx:attributes>子元素,该子元素可通过配置多个<tx:method>子元素来配置执行事务的细<tx:advice>元素及其子元素如下图所示:

配置<tx:advice>元素的重点是配置<tx:method>子元素,上图中使用灰色标注的几个属性是<tx:method>元素中的常用属性。其属性描述具体如下:

最後就是使用代码实现事务管理了:在原先的增删改查的基础上进行修改,单击前往
首先需要导入相关的包:如下图所示:

在原先的基础上添加一个转账的功能,并且模拟在转账的中途发生错误:
首先在接口类当中定义一个转账的方法:
public void transfer(String outUser, String inUser, Double money);
随后在类当中实现这一个方法:并模拟转账出错,int i =1/0;是会报错的
public void transfer(String outUser, String inUser, Double money) {
		// 收款时,收款用户的余额=现布余额+所汇金额
		this.jdbcTemplate.update("update account set
		balance = balance +? " + "where username = ?", money, inUser);
		// 模拟系统运行时的突发性问题
		int i = 1 / 0; //模拟转账的出现的中断
		// 汇款时,汇款用户的余额=现有余额-所汇金额
		this.jdbcTemplate.update("update account set
				balance = balance-? " + "where username = ?", money, outUser);
	}
在这个时候,直接定义一个测试类调用转账的方法,会发现收款方的前会增加,而后代码报错,付款方的前并不会减少。这个时候就需要使用的事务管理,将俩者进行绑定到一起,要么都运行成功,要么都运行失败;
在这需要先对xml文件进行配置:
<?xml version="1.0" encoding="UTF-8"?>
<beans xmlns="http://www.springframework.org/schema/beans"
    xmlns:xsi="http://www.w3.org/2001/XMLSchema-instance"
    xmlns:aop="http://www.springframework.org/schema/aop"
    xmlns:tx="http://www.springframework.org/schema/tx"
    xmlns:context="http://www.springframework.org/schema/context"
    xsi:schemaLocation="http://www.springframework.org/schema/beans
    http://www.springframework.org/schema/beans/spring-beans-4.3.xsd
    http://www.springframework.org/schema/tx
    http://www.springframework.org/schema/tx/spring-tx-4.3.xsd
    http://www.springframework.org/schema/context
    http://www.springframework.org/schema/context/spring-context-4.3.xsd
    http://www.springframework.org/schema/aop
    http://www.springframework.org/schema/aop/spring-aop-4.3.xsd">
    <!-- 1.配置数据源 -->
    <bean id="dataSource"
    class="org.springframework.jdbc.datasource.DriverManagerDataSource">
		<!--数据库驱动 -->
		<property name="driverClassName" value="com.mysql.jdbc.Driver" />
		<!--连接数据库的url 不存在时区问题的话将?后面代码删除即可-->
		<property name="url" value="jdbc:mysql://localhost/spring?
					serverTimezone=UTC" />
		<!--连接数据库的用户名 -->
		<property name="username" value="root" />
		<!--连接数据库的密码 -->
		<property name="password" value="root" />
   </bean>
   <!-- 2.配置JDBC模板 -->
   <bean id="jdbcTemplate"
          class="org.springframework.jdbc.core.JdbcTemplate">
		 <!-- 默认必须使用数据源 -->
		 <property name="dataSource" ref="dataSource" />
   </bean>
   <!--3.定义id为accountDao的Bean -->
   <bean id="accountDao" class="com.jdbc.AccountDaoImpl">
		 <!-- 将jdbcTemplate注入到AccountDao实例中 -->
		 <property name="jdbcTemplate" ref="jdbcTemplate" />
   </bean>
   <!-- 4.事务管理器,依赖于数据源 -->
   <bean id="transactionManager" class=
   "org.springframework.jdbc.datasource.DataSourceTransactionManager">
		<property name="dataSource" ref="dataSource" />
   </bean>
   <!-- 5.编写通知:对事务进行增强(通知),需要编写对切入点和具体执行事务细节 -->
   <tx:advice id="txAdvice" transaction-manager="transactionManager">
		<tx:attributes>
			<!-- name:*表示任意方法名称 -->
			<tx:method name="*" propagation="REQUIRED"
                           isolation="DEFAULT" read-only="false" />
		</tx:attributes>
	</tx:advice>
	<!-- 6.编写aop,让spring自动对目标生成代理,需要使用AspectJ的表达式 -->
	<aop:config>
		<!-- 切入点 -->
		<aop:pointcut expression="execution(* com.lzq.jdbc.*.*(..))"
			id="txPointCut" />
		<!-- 切面:将切入点与通知整合 -->
		<aop:advisor advice-ref="txAdvice" pointcut-ref="txPointCut" />
	</aop:config>
</beans>
在最后定义一个测试类:运行观察效果即可:
import org.springframework.context.ApplicationContext;
import org.springframework.context.support.ClassPathXmlApplicationContext;
//测试类
public class TransactionTest {
public static void main(String[] args) {
	ApplicationContext applicationContext =
			   new ClassPathXmlApplicationContext("applicationContext.xml");
			// 获取AccountDao实例
			AccountDao accountDao =
	            (AccountDao)applicationContext.getBean("accountDao");
			// 调用实例中的转账方法
			accountDao.transfer("tom", "jerry", 100.0);
		    // 输出提示信息
		    System.out.println("转账成功!");
}
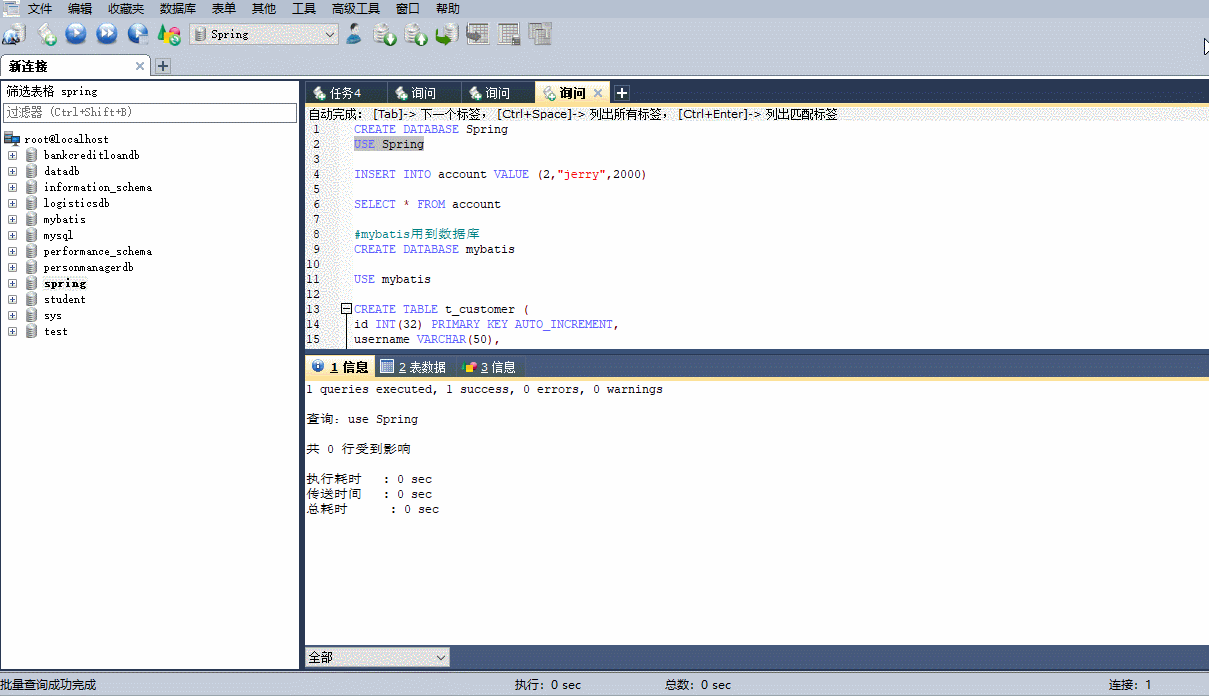
效果图如下:首先在数据库中查询:发现tom有900,Jerry有2100,在java代码当中表示从tom转100到Jerry账户上,最后再查看数据库的数据。发现成功了。钱也转成功了。
二、基于Annotation注解的方式
使用注解声明有俩步:
一、在Spring容器中注册事务注解驱动;
<tx:annotation-driven transaction-manager="transactionManager"/>
二、在需要事务管理的类或方法上使用@Transactional注解
如果将注解添加在Bean类上,则表示事务的设置对整个Bean类的所有方法都起作用;如果将注解添加在Bean类中的某个方法上,则表示事务的设置只对该方法有效。
使用@Transactional注解时,可以通过参数配置事务详情:如下表所示:

新建一个xml文件,声明事务管理器等配置信息。
<?xml version="1.0" encoding="UTF-8"?>
<beans xmlns="http://www.springframework.org/schema/beans"
    xmlns:xsi="http://www.w3.org/2001/XMLSchema-instance"
    xmlns:aop="http://www.springframework.org/schema/aop"
    xmlns:tx="http://www.springframework.org/schema/tx"
    xmlns:context="http://www.springframework.org/schema/context"
    xsi:schemaLocation="http://www.springframework.org/schema/beans
    http://www.springframework.org/schema/beans/spring-beans-4.3.xsd
    http://www.springframework.org/schema/tx
    http://www.springframework.org/schema/tx/spring-tx-4.3.xsd
    http://www.springframework.org/schema/context
    http://www.springframework.org/schema/context/spring-context-4.3.xsd
    http://www.springframework.org/schema/aop
    http://www.springframework.org/schema/aop/spring-aop-4.3.xsd">
    <!-- 1.配置数据源 -->
    <bean id="dataSource"
    class="org.springframework.jdbc.datasource.DriverManagerDataSource">
		<!--数据库驱动 -->
		<property name="driverClassName" value="com.mysql.jdbc.Driver" />
		<!--连接数据库的url -->
		<property name="url" value="jdbc:mysql://localhost/spring?
							serverTimezone=UTC" />
		<!--连接数据库的用户名 -->
		<property name="username" value="root" />
		<!--连接数据库的密码 -->
		<property name="password" value="root" />
	</bean>
	<!-- 2.配置JDBC模板 -->
	<bean id="jdbcTemplate"
            class="org.springframework.jdbc.core.JdbcTemplate">
		<!-- 默认必须使用数据源 -->
		<property name="dataSource" ref="dataSource" />
	</bean>
	<!--3.定义id为accountDao的Bean -->
	<bean id="accountDao" class="com.itheima.jdbc.AccountDaoImpl">
		<!-- 将jdbcTemplate注入到AccountDao实例中 -->
		<property name="jdbcTemplate" ref="jdbcTemplate" />
	</bean>
	<!-- 4.事务管理器,依赖于数据源 -->
	<bean id="transactionManager" class=
     "org.springframework.jdbc.datasource.DataSourceTransactionManager">
		<property name="dataSource" ref="dataSource" />
	</bean>
    <!-- 5.注册事务管理器驱动 -->
	<tx:annotation-driven transaction-manager="transactionManager"/>
</beans>
随后在实现转账方法的地方使用注解的方式:

代码如下:需要导入相对应的包,直接import
@Transactional(propagation = Propagation.REQUIRED,
			isolation = Isolation.DEFAULT, readOnly = false)
最后定义一个测试类:运行即可。
package com.itheima.jdbc;
import org.springframework.context.ApplicationContext;
import org.springframework.context.support.ClassPathXmlApplicationContext;

public class annotationtest {
	public static void main(String[] args) {
		ApplicationContext ac =
		new ClassPathXmlApplicationContext("applicationContext-annotation.xml");
		AccountDao accountDao =
	            (AccountDao)ac.getBean("accountDao");
		accountDao.transfer("tom", "jerry", 100.0);
	    System.out.println("转账成功!");
	}
}


 1239
1239


 被折叠的 条评论
为什么被折叠?
被折叠的 条评论
为什么被折叠?
 到【灌水乐园】发言


