


NVIDIA驱动安装及报错处理
下载GPU驱动包
驱动下载:https://www.nvidia.com/Download/Find.aspx
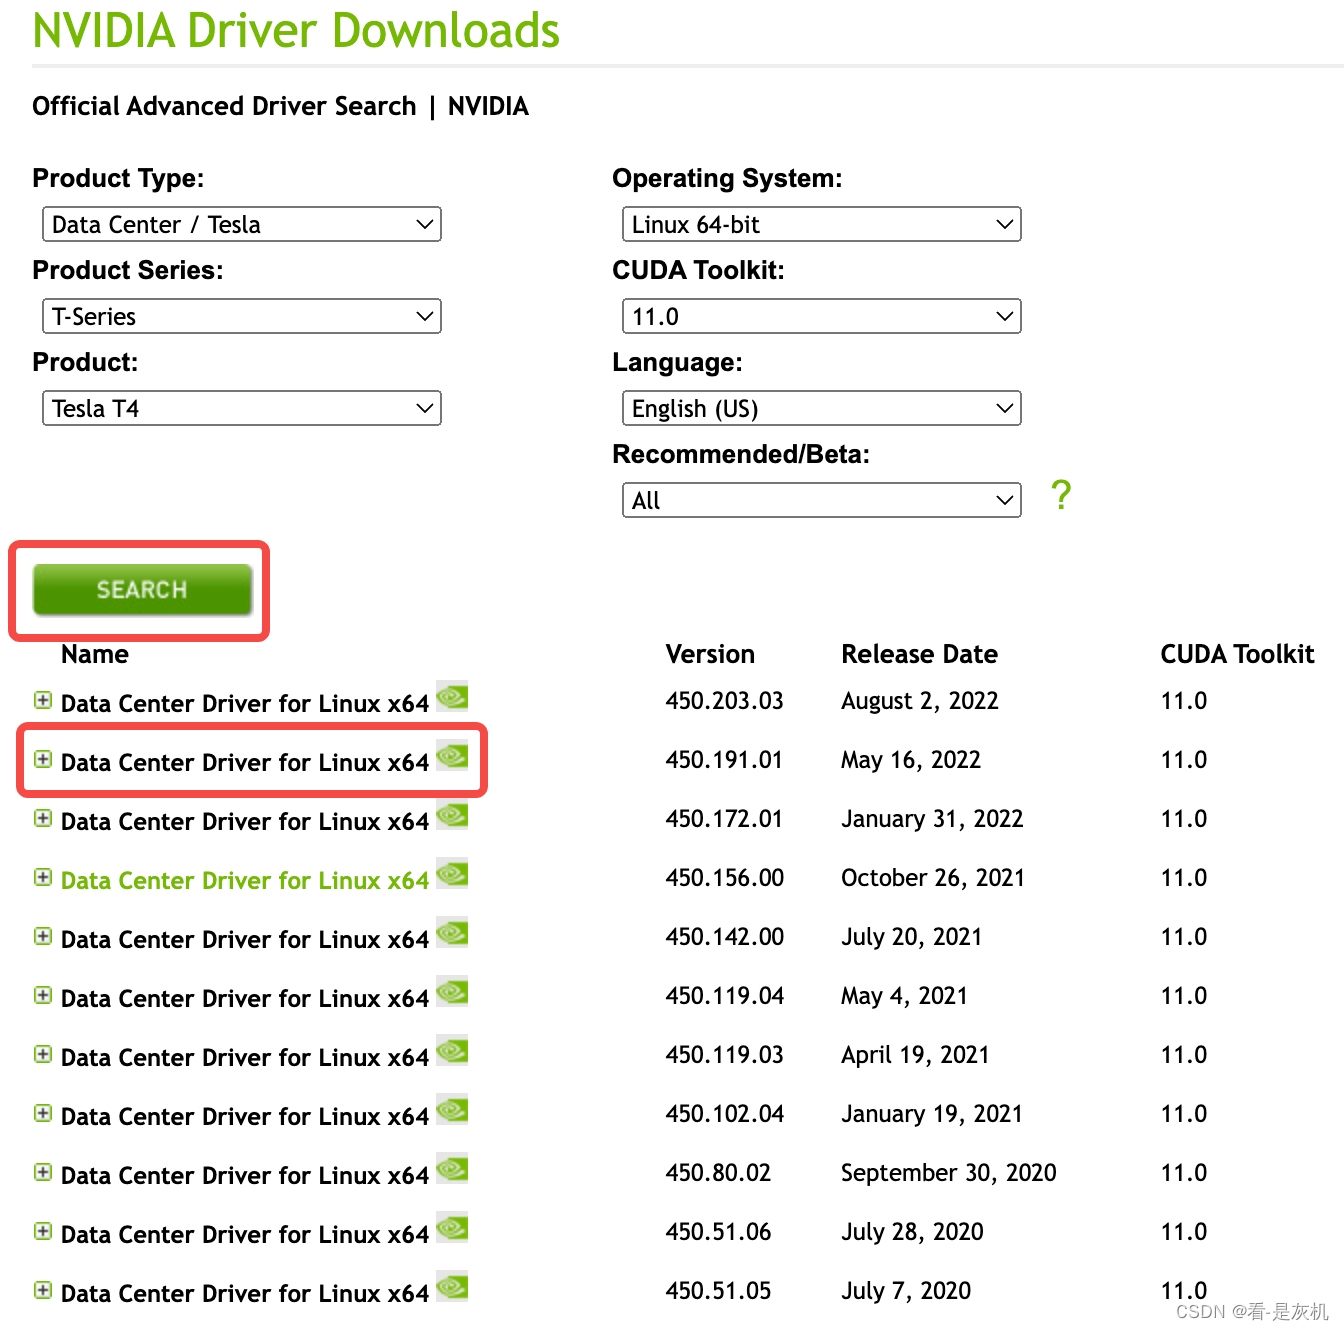
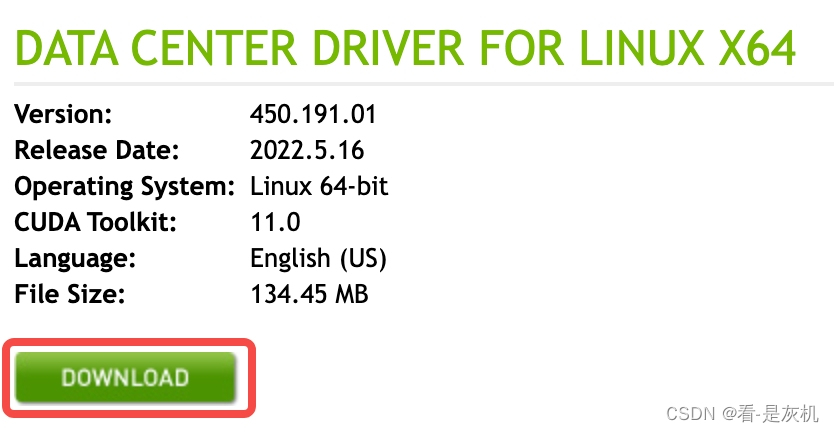

复制好地址后,使用wget命令下载。
[root@node ~]# wget https://us.download.nvidia.com/tesla/450.191.01/NVIDIA-Linux-x86_64-450.191.01.run
[root@node ~]# ls
NVIDIA-Linux-x86_64-450.191.01.run
安装GPU驱动包
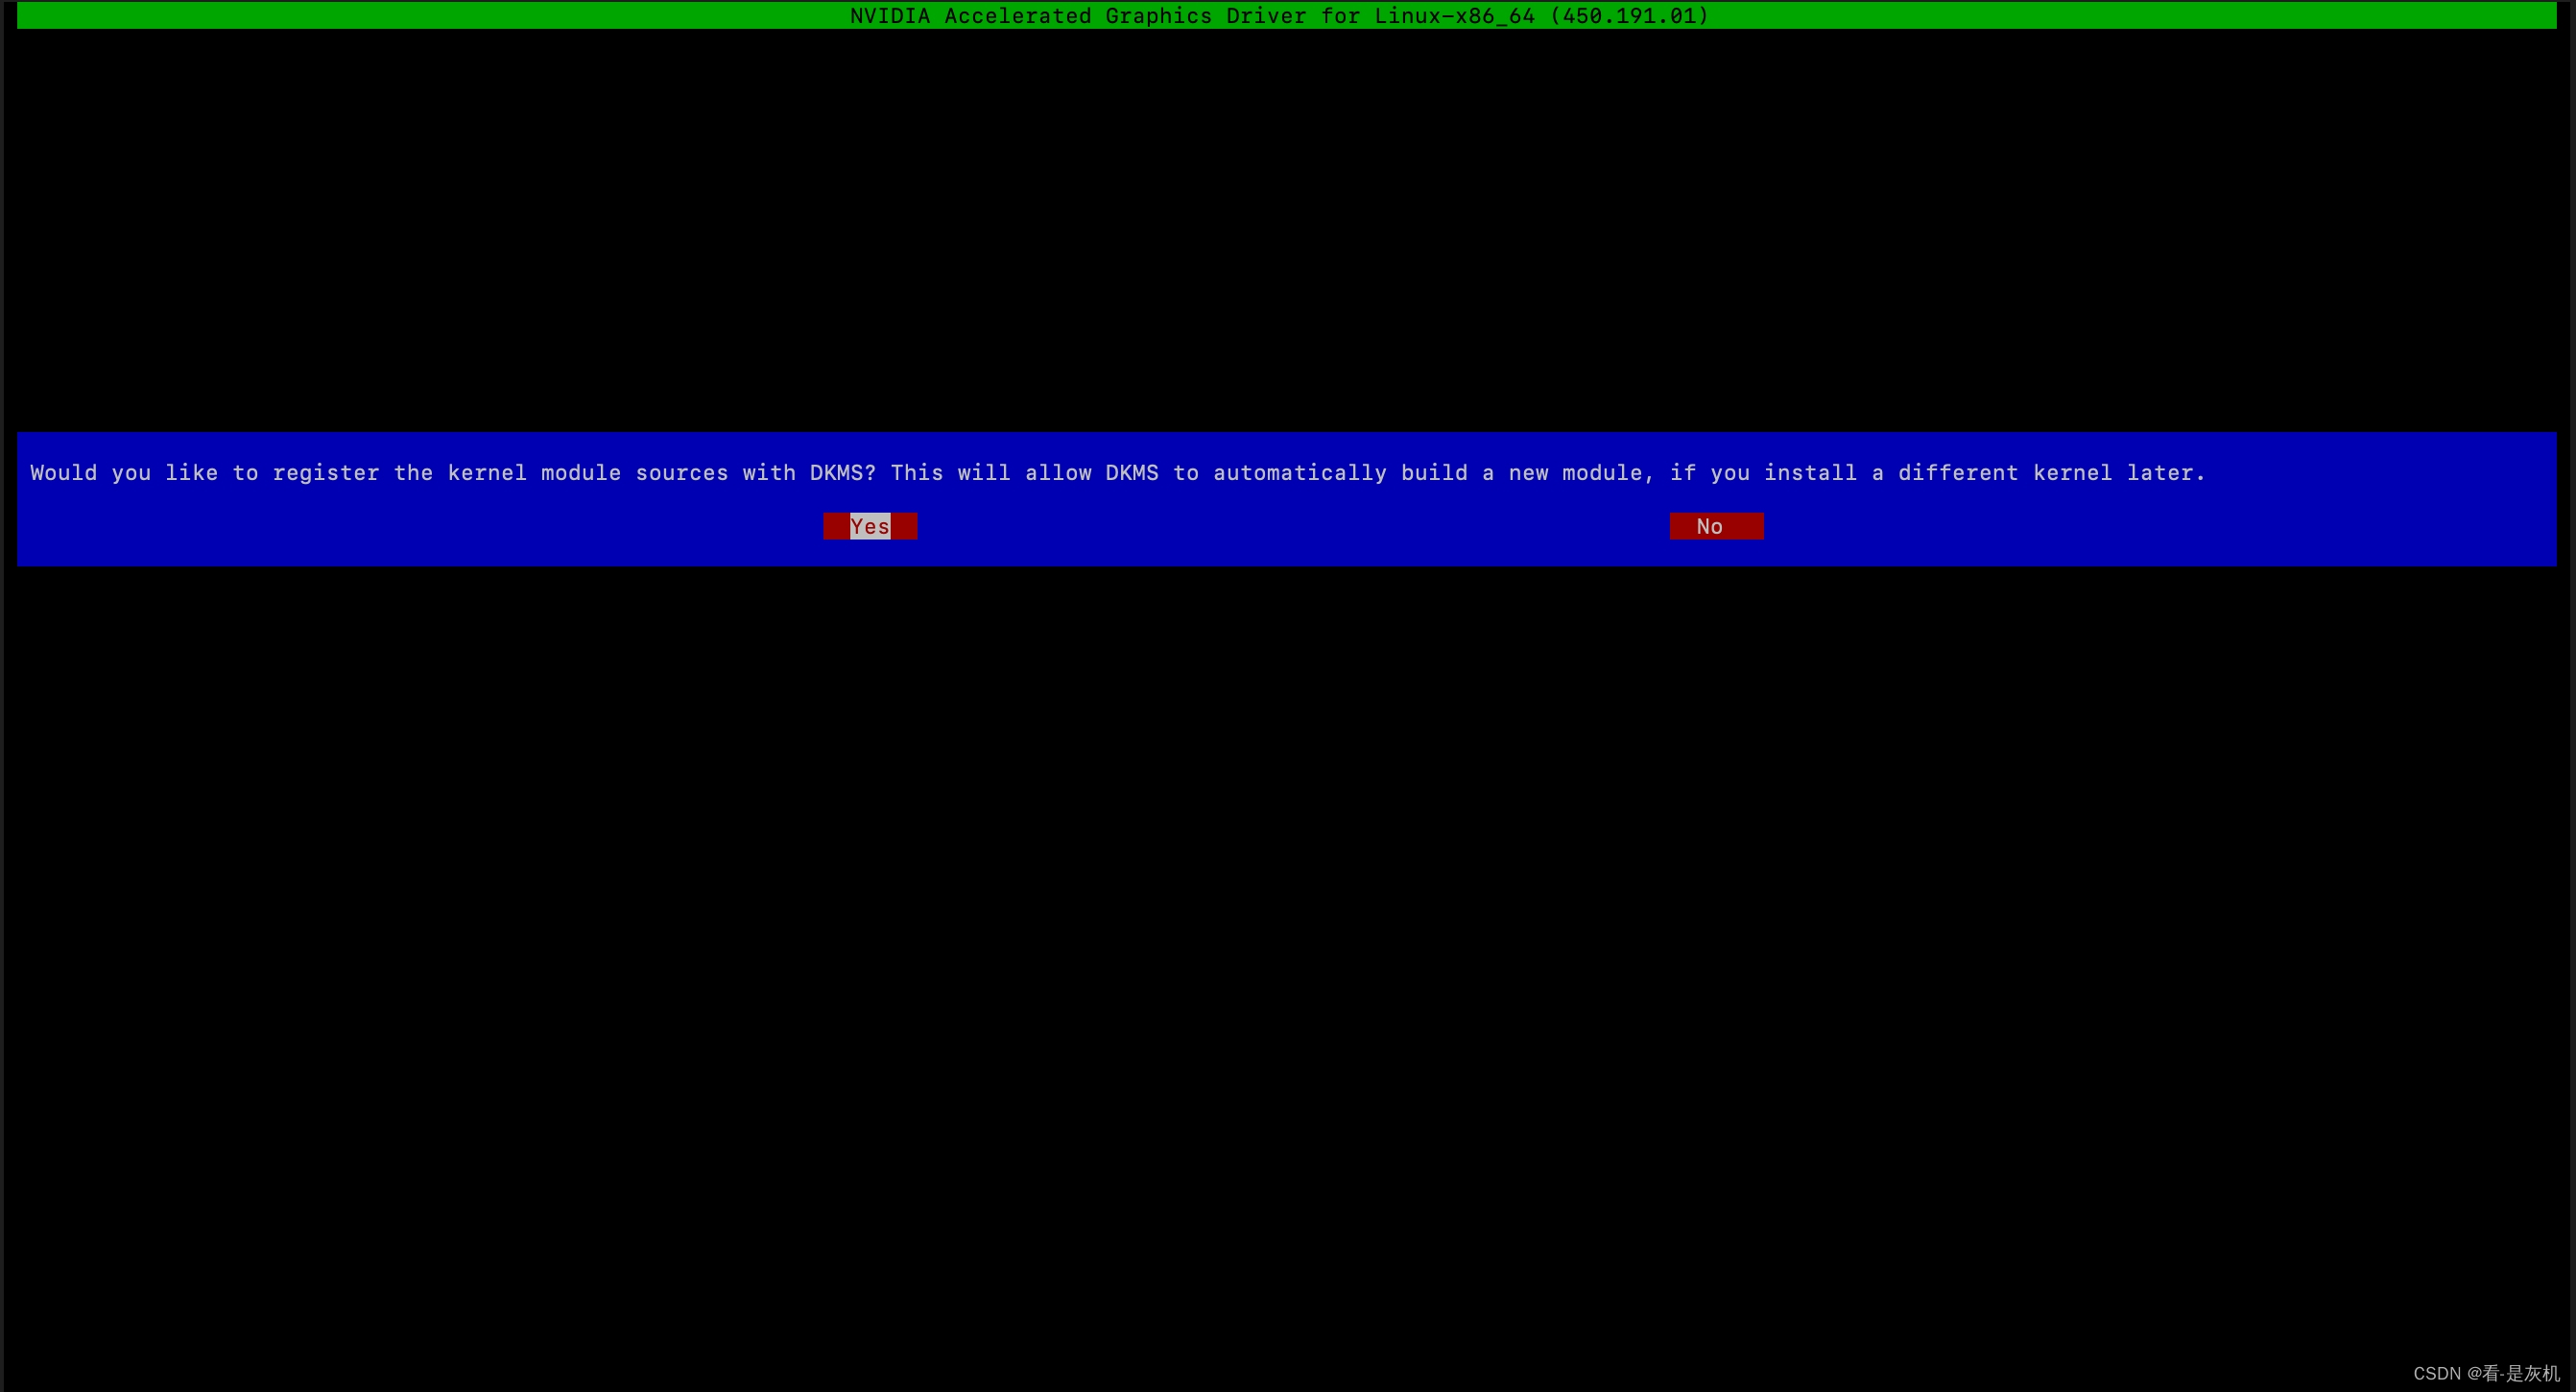
[root@node ~]# sh NVIDIA-Linux-x86_64-450.191.01.run
Verifying archive integrity... OK
Uncompressing NVIDIA Accelerated Graphics Driver for Linux-x86_64 450.191.01.....................................................................................................................................................................................................................................................................................................................................................................................................................................................................................................................................................................
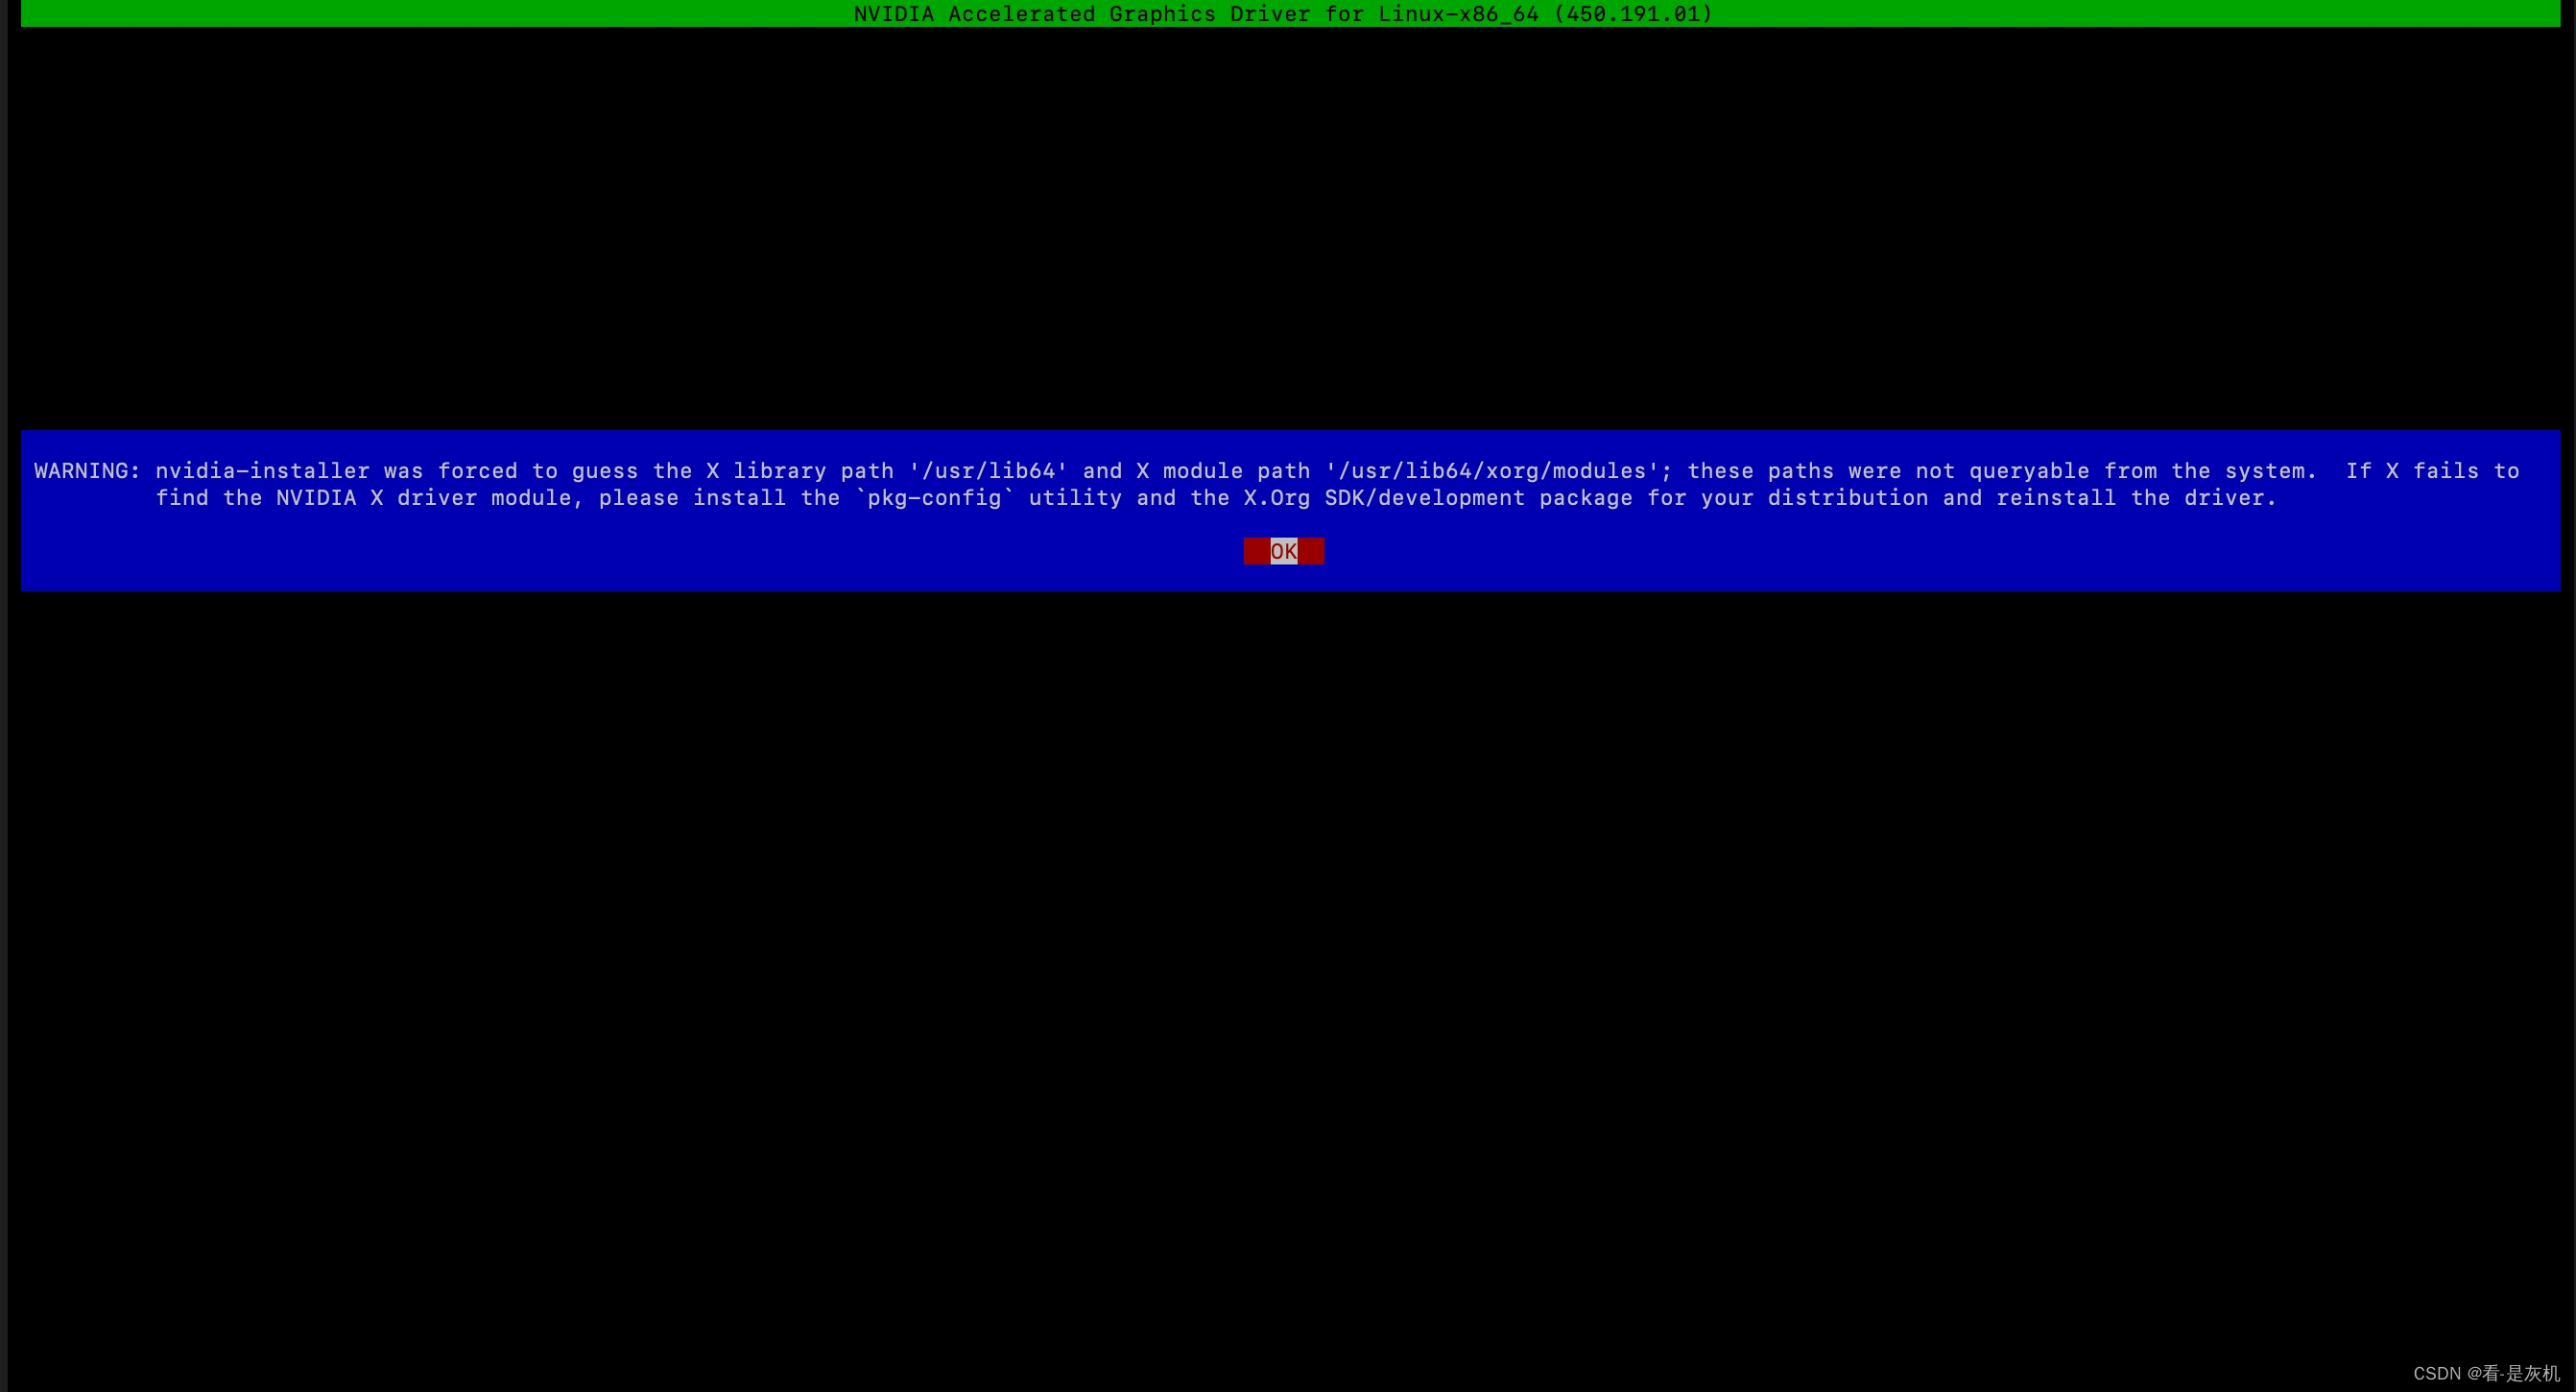
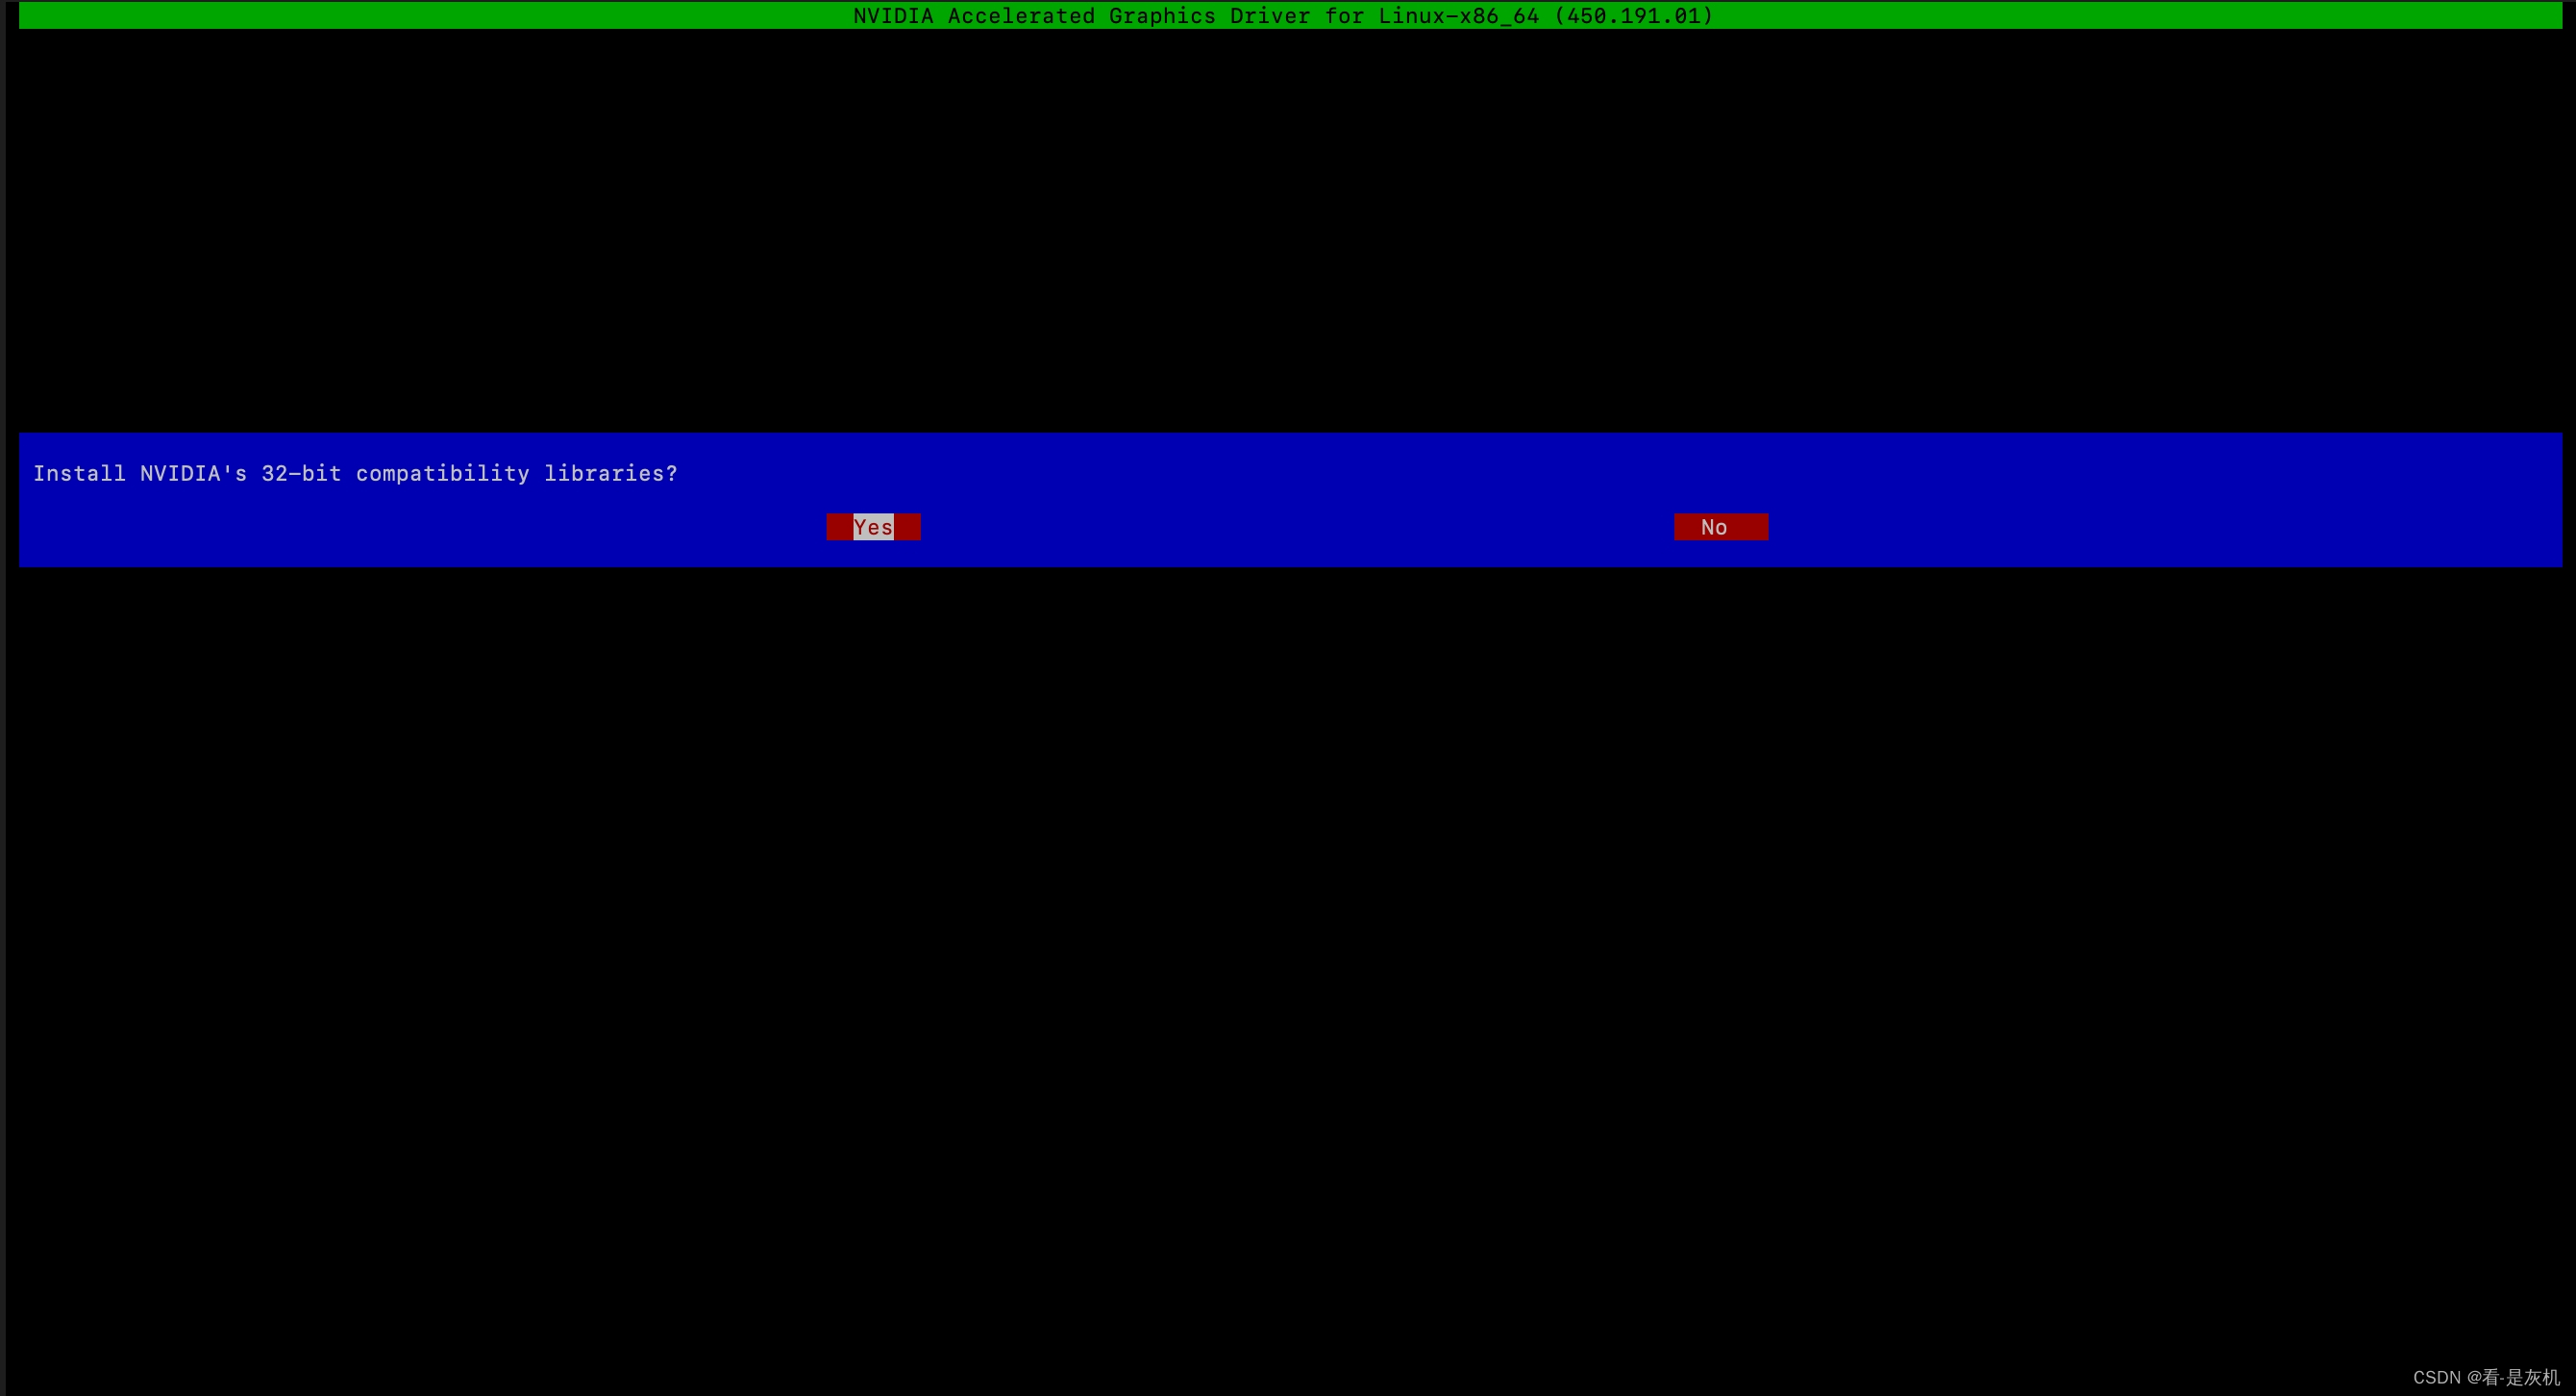
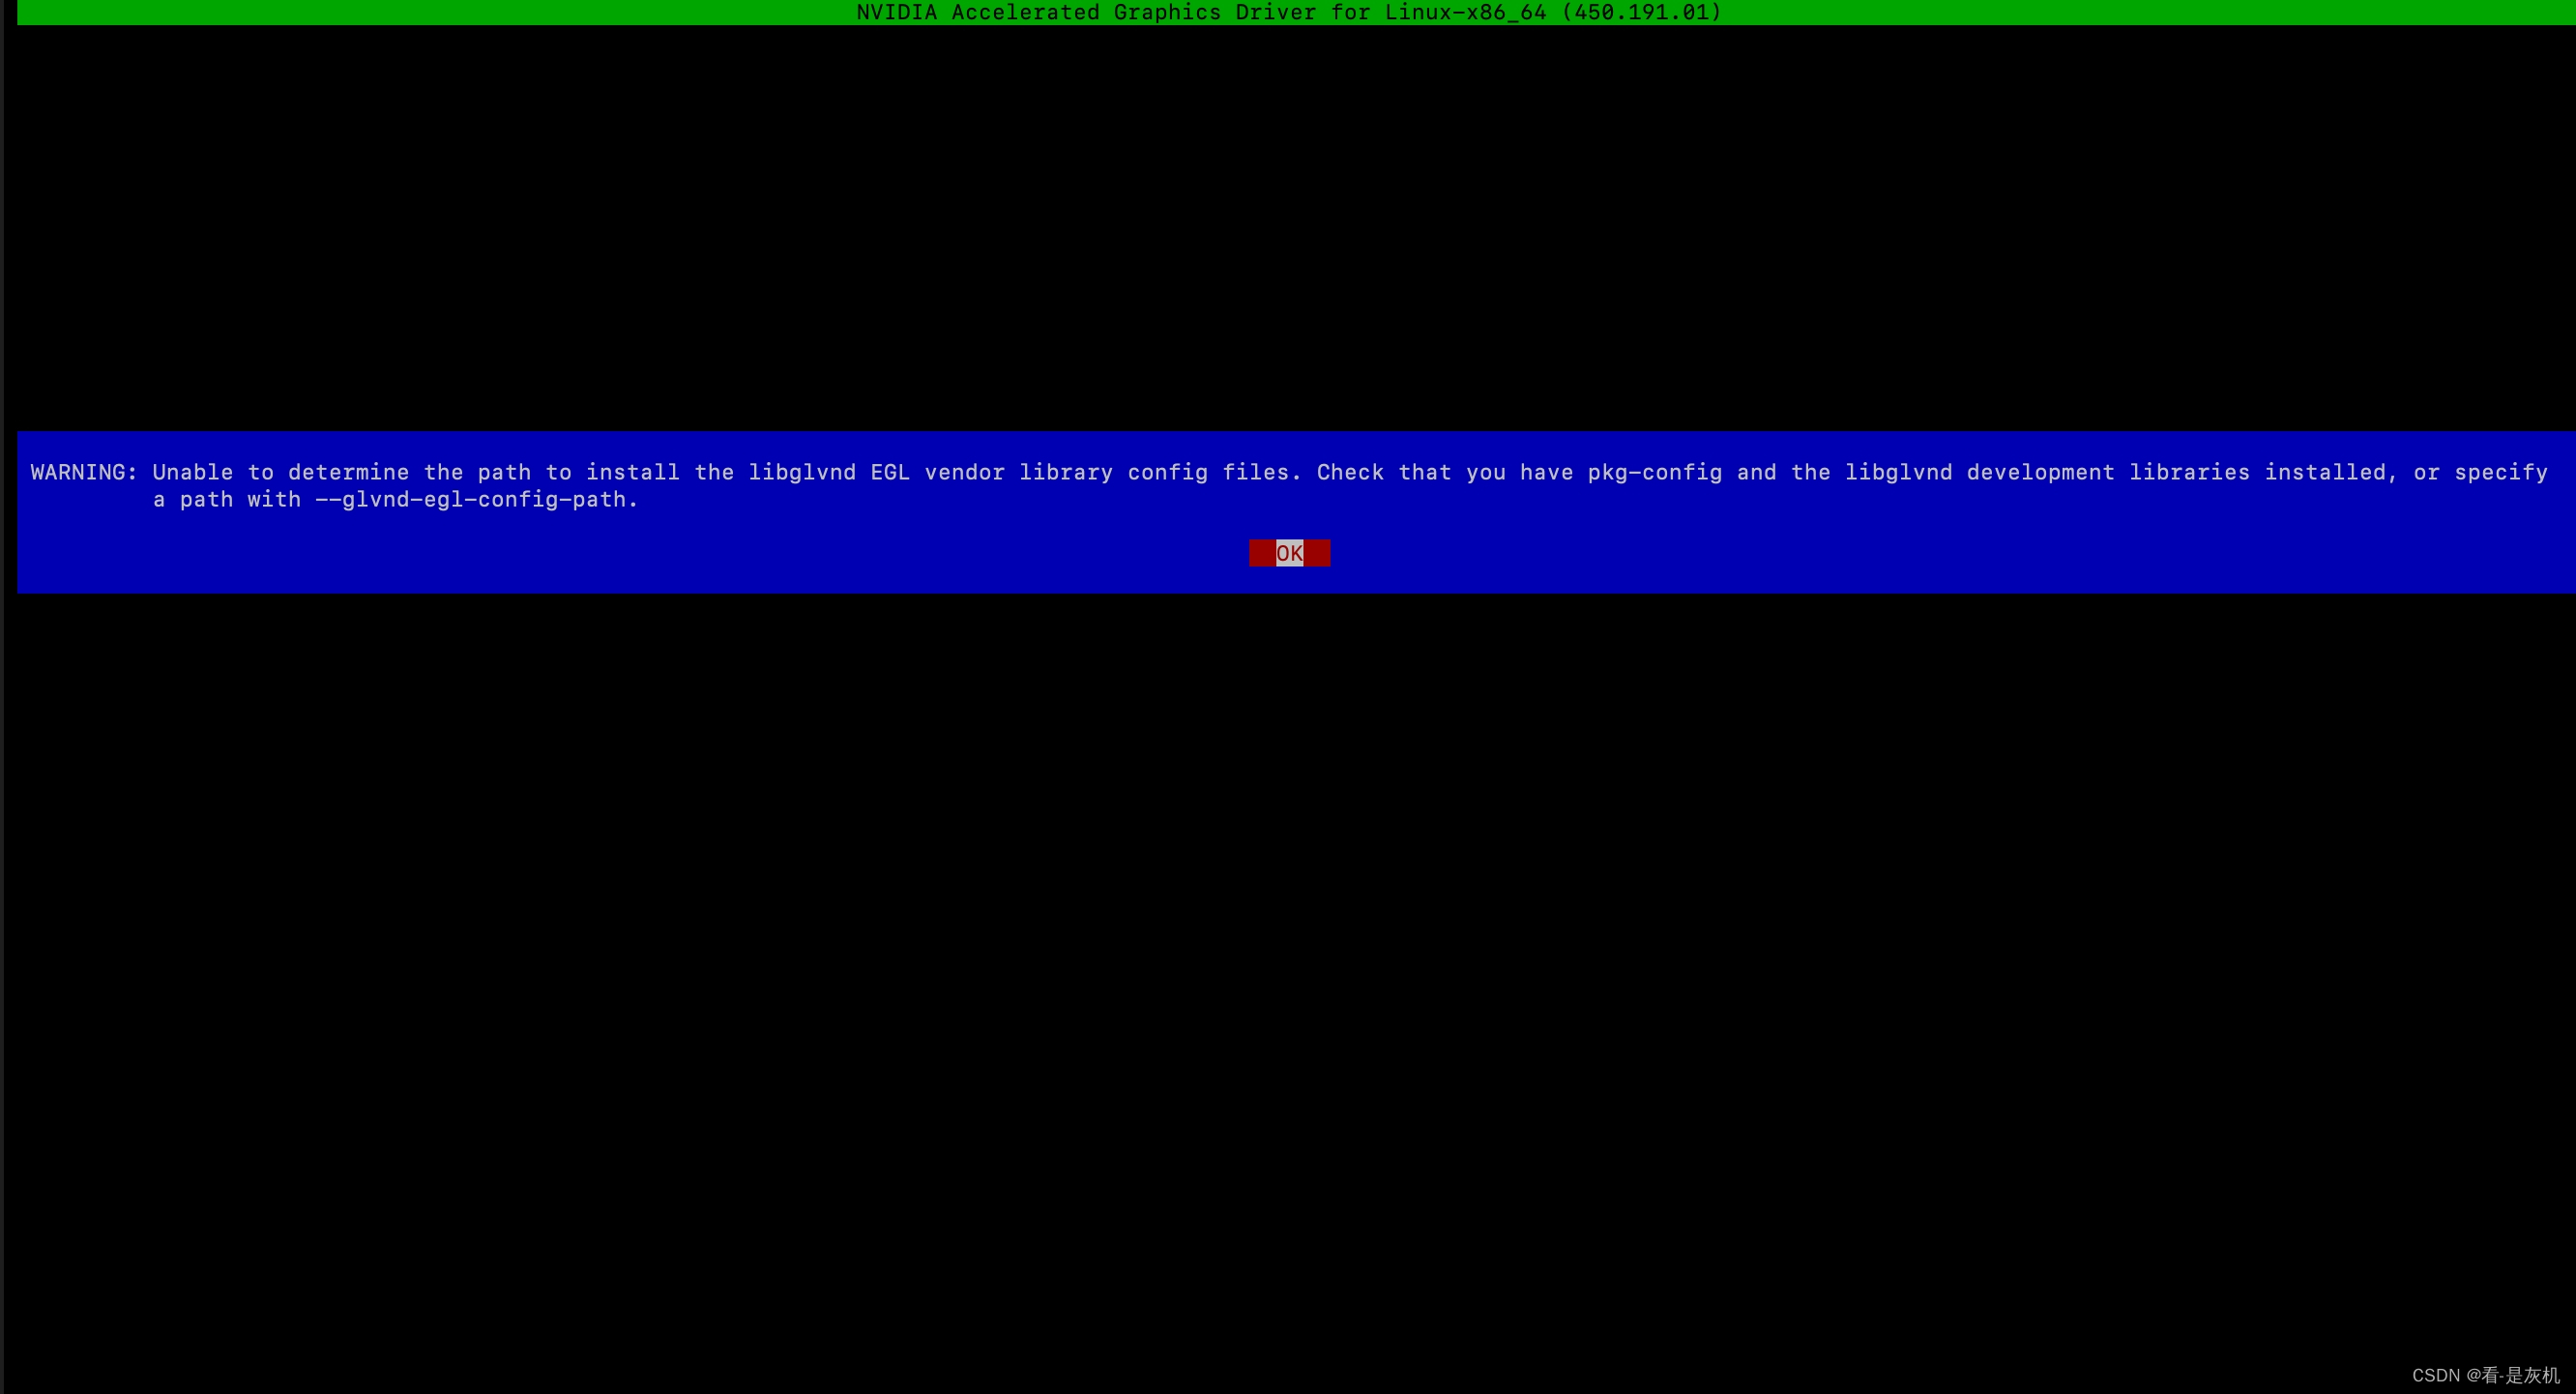
执行以上命令后,跳出交互界面,全部默认确定即可。

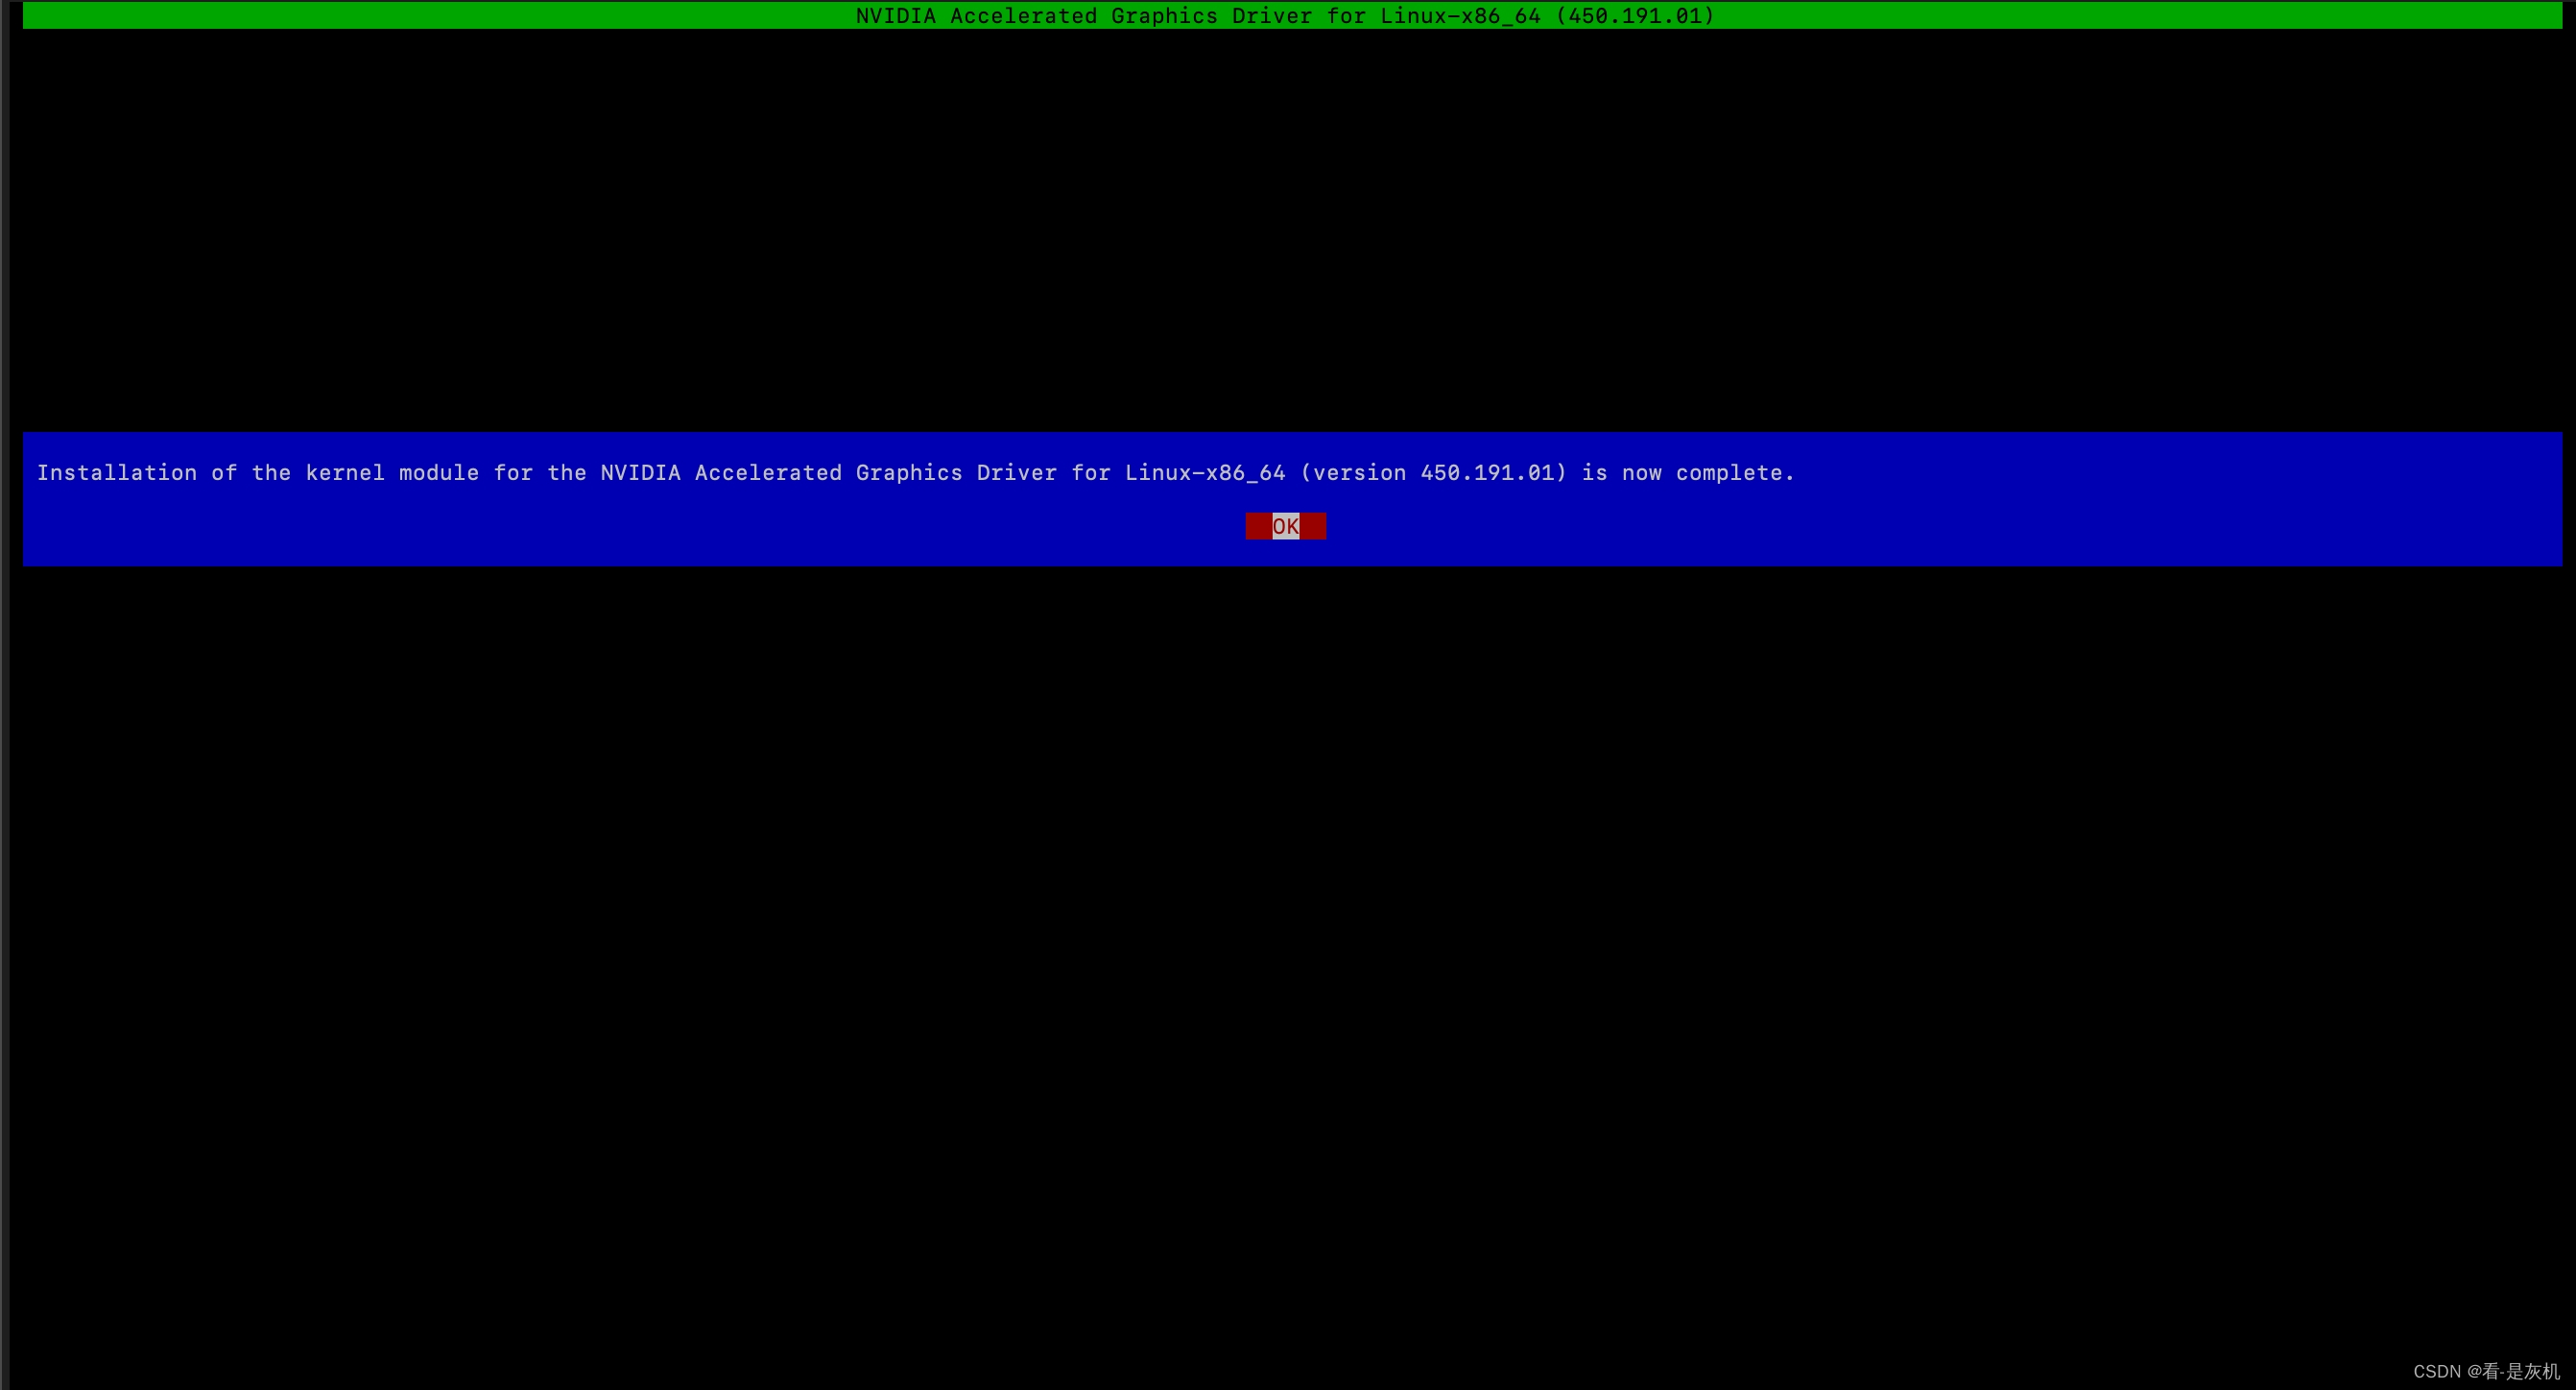
安装完后,进行验证,出现一下信息证明安装成功。
[root@node ~]# nvidia-smi
Thu Sep 22 18:02:27 2022
+-----------------------------------------------------------------------------+
| NVIDIA-SMI 450.191.01   Driver Version: 450.191.01   CUDA Version: 11.0     |
|-------------------------------+----------------------+----------------------+
| GPU  Name        Persistence-M| Bus-Id        Disp.A | Volatile Uncorr. ECC |
| Fan  Temp  Perf  Pwr:Usage/Cap|         Memory-Usage | GPU-Util  Compute M. |
|                               |                      |               MIG M. |
|===============================+======================+======================|
|   0  Tesla V100-SXM2...  Off  | 00000000:65:01.0 Off |                    0 |
| N/A   34C    P0    35W / 300W |      0MiB / 32510MiB |      4%      Default |
|                               |                      |                  N/A |
+-------------------------------+----------------------+----------------------+

+-----------------------------------------------------------------------------+
| Processes:                                                                  |
|  GPU   GI   CI        PID   Type   Process name                  GPU Memory |
|        ID   ID                                                   Usage      |
|=============================================================================|
|  No running processes found                                                 |
+-----------------------------------------------------------------------------+
[root@node ~]#
卸载GPU驱动包
/usr/bin/nvidia-uninstall
reboot
GPU驱动包安装排错
由于使用的测试机器已经有装相关包,所以是卸载后重新装的,但在卸载时没有完全卸载完所有东西,且未进行重启操作,导致上述安装时出现一些问题,报错截图如下:
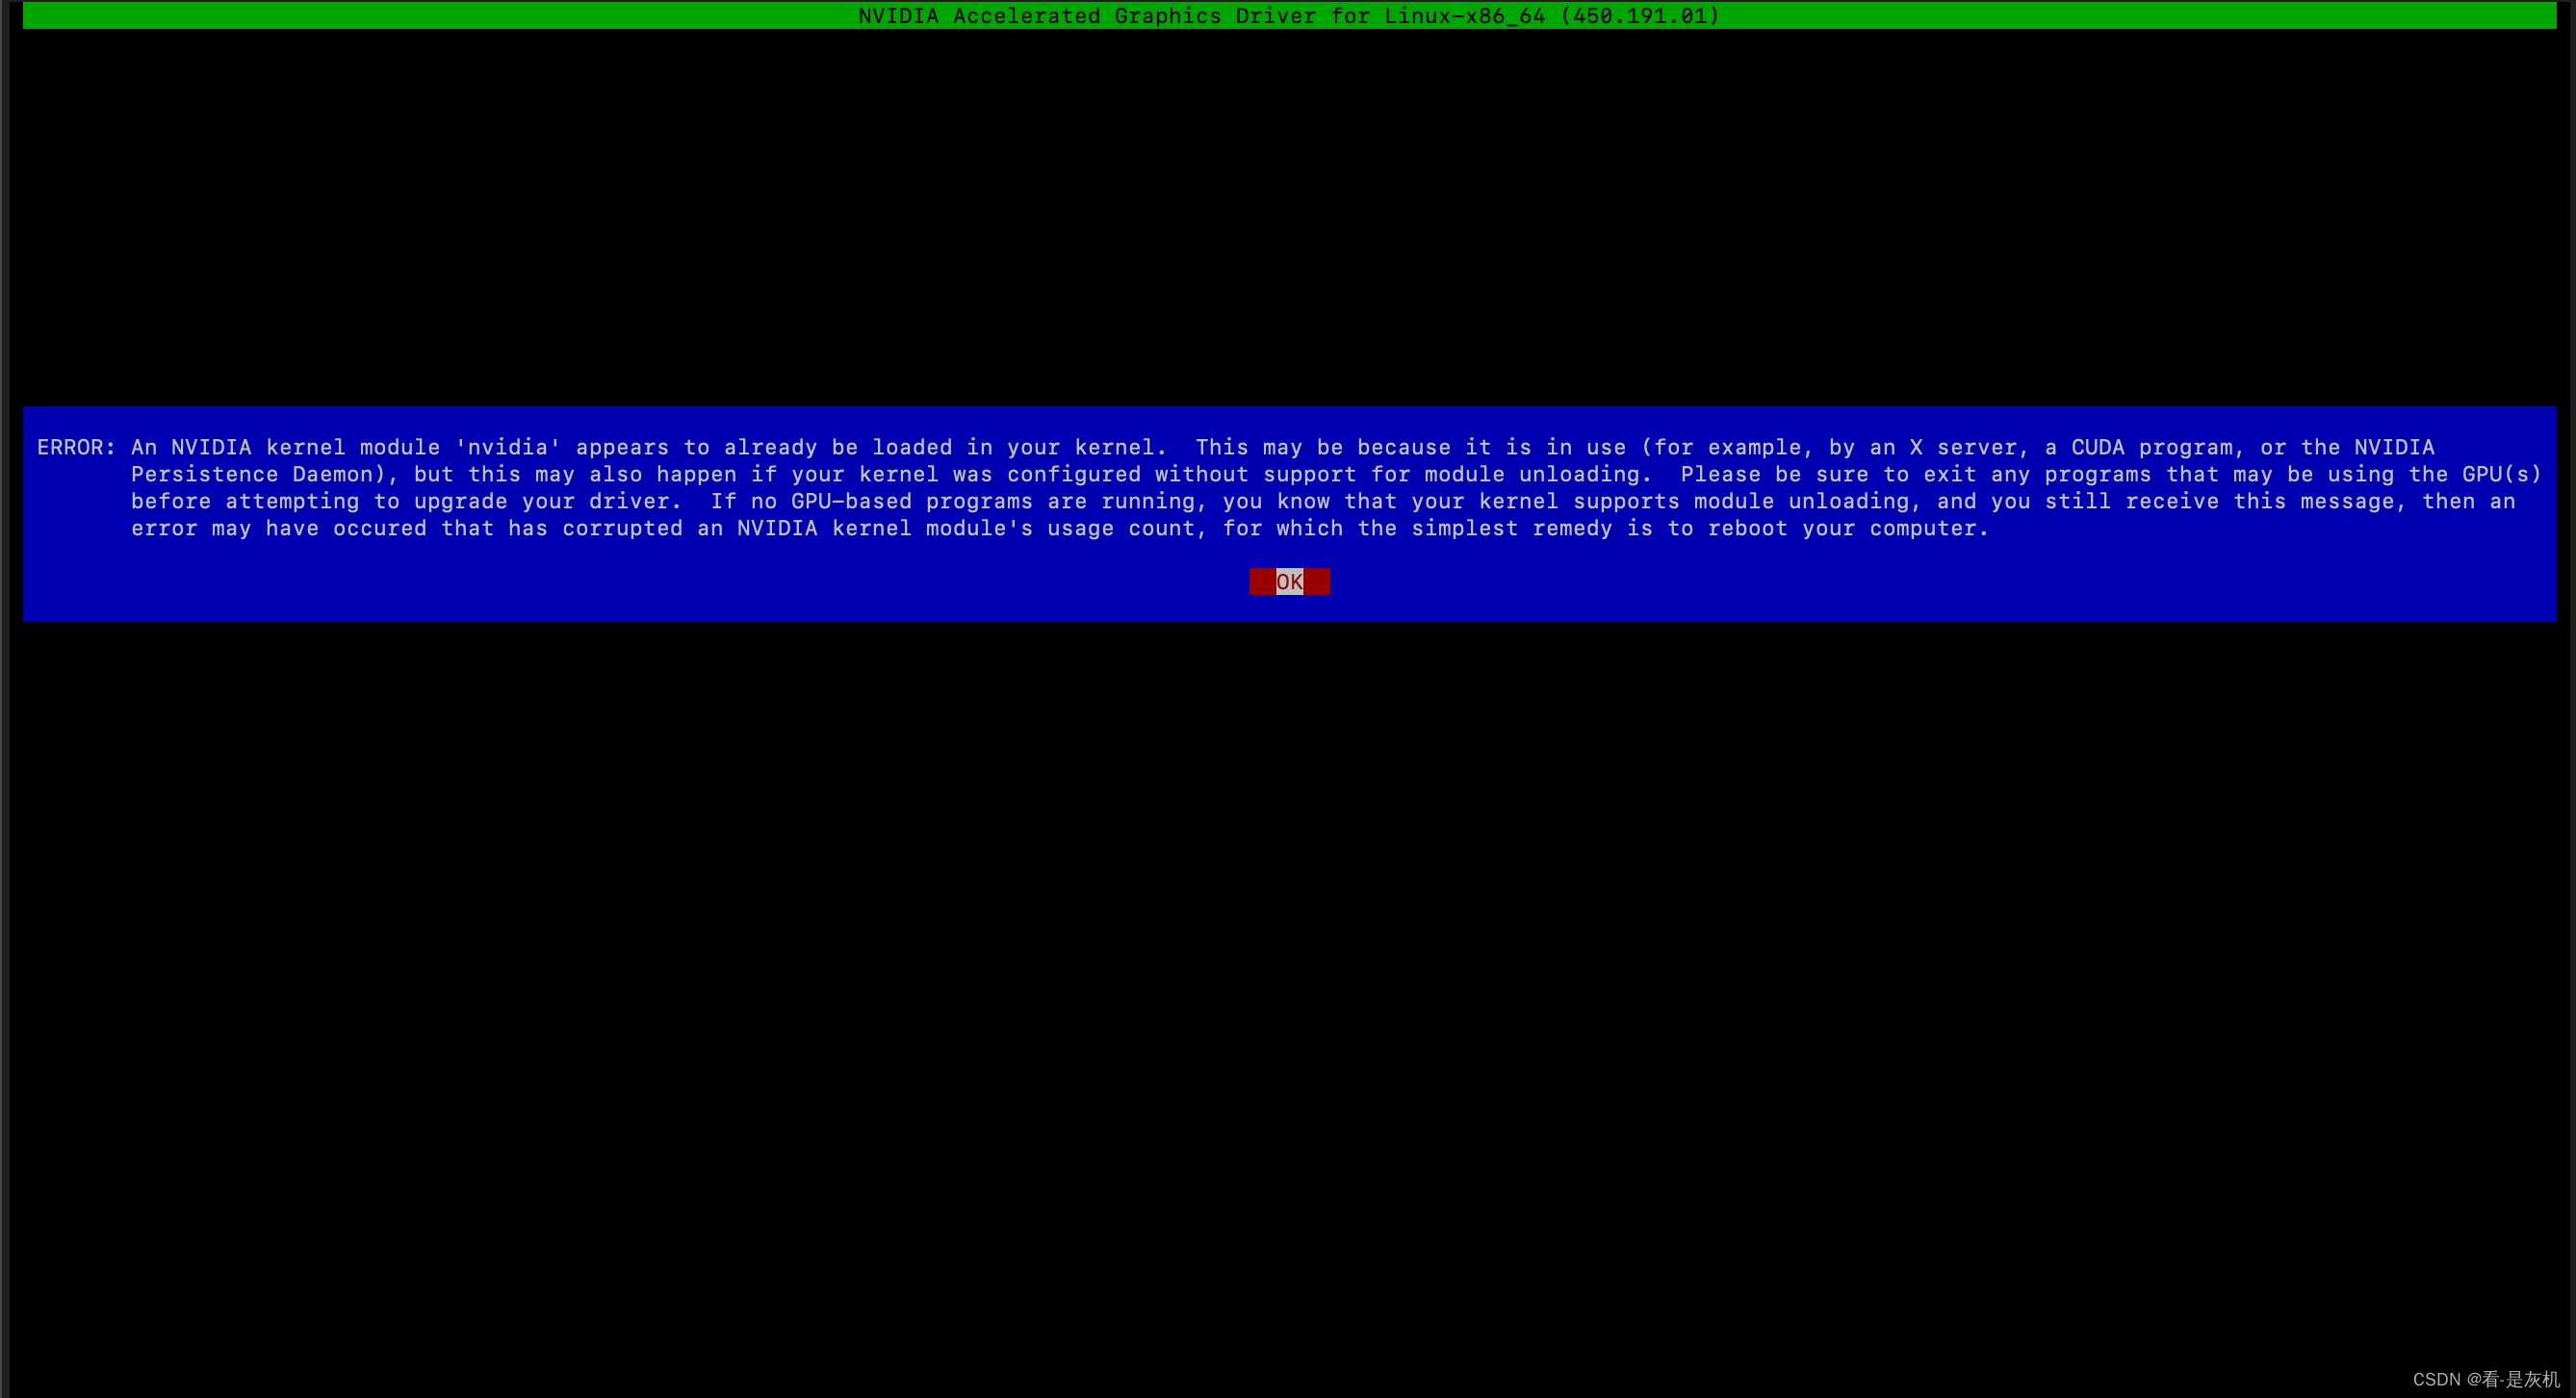
报错文本:
ERROR: An NVIDIA kernel module ‘nvidia’ appears to already be loaded in your kernel. This may be because it is in use (for example, by an X server, a CUDA program, or the NVIDIA
Persistence Daemon), but this may also happen if your kernel was configured without support for module unloading. Please be sure to exit any programs that may be using the GPU(s)
before attempting to upgrade your driver. If no GPU-based programs are running, you know that your kernel supports module unloading, and you still receive this message, then an
error may have occured that has corrupted an NVIDIA kernel module’s usage count, for which the simplest remedy is to reboot your computer.
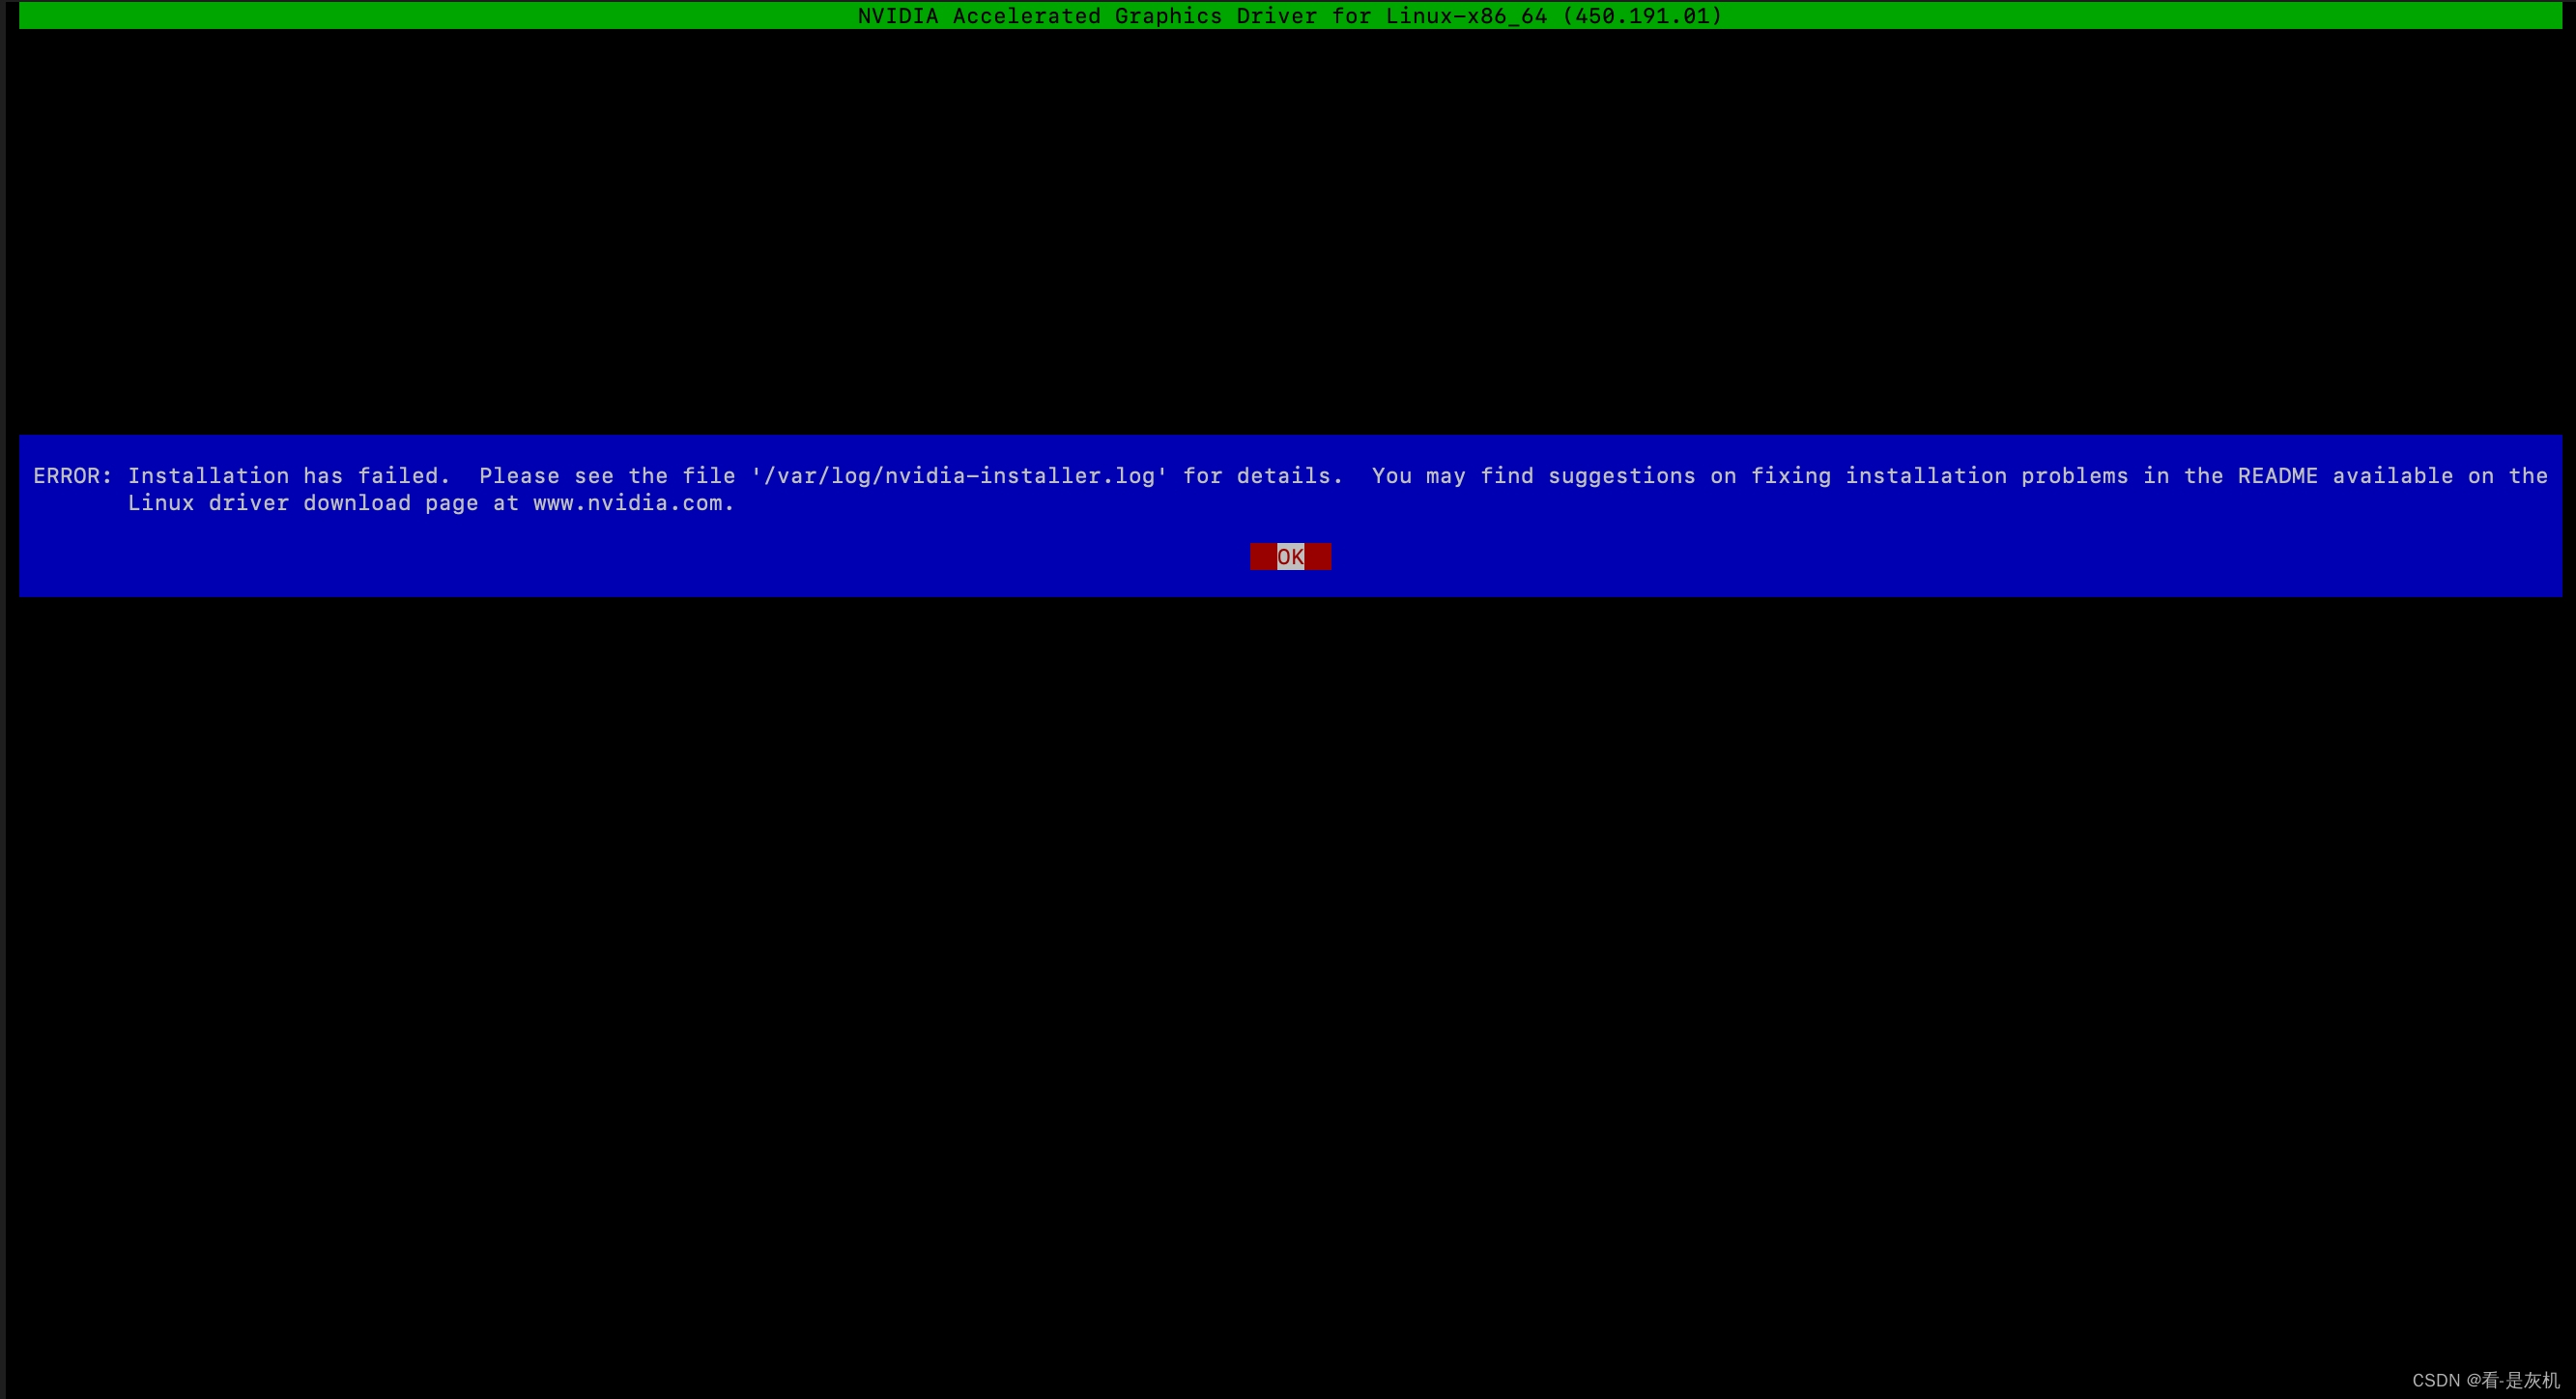
报错文本:
ERROR: Installation has failed. Please see the file ‘/var/log/nvidia-installer.log’ for details. You may find suggestions on fixing installation problems in the README available on the
Linux driver download page at www.nvidia.com.
大致是说已有相关程序在使用了nvidia的模块了,导致安装报错。
不是很明确是什么原因,所以优先考虑了日志,如下:
[root@node ~]# tail -50 /var/log/nvidia-installer.log
nvidia-installer log file '/var/log/nvidia-installer.log'
creation time: Thu Sep 22 17:46:57 2022
installer version: 450.191.01

PATH: /usr/local/sbin:/usr/local/bin:/usr/sbin:/usr/bin:/root/bin

nvidia-installer command line:
    ./nvidia-installer

Unable to load: nvidia-installer ncurses v6 user interface

Using: nvidia-installer ncurses user interface
-> Detected 8 CPUs online; setting concurrency level to 8.
ERROR: An NVIDIA kernel module 'nvidia' appears to already be loaded in your kernel.  This may be because it is in use (for example, by an X server, a CUDA program, or the NVIDIA Persistence Daemon), but this may also happen if your kernel was configured without support for module unloading.  Please be sure to exit any programs that may be using the GPU(s) before attempting to upgrade your driver.  If no GPU-based programs are running, you know that your kernel supports module unloading, and you still receive this message, then an error may have occured that has corrupted an NVIDIA kernel module's usage count, for which the simplest remedy is to reboot your computer.
ERROR: Installation has failed.  Please see the file '/var/log/nvidia-installer.log' for details.  You may find suggestions on fixing installation problems in the README available on the Linux driver download page at www.nvidia.com.
[root@node ~]#
查看后没有得到有用的信息,但心里已经有了想法,于是开始排查使用nvidia的相关进程什么的。
[root@node ~]# ps -ef | grep nvidia
root      1569     2  0 11:06 ?        00:00:01 [irq/86-nvidia]
root      1570     2  0 11:06 ?        00:00:00 [nvidia]
root     17161 17144  0 17:53 pts/0    00:00:00 grep --color=auto nvidia
[root@node ~]# lsof /dev/nvidia*
COMMAND   PID USER   FD   TYPE  DEVICE SIZE/OFF  NODE NAME
cloud-mon 676 root    8u   CHR 195,255      0t0 21014 /dev/nvidiactl
cloud-mon 676 root    9u   CHR   195,0      0t0 21018 /dev/nvidia0
cloud-mon 676 root   12u   CHR   195,0      0t0 21018 /dev/nvidia0
cloud-mon 676 root   13u   CHR   195,0      0t0 21018 /dev/nvidia0
[root@node ~]# ps -ef | grep 676
root       676     1  0 11:06 ?        00:00:06 /usr/local/xxxx-xxxx-agent/xxxx-xxxx-agent start
root     17167 17144  0 17:55 pts/0    00:00:00 grep --color=auto 676
[root@node ~]# kill -9 676
查到了,是某一个agent在使用,于是kill后重新安装,解决问题。


 4万+
4万+

 被折叠的 条评论
为什么被折叠?
被折叠的 条评论
为什么被折叠?
 到【灌水乐园】发言


