


Vue整合SpringBoot项目实战之动态路由处理
源码:
系列文章:
- Vue整合SpringBoot项目实战之Vue+Element-Ui搭建前端项目
- Vue整合SpringBoot项目实战之后端业务处理
- Vue整合SpringBoot项目实战之Vue+SpringBoot
- Vue整合SpringBoot项目实战之Element-ui组件
- Vue整合SpringBoot项目实战之解决前后端分离的跨域问题
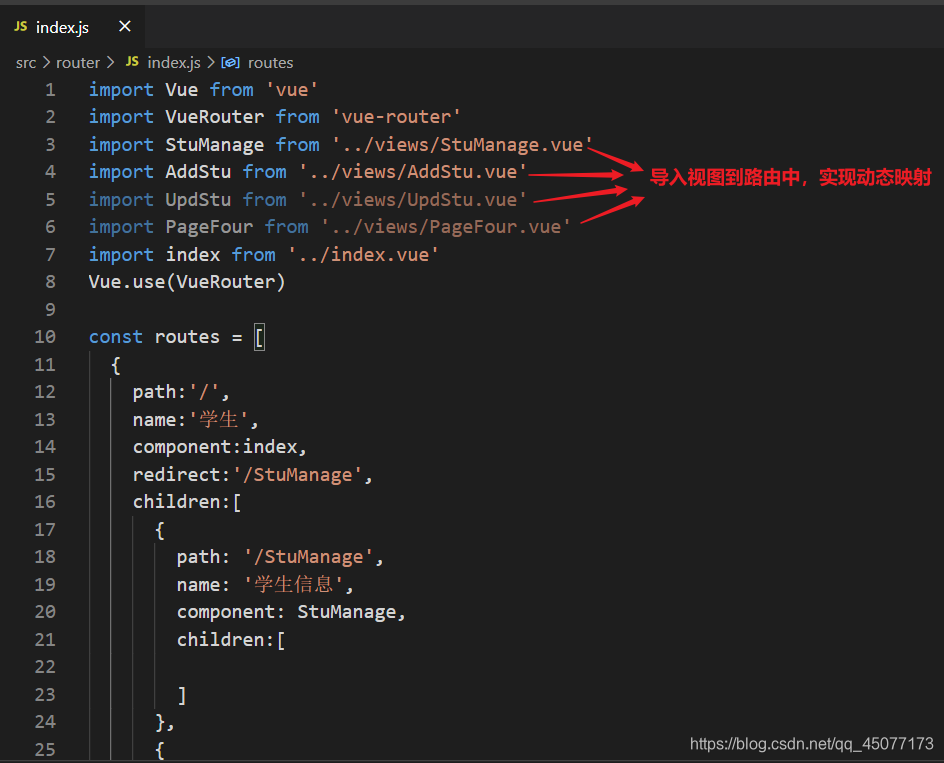
实现动态路由表映射:
const routes = [
  {
    path:'/',
    name:'学生',
    component:index,
    redirect:'/StuManage',
    children:[
      {
        path: '/StuManage',
        name: '学生信息',
        component: StuManage,
        children:[

        ]
      },
      {
        path: '/AddStu',
        name: '添加学生',
        component: AddStu
      }
    ]
  },

]
配置好路由表,接下来进行前端页面的渲染,这里只是进行前端渲染的Vue的简单操作,并没有由后端给出路由表,实现动态路由的渲染。
[外链图片转存失败,源站可能有防盗链机制,建议将图片保存下来直接上传(img-nhjJYR7o-1595506611735)(C:\Users\董鹏超\Desktop\Vue实现前后端分离\笔记\images\渲染.png)]
应用:
<template>
  <div id="app">
    <el-container style="height: 500px; border: 1px solid #eee">
      <el-aside width="200px" style="background-color: rgb(238, 241, 246)">
        <el-menu router :default-openeds="['0','1']">
            <!--从路由中获取配置的信息-->
          <el-submenu v-for="(item,index) in $router.options.routes" :index="index+''">
            <template slot="title">
              <!-- 设置菜单图标 -->
              <i class="el-icon-menu"></i>{{item.name}}
            </template>
             <!--从路由中获取配置的信息-->
            <el-menu-item v-for="(item2,index2) in item.children" :index="item2.path" :class="$route.path==item2.path?'is-active':''">{{item2.name}}</el-menu-item>
          </el-submenu>
        </el-menu>
      </el-aside>
        <el-main>
            <router-view></router-view>
        </el-main>
    </el-container>
  </div>
</template>

<script>
import HelloWorld from "./components/HelloWorld.vue";

export default {
  name: "app",
  components: {
    HelloWorld
  },
  data() {
    const item = {
      date: "2016-05-02",
      name: "王小虎",
      address: "上海市普陀区金沙江路 1518 弄"
    };
    return {
      tableData: Array(20).fill(item)
    };
  }
};
</script>

<style>
#app {
  font-family: "Avenir", Helvetica, Arial, sans-serif;
  -webkit-font-smoothing: antialiased;
  -moz-osx-font-smoothing: grayscale;
  text-align: center;
  color: #2c3e50;
  margin-top: 60px;
}
.el-header {
  background-color: #b3c0d1;
  color: #333;
  line-height: 60px;
}

.el-aside {
  color: #333;
}
</style>
:module绑定对象
color: #333;
line-height: 60px;
}
.el-aside {
color: #333;
}
**:module绑定对象**

**:  rules:绑定校验规则**


 161
161


 被折叠的 条评论
为什么被折叠?
被折叠的 条评论
为什么被折叠?
 到【灌水乐园】发言


