


前言:基于天翼云的面相对象存储(Object-Oriented Storage,OOS),实现小文件的直接上传,大文件的分片上传。
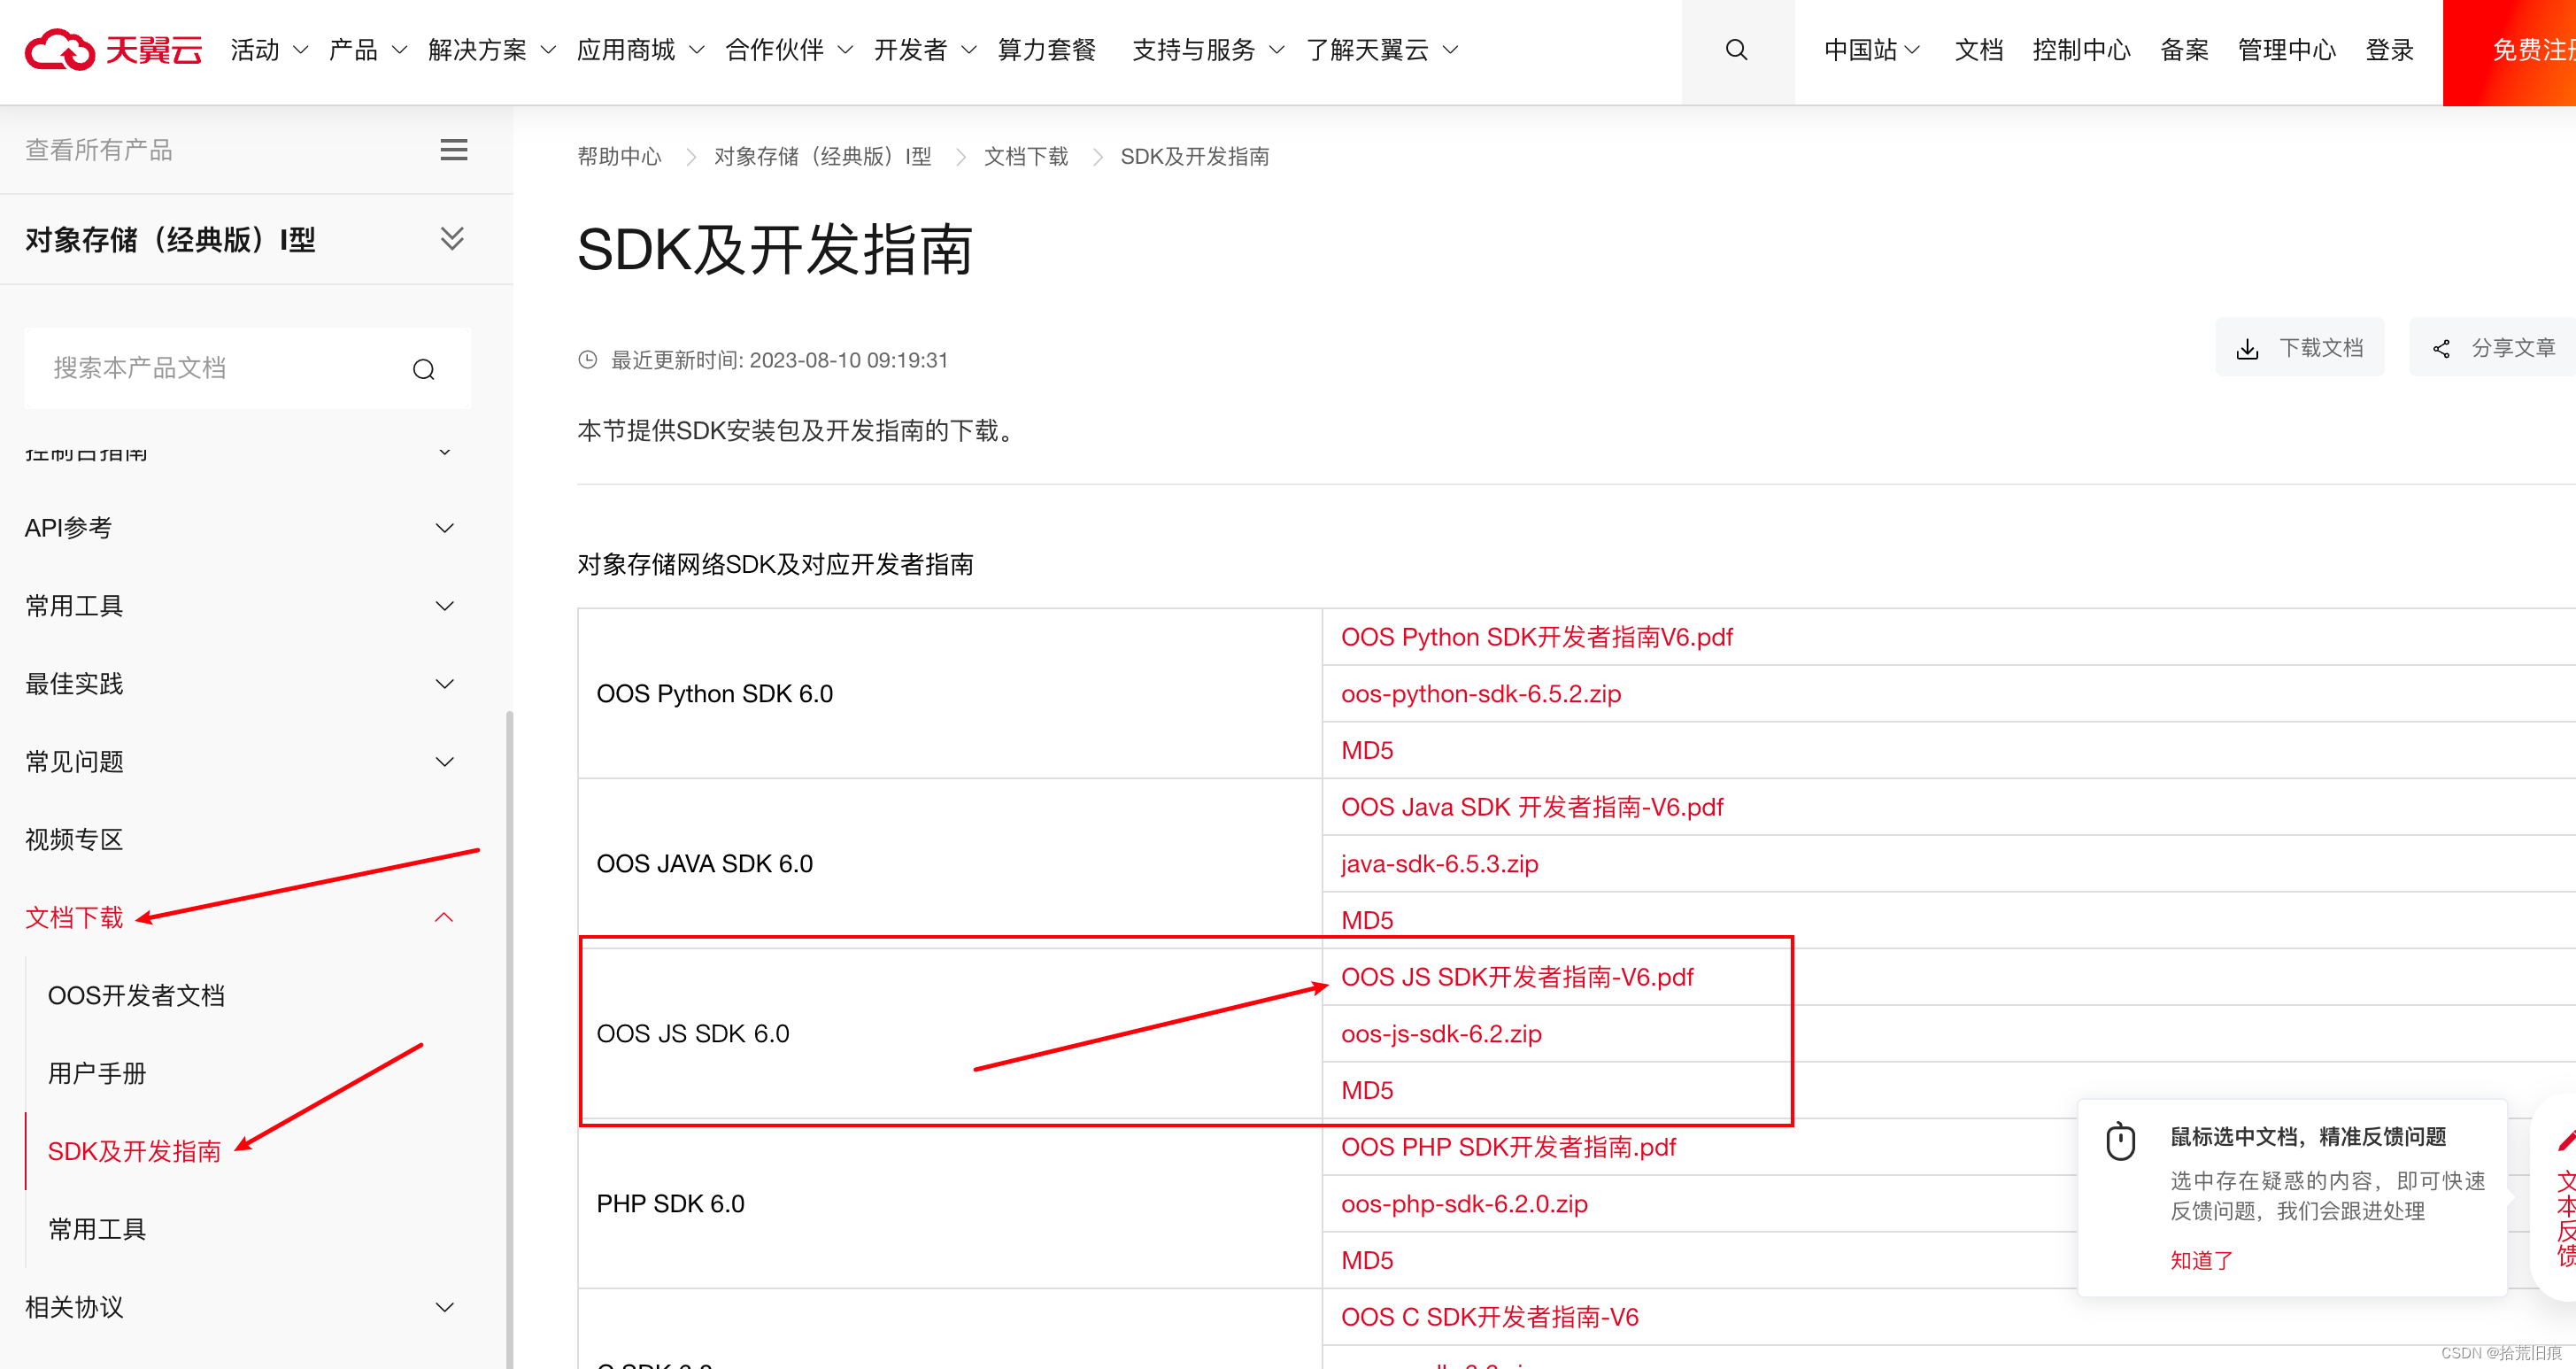
开发文档地址:网址
上传之前的相关操作:注册账户,创建 AccessKeyId 和 AccessSecretKey之后,新建一个桶bucket做cors相关配置将暴露的 Headers:设置成: ETag,然后在public文件夹下面的index.html引入相关sdk文件(这里引入的是oos-sdk-6.0.min.js,文档的oos-js-sdk-6.2.zip解压包内部包含了这个文件,以及相关的实现demo案例)


一、直接上传(如:图片,小型文件)

使用的是putObject方法,下面是个uploadFile.vue组件
<template>
  <div>
    <el-upload
      action="#"
      :before-upload="beforeAvatarUpload"
      :list-type="showType"
      :on-preview="handlePictureCardPreview"
      :on-remove="handleRemove"
      :limit="1"
      ref="uploadPic"
      :file-list="fileList">
      <!-- 预留的插槽 -->
      <slot name="uploadIcon"></slot>
    </el-upload>
    <el-dialog :visible.sync="dialogVisible">
      <img width="100%" :src="dialogImageUrl" alt="">
    </el-dialog>
  </div>
</template>

<script>
export default {
  name: "upLoadFile",
  props: {
    fileList: {
      type: Array,
      default: () => {
        return []
      },
    },
    // 文件上传的时候的初始样式
    showType: {
      type: String,
      default: 'picture-card'
    },
  },
  data() {
    return {
      dialogVisible: false,
      clickTime: null,
      Bucket: null,
      dialogImageUrl: '',
    }
  },
  methods: {
    // 直接上传
    beforeAvatarUpload(file) {
      let that = this
      return new Promise((resolve, reject) => {
        that.clickTime = that.$moment().format("YYYYMMDD")
        // 这里创建client对象的配置项目说明 文档的options 配置项有详细解释
        var client = new OOS.S3({
          accessKeyId: '前面创建的accessKeyId', // 通过天翼云控制台创建的 access key
          secretAccessKey: '前面创建的secretAccessKey', // 通过天翼云控制台创建的 secret access key;
          endpoint: '域名', // OOS 域名
          signatureVersion: 'v4', // 可选v2 或v4
          apiVersion: '2006-03-01',
          s3ForcePathStyle: true
        });
        that.Bucket = '桶的名称'
        const key = that.clickTime + '/' + file.name  //
        toUpload(that.Bucket, file, key)
        function toUpload(bucket, file, key) {
          var params = {
            Bucket: bucket,
            Body: file, // file内容
            Key: key,// 文件名称
          };
          client.putObject(params, function (err, data) {
            if (err) {
            } else {
              console.log('上传成功');
              // 上传成功之后是没有返回值的
              // 访问的上传成功的图片路径的规则    你的域名/桶的名称/key   (key就是前面拼接的文件名称)

            }
          })
        }
      })
    },
    // 图片展示
    handlePictureCardPreview(file) {
      this.dialogImageUrl = file.url;// 图片预览的url
      this.dialogVisible = true;
    },
    // 图片移除
    handleRemove(file) {
      this.$emit('getImg', [], this.type, 0, '')
    },
  }
}
</script>

<style scoped lang="less">
  /* 图片封面大小*/
  /deep/ .el-upload-list--picture-card .el-upload-list__item-thumbnail,
  /deep/ .el-upload-list--picture-card .el-upload-list__item,
  /deep/ .el-upload--picture-card{
    height: 60px;
    width: 60px;
    line-height: 60px;
  }
  /deep/ .el-upload-list__item.is-success .el-upload-list__item-status-label{
    display: none !important;
  }
  /deep/ .el-upload-list--picture{
    display: none;
  }
</style>
引用组件的地方
<uploadFile :fileList="fileListOne">
  <i class="el-icon-plus" slot="uploadIcon"></i>
</uploadFile>
效果如图:

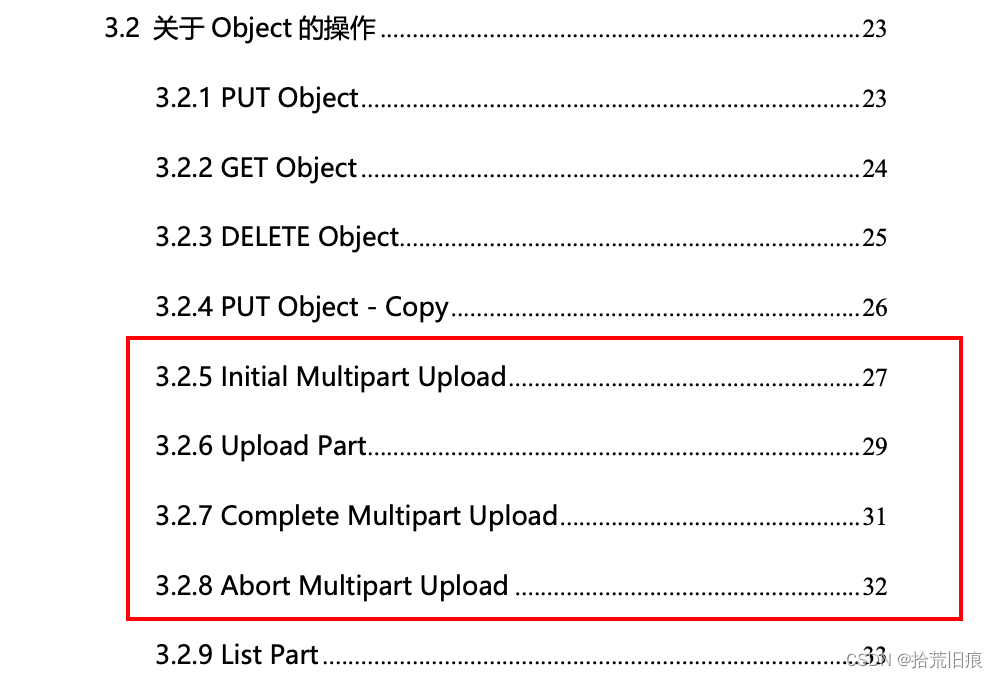
二、切片上传(大型文件)
使用的是以下四个方法
子组件uploadFile.vue
<!-- 大型文件切片上传 -->
<template>
  <div>
    <el-upload
      action="#"
      :before-upload="beforeAvatarUpload"
      :list-type="showType"
      :on-preview="handlePictureCardPreview"
      :on-remove="handleRemove"
      :limit="1"
      ref="uploadPic"
      :file-list="fileList">
      <slot name="uploadIcon"></slot>
      <!-- <i class="el-icon-plus"></i> -->
      <!-- <Button icon="md-cloud-upload">上传文件</Button> -->
    </el-upload>
    <el-dialog :visible.sync="dialogVisible">
      <img width="100%" :src="dialogImageUrl" alt="">
    </el-dialog>
  </div>
</template>

<script>
export default {
  name: "upLoadFile",
  watch: {
    moveFileFlag(newVal, oldVal) {
      console.log('newVal', newVal)
      if (newVal) {
        this.handleRemove()
      }
    }
  },
  props: {
    fileList: {
      type: Array,
      default: () => {
        return []
      },
    },
    // 文件上传的时候的初始样式
    showType: {
      type: String,
      default: 'picture-card'
    },
    // 移除文件
    moveFileFlag: {
      type: Boolean,
      default: false,
    },
    disabled: {
      type: Boolean,
      default: false,
    },
    // 一个页面使用了多次组件的区分
    type: {
      type: String,
      default: ''
    }
  },
  data() {
    return {
      dialogVisible: false,
      clickTime: null,
      initialId: '',// 分片上传需要的 initial
      // 分片上传 complete 所需参数
      MultipartUpload: {
        Parts: []
      },
      chunk: 10485760, // 10M
      index: 0,
      Bucket: null,
      dialogImageUrl: '',
      fileSize: 0,
      packageVersionName: '',
    }
  },
  methods: {
    // // 图片上传前
    beforeAvatarUpload(file) {
      console.log('file:', file);
      this.fileSize = Number(file.size / 1024 / 1024).toFixed(2) // 计算文件的大小mb
      let that = this
      return new Promise((resolve, reject) => {
        that.clickTime = that.$moment().format("YYYYMMDD")
        var client = new OOS.S3({
          accessKeyId: that.$util.accessKeyId,
          secretAccessKey: that.$util.secretAccessKey,
          endpoint: that.$util.endPoint,
          signatureVersion: 'v4', // 可选v2 或v4
          apiVersion: '2006-03-01',
          s3ForcePathStyle: true
        });
        that.Bucket = that.$util.BucketName
        // 上传
        async function putUPload() {
          try {
            const key = that.clickTime + '/' + file.name
            // let [name, ext] = key.split('.');
            let lastIndex = key.lastIndexOf('.')
            let name = key.substring(0, lastIndex)
            let ext = key.substring(lastIndex + 1,)
            that.packageVersionName = name.split('/')[1]
            //每次的起始位置
            let start = that.chunk * that.index;
            if (start > file.size) { //分片上传完成,文件合成
              mergeUpload(key, that.Bucket)
              return
            }
            // //每次分片的大小
            let bold = file.slice(start, start + that.chunk);
            //得到文件名称,index的目的是分片不重复
            let boldName = `${name}${that.index}.${ext}`;
            console.log('boldName:', boldName);
            //需要在转换为文件对象
            let boldFile = new File([bold], boldName)
            let PartNumber = that.index + 1;

            if (that.index == 0) {//第一次需要获取uploadId
              getUploadId(boldFile, PartNumber, key, that.Bucket)
            } else {
              // 分片上传
              getUploadPart(boldFile, PartNumber, key, that.Bucket)
            }
          } catch (e) {
            console.log('错误了吗')
            // 捕获超时异常。
          }
        }
        putUPload();

        //本接口初始化一个分片上传(Multipart Upload)操作,并返回一个上传 ID,
        // 此 ID用来将此次分片上传操作中上传的所有片段合并成一个对象。用
        function getUploadId(file, PartNumber, largeName, BucketName) {
          var params = {
            Bucket: BucketName,
            Key: largeName,// 文件名称
          };
          client.createMultipartUpload(params, function (err, data) {
            if (err) {
              console.log(err, err.stack); // an error occurredw
            } else {        // successful response
              //拿到分片上传需要的id后开始分片上传操作
              that.initialId = data.UploadId;
              getUploadPart(file, PartNumber, largeName, that.Bucket)
            }
          });
        }

        // 该接口用于实现分片上传操作中片段的上传
        function getUploadPart(file, PartNumber, largeName, BucketName) {
          var params = {
            Body: file,
            Bucket: BucketName,
            Key: largeName,// 文件名称
            PartNumber: PartNumber,
            UploadId: that.initialId,// 分片需要的uploadId
          };
          console.log('params:', params);

          client.uploadPart(params, function (err, data) {
            if (err) {
              console.log(err, err.stack);
            } else {// an error occurred
              console.log('ETag', data);
              // 存储分片数据
              that.MultipartUpload.Parts.push({ PartNumber: PartNumber, ETag: data.ETag })
              that.index++
              putUPload()
            };
          });
        }
        //该接口通过合并之前的上传片段来完成一次分片上传过程。
        function mergeUpload(largeName, BucketName) {
          var params = {
            Bucket: BucketName,
            Key: largeName,// 文件名称
            UploadId: that.initialId,// 分片需要的uploadId
            MultipartUpload: that.MultipartUpload,// 之前所有分片的集合
          };
          client.completeMultipartUpload(params, function (err, data) {
            if (err) {
              that.index = 0;
              that.initialId = '';// 分片需要传的值
              that.MultipartUpload.Parts = [];//分片集合
              that.$forceUpdate();
            } else {
              console.log('上传成功的数据', data);
              that.$emit('getImg', [{ name: data.Key, url: data.Location }], that.type, that.fileSize, that.packageVersionName)
              that.$forceUpdate();
            }
          });
        }
      })
    },
    // 图片展示
    handlePictureCardPreview(file) {
      this.dialogImageUrl = file.url;// 图片预览的url
      this.dialogVisible = true;
    },
    // 图片移除
    handleRemove(file) {
      this.index = 0;
      this.initialId = '';
      this.MultipartUpload.Parts = [];
      this.$emit('getImg', [], this.type, 0, '')
    },
  }
}
</script>

<style scoped lang="less">
  /* 图片封面大小*/
  /deep/ .el-upload-list--picture-card .el-upload-list__item-thumbnail,
  /deep/ .el-upload-list--picture-card .el-upload-list__item,
  /deep/ .el-upload--picture-card{
    height: 60px;
    width: 60px;
    line-height: 60px;
  }
  /deep/ .el-upload-list__item.is-success .el-upload-list__item-status-label{
    display: none !important;
  }
  /deep/ .el-upload-list--picture{
    display: none;
  }
</style>
父组件
<template>
  <div>
   <!-- 组件一 -->
    <uploadFile :fileList="fileListOne" type ="addIcon" @getImg="getFile">
      <i class="el-icon-plus" slot="uploadIcon"></i>
    </uploadFile>
    <!-- 组件二 -->
    <uploadFile :fileList="fileListTwo" type="appUpload" showType="picture" :moveFileFlag="moveFileFlag" @getImg="getFile">
      <Button slot="uploadIcon" icon="md-cloud-upload">上传文件</Button>
    </uploadFile>

  </div>
</template>

<script>
import uploadFile from "@/views/component/uploadFile/uploadFile.vue";
export default {
  components: {
    uploadFile
  },
  data() {
    return {
      fileListOne: [],
      fileListTwo: [],
      moveFileFlag: false
    }
  },
  methods: {
    getFile(val, type, size, packageVersionName) {
      console.log('val', val); // val内部就包含了子组件传递过来的文件的下载地址
      // 逻辑处理,数据回现
      if (type == 'addIcon') { // 添加图标

      } else if (type == 'appUpload') { // 应用上传
      }
    },
  }
}
</script>

<style>

</style>
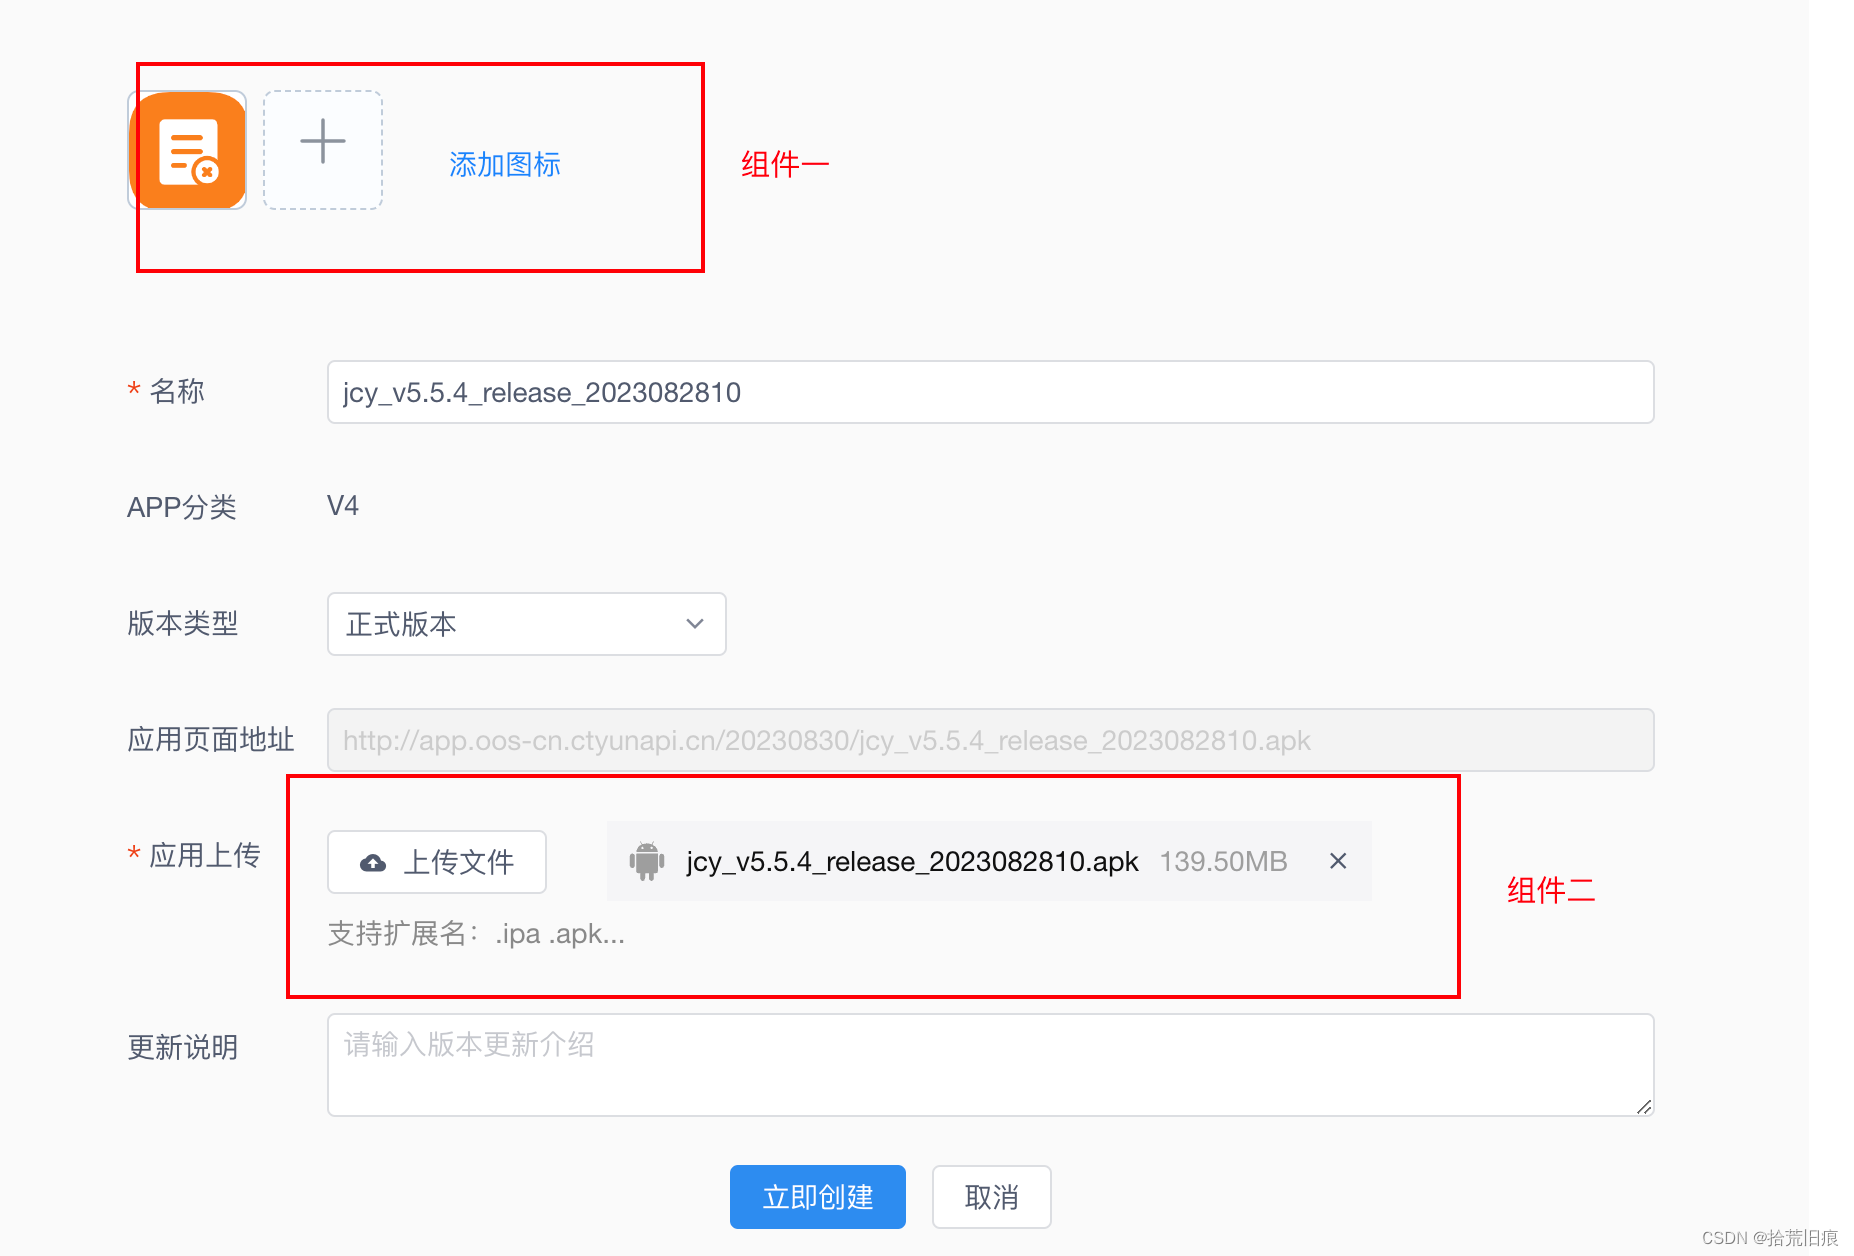
最终效果如下:(注:内部细节实现添加了具体功能代码)


 1624
1624


 被折叠的 条评论
为什么被折叠?
被折叠的 条评论
为什么被折叠?
 到【灌水乐园】发言


