


 本博客介绍了如何利用Python的Tiler库创建像素风格图像,通过定制像素图块和参数调整实现独特效果。同时,文章探讨了使用PyTorch进行神经风格迁移,将真实图片转化为动漫风格,详细阐述了安装和操作步骤。此外,还讨论了未来的计划,包括构建GUI界面以方便用户操作。
系列文章目录
文章目录
前言
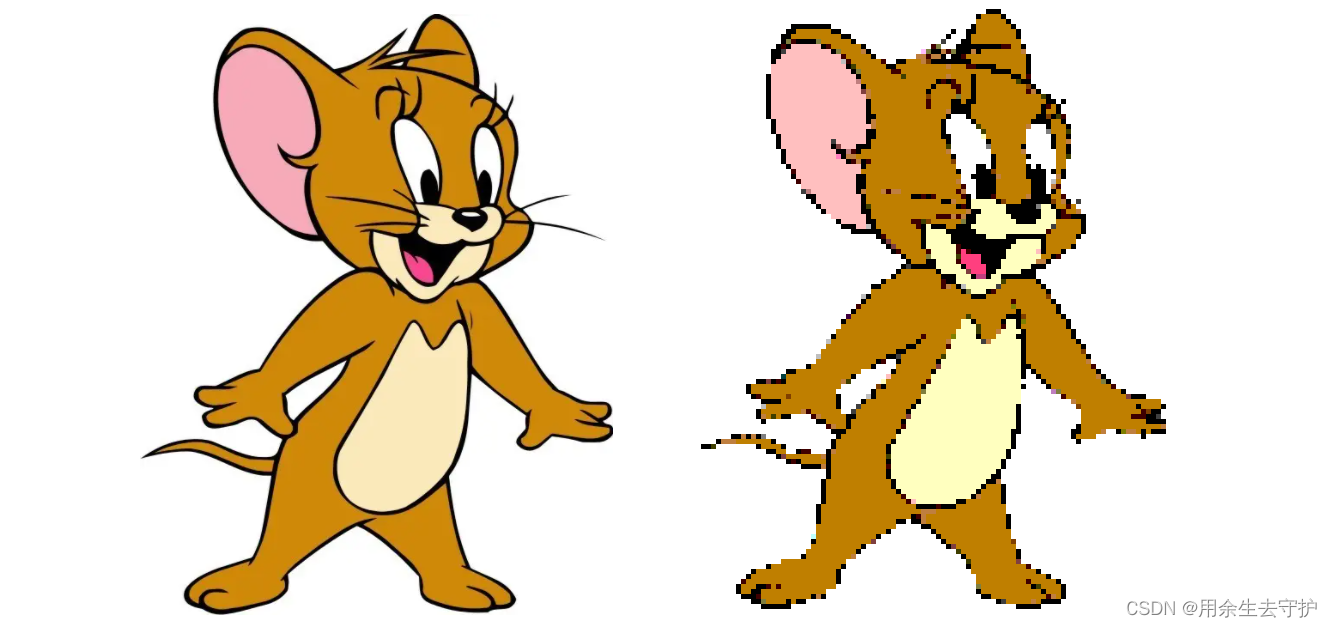
一、图片像素风
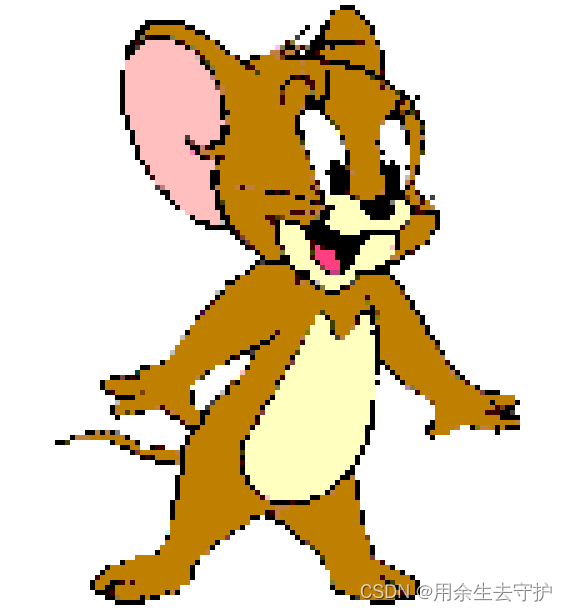
1. 效果图
2. 引入库Tiler
利用各种小元素构造图片

#pip install -r requirement.txt
#git clone https://github.com/nuno-faria/tiler.git
opencv-python
numpy
tqdm
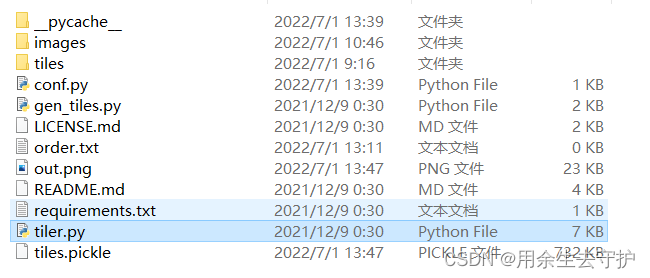
3. 步骤
-
下载项目文件
-
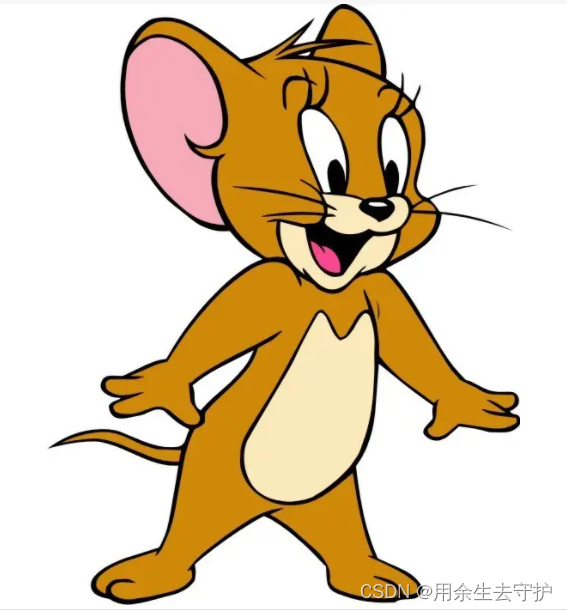
准备项目图片
准备图片放到./images文件夹下
-
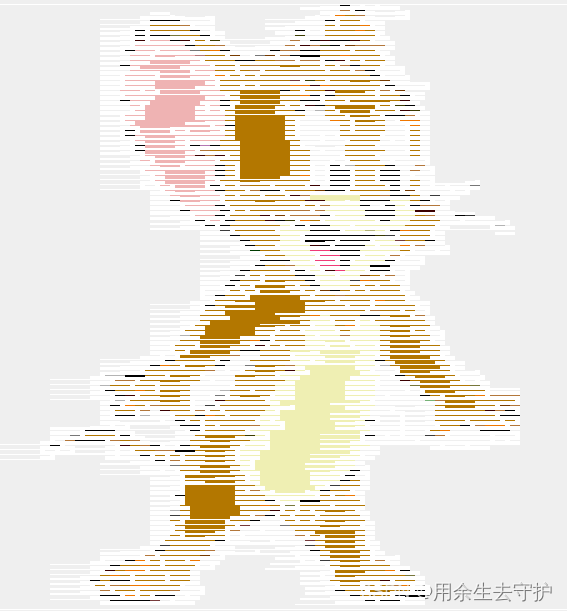
选择像素图块
这里选择line
python3 .\tiler.py .\images\333.png .\tiles\lines\gen_line_h\
tiler.py
import cv2
import numpy as np
import os
import sys
from collections import defaultdict
from tqdm import tqdm
from multiprocessing import Pool
import math
import pickle
import conf
from time import sleep


# number of colors per image
COLOR_DEPTH = conf.COLOR_DEPTH
# tiles scales
RESIZING_SCALES = conf.RESIZING_SCALES
# number of pixels shifted to create each box (x,y)
PIXEL_SHIFT = conf.PIXEL_SHIFT
# multiprocessing pool size
POOL_SIZE = conf.POOL_SIZE
# if tiles can overlap
OVERLAP_TILES = conf.OVERLAP_TILES


# reduces the number of colors in an image
def color_quantization(img, n_colors):
    return np.round(img / 255 * n_colors) / n_colors * 255


# returns an image given its path
def read_image(path):
    img = cv2.imread(path, cv2.IMREAD_UNCHANGED)
    if img.shape[2] == 3:
        img = cv2.cvtColor(img, cv2.COLOR_BGR2BGRA)
    img = color_quantization(img.astype('float'), COLOR_DEPTH)
    return img.astype('uint8')


# scales an image
def resize_image(img, ratio):
    img = cv2.resize(img, (int(img.shape[1] * ratio), int(img.shape[0] * ratio)))
    return img


# the most frequent color in an image and its relative frequency
def mode_color(img, ignore_alpha=False):
    counter = defaultdict(int)
    total = 0
    for y in img:
        for x in y:
            if len(x) < 4 or ignore_alpha or x[3] != 0:
                counter[tuple(x[:3])] += 1
            else:
                counter[(-1,-1,-1)] += 1
            total += 1

    if total > 0:
        mode_color = max(counter, key=counter.get)
        if mode_color == (-1,-1,-1):
            return None, None
        else:
            return mode_color, counter[mode_color] / total
    else:
        return None, None


# displays an image
def show_image(img, wait=True):
    cv2.imshow('img', img)
    if wait:
        cv2.waitKey(0)
    else:
        cv2.waitKey(1)


# load and process the tiles
def load_tiles(paths):
    print('Loading tiles')
    tiles = defaultdict(list)

    for path in paths:
        if os.path.isdir(path):
            for tile_name in tqdm(os.listdir(path)):
                tile = read_image(os.path.join(path, tile_name))
                mode, rel_freq = mode_color(tile, ignore_alpha=True)
                if mode is not None:
                    for scale in RESIZING_SCALES:
                        t = resize_image(tile, scale)
                        res = tuple(t.shape[:2])
                        tiles[res].append({
                            'tile': t,
                            'mode': mode,
                            'rel_freq': rel_freq
                        })

            with open('tiles.pickle', 'wb') as f:
                pickle.dump(tiles, f)

        # load pickle with tiles (one file only)
        else:
            with open(path, 'rb') as f:
                tiles = pickle.load(f)

    return tiles


# returns the boxes (image and start pos) from an image, with 'res' resolution
def image_boxes(img, res):
    if not PIXEL_SHIFT:
        shift = np.flip(res)
    else:
        shift = PIXEL_SHIFT

    boxes = []
    for y in range(0, img.shape[0], shift[1]):
        for x in range(0, img.shape[1], shift[0]):
            boxes.append({
                'img': img[y:y+res[0], x:x+res[1]],
                'pos': (x,y)
            })

    return boxes


# euclidean distance between two colors
def color_distance(c1, c2):
    c1_int = [int(x) for x in c1]
    c2_int = [int(x) for x in c2]
    return math.sqrt((c1_int[0] - c2_int[0])**2 + (c1_int[1] - c2_int[1])**2 + (c1_int[2] - c2_int[2])**2)


# returns the most similar tile to a box (in terms of color)
def most_similar_tile(box_mode_freq, tiles):
    if not box_mode_freq[0]:
        return (0, np.zeros(shape=tiles[0]['tile'].shape))
    else:
        min_distance = None
        min_tile_img = None
        for t in tiles:
            dist = (1 + color_distance(box_mode_freq[0], t['mode'])) / box_mode_freq[1]
            if min_distance is None or dist < min_distance:
                min_distance = dist
                min_tile_img = t['tile']
        return (min_distance, min_tile_img)


# builds the boxes and finds the best tile for each one
def get_processed_image_boxes(image_path, tiles):
    print('Getting and processing boxes')
    img = read_image(image_path)
    pool = Pool(POOL_SIZE)
    all_boxes = []

    for res, ts in tqdm(sorted(tiles.items(), reverse=True)):
        boxes = image_boxes(img, res)
        modes = pool.map(mode_color, [x['img'] for x in boxes])
        most_similar_tiles = pool.starmap(most_similar_tile, zip(modes, [ts for x in range(len(modes))]))

        i = 0
        for min_dist, tile in most_similar_tiles:
            boxes[i]['min_dist'] = min_dist
            boxes[i]['tile'] = tile
            i += 1

        all_boxes += boxes

    return all_boxes, img.shape


# places a tile in the image
def place_tile(img, box):
    p1 = np.flip(box['pos'])
    p2 = p1 + box['img'].shape[:2]
    img_box = img[p1[0]:p2[0], p1[1]:p2[1]]
    mask = box['tile'][:, :, 3] != 0
    mask = mask[:img_box.shape[0], :img_box.shape[1]]
    if OVERLAP_TILES or not np.any(img_box[mask]):
        img_box[mask] = box['tile'][:img_box.shape[0], :img_box.shape[1], :][mask]


# tiles the image
def create_tiled_image(boxes, res, render=False):
    print('Creating tiled image')
    img = np.zeros(shape=(res[0], res[1], 4), dtype=np.uint8)

    for box in tqdm(sorted(boxes, key=lambda x: x['min_dist'], reverse=OVERLAP_TILES)):
        place_tile(img, box)
        if render:
            show_image(img, wait=False)
            sleep(0.025)

    return img


# main
def main():
    if len(sys.argv) > 1:
        image_path = sys.argv[1]
    else:
        image_path = conf.IMAGE_TO_TILE

    if len(sys.argv) > 2:
        tiles_paths = sys.argv[2:]
    else:
        tiles_paths = conf.TILES_FOLDER.split(' ')

    if not os.path.exists(image_path):
        print('Image not found')
        exit(-1)
    for path in tiles_paths:
        if not os.path.exists(path):
            print('Tiles folder not found')
            exit(-1)

    tiles = load_tiles(tiles_paths)
    boxes, original_res = get_processed_image_boxes(image_path, tiles)
    img = create_tiled_image(boxes, original_res, render=conf.RENDER)
    cv2.imwrite(conf.OUT, img)


if __name__ == "__main__":
    main()
- 自定义像素图块
参数自定义
#conf.py
DEPTH:每种颜色的分区数,默认值 4。
COLOR_DEPTH:图片包含颜色的数量,默认值 32。
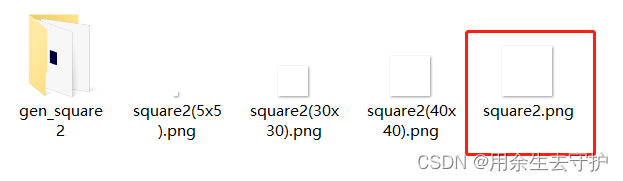
这里用50x50像素块(路径为./title/square2)
python3 .\gen_tiles.py .\tiles\square2\square2.png #生成一系列多颜色图块
conf.py
# GEN TILES CONFS

# number of divisions per channel (R, G and B)
# DEPTH = 4 -> 4 * 4 * 4 = 64 colors
DEPTH = 4
#DEPTH = 4
# list of rotations, in degrees, to apply over the original image
ROTATIONS = [0]


#############################


# TILER CONFS

# number of divisions per channel
# (COLOR_DEPTH = 32 -> 32 * 32 * 32 = 32768 colors)
COLOR_DEPTH = 64
#COLOR_DEPTH = 32
# tiles scales (1 = default resolution)
RESIZING_SCALES = [0.5, 0.4, 0.3, 0.2, 0.1]
# number of pixels shifted to create each box (tuple with (x,y))
# if value is None, shift will be done accordingly to tiles dimensions
PIXEL_SHIFT = (5, 5)
# if tiles can overlap
OVERLAP_TILES = False
# render image as its being built
RENDER = False
# multiprocessing pool size
POOL_SIZE = 8

# out file name
OUT = 'out.png'
# image to tile (ignored if passed as the 1st arg)
IMAGE_TO_TILE = None
# folder with tiles (ignored if passed as the 2nd arg)
TILES_FOLDER = None
gen_tiles.py
import cv2
import numpy as np
import os
import sys
from tqdm import tqdm
import math
import conf

# DEPTH = 4 -> 4 * 4 * 4 = 64 colors
DEPTH = conf.DEPTH
# list of rotations, in degrees, to apply over the original image
ROTATIONS = conf.ROTATIONS

img_path = sys.argv[1]
img_dir = os.path.dirname(img_path)
img_name, ext = os.path.basename(img_path).rsplit('.', 1)
out_folder = img_dir + '/gen_' + img_name

if not os.path.exists(out_folder):
    os.mkdir(out_folder)

img = cv2.imread(img_path, cv2.IMREAD_UNCHANGED)
img = img.astype('float')

height, width, channels = img.shape
center = (width/2, height/2)

for b in tqdm(np.arange(0, 1.01, 1 / DEPTH)):
    for g in np.arange(0, 1.01, 1 / DEPTH):
        for r in np.arange(0, 1.01, 1 / DEPTH):
            mult_vector = [b, g, r]
            if channels == 4:
                mult_vector.append(1)
            new_img = img * mult_vector
            new_img = new_img.astype('uint8')
            for rotation in ROTATIONS:
                rotation_matrix = cv2.getRotationMatrix2D(center, rotation, 1)
                abs_cos = abs(rotation_matrix[0,0])
                abs_sin = abs(rotation_matrix[0,1])
                new_w = int(height * abs_sin + width * abs_cos)
                new_h = int(height * abs_cos + width * abs_sin)
                rotation_matrix[0, 2] += new_w/2 - center[0]
                rotation_matrix[1, 2] += new_h/2 - center[1]
                cv2.imwrite(
                    f'{out_folder}/{img_name}_{round(r,1)}_{round(g,1)}_{round(b,1)}_r{rotation}.{ext}',
                    cv2.warpAffine(new_img, rotation_matrix, (new_w, new_h)),
                    # compress image
                    [cv2.IMWRITE_PNG_COMPRESSION, 9])
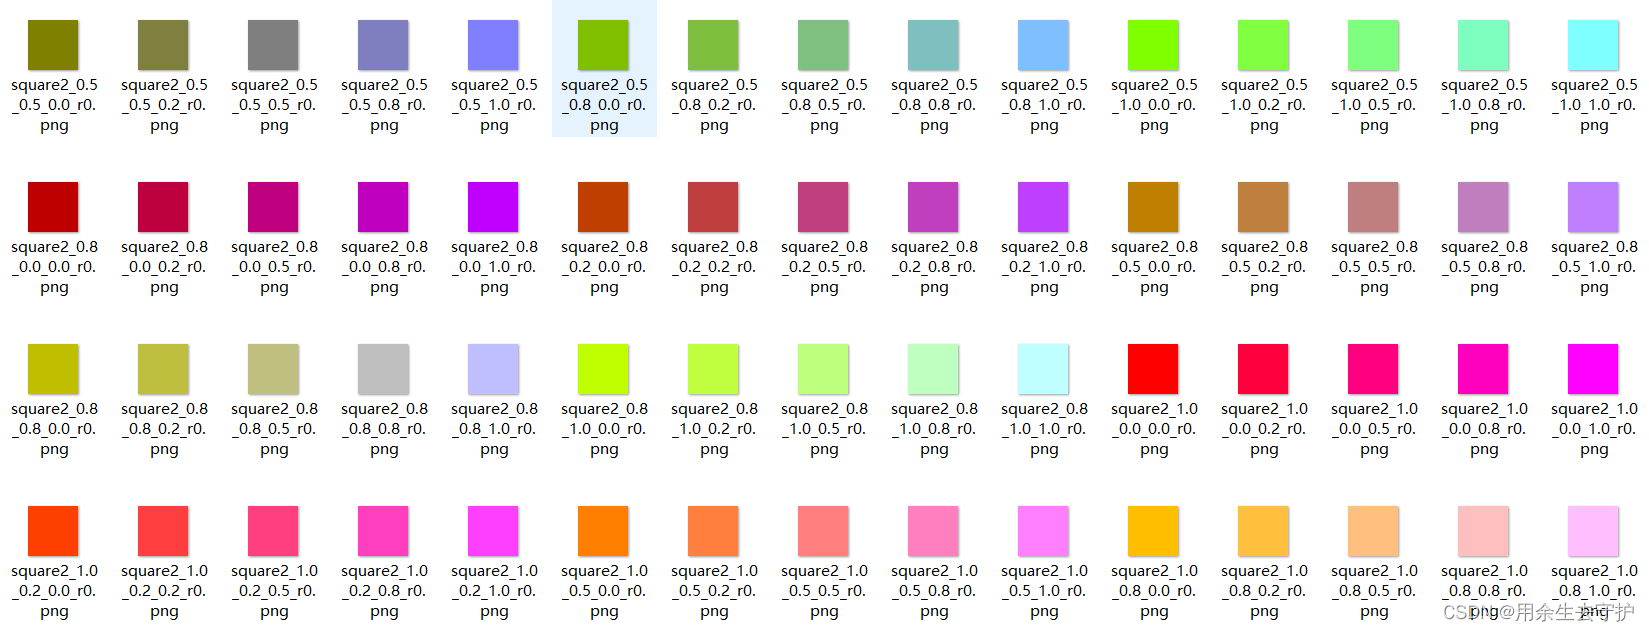
- 制作像素图
python3 .\tiler.py .\images\333.png .\tiles\square2\gen_square2\
二、图片动漫风
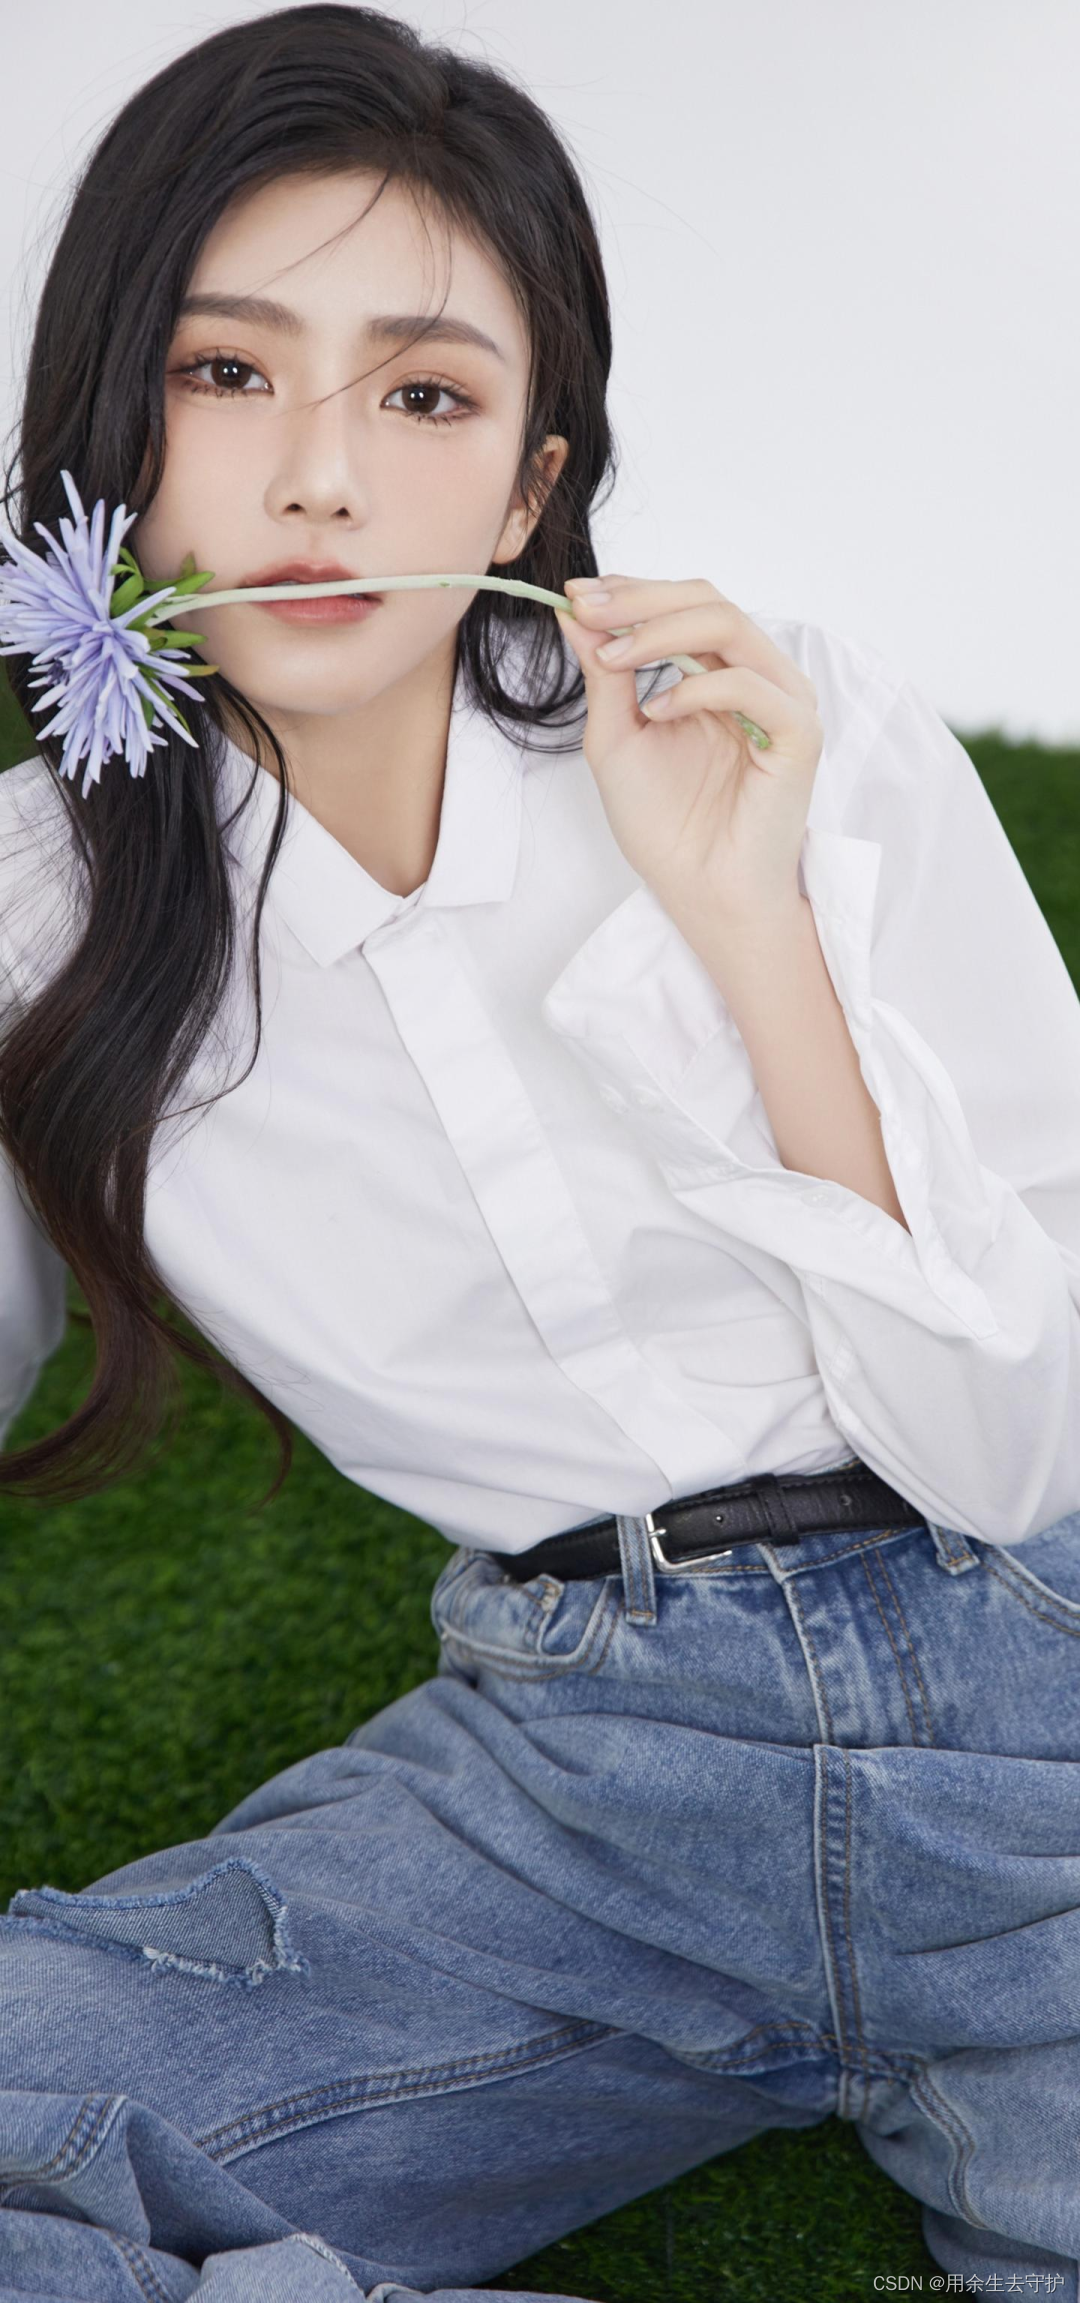
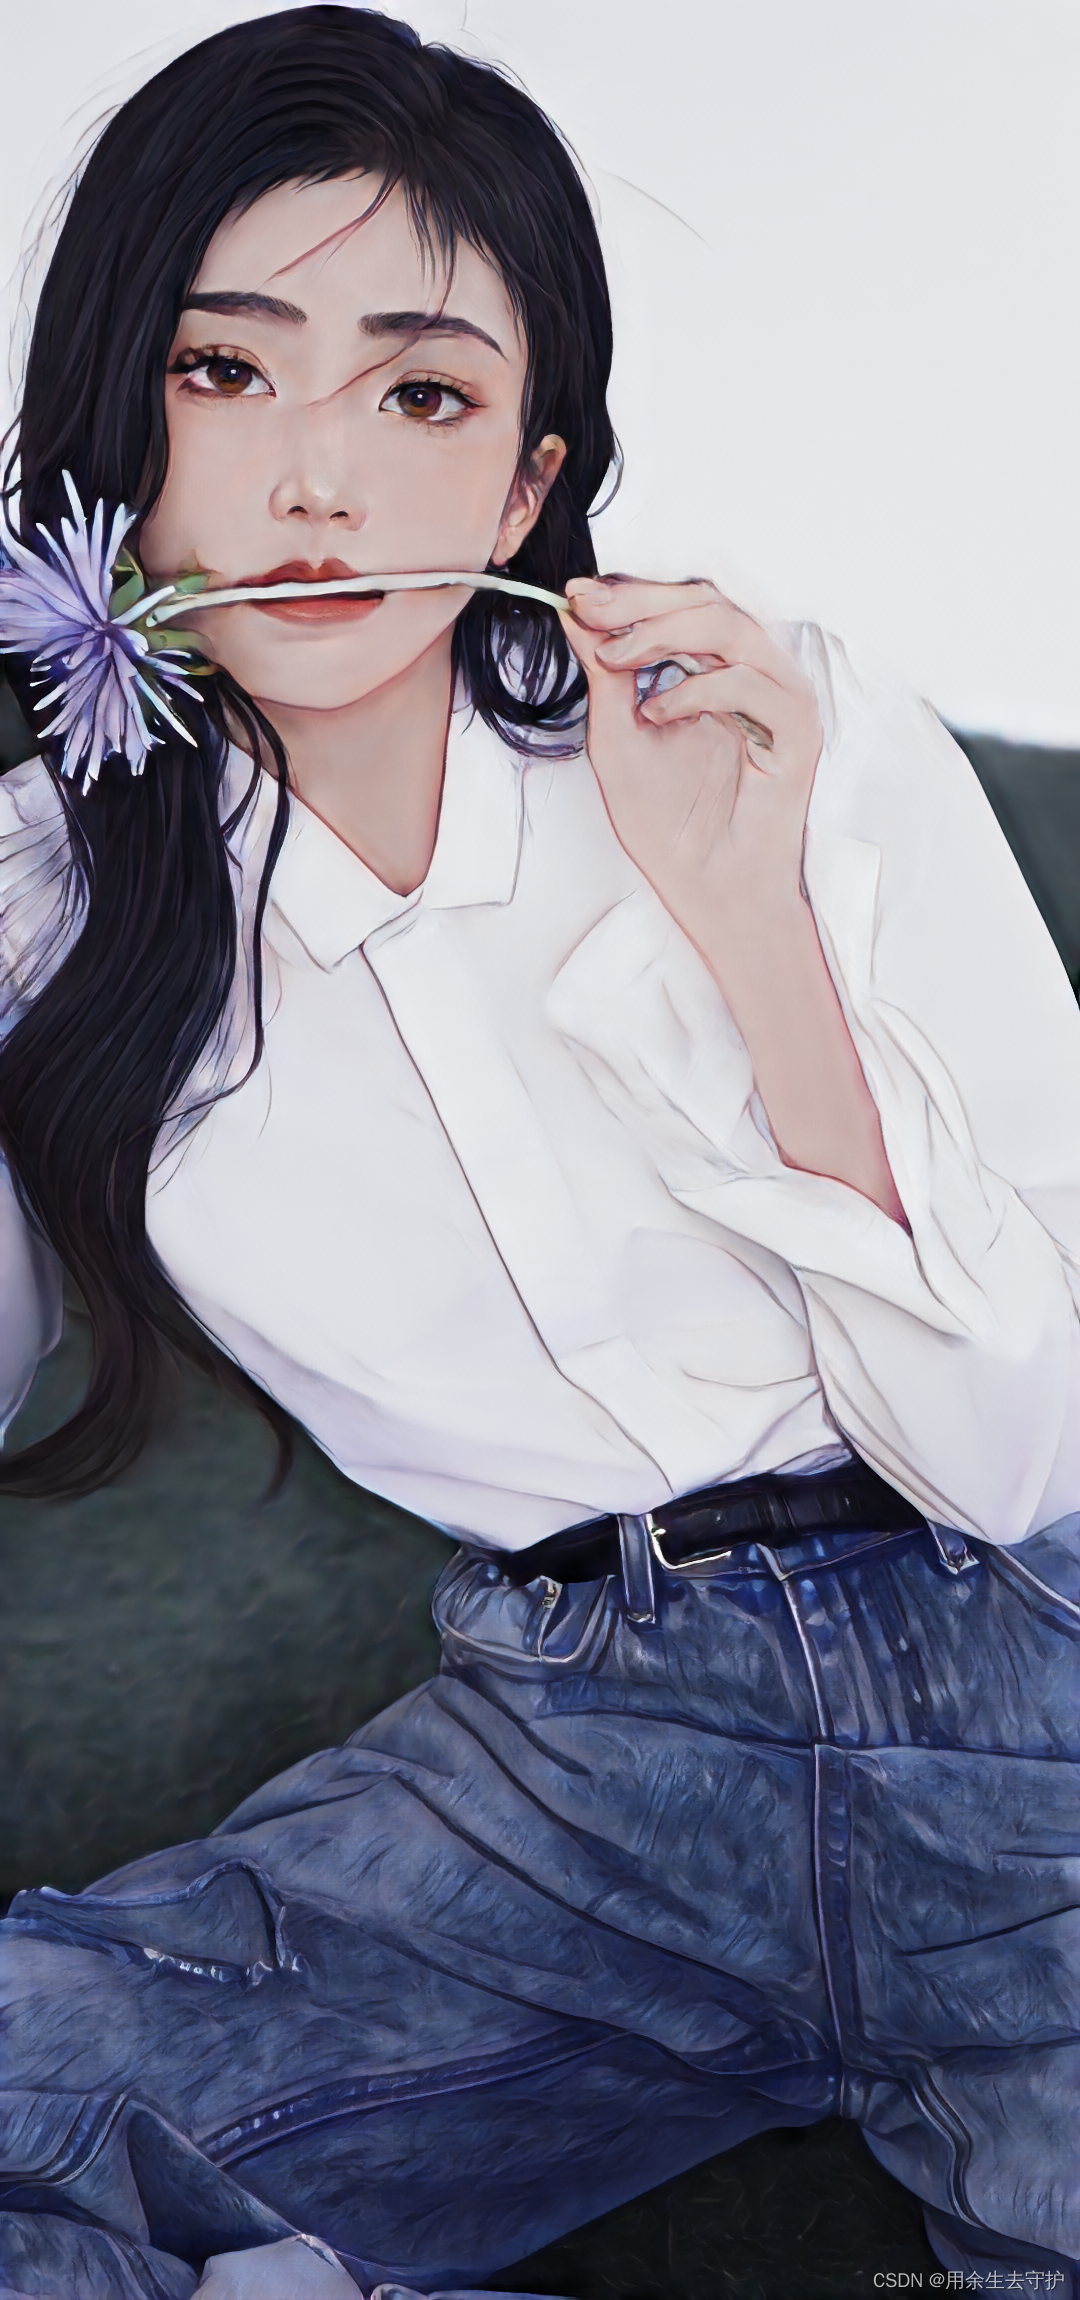
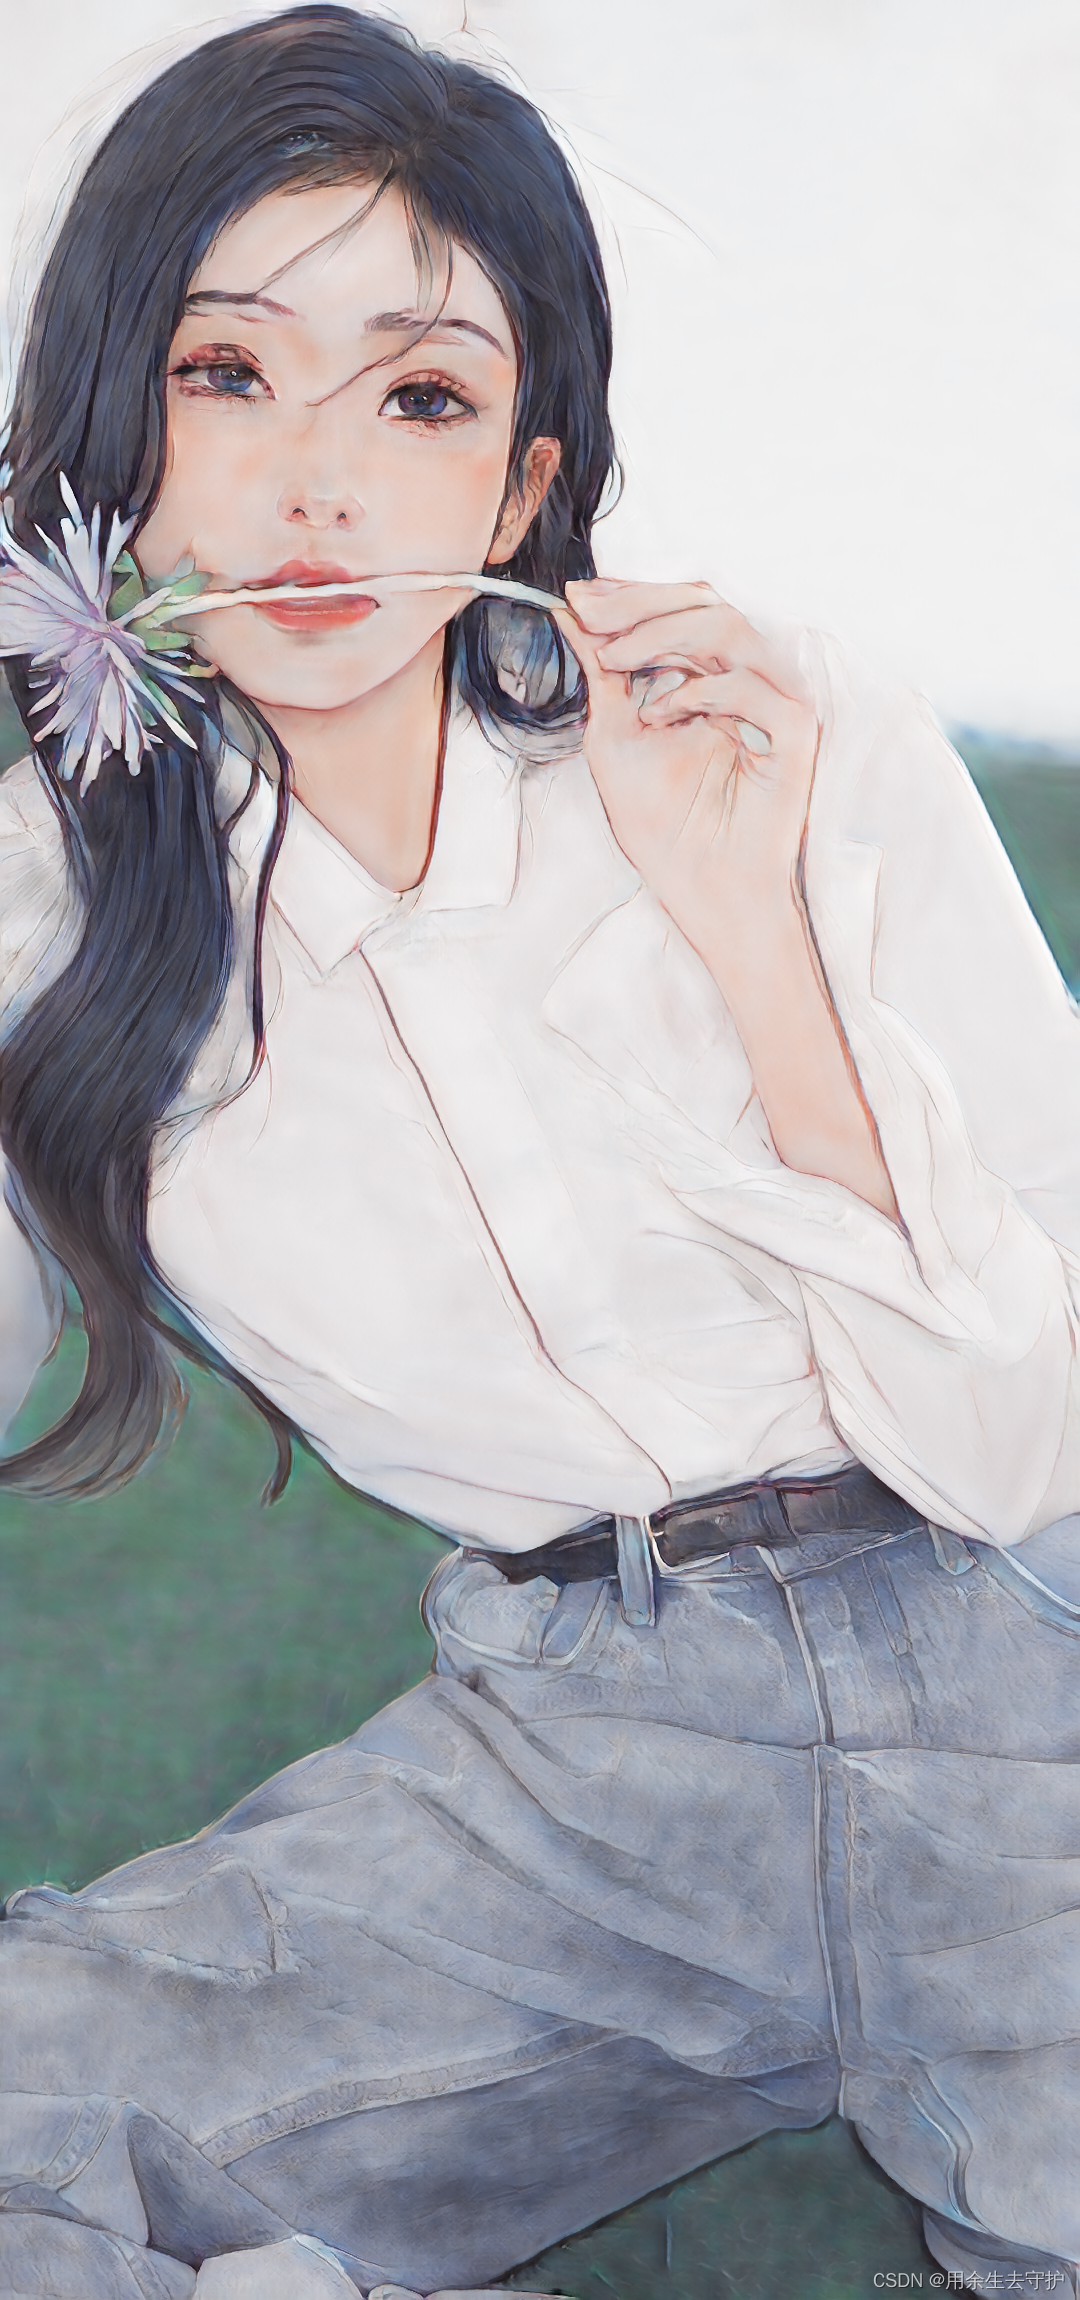
将头像转化为动漫风,就是希望在保持原图像信息和纹理细节的同时,将真实照片转换为动漫/卡通风格的非真实感图像.
本文采用的是神经风格迁移 + 生成对抗网络(GAN)的组合,实现效果非常符合我们的需求。最早使用的是Tensorflow框架,不过查询资料后发现该项目已支持PyTorch框架。
1. 原图和效果图
2. PyTorch
PyTorch是一个开源的Python机器学习库,基于Torch,用于自然语言处理等应用程序。这个深度学习框架,可以应用在数值建模、图像建模、文本建模、音频建模等等多个方向。
3. PyTorch安装
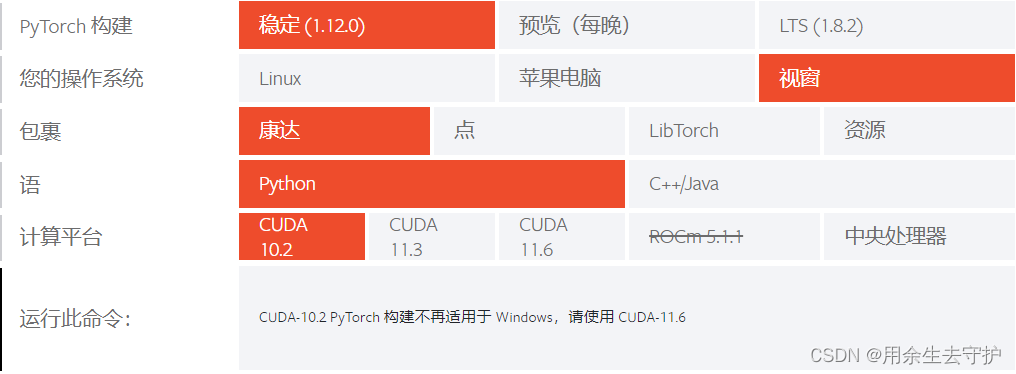
安装Pytorch会比其他库麻烦一些,如果去官方安装下载,需要根据实际配置得到适合自己的安装命令。
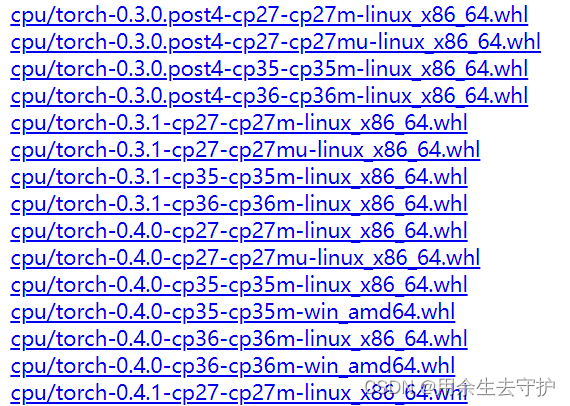
也可选择下面的链接下载:
4. 动漫风格创作步骤
- 准备库
torch >= 1.7.1
torchvision
-
准备文件
-
weights文件
weights文件夹下包含四个权重,选择对应的权重就能实现自己想要的动漫风格迁移。samples下的inputs文件夹中储存了图片示例,可以直接拿来试水。除此以外,我还在同一路径下新建了output文件夹,用于存放处理后的图片。
celeba_distill.pt
face_paint_512_v1.pt
face_paint_512_v2.pt
paprika.pt
#运行命令:
python3 .\test.py --checkpoint .\weights\face_paint_512_v2.pt --input_dir .\samples\inputs\ --output_dir .\samples\output --device cpu
二、下步计划
1. GUI界面制作动漫风
2. 本文资源
总结
分享:
做人可以低调,但应拒绝平庸;坚持独唱,尽可能减少合唱。学术就是学术,学术精神应该以一种严谨而充满怀疑、批判精神的形象出现,学术精神应该是一种怀疑、一种取舍、一种选择、一种比较、一种价值中立的冷静观察。如果把学术的追求与自身的功利欲求紧紧捆绑,就会使学术精神发生偏离,真理与纯真都将消失。


 1万+
1万+

 被折叠的 条评论
为什么被折叠?
被折叠的 条评论
为什么被折叠?
 到【灌水乐园】发言


