


系列文章目录
Redis入门笔记(一):Redis在Linux下安装和八大数据类型
Redis(二)对事务进行操作及Jedis
文章目录
前言
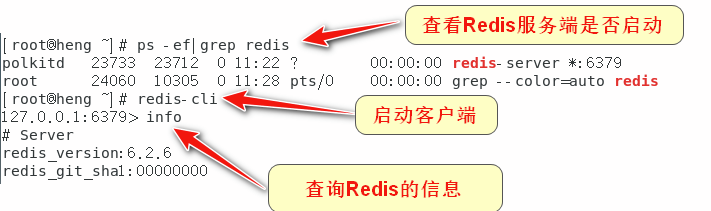
首先查看Linux中的Redis是否正常
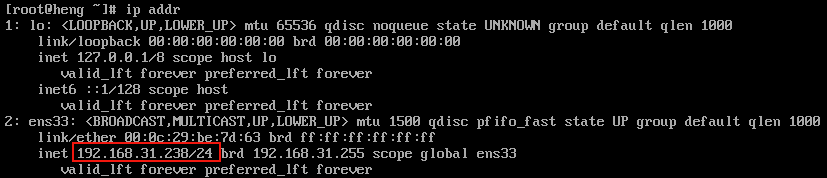
 查看ip地址:
Spring Boot集成Redis
导入依赖:
<dependency>
	<groupId>org.springframework.boot</groupId>
	<artifactId>spring-boot-starter-data-redis</artifactId>
</dependency>
点开依赖:
1、连接Redis客户端lettuce
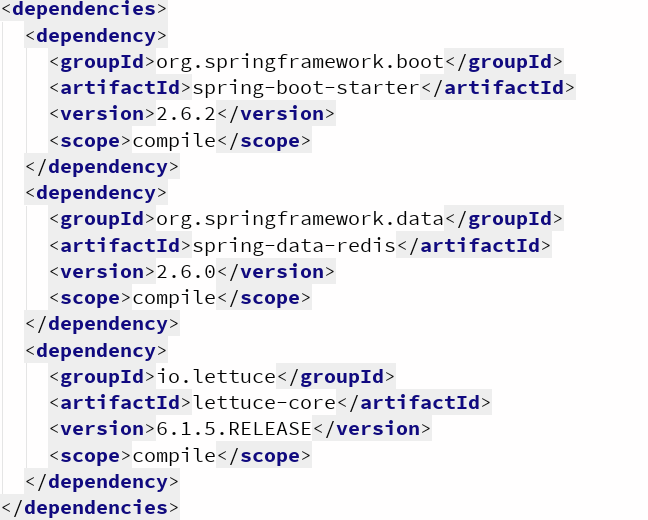
发现并没有Jedis,而是lettuce
springboot 2.x后 ,原来使用的 Jedis 被 lettuce 替换。
Jedis 是直连 redis server,会有线程安全问题。除非使用连接池,为每个 Jedis实例增加物理连接。
缺点:1、线程不安全 2、同步阻塞IO 3、不支持异步
Lettuce是基于Netty的,连接实例可以在多个线程间并发访问,Lettuce还支持异步连接方式,提高网络等待和磁盘IO效率。
2、Redis自动配置类
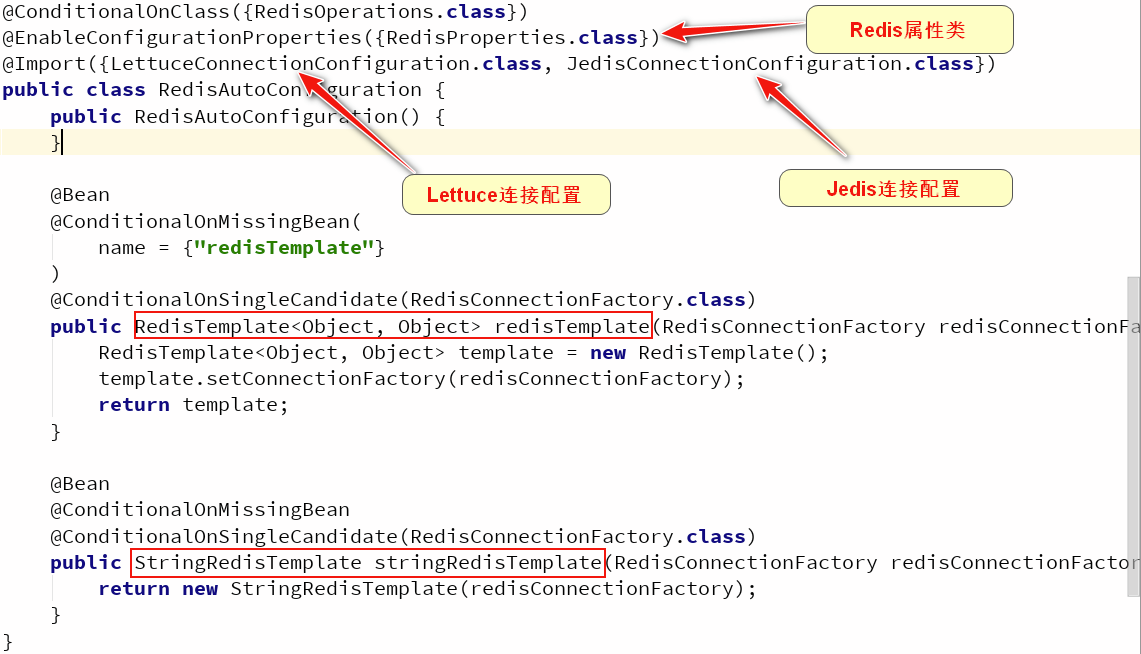
(1)RedisAutoConfiguration.class
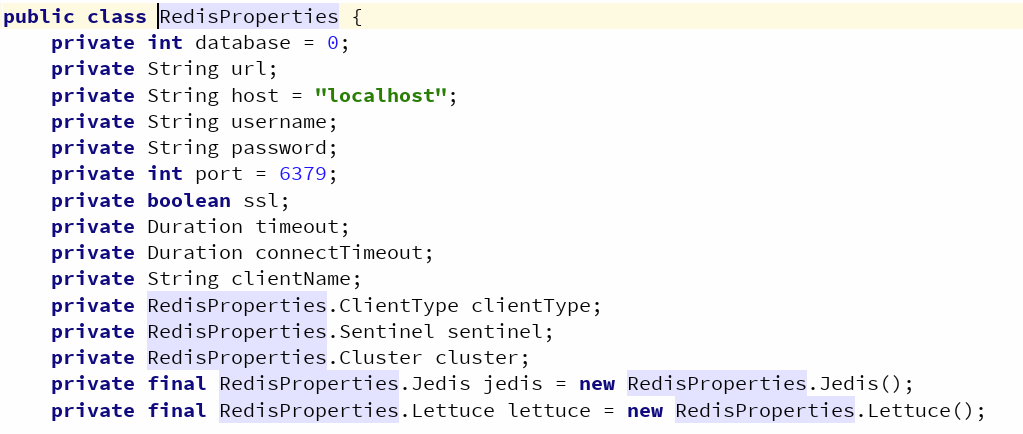
(2)RedisProperties.class
首先是一些基本的属性
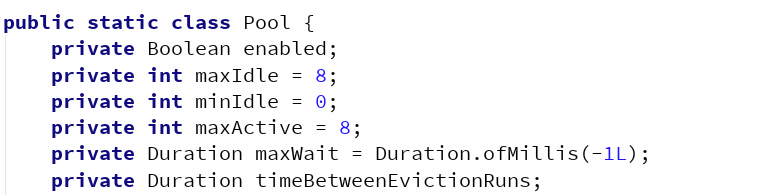
 往下翻,还有关于连接池的配置
配置文件application.properties:
# Redis数据库索引(默认为0)
spring.redis.database=0
# Redis服务器地址
spring.redis.host=localhost
# Redis服务器连接端口
spring.redis.port=6379
# Redis服务器连接密码(默认为空)
spring.redis.password=
##连接池最大连接数(使用负值表示没有限制) 默认8
#spring.redis.lettuce.pool.max-active=8
## 连接池中的最大空闲连接 默认8
#spring.redis.lettuce.pool.max-idle=8
## 连接池中的最小空闲连接 默认0
#spring.redis.lettuce.pool.min-idle=0
## 连接池最大阻塞等待时间(使用负值表示没有限制) 默认 -1
#spring.redis.lettuce.pool.max-wait=-1
# 连接超时时间(毫秒)
spring.redis.timeout=200
(3)LettuceConnectionConfiguration.class
构造函数:
//构造函数
 LettuceConnectionConfiguration(
  //application.properties配置文件中Redis的配置
 RedisProperties properties,
 //Redis的单机配置
 ObjectProvider<RedisStandaloneConfiguration> standaloneConfigurationProvider,
 //Redis的哨兵配置
 ObjectProvider<RedisSentinelConfiguration> sentinelConfigurationProvider,
 //Redis的集群配置
 ObjectProvider<RedisClusterConfiguration> clusterConfigurationProvider) {
        super(properties, standaloneConfigurationProvider, sentinelConfigurationProvider, clusterConfigurationProvider);
    }
LettuceConnectionFactory实例注入容器:
@Bean
    @ConditionalOnMissingBean({RedisConnectionFactory.class})
    LettuceConnectionFactory redisConnectionFactory(ObjectProvider<LettuceClientConfigurationBuilderCustomizer> builderCustomizers, ClientResources clientResources) {
    //获取客户端配置
        LettuceClientConfiguration clientConfig = this.getLettuceClientConfiguration(builderCustomizers, clientResources, this.getProperties().getLettuce().getPool());
        return this.createLettuceConnectionFactory(clientConfig);
    }
	//获取连接工厂实例
    private LettuceConnectionFactory createLettuceConnectionFactory(LettuceClientConfiguration clientConfiguration) {
    		//哨兵模式
        if (this.getSentinelConfig() != null) {
            return new LettuceConnectionFactory(this.getSentinelConfig(), clientConfiguration);
        } else {//集群模式
            return this.getClusterConfiguration() != null ?
            new LettuceConnectionFactory(this.getClusterConfiguration(), clientConfiguration) :
            //单机模式
            new LettuceConnectionFactory(this.getStandaloneConfig(), clientConfiguration);
        }
    }
总结:优先级:哨兵模式>集群模式>单机模式
(4)JedisConnectionConfiguration.class
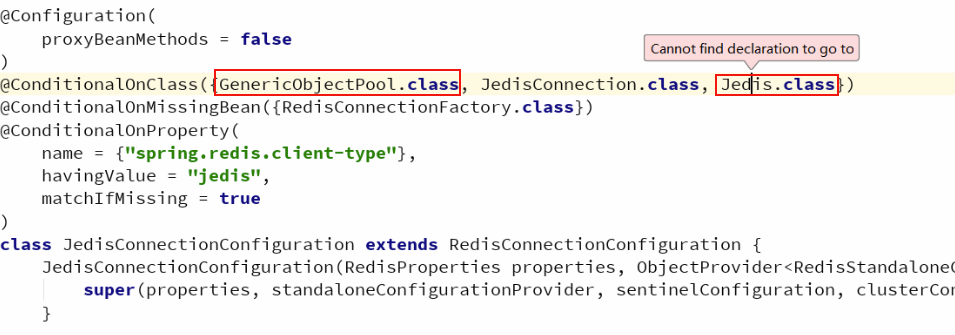 这两个类不存在,所以Jedis是无法生效的
3、RedisAutoConfiguration的两个方法
- redisTemplate
- stringRedisTemplate
两者的关系:

- StringRedisTemplate继承RedisTemplate
- StringRedisTemplate默认采用的是String的序列化策略
- RedisTemplate默认采用的是JDK的序列化策略
(1)使用 redisTemplate
@SpringBootTest
class DemoApplicationTests {
    private Logger logger = LoggerFactory.getLogger(DemoApplicationTests.class);
    @Autowired
    private RedisTemplate redisTemplate;
    @Test
        // opsForValue 操作字符串 类似String
        // opsForList 操作List 类似List
        // opsForHah
        // 除了基本的操作,我们常用的方法都可以直接通过redisTemplate操作,比如事务和基本的CRUD
        // 获取连接对象
        //RedisConnection connection = redisTemplate.getConnectionFactory().getConnection();
        //connection.flushDb();
        //connection.flushAll();
    void redisTemplateTest() {
        redisTemplate.opsForValue().set("hello","redis");
        logger.info("hello的value="+redisTemplate.opsForValue().get("hello"));
    }
}

此时我们在数据库中查看,发现没有hello这个key,反而有一串序列化码
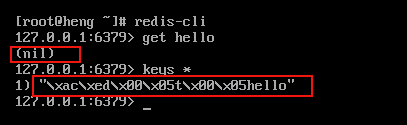
Redis为什么要进行序列化存储?
序列化最终的目的是为了对象可以跨平台存储,和进行网络传输。由于存储和网络传输都需要把一个对象状态保存成一种跨平台辨认的字节格式,然后其他的平台才可以通过字节信息解析还原对象信息,所以进行“跨平台存储”和”网络传输”的数据都需要进行序列化。
序列化的方式有哪些?
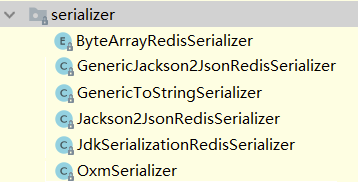
默认的序列方式JdkSerializationRedisSerializer
if (this.defaultSerializer == null) {
            this.defaultSerializer = new JdkSerializationRedisSerializer(this.classLoader != null ? this.classLoader : this.getClass().getClassLoader());
        }
 这也回答了为什么是
字节数组的问题
@ConditionalOnSingleCandidate注解
@ConditionalOnSingleCandidate(RedisConnectionFactory.class)
    public RedisTemplate<Object, Object> redisTemplate(RedisConnectionFactory redisConnectionFactory) {
        RedisTemplate<Object, Object> template = new RedisTemplate();
        template.setConnectionFactory(redisConnectionFactory);
        return template;
    }
@ConditionalOnSingleCandidate注解用于声明Bean需要存在唯一的候选Bean,否则不会创建当前Bean。如果存在多个候选Bean,则会抛出异常。
(2)定制RedisTemplate模板
定制RedisTemplate的模板,创建一个Bean加入容器,就会触发RedisTemplate上的@ConditionalOnSingleCandidate注解使默认的RedisTemplate失效。
@Configuration
public class RedisConfig {
@Bean
public RedisTemplate<String, Object> redisTemplate(RedisConnectionFactory redisConnectionFactory) throws UnknownHostException {
// 将template 泛型设置为 <String, Object>
RedisTemplate<String, Object> template = new RedisTemplate();
// 连接工厂,不必修改
template.setConnectionFactory(redisConnectionFactory);
/*
* 序列化设置
*/
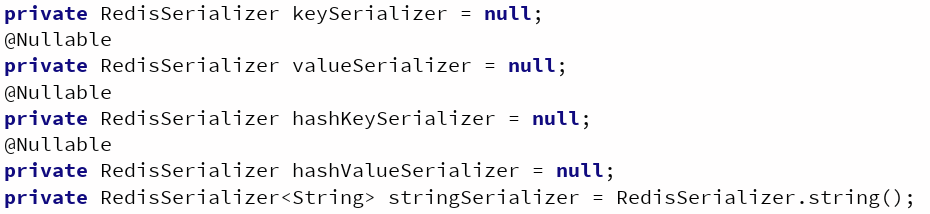
// key、hash的key 采用 String序列化方式
template.setKeySerializer(RedisSerializer.string());
template.setHashKeySerializer(RedisSerializer.string());
// value、hash的value 采用 Jackson 序列化方式
template.setValueSerializer(RedisSerializer.json());
template.setHashValueSerializer(RedisSerializer.json());
template.afterPropertiesSet();
return template;
}
}

(3)自定义Redis工具类
使用RedisTemplate需要频繁调用.opForxxx然后才能进行对应的操作,这样使用起来代码效率低下,工作中一般不会这样使用,而是将这些常用的公共API抽取出来封装成为一个工具类,然后直接使用工具类来间接操作Redis,不但效率高并且易用。
工具类保存在gitee仓库中:https://gitee.com/liu-heng666/utils


 7093
7093


 被折叠的 条评论
为什么被折叠?
被折叠的 条评论
为什么被折叠?
 到【灌水乐园】发言


