


方法一:通过Springboot官方提供的网站来创建

上面下载的压缩包解压后用IDEA直接打开即可
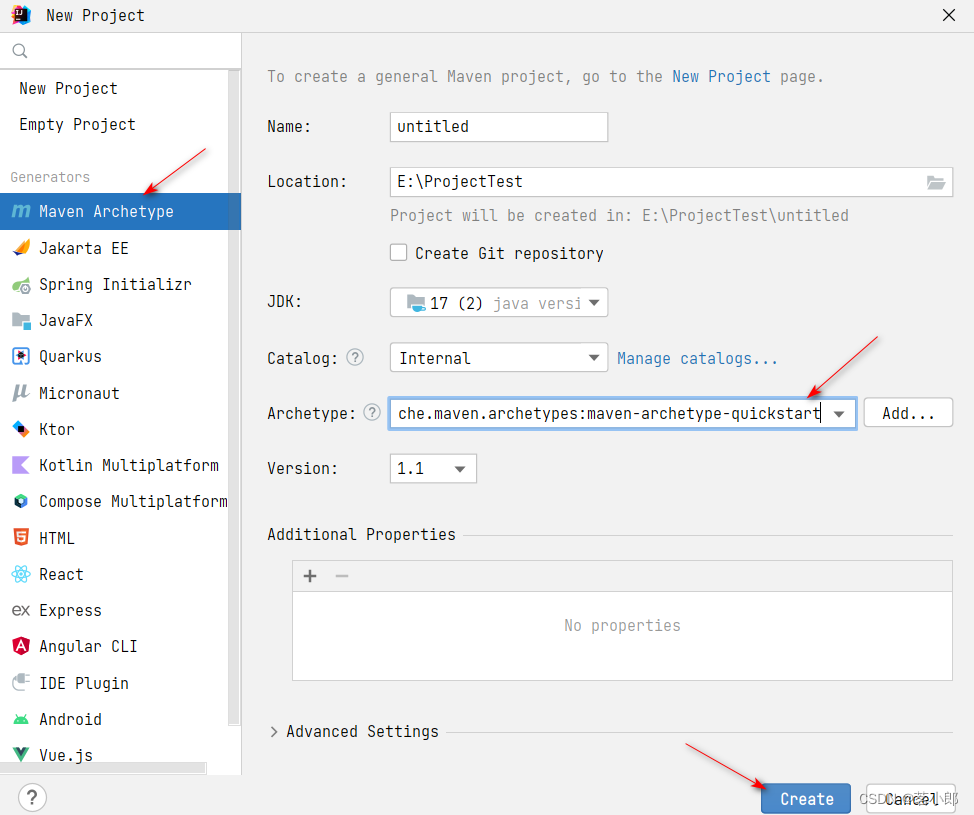
方法二:直接创建


方法三:maven工程改造
SpringBoot 工程本质是一个 maven 工程,所以我们创建一个 maven 工程将其改造成 SpringBoot 工程。
创建后,在pom.xml中配置一下
<parent><groupId> org.springframework.boot </groupId><artifactId> spring-boot-starter-parent </artifactId><version> 2.7.17 </version> <!-- 版本号 --><relativePath/> <!-- lookup parent from repository --></parent><properties><maven.compiler.source> 17 </maven.compiler.source><maven.compiler.target> 17 </maven.compiler.target><project.build.sourceEncoding> UTF-8 </project.build.sourceEncoding><java.version> 17 </java.version></properties><dependencies><!-- springboot web模块 二选一 --><dependency><groupId> org.springframework.boot </groupId><artifactId> spring-boot-starter-web </artifactId></dependency><!-- 如果是非 web 工程 二选一 --><dependency><groupId> org.springframework.boot </groupId><artifactId> spring-boot-starter </artifactId></dependency><!-- springboot 测试,包含 junit --><dependency><groupId> org.springframework.boot </groupId><artifactId> spring-boot-starter-test </artifactId><scope> test </scope></dependency></dependencies>
点击更新maven
创建SpringBoot 工程的入口类
创建一个类 XxxxApplication ,添加 @org.springframework.boot.autoconfigure.Springboo
tApplication
.
表示当前类就是入口类,在类中写
main
方法,内容如下:
public static void main(String[] args) {
SpringApplication.run(XxxxApplication.class, args);
}


 1657
1657


 被折叠的 条评论
为什么被折叠?
被折叠的 条评论
为什么被折叠?
 到【灌水乐园】发言


