


MainActivity8.java
package com.example.myapplication_one;
import android.os.Bundle;
import android.support.v7.app.AppCompatActivity;
import android.view.View;
import android.widget.AdapterView;
import android.widget.ArrayAdapter;
import android.widget.CompoundButton;
import android.widget.ImageView;
import android.widget.ListView;
import android.widget.Spinner;
import android.widget.Toast;
import android.widget.ToggleButton;
import java.util.ArrayList;
import java.util.List;
public class MainActivity8 extends AppCompatActivity {
ToggleButton toggleButton1;
ImageView imageView1;
Spinner spinner1;
//ListView listView1;
String[] strings = new String[]{"济南","威海","泰安"};
List<Student> list = new ArrayList<Student>();
@Override
protected void onCreate(Bundle savedInstanceState) {
super.onCreate(savedInstanceState);
//用于加载页面布局 R.layout.名称
setContentView(R.layout.layout8);
init();
/*
* content:上下文
* resource:每一个选项显示样式,
* objects:数据源
*/
ArrayAdapter<String> arrayAdapter = new ArrayAdapter<String>(MainActivity8.this
,R.layout.support_simple_spinner_dropdown_item,strings);
spinner1.setAdapter(arrayAdapter);
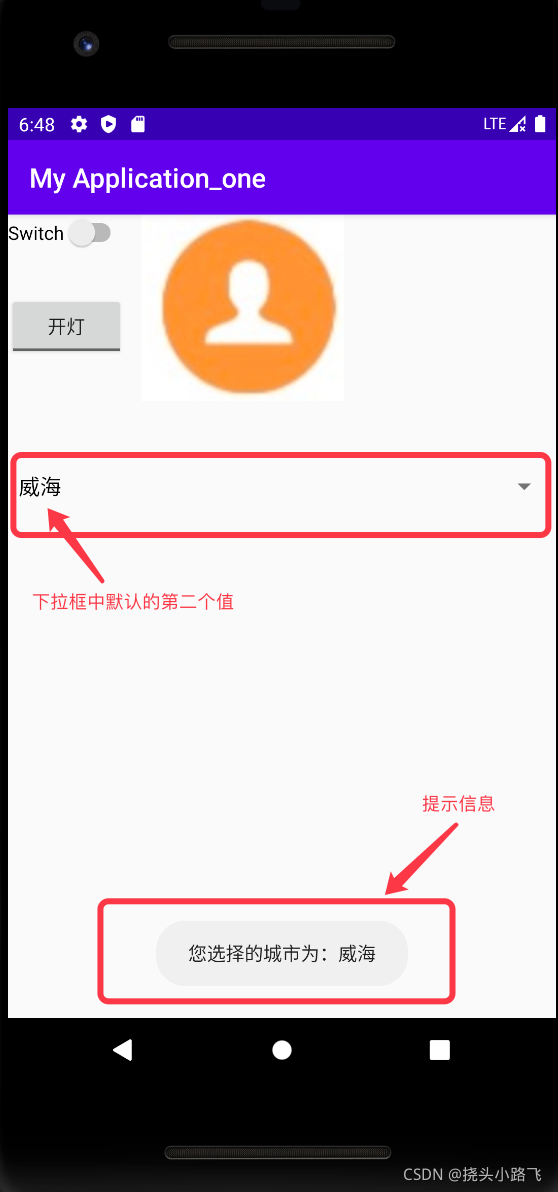
spinner1.setPrompt("所在城市");//设置标题文字
spinner1.setSelection(1);//设置显示第几item,默认是0,这是从0~n个数值 (设置当前选中哪项)
//设置列表选中的事件监听
//spinner1.setOnItemSelectedListener();是spinner1的监听器,如果item被选中了之后,会自动触发当前监听器
spinner1.setOnItemSelectedListener(new AdapterView.OnItemSelectedListener() {// spinner1自己拥有的监听器
@Override
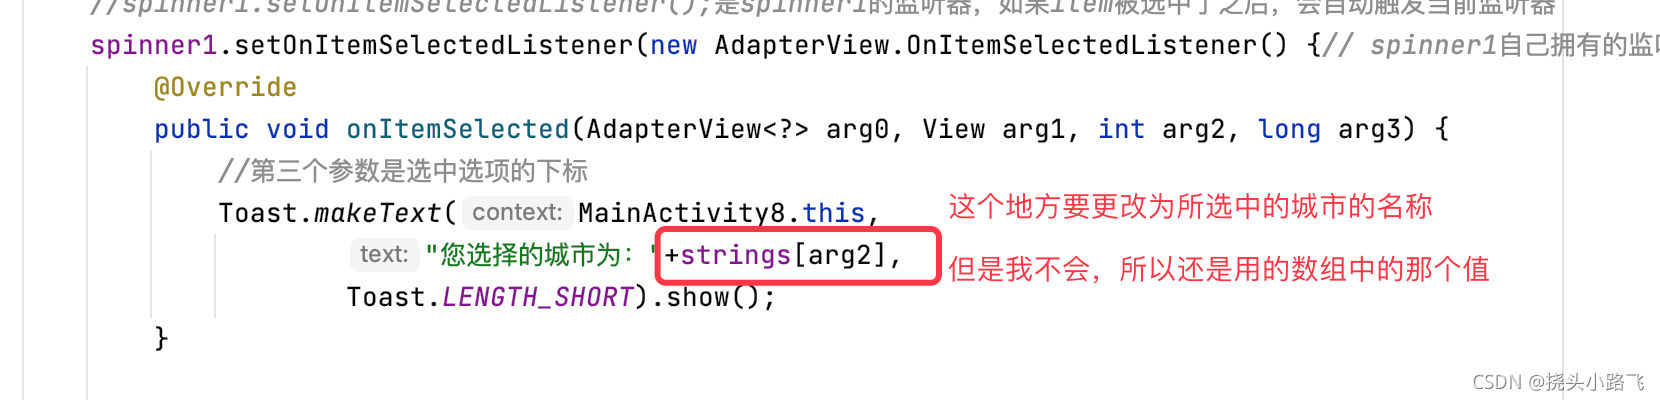
public void onItemSelected(AdapterView<?> arg0, View arg1, int arg2, long arg3) {
//第三个参数是选中选项的下标
Toast.makeText(MainActivity8.this,
"您选择的城市为:"+strings[arg2],
Toast.LENGTH_SHORT).show();
}
@Override
public void onNothingSelected(AdapterView<?> adapterView) {//当没选中任何选项的话,触发这个方法
Toast.makeText(MainActivity8.this ,
"请选中您所在城市",
Toast.LENGTH_SHORT).show();
}
});
// listView1.setOnItemClickListener(new AdapterView.OnItemClickListener() {
// @Override
// public void onItemClick(AdapterView<?> arg0, View arg1, int arg2, long arg3) {
// //第三个参数是选中选项的下标
// // Student stu = list.get(arg2);
// }
// });
/*
* ToggleButton的监听器:setOnCheckedChangeListener
* 匿名内部类:new OnCheckedChangeListener()
* 重写OnCheckedChanged
* CompoundButton arg0:出发当前监听器的控件
* boolean arg1:当前toggleButton的checked属性值
*/
//设置 toggleButton1监听
toggleButton1.setOnCheckedChangeListener(new CompoundButton.OnCheckedChangeListener() {
@Override
public void onCheckedChanged(CompoundButton compoundButton,boolean ischecked) {
if (ischecked){
imageView1.setImageResource(R.drawable.word);
}else{
imageView1.setImageResource(R.drawable.ppt);
imageView1.setBackgroundResource(R.drawable.a1);//修改背景资源
}
// ischecked ? imageView1.setImageResource(R.drawable.head)
// : imageView1.setImageResource(R.drawable.choose);
}
});
}
private void init() {
toggleButton1 =findViewById(R.id.toggleButton1);
imageView1 = findViewById(R.id.imageView1);
spinner1 = findViewById(R.id.spinner1);
}
}
layout8.xml
<?xml version="1.0" encoding="utf-8"?>
<RelativeLayout xmlns:android="http://schemas.android.com/apk/res/android"
    xmlns:app="http://schemas.android.com/apk/res-auto"
    android:layout_width="match_parent"
    android:layout_height="match_parent">


    <Switch
        android:id="@+id/switch1"
        android:layout_width="wrap_content"
        android:layout_height="wrap_content"
        android:text="Switch" />


    <ToggleButton
        android:id="@+id/toggleButton1"
        android:layout_width="wrap_content"
        android:layout_height="wrap_content"
        android:layout_marginTop="60dp"
        android:textOn="关灯"
        android:textOff="开灯"
        android:checked="false"/><!--默认是关灯,false-->

    <ImageView
        android:id="@+id/imageView1"
        android:layout_width="wrap_content"
        android:layout_height="wrap_content"
        app:srcCompat="@drawable/a1"
        android:layout_marginLeft="100dp"/>

    <Spinner
        android:id="@+id/spinner1"
        android:layout_width="match_parent"
        android:layout_height="wrap_content"
        android:layout_marginTop="180dp"/>


</RelativeLayout>
结果:
反复点击开关按钮观察其变化:
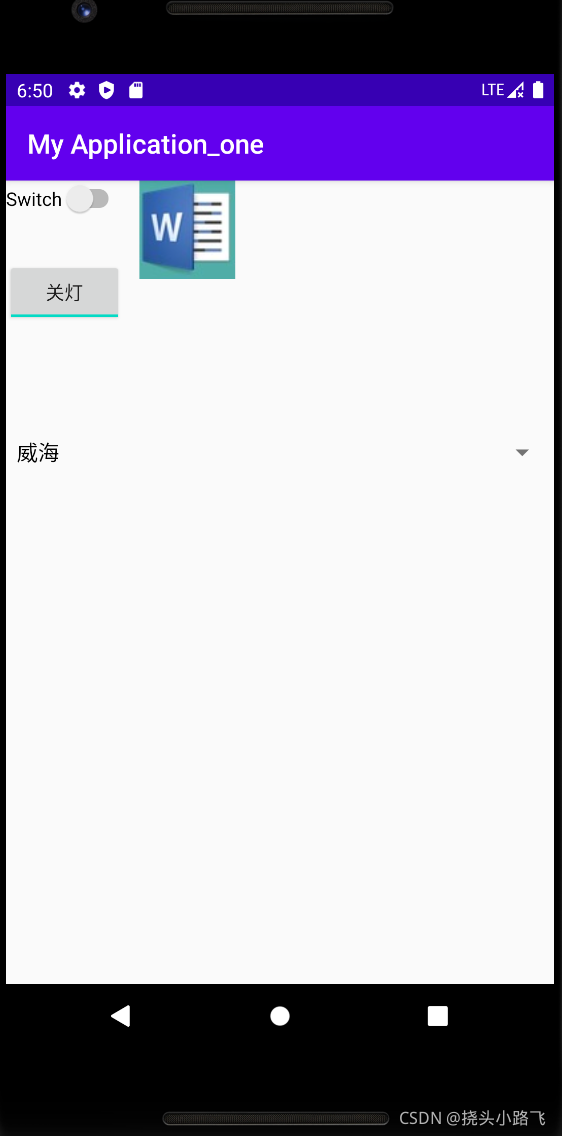
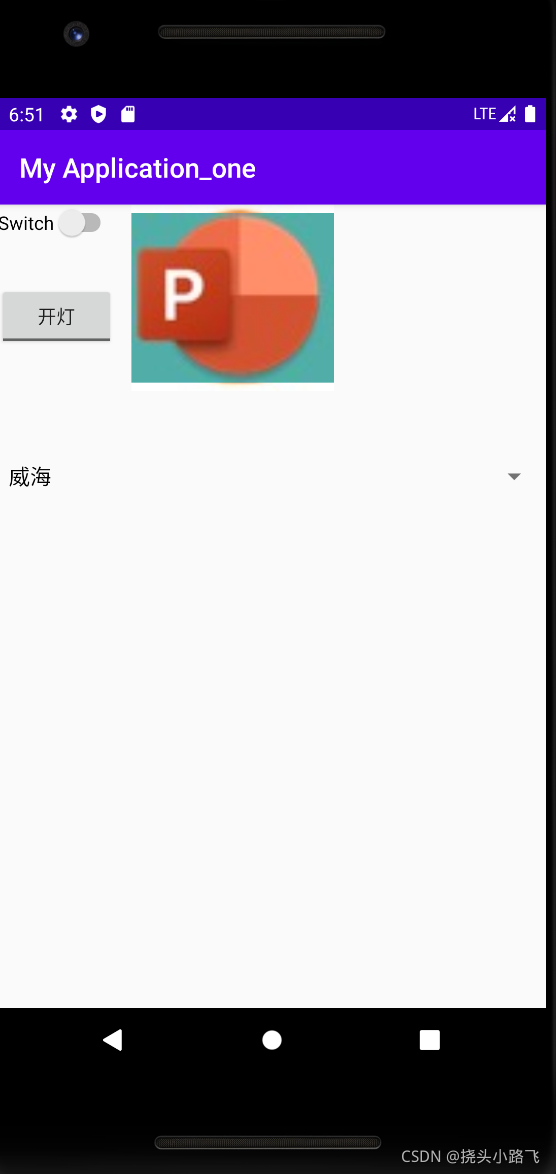
我们发现,反复点击开灯按钮会实现图片的一个更换。
说明一点:
在上面,我们是使用了适配器去设置的spinner下拉框中的内容的,还有一种方法,也能够去设置spinner下拉框中的内容。如下:
首先,在values下创建一个values XML File:

我把这个文件命名为:values_layout1.xml文件,其中的内容为:
<?xml version="1.0" encoding="utf-8"?>
<resources>
    <string-array name="spinner_data">
        <item>济南</item>
        <item>青岛</item>
        <item>威海</item>
    </string-array>
</resources>
然后对layout8.xml中修改:(只是在Spinner下加了一条语句)
 <Spinner
        android:id="@+id/spinner1"
        android:layout_width="match_parent"
        android:layout_height="wrap_content"
        android:layout_marginTop="180dp"
        android:entries="@array/spinner_data" /> <!--写了这个就不用适配器了,但是这个用法很不灵活--><!--    这个写在了values下    -->
然后加下来就是在Activity8中设置代码:(就是把适配器删除即可)

看效果:

文字信息已经更改过来了,但是城市还是提示威海,那是因为没有删除strings:


 7558
7558


 被折叠的 条评论
为什么被折叠?
被折叠的 条评论
为什么被折叠?
 到【灌水乐园】发言


