


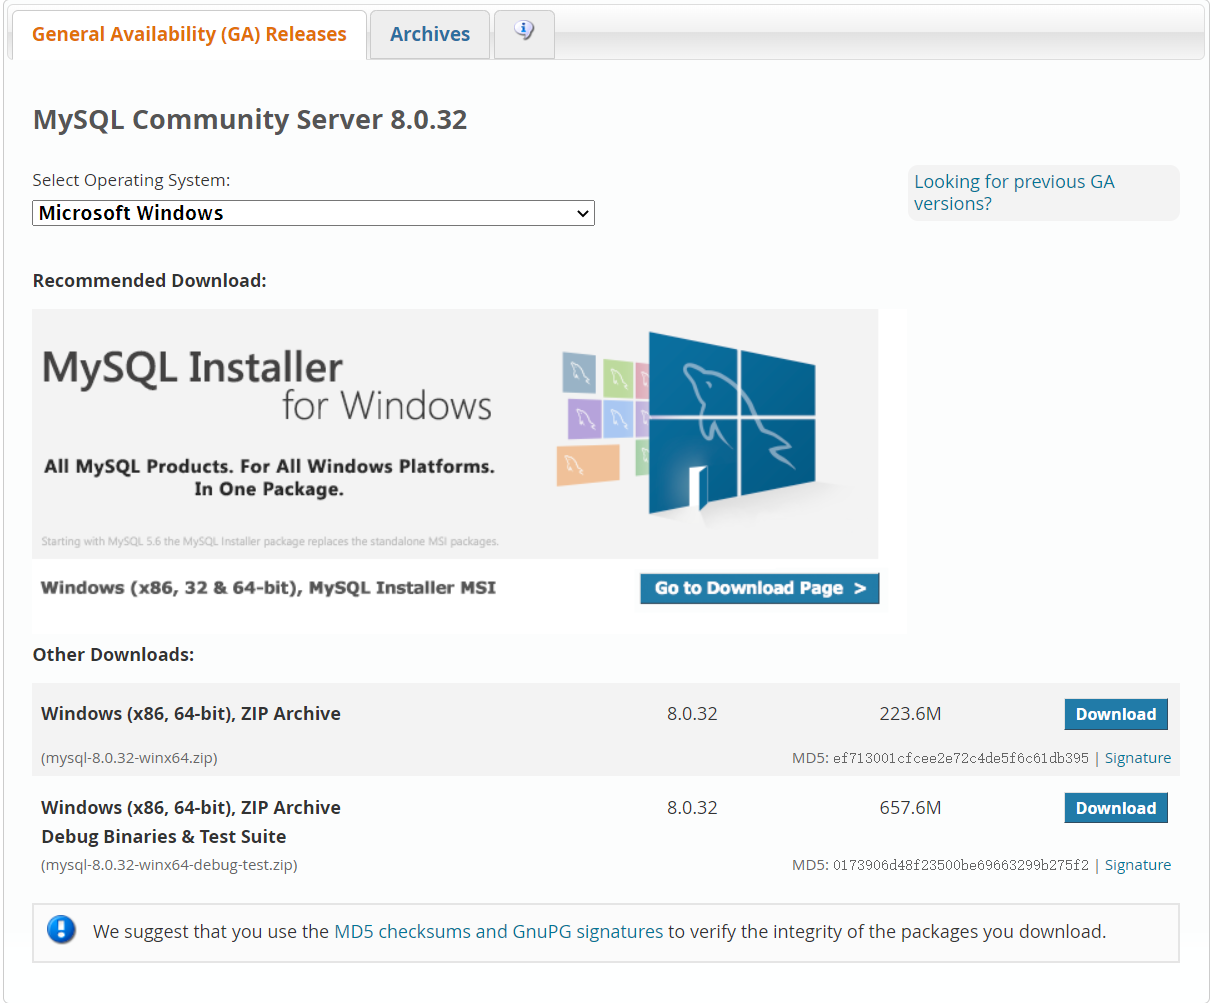
一、MySQL官网下载对应版本的zip文件
最新版本8.0.32下载链接:https://dev.mysql.com/downloads/mysql/
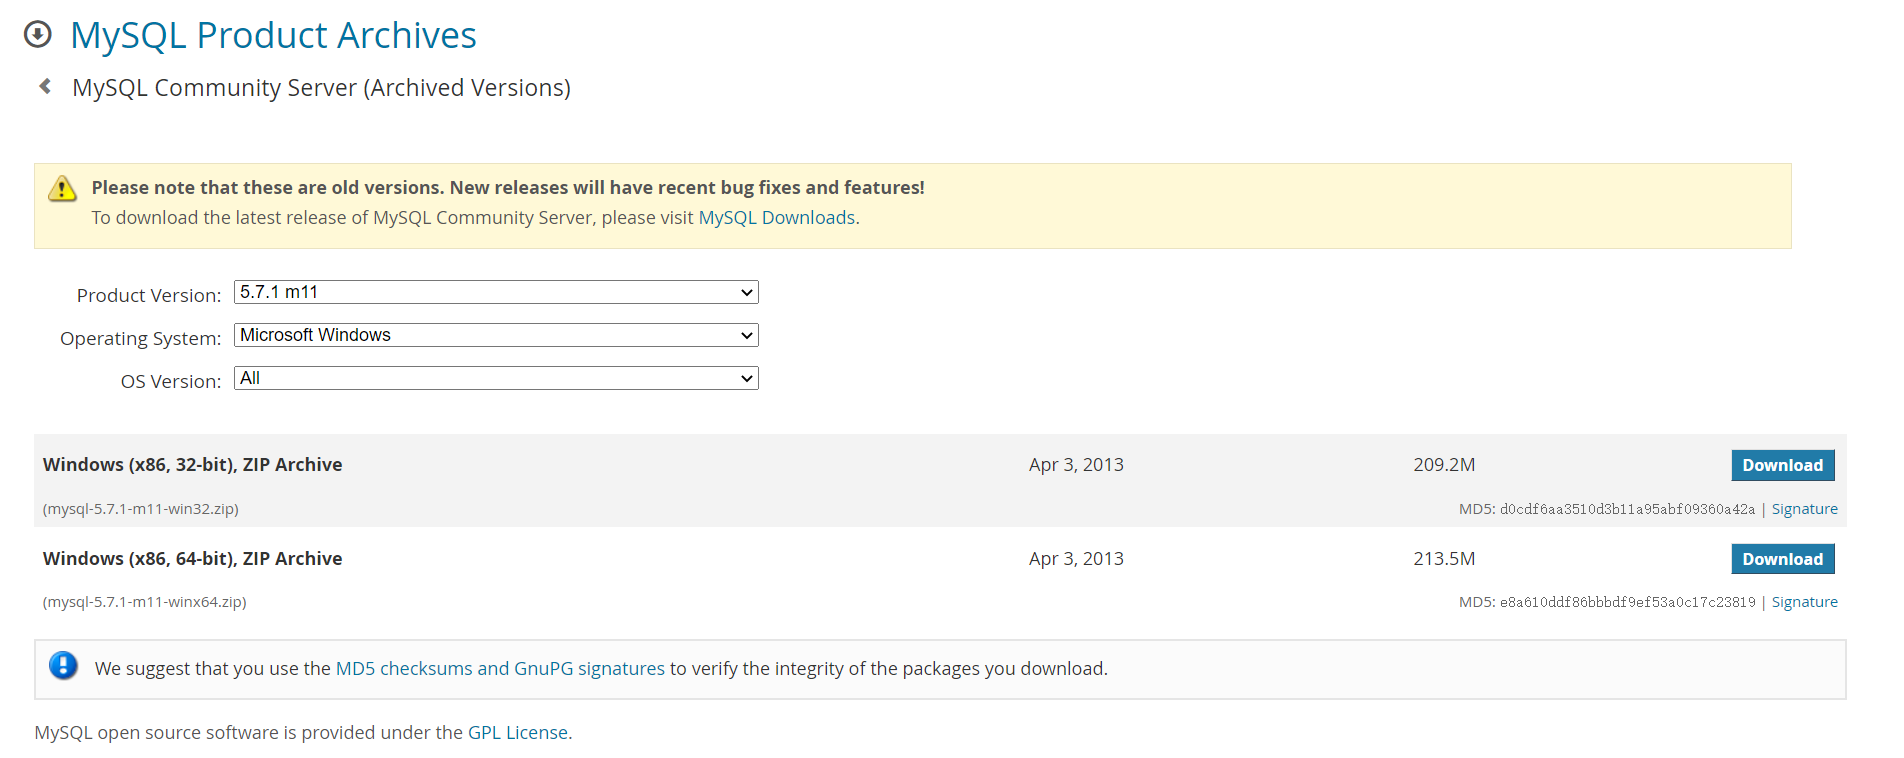
MySQL 5.7下载链接:https://downloads.mysql.com/archives/community/
二、将下载到的压缩包解压到指定目录
使用解压工具将下载到的压缩包解压:如:解压到H:/Download/目录下(自己选择),解压之后建议重命名该解压出来的文件:如mysql-8.0.32-winx64文件夹名,可将后面的winx64去掉,得到mysql-8.0.32(方便查看和理解,此处可不修改,但后续内容需对应更改)

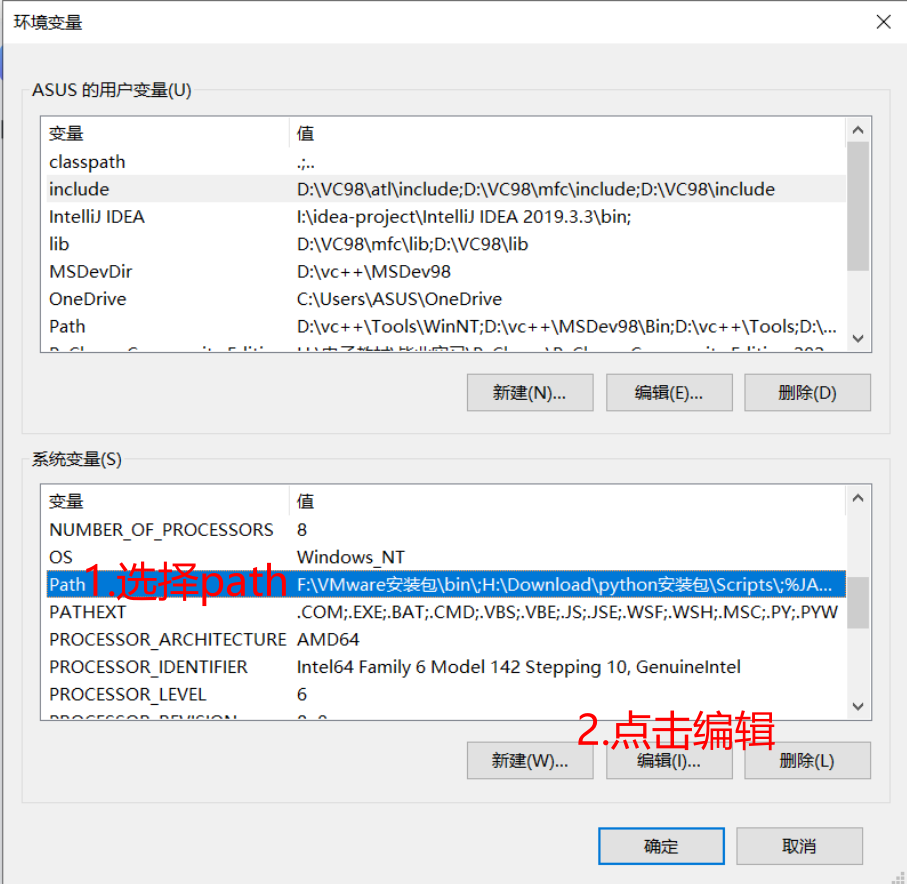
三、添加环境变量
右键我的电脑->属性->高级系统设置->环境变量
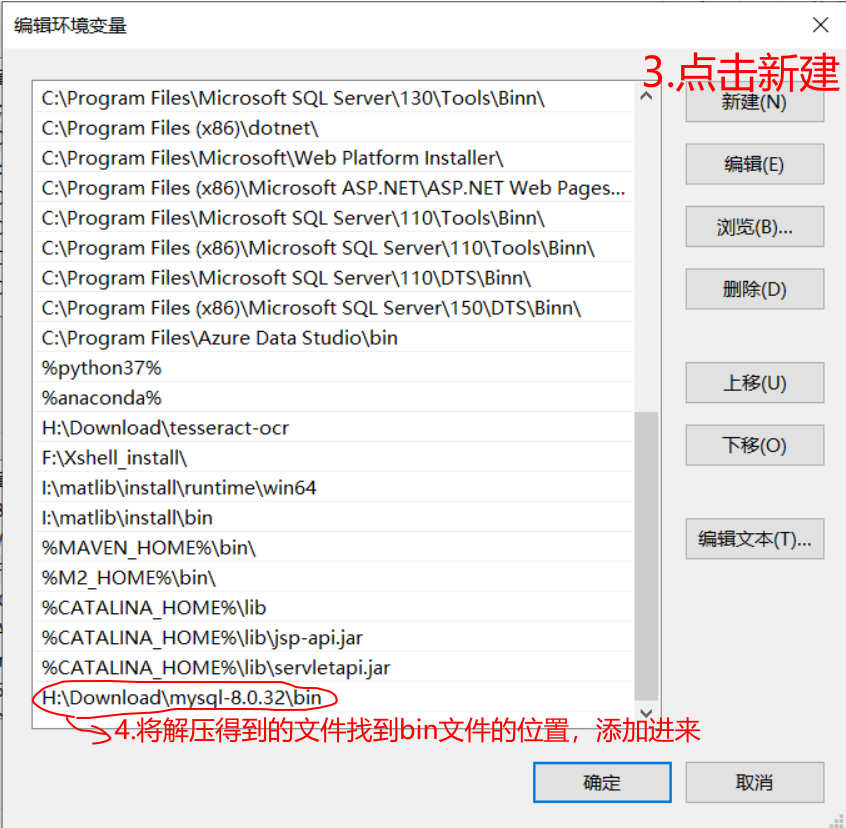
选择系统变量Path,在其后添加:你的mysql安装文件下面的bin文件夹
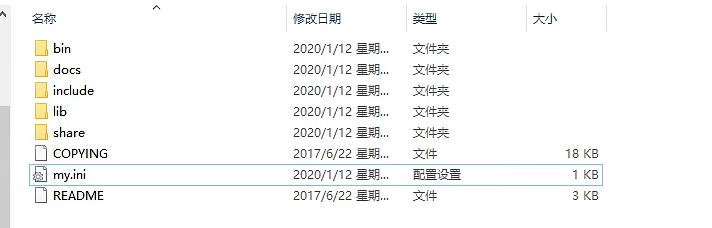
四、在与bin同级的文件夹下新建,my.ini文件(注意:此处5.7版本和8.0版本操作不同)
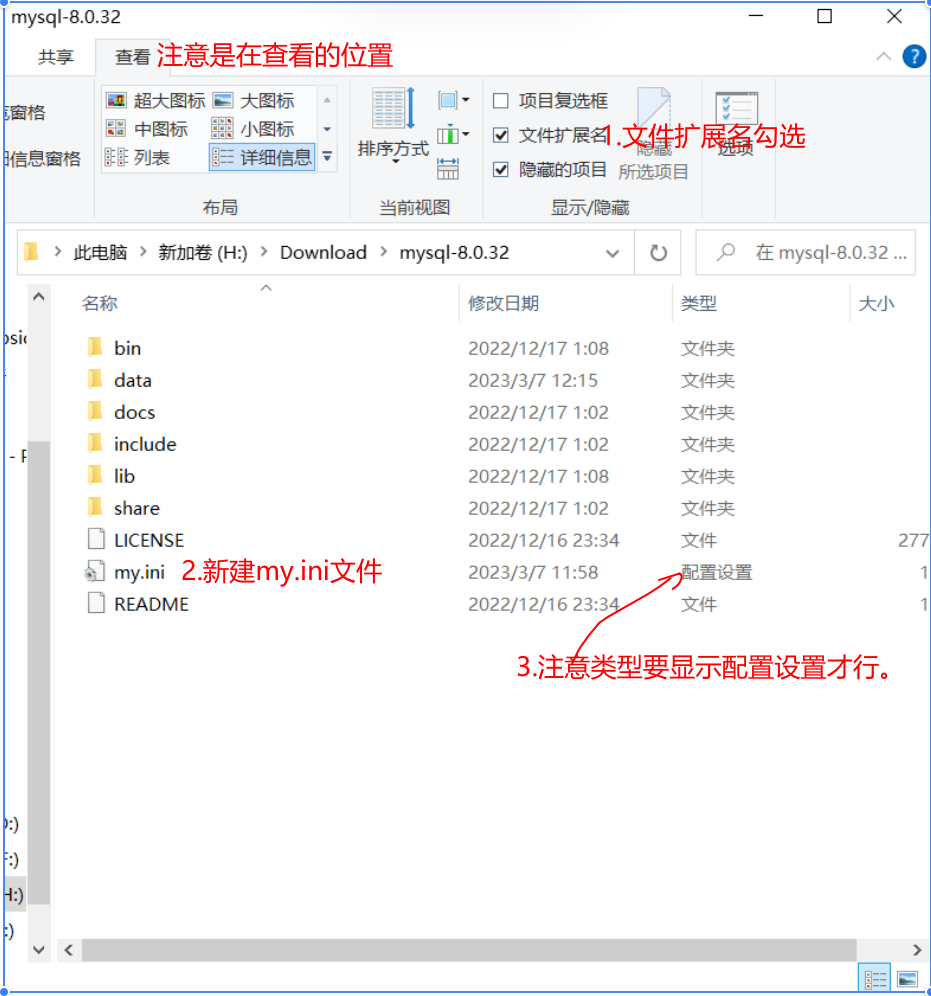
编辑my.ini文件的内容(MySQL 5.7版本,路径改为自己电脑上对应的路径)
[mysqld]
basedir=H:\Download\mysql-8.0.23\
datadir=H:\Download\mysql-8.0.23\data\
port=3306
skip-grant-tables #免登陆检查
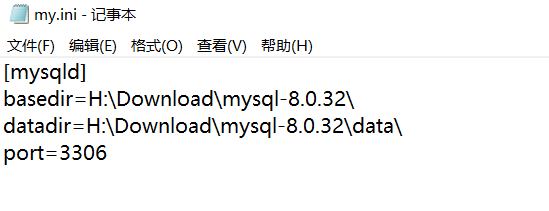
编辑my.ini文件的内容(MySQL 8.0版本,不需要加skip-grant-tables,路径改为自己电脑上对应的路径)
[mysqld]
basedir=H:\Download\mysql-8.0.23\
datadir=H:\Download\mysql-8.0.23\data\
port=3306
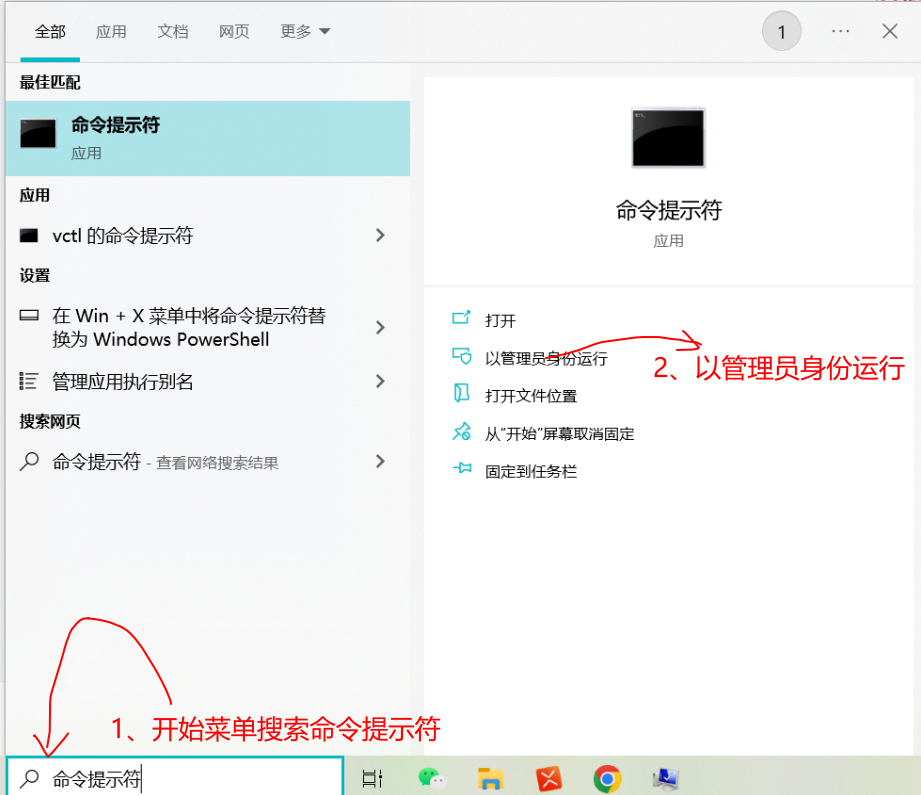
五、启动管理员模式下的CMD,并将路径切换至mysql下的bin目录,然后输入:mysqld -install(安装mysql)
1.启动管理员模式下的CMD
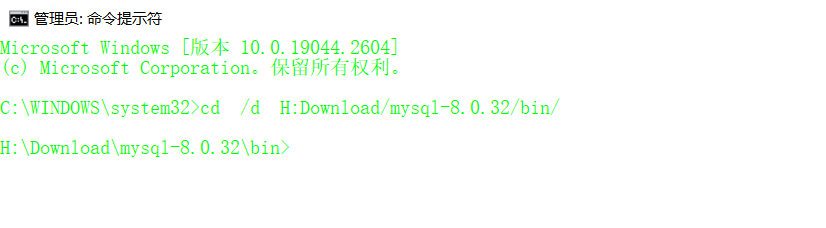
2.将目录切换到解压的mysql文件中的bin文件夹的位置:
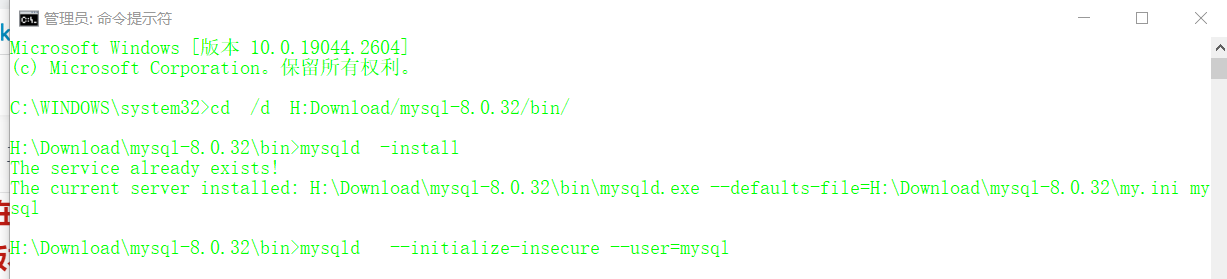
输入:cd /d H:Download/mysql-8.0.32/bin/ (路径换为你电脑对应的位置即可)
3.此时输入:mysqld -install (安装mysql服务)
命令行界面出现:Service successfully installed. 即可

图中是已装了的情况。
六、再输入 mysqld --initialize-insecure --user=mysql初始化数据文件
输入之前目录如下:
执行 mysqld --initialize-insecure --user=mysql (没输出ERROR信息则没报错)

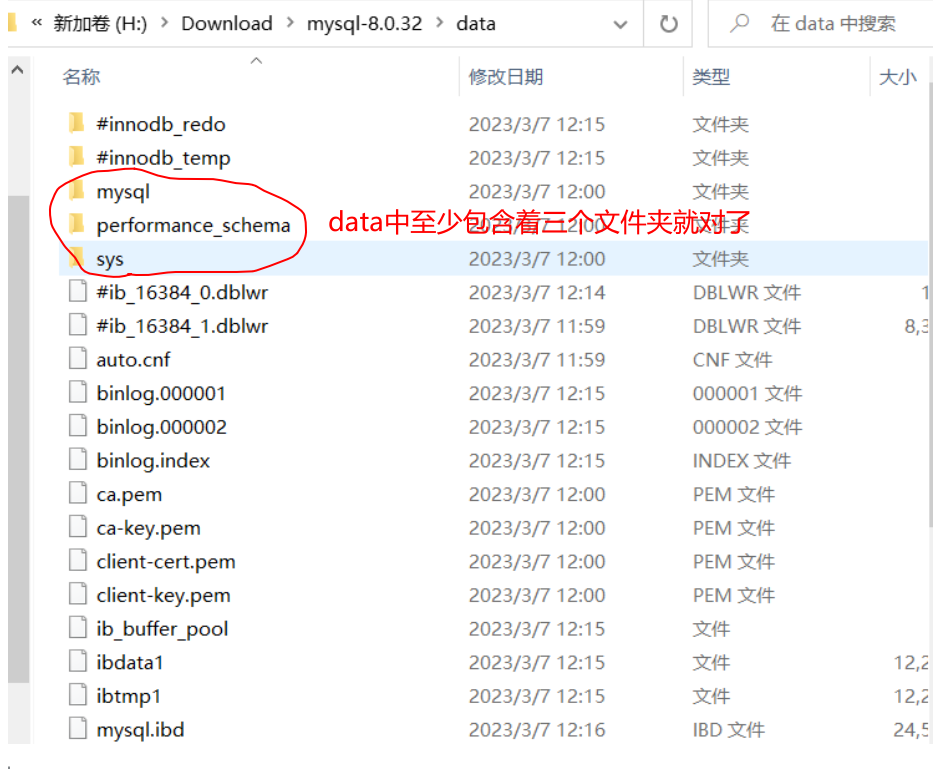
data文件夹,即为存储数据库的地方,之前有数据库可拷贝到该目录下就可以使用了。
七、启动mysql,然后用命令 mysql -uroot -p 进入mysql管理界面
控制台继续输入: net start mysql
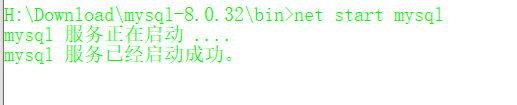
再输入: mysql -uroot -p

直接输入回车,就可以进入到mysql管理界面(因为我们没有密码)。

八、进入界面后更改root密码(注意:此处5.7版本和8.0版本操作不同)
1、mysql 5.7版本,输入:
update mysql.user set authentication_string='password(123456') where user='root' and host='localhost';
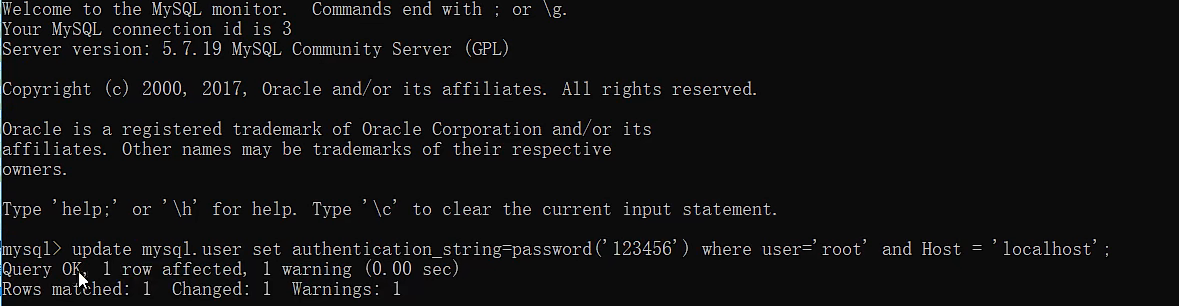
出现图上内容,则修改密码成功了。
2、mysql 8.0版本,依次输入:
use mysql;
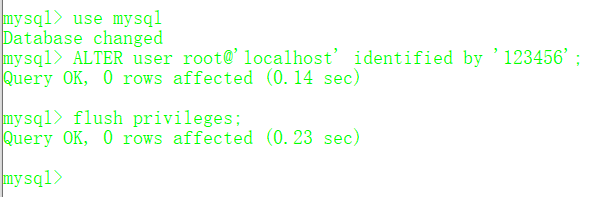
ALTER user root@'localhost' identified by '123456';
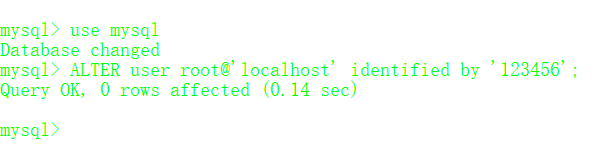
如图即修改成功。
最后两个版本都输入:flush privileges; 进行刷新权限。
九、修改my.ini文件,删除最后一行skip-grant-tables免密登录(注意:此步只有5.7版本需要)
十、重启mysql即可正常使用

十一、使用修改的密码登录mysql


 2178
2178

 被折叠的 条评论
为什么被折叠?
被折叠的 条评论
为什么被折叠?
 到【灌水乐园】发言


