


二、Springboot+Thymeleaf 整合之前后端(文本)交互
一、配置环境
1.1 在上一节的pom.xml文件中引入thymeleaf 模板依赖:
   <!--thymeleaf模板-->
        <dependency>
            <groupId>org.thymeleaf</groupId>
            <artifactId>thymeleaf-spring5</artifactId>
        </dependency>
        <dependency>
            <groupId>org.thymeleaf.extras</groupId>
            <artifactId>thymeleaf-extras-java8time</artifactId>
        </dependency>
1.2 在配置文件 application.yml 中 编写thymeleaf 的配置
spring:
  thymeleaf:
    prefix: classpath:/templates/
    suffix: .html
    cache: false
    mode: HTML5
    servlet:
     content-type: text/html
    encoding: utf-8
二、前端显示后端传输的数据
1.变量传输方式
1.1 前端代码
编写index.html文件
注意 文件头部要加上
xmlns:th="http://www.thymeleaf.org"
th:text=" ${xxxx}"-------- thymeleaf 语法 获取文本信息
$----------- 取值符
${ xxxx}--------注入的形参 要与后端的一致,不然取不到值
<!DOCTYPE html>
<html lang="en" xmlns:th="http://www.thymeleaf.org">
<head>
<meta charset="UTF-8">
<title>hello word</title>
</head>
<body>
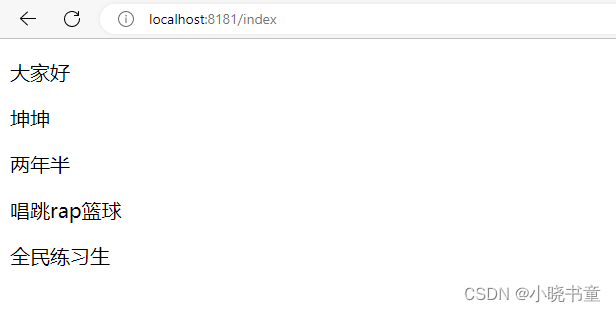
<p>大家好</p>
<!--其中,注释是通过alt+enter进行自动生成的,便于IDEA补全,如果不加,IDEA将会报错cannot reslove,-->
<!--/*@thymesVar id="name" type="Java.lang.String"*/-->
<p th:text=" ${name}"></p>
<!--/*@thymesVar id="year" type="java.lang.String"*/-->
<p th:text=" ${year}"></p>
<!--/*@thymesVar id="hobby" type="java.lang.String"*/-->
<p th:text=" ${hobby}"></p>
<!--/*@thymesVar id="job" type="java.lang.String"*/-->
<p th:text=" ${job}"></p>
</body>
</html>
1.2 后端代码
@RequestMapping-------将请求和处理请求的控制器方法关联起来,建立映射关系
必要参数说明
value:指定请求的实际地址,指定的地址可以是URI Template 模式;
method: 指定请求的method类型, GET、POST、PUT、DELETE等;
怎么将控制层的数据传回到视图?
ModelModelMapMapModelAndView默认都是存入request域中
这四个都可以将数据进行前后端的交互 只是方式略显不同
链接: 怎样将控制层数据传到视图
主要用ModelMap和Model两种类型
   @RequestMapping(value = "/index",method = RequestMethod.GET)
    public String index(ModelMap model){
        String name_ ="坤坤";
        String year_ ="两年半";
        String hobby_ = "唱跳rap篮球";
        String job_ = "全民练习生";

		//   第一个参数必须与${xxxx} 中的一致,
		//   第二个参数则是要交互的数据
        model.addAttribute("name",name_);
        model.addAttribute("year",year_);
        model.addAttribute("hobby",hobby_);
        model.addAttribute("job",job_);

        return "index";


    }
1.3 运行页面
2.对象传输方式
2.1前端代码
th:each="i:${s}"--------
s-------代表迭代的对象 (可以是Map 、数组等)
i-------每一次迭代的值
i.变量------每一次迭代对象的属性值
<!DOCTYPE html>
<html lang="en" xmlns:th="http://www.thymeleaf.org">
<head>
    <meta charset="UTF-8">
    <title>对象交互</title>
</head>
<body>

<!--//把值的对象传到这里,用方法去获得相应的值-->
<table th:each="i:${students}">
    <tr >
        <td>学生Id</td>
        <td th:text="${i.id}"></td>
    </tr>
    <tr >
        <td>学生姓名</td>
        <td th:text="${i.name}"></td>
    </tr>
    <tr >
        <td>学生分数</td>
        <td th:text="${i.score}"></td>
    </tr>
    <tr >
        <td>教师建议</td>
        <td th:text="${i.suggestion}"></td>
    </tr>
</table>
</body>
</html>
2.2 创建实体类
Lombok 是一个在Java开发过程中用注解的方式,简化了 JavaBean 的编写,避免了冗余和样板式代码而出现的插件,让编写的类更加简洁。
@Data----- get 和set的方法
@AllArgsConstructor----- 全参数的构造
@NoArgsConstructor------- 无参构造
Student.java
@Data
@AllArgsConstructor
@NoArgsConstructor
public class Student {
    int id;
    String  name;
    int score;
    String  suggestion;

}
2.3 控制层代码
@RequestMapping(value = "/index3")
public String index3(ModelMap model){
// 创建三个 对象
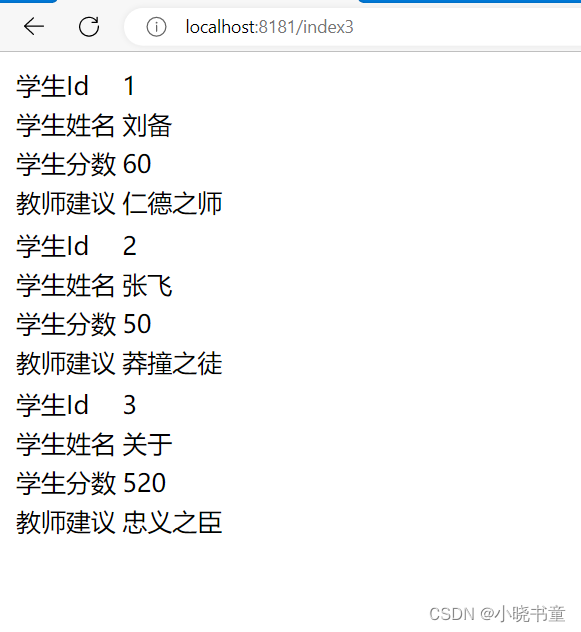
Student student1 = new Student(1,"刘备", 60,"仁德之师");
Student student2 = new Student(2,"张飞", 50,"莽撞之徒");
Student student3 = new Student(3,"关于", 520,"忠义之臣");
ArrayList<Student> students = new ArrayList<>();
// 将对象保存到数组中,用于以便前端的迭代
students.add(student1);
students.add(student2);
students.add(student3);
// 传到前端交互
model.addAttribute("s",students);
return "index3";
}
2.3 运行页面
三、后端接收前端的数据
1.前端代码
1.1编写表单 submit.html
th:action=“@{/xxxx}” 表示提交的表单路径
method=“post” -----提交的数据不会在网页路径上显示
name= “XXXX” ------ 后端将通过name属性获取值,故不能重复
<!DOCTYPE html>
<html xmlns:th="http://www.thymeleaf.org">
<head>
    <meta charset="UTF-8">
    <title>标题</title>
</head>
<body>

<!--前后端交互-post-->
<form th:action="@{/user}" method="post">
    id:<input type="text" name="id" value=""/>
    name:<input type="text" name="name" value=""/>
    password:<input type="text" name="password" value=""/>
    <input type="submit" value="提交" />
</form>
</body>
</html>
2. 后端代码
2.1 编写网页控制器
  @RequestMapping(value = "/submit",method = RequestMethod.GET)
    public String submit(){

        return "submit";


    }
2.2 编写表单控制器
method要和前端表单的提交方式一样post
@RequestParam("XXX")------获取前端表单中name=xxx的属性值
@RequestMapping(value = "/user",method = RequestMethod.POST)
public String getUserById(@RequestParam("id") Integer id,
@RequestParam("name") String name,
@RequestParam("password")String password){
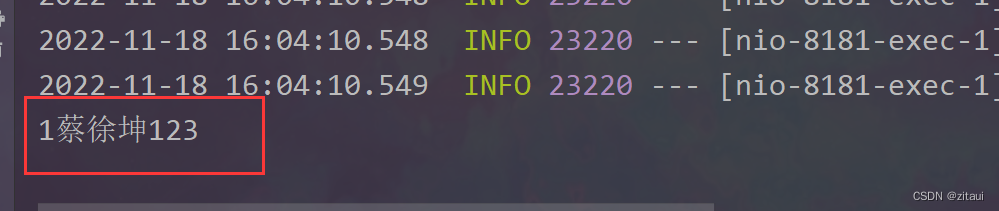
System.out.println(id+name+password);
return "success";
}
2.3 运行结果


 1134
1134


 被折叠的 条评论
为什么被折叠?
被折叠的 条评论
为什么被折叠?
 到【灌水乐园】发言


