


手把手教大家在学校服务器用xshell搭建redis环境
0 前言
关于xshell连接学校服务器的部分:VScode/Xshell连接学校服务器
linux的简单操作:linux学习
参考博客:10步xshell快速搭建服务器Redis环境(Redis)
1 下载
官网下载压缩包:redis官网

用xftp将压缩包上传至服务器

对名为 redis-7.2.4.tar.gz 的tar压缩文件执行解压操作。

切换至redis-7.2.4的文件夹,ls显示当前目录的信息

GCC 是 GNU 编译器套件,用于编译和构建 C、C++ 等编程语言的源代码。

出现这两行,就没啥问题
Using built-in specs.
COLLECT_GCC=gcc
执行 gcc -v 命令时出现 -bash: gcc: command not found 错误提示,这通常表示系统缺少 GCC 编译器。
可以使用以下命令来安装 GCC:
sudo apt update
sudo apt install build-essential
2 安装redis
在redis-7.2.4文件下安装
make install


安装完成
3 检测是否安装成功
在终端中输入 redis-server 并按下回车后,如果 Redis 服务器成功启动且没有出现错误信息,通常表示 Redis 安装成功。可能会看到类似以下输出:
[1585] 07 Apr 17:30:59.126 # Warning: no config file specified, using the default config. In order to specify a config file use redis-server /path/to/redis.conf
[1585] 07 Apr 17:30:59.131 * Server started, Redis version X.Y.Z
[1585] 07 Apr 17:30:59.132 * Ready to accept connections

退出redis:ctrl+c
4 修改redis.conf的路径
输入命令进入到redis默认安装完成后的路径:cd /usr/local/bin

输入命令:mkdir myredisconfig (建新文件夹)
将redisconfig拷贝来这个文件夹中,cp /home/xzr/redis-7.2.4/redis.conf myredisconfig (填写自己redis.conf所在的路径)

切换到myredisconfig文件夹下

5 修改redis.conf内容

可以输入/daemonize+enter键快速查找位置,按n键翻找下一个


输入:wq保存文件
6 运行Redis服务器
一定要找到/进入到redis.conf的那个文件夹运行
redis-server myredisconfig/redis.conf


退出的代码:
127.0.0.1:6379>shutdown
not connected>exit

ps -ef|grep redis用于在 Linux 系统中查找与 Redis 相关进程的命令

7 安装图形化界面客户端
7.1 下载RESP
参考视频:Redis的图形化界面客户端
安装包资源地址:RedisDesktopManager-Windows

下载好之后,直接安装exe文件即可,很简单
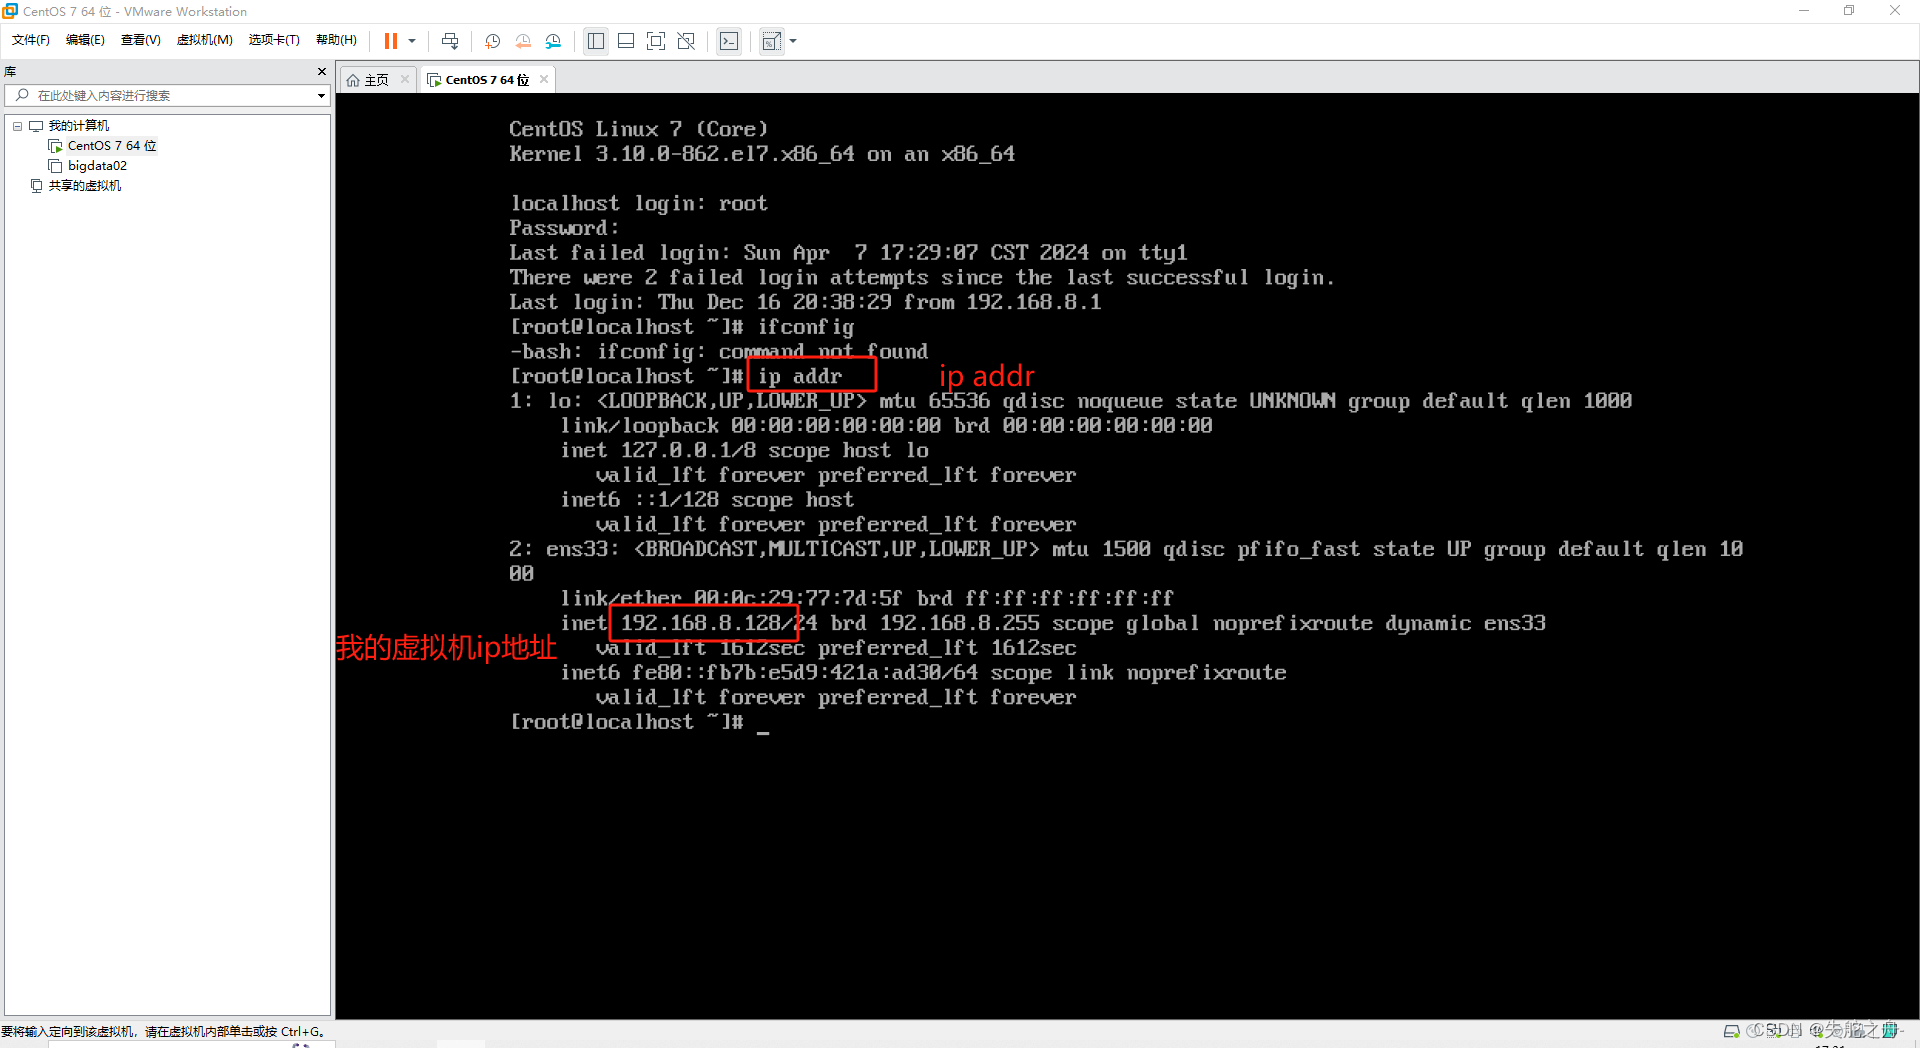
我最后还是用的自己的虚拟机ip地址,我们实验室服务器的防火墙好像关不了
如果用自己的虚拟机ip地址报错的话,可以看看我的这个bug修改日志,我改了大半天才搞好,欲哭无泪
【错误日志】xshell连redis报错 redisCould not connect to Redis at 192.168.8.128:6379: Connection refused
7.2 关闭linux防火墙
sudo systemctl stop firewalld.service #停止firewall,每次打开图形化界面都要写一遍这个代码

sudo systemctl disable firewalld.service #禁止firewall开机启动
7.2 连接RESP
大家在运行redis-cli之前一定要先运行redis-server redis.conf

地址填的就是我虚拟机的ip地址


终于连接完成~


 674
674


 被折叠的 条评论
为什么被折叠?
被折叠的 条评论
为什么被折叠?
 到【灌水乐园】发言


