


瀑布流
1. 泳道+flex实现
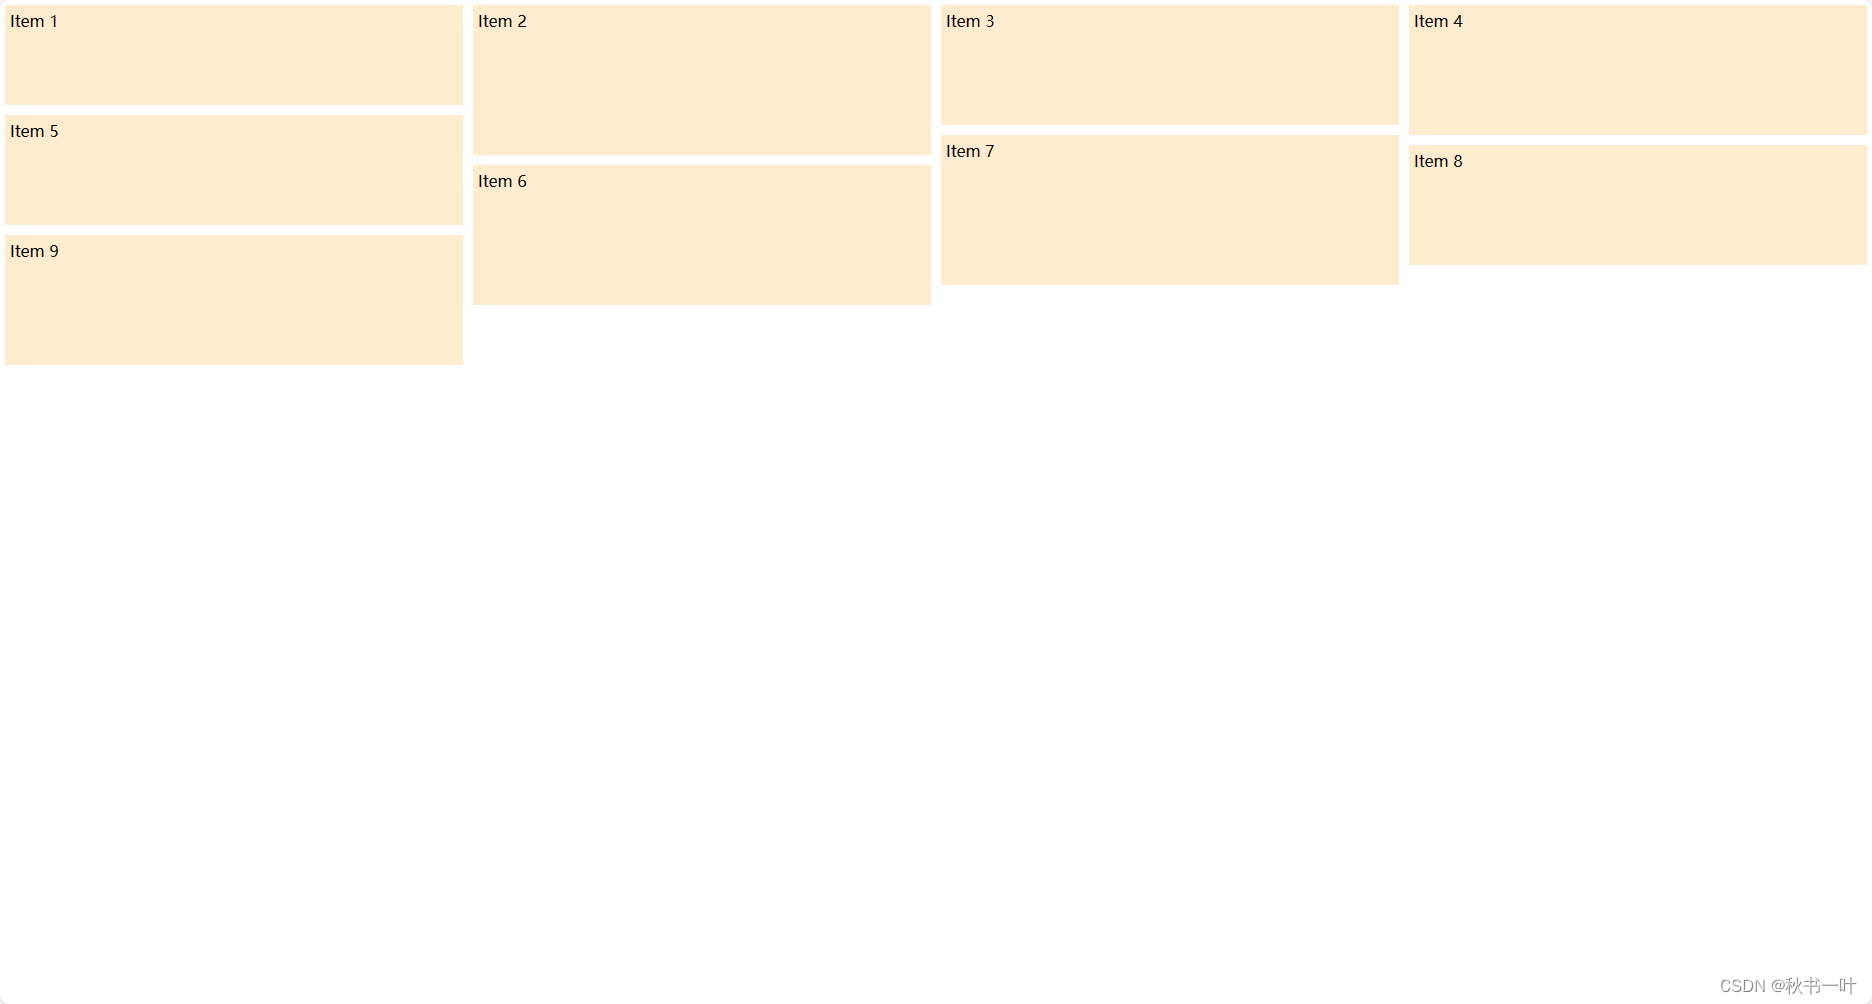
通过将一组图片对象分布到指定数量的泳道中实现,每个泳道使用Flex布局,泳道中的图片项高度根据图片对象的属性进行动态设置,以呈现瀑布流效果
<template>
    <!-- 创建外部容器用于包装瀑布流内容 -->
    <div class="waterfall-container">
      <!-- 创建每个泳道,lanes 数组中的每个元素都代表一个泳道 -->
      <div v-for="(lane, index) in lanes" :key="index" class="lane" :style="{ width: laneWidth + '%' }">
        <!-- 创建每个瀑布流项,flowItem 包含图片的内容和高度 -->
        <div v-for="(flowItem, flowIndex) in lane" :key="flowIndex" class="item"
          :style="{ height: flowItem.height + 'px' }">
          {{ flowItem.content }}
        </div>
      </div>
    </div>
  </template>

  <script>
  export default {
    data() {
      return {
        images: [
          // 定义一组图片对象,每个对象包含图片的内容和高度
          { content: 'Item 1', height: 100 },
          { content: 'Item 2', height: 150 },
          { content: 'Item 3', height: 120 },
          { content: 'Item 4', height: 130 },
          { content: 'Item 5', height: 110 },
          { content: 'Item 6', height: 140 },
          { content: 'Item 7', height: 150 },
          { content: 'Item 8', height: 120 },
          { content: 'Item 9', height: 130 },
          // 可以添加更多图片项,每个项的高度可以不同
        ],
        laneCount: 4, // 指定泳道的数量
      };
    },
    computed: {
      lanes() {
        // 计算属性,用于将图片分布到各个泳道
        const lanes = new Array(this.laneCount).fill().map(() => []);

        this.images.forEach((image, index) => {
          // 根据图片数量和泳道数量计算每张图片应该放在哪个泳道
          const laneIndex = index % this.laneCount;
          lanes[laneIndex].push(image);
        });

        return lanes;
      },
      laneWidth() {
        // 计算泳道的宽度百分比,以确保它们平均分布在容器中
        return 100 / this.laneCount;
      },
    },
  };
  </script>

  <style>
  .waterfall-container {
    display: flex;
    flex-wrap: wrap;
    /* 使用 Flex 布局并允许泳道换行 */
  }

  .lane {
    display: flex;
    /* 泳道中的图片从上到下排列 */
    flex-direction: column;
  }

  .item {
    background-color: blanchedalmond;
    padding: 5px;
    box-sizing: border-box;
    margin: 5px;
    /* 设置图片项的样式,包括间隙 */
  }
  </style>
效果如下
2. v-masonry
2.1 什么是v-masonry
Vue-Masonry 是一个用于 Vue.js 的瀑布流布局插件,它基于 Masonry 布局库,可以帮助你创建灵活的、瀑布流风格的网格布局。这种布局常用于展示不同高度的项目,使它们以整齐的方式排列在网页上。
2.2 v-masonry主要特点和用法
-
易于使用:Vue-Masonry 提供了简单的 Vue 组件,只需将项目包装在 标签内,就可以轻松地实现瀑布流布局。
-
自适应布局:Vue-Masonry 自动处理项目的高度不一致,确保它们在网格中以最佳方式排列。
-
可定制性:你可以通过设置属性来自定义布局,例如指定列数、列之间的间距、项目之间的间距等。
-
动态添加项目:你可以在 Vue 组件中动态添加或移除项目,Vue-Masonry 会自动重新排列项目,而无需手动干预。
-
响应式设计:Vue-Masonry 可以适应不同屏幕尺寸,从而在移动设备和桌面设备上都具有良好的显示效果。
-
支持过渡动画:你可以通过 Vue 的过渡动画系统为项目添加过渡效果,使项目的添加和移除更加平滑。
2.3 安装及使用
- 安装:
npm install vue-masonry --save
或
yarn add vue-masonry
- 导入
// 在你的组件中导入 Vue Masonry
import VueMasonry from 'vue-masonry';

// 注册 Vue Masonry 插件
Vue.use(VueMasonry);
- 使用
<template>
  <div v-masonry class="container" :options="masonryOptions">
    <div
        v-masonry-tile
        v-for="(item, index) in items"
        :key="index"
        :style="{
          width: `${100 / imagePerRow}%`
        }"
    >
        <!-- 你的元素内容 -->
    </div>
  </div>
</template>

<script>
export default {
  data() {
    return {
      items: [
        // 你的项目数据
      ],
      imagePerRow: 3, // 设置每行显示的图片数量,可以根据需要更改
      masonryOptions: {
        // 可以在此添加其他配置选项
      },
    };
  }
}
</script>


 1042
1042

 被折叠的 条评论
为什么被折叠?
被折叠的 条评论
为什么被折叠?
 到【灌水乐园】发言


