


Lesson 6
重构源代码,下面将按照光栅器运行的顺序来介绍代码
读取模型
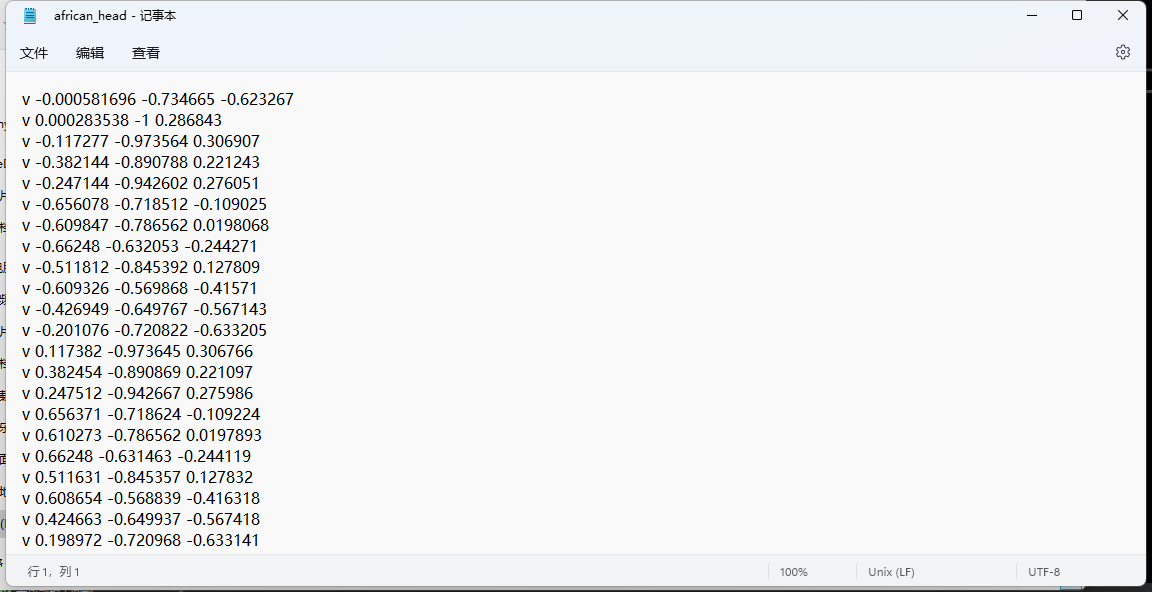
读取模型就是读取OBJ文件里的一系列数据,OBJ文件用文本方式打开就可以看见
#ifndef __MODEL_H__
#define __MODEL_H__
#include <vector>
#include <string>
#include "geometry.h"
#include "tgaimage.h"

class Model {
private:
    std::vector<Vec3f> verts_; //储存三角形顶点数据,v开头
    std::vector<std::vector<Vec3i> > faces_; //面数据,Vec3i保存的是 v/vt/vn
    std::vector<Vec3f> norms_; //储存顶点的法向量 vn开头
    std::vector<Vec2f> uv_;    //储存纹理坐标 vt开头
    TGAImage diffusemap_;
    TGAImage normalmap_;
    TGAImage specularmap_;
    //加载纹理
    void load_texture(std::string filename, const char* suffix, TGAImage& img);
public:
    Model(const char* filename);
    ~Model();
    int nverts(); //返回顶点数量
    int nfaces(); //返回面数量
    Vec3f normal(int iface, int nthvert); //返回顶点法向量序号
    Vec3f normal(Vec2f uv);
    Vec3f vert(int i); //通过序号,返回顶点
    Vec3f vert(int iface, int nthvert);//返回顶点序号
    Vec2f uv(int iface, int nthvert); //返回纹理坐标序号
    TGAColor diffuse(Vec2f uv);
    float specular(Vec2f uv);
    std::vector<int> face(int idx); //返回一个面的三个顶点
};
#endif //__MODEL_H__
#include <iostream>
#include <fstream>
#include <sstream>
#include "model.h"

Model::Model(const char* filename) : verts_(), faces_(), norms_(), uv_(), diffusemap_(), normalmap_(), specularmap_() {
    std::ifstream in;
    in.open(filename, std::ifstream::in);
    if (in.fail()) return;
    std::string line;
    while (!in.eof()) {
        std::getline(in, line);
        std::istringstream iss(line.c_str());
        char trash;
        if (!line.compare(0, 2, "v ")) { 				//读入顶点数据
            iss >> trash;
            Vec3f v;
            for (int i = 0; i < 3; i++) iss >> v[i];
            verts_.push_back(v);
        }
        else if (!line.compare(0, 3, "vn ")) {			//读入顶点法向量数据
            iss >> trash >> trash;
            Vec3f n;
            for (int i = 0; i < 3; i++) iss >> n[i];
            norms_.push_back(n);
        }
        else if (!line.compare(0, 3, "vt ")) {			//读入纹理坐标数据
            iss >> trash >> trash;
            Vec2f uv;
            for (int i = 0; i < 2; i++) iss >> uv[i];
            uv_.push_back(uv);
        }
        else if (!line.compare(0, 2, "f ")) {			//读入面数据
            std::vector<Vec3i> f;
            Vec3i tmp;
            iss >> trash;
            while (iss >> tmp[0] >> trash >> tmp[1] >> trash >> tmp[2]) {
                for (int i = 0; i < 3; i++) tmp[i]--; // in wavefront obj all indices start at 1, not zero
                f.push_back(tmp);
            }
            faces_.push_back(f);
        }
    }
    std::cerr << "# v# " << verts_.size() << " f# " << faces_.size() << " vt# " << uv_.size() << " vn# " << norms_.size() << std::endl;
    //加载纹理
    load_texture(filename, "_diffuse.tga", diffusemap_);
    load_texture(filename, "_nm.tga", normalmap_);
    load_texture(filename, "_spec.tga", specularmap_);
}

Model::~Model() {}

int Model::nverts() {
    return (int)verts_.size();
}

int Model::nfaces() {
    return (int)faces_.size();
}

std::vector<int> Model::face(int idx) {
    std::vector<int> face;
    for (int i = 0; i < (int)faces_[idx].size(); i++) face.push_back(faces_[idx][i][0]);
    return face;
}

Vec3f Model::vert(int i) {
    return verts_[i];
}

Vec3f Model::vert(int iface, int nthvert) {
    return verts_[faces_[iface][nthvert][0]];
}

void Model::load_texture(std::string filename, const char* suffix, TGAImage& img) {
    std::string texfile(filename);
    size_t dot = texfile.find_last_of(".");
    if (dot != std::string::npos) {
        texfile = texfile.substr(0, dot) + std::string(suffix);
        std::cerr << "texture file " << texfile << " loading " << (img.read_tga_file(texfile.c_str()) ? "ok" : "failed") << std::endl;
        img.flip_vertically();
    }
}

TGAColor Model::diffuse(Vec2f uvf) {
    Vec2i uv(uvf[0] * diffusemap_.get_width(), uvf[1] * diffusemap_.get_height());
    return diffusemap_.get(uv[0], uv[1]);
}

Vec3f Model::normal(Vec2f uvf) {
    Vec2i uv(uvf[0] * normalmap_.get_width(), uvf[1] * normalmap_.get_height());
    TGAColor c = normalmap_.get(uv[0], uv[1]);
    Vec3f res;
    for (int i = 0; i < 3; i++)
        res[2 - i] = (float)c[i] / 255.f * 2.f - 1.f;
    return res;
}

Vec2f Model::uv(int iface, int nthvert) {
    return uv_[faces_[iface][nthvert][1]];
}

float Model::specular(Vec2f uvf) {
    Vec2i uv(uvf[0] * specularmap_.get_width(), uvf[1] * specularmap_.get_height());
    return specularmap_.get(uv[0], uv[1])[0] / 1.f;
}

Vec3f Model::normal(int iface, int nthvert) {
    int idx = faces_[iface][nthvert][2];
    return norms_[idx].normalize();
}
这就是导入模型数据的主要代码,其中涉及到TGA格式文件的使用,我也没太弄懂,但这不重要,我们的目的不是为了搞懂文件的具体编码,关注点应该放在渲染上面。
计算矩阵
模型导入完成后,现在需要对几个顶点着色器涉及到的矩阵进行计算处理
    lookat(eye, center, up);                                            //视图变换
    projection(-1.f / (eye - center).norm());                           //投影变换
    viewport(width / 8, height / 8, width * 3 / 4, height * 3 / 4);     //视角矩阵
    light_dir.normalize();                                              //光源
视图变换
视图变换的推导可以查看视图变换,视图变换的目的就是把世界空间变成摄像机空间,以摄像机为中心,这里变换的最终结果就是摄像机的聚焦点center移到了原点,摄像机位于-z方向看向原点,也就是看向center
void lookat(Vec3f eye, Vec3f center, Vec3f up) {
    Vec3f z = (eye - center).normalize();
    Vec3f x = cross(up, z).normalize();
    Vec3f y = cross(z, x).normalize();
    ModelView = Matrix::identity();
    Matrix translaition = Matrix::identity();
    Matrix rotation = Matrix::identity();
    for (int i = 0; i < 3; i++) {
        translaition[i][3] = -center[i];
    }
    for (int i = 0; i < 3; i++) {
        rotation[0][i] = x[i];
        rotation[1][i] = y[i];
        rotation[2][i] = z[i];
    }
    ModelView = rotation * translaition;
}
投影变换
这里采用的是透视投影,关于透视投影的推导可以查看投影
void projection(float coeff) {
    Projection = Matrix::identity();
    Projection[3][2] = coeff; //coeff = -1/c
}
视角矩阵
//视图矩阵,把模型坐标的(-1,1)转换成屏幕坐标的(100,700)
//zbuffer从(-1,1)转换成0~255
void viewport(int x, int y, int w, int h) {
    Viewport = Matrix::identity();
    Viewport[0][3] = x + w / 2.f;
    Viewport[1][3] = y + h / 2.f;
    Viewport[2][3] = 255.f / 2.f;
    Viewport[0][0] = w / 2.f;
    Viewport[1][1] = h / 2.f;
    Viewport[2][2] = 255.f / 2.f;
}
最后得到的 Viewport 矩阵是
300 0 0 400
0 300 0 400
0 0 255/2 255/2
0 0 0 0
当一个顶点(x ,y , z, 1)和这个视角矩阵相乘时,得到的结果是
(300x+400,300y+400,255/2*z+255/2,0)显然可以看出,模型坐标的(-1,1)转换成了屏幕坐标的(100,700),zbuffer从(-1,1)转换成0~255
初始化image和zbuffer
TGAImage image(width, height, TGAImage::RGB);
TGAImage zbuffer(width, height, TGAImage::GRAYSCALE);
同样,关于TGA格式文件的详细内容不会进行文字说明
初始化着色器
//这里采用高洛德着色
GouraudShader shader;
struct GouraudShader : public IShader {
    //顶点着色器会将数据写入varying_intensity
    //片元着色器从varying_intensity中读取数据
    Vec3f varying_intensity;
    mat<2, 3, float> varying_uv;
    //接受两个变量,(面序号,顶点序号)
    virtual Vec4f vertex(int iface, int nthvert) {
        //根据面序号和顶点序号读取模型对应顶点,并扩展为4维
        Vec4f gl_Vertex = embed<4>(model->vert(iface, nthvert));
        varying_uv.set_col(nthvert, model->uv(iface, nthvert));
        //变换顶点坐标到屏幕坐标(视角矩阵*投影矩阵*变换矩阵*v)
        //先进行视图变换,把世界空间转换到摄像机空间,再进行投影变换,把三维空间变成二维空间,即图片
        mat<4, 4, float> uniform_M = Projection * ModelView;
        mat<4, 4, float> uniform_MIT = ModelView.invert_transpose();
        gl_Vertex = Viewport * uniform_M * gl_Vertex;
        //计算光照强度(顶点法向量*光照方向)
        Vec3f normal = proj<3>(embed<4>(model->normal(iface, nthvert))).normalize();
        varying_intensity[nthvert] = std::max(0.f, model->normal(iface, nthvert) * light_dir); // get diffuse lighting intensity
        return gl_Vertex;
    }
    //根据传入的质心坐标,颜色,以及varying_intensity计算出当前像素的颜色
    virtual bool fragment(Vec3f bar, TGAColor& color) {
        Vec2f uv = varying_uv * bar;
        TGAColor c = model->diffuse(uv);
        float intensity = varying_intensity * bar;
        color = c * intensity;
        return false;
    }
};
绘制
    for (int i = 0; i < model->nfaces(); i++) {
        Vec4f screen_coords[3];
        for (int j = 0; j < 3; j++) {
            screen_coords[j] = shader.vertex(i, j);//为三角形的每个顶点调用顶点着色器
        }
        Vec2i uv[3];
        for (int k = 0; k < 3; k++) {
            uv[k] = model->uv(i, k);
        }
        triangle(screen_coords, shader, image, zbuffer);
    }
    image.flip_vertically();
    image.write_tga_file("output.tga");
循环遍历每个面,再遍历每个面的三个顶点,为三个顶点调用顶点着色器进行处理,处理结束后,对这个三角形面再进行绘制
绘制三角形
void triangle(Vec4f* pts, IShader& shader, TGAImage& image, TGAImage& zbuffer) {
    //初始化三角形边界框
    Vec2f bboxmin(std::numeric_limits<float>::max(), std::numeric_limits<float>::max());
    Vec2f bboxmax(-std::numeric_limits<float>::max(), -std::numeric_limits<float>::max());
    for (int i = 0; i < 3; i++) {
        for (int j = 0; j < 2; j++) {
            //这里pts除以了最后一个分量,实现了透视中的缩放,所以作为边界框
            bboxmin[j] = std::min(bboxmin[j], pts[i][j] / pts[i][3]);
            bboxmax[j] = std::max(bboxmax[j], pts[i][j] / pts[i][3]);
        }
    }
    //当前像素坐标P,颜色color
    Vec2i P;
    TGAColor color;
    //遍历边界框中的每一个像素
    for (P.x = bboxmin.x; P.x <= bboxmax.x; P.x++) {
        for (P.y = bboxmin.y; P.y <= bboxmax.y; P.y++) {
            //c为当前P对应的质心坐标
            //这里pts除以了最后一个分量,实现了透视中的缩放,所以用于判断P是否在三角形内
            Vec3f c = barycentric(proj<2>(pts[0] / pts[0][3]), proj<2>(pts[1] / pts[1][3]), proj<2>(pts[2] / pts[2][3]), proj<2>(P));
            //插值计算P的zbuffer
            //pts[i]为三角形的三个顶点
            //pts[i][2]为三角形的z信息(0~255)
            //pts[i][3]为三角形的投影系数(1-z/c)

            float z_P = (pts[0][2] / pts[0][3]) * c.x + (pts[0][2] / pts[1][3]) * c.y + (pts[0][2] / pts[2][3]) * c.z;
            int frag_depth = std::max(0, std::min(255, int(z_P + .5)));
            //P的任一质心分量小于0或者zbuffer小于已有zbuffer,不渲染
            if (c.x < 0 || c.y < 0 || c.z<0 || zbuffer.get(P.x, P.y)[0]>frag_depth) continue;
            //调用片元着色器计算当前像素颜色
            bool discard = shader.fragment(c, color);
            //通过判断片元着色器的返回值来丢弃当前像素
            if (!discard) {
                //zbuffer
                zbuffer.set(P.x, P.y, TGAColor(frag_depth));
                //为像素设置颜色
                image.set(P.x, P.y, color);
            }
        }
    }

}
到这里我们的基本的绘制就结束了,这就是绘制一个三角形面的步骤,对于一个模型,我们这只需要不断地重复这些步骤就行了。
接下来是一些功能函数
功能函数
计算重心坐标
计算重心坐标的推导可以看重心坐标
Vec3f barycentric(Vec2f A, Vec2f B, Vec2f C, Vec2f P) {
    Vec3f s[2];
    for (int i = 2; i--; ) {
        s[i][0] = C[i] - A[i];
        s[i][1] = B[i] - A[i];
        s[i][2] = A[i] - P[i];
    }
    Vec3f u = cross(s[0], s[1]);
    if (std::abs(u[2]) > 1e-2)
        return Vec3f(1.f - (u.x + u.y) / u.z, u.y / u.z, u.x / u.z);
    return Vec3f(-1, 1, 1);
}
着色器基类
struct IShader {
    virtual ~IShader();
    virtual Vec4f vertex(int iface, int nthvert) = 0;
    virtual bool fragment(Vec3f bar, TGAColor& color) = 0;
};
上面涉及到TGA文件的代码我没有讲解,因为源码较为繁杂,我也没咋看,并且不是此次课程的重点,只需要知道TGA的函数的功能即可,就略过。不了解TGA文件并不会影响渲染部分的代码的阅读。
复习一下步骤
读取模型数据->初始化矩阵->初始化着色器->对顶点进行顶点着色器处理->绘制处理完的顶点形成的面->重复


 303
303


 被折叠的 条评论
为什么被折叠?
被折叠的 条评论
为什么被折叠?
 到【灌水乐园】发言


