


根据业务需求,需要引入富文本,选择tinymce
文末可直接拉取代码,开箱即用
安装
官方文档:tinymce官网
需要在官方后台申请key,才可以使用全功能
本次示例是基于vue2项目的介绍
如果是vue3,使用
npm install --save tinymce "@tinymce/tinymce-vue@^5"

如果是vue2,使用
npm install --save tinymce "@tinymce/tinymce-vue@^3"
使用
最基本的使用
PS:如果报错,检查一下版本,可能版本不对应
<template>
  <Editor
     api-key="your-api-key"
    :init="{
      plugins: 'lists link image table code help wordcount'
    }"
  />
</template>

<script>
import Editor from '@tinymce/tinymce-vue';
export default {
  components: { Editor },v
}
</script>
如果需要绑定值可获取可传递,可以加个v-model=“value”
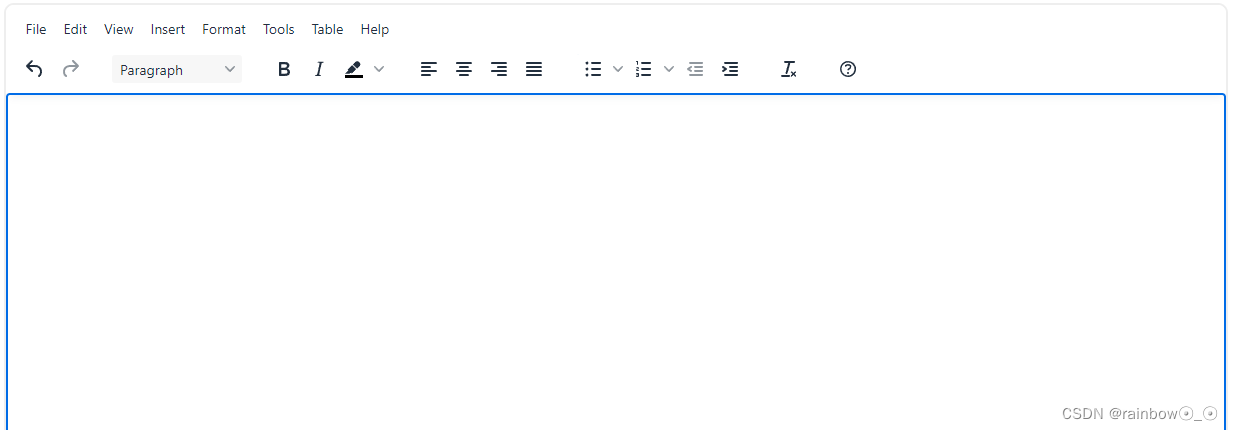
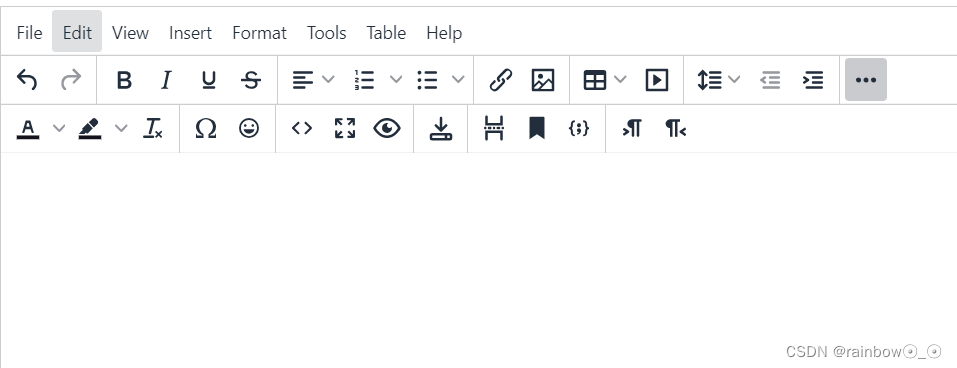
完善功能init设置
具体啥功能啥介绍自己翻文档看tinymce官网
完整代码
<template>
  <Editor
    api-key="your-key"
    v-model="editValue"
    :init="setting"
  />
</template>

<script>
import Editor from '@tinymce/tinymce-vue';
export default {
  components: { Editor },
  props: {
    height: { type: String, default: '400px' },
    value: { type: String, default: '' },
  },
  data() {
    return {
      editValue: '',
    };
  },
  computed: {
    setting() {
      return {
        plugins:
          'preview importcss searchreplace autolink autosave save directionality code visualblocks visualchars fullscreen image link media codesample table charmap pagebreak nonbreaking anchor insertdatetime advlist lists wordcount help charmap quickbars emoticons template',
        editimage_cors_hosts: ['picsum.photos'],
        menubar: 'file edit view insert format tools table help', // 菜单
        toolbar:
          'undo redo | blocks fontfamily fontsize | bold italic underline strikethrough | align numlist bullist | link image | table media | lineheight outdent indent| forecolor backcolor removeformat | charmap emoticons | code fullscreen preview | save print | pagebreak anchor codesample | ltr rtl', // 导航栏
        link_list: [
          // 配置链接列表
          { title: 'My page 1', value: 'https://www.tiny.cloud' },
          { title: 'My page 2', value: 'http://www.moxiecode.com' },
        ],
        autosave_ask_before_unload: true,
        autosave_interval: '30s',
        autosave_prefix: '{path}{query}-{id}-',
        autosave_restore_when_empty: false,
        autosave_retention: '2m',
        toolbar_mode: 'sliding',
        // quickbars_selection_toolbar: 'bold italic | quicklink h2 h3 blockquote quickimage quicktable', // 配置快速工具栏
        noneditable_class: 'mceNonEditable',
        contextmenu: 'link image table',
        image_advtab: true,
        images_upload_url: '/home/file/upload', // 图片上传的 URL
        images_upload_handler: function (blobInfo, success, failure) {
          this.handleImageUpload(blobInfo, success, failure);
        }.bind(this), // 处理图片上传的方法
        height: this.height,
      };
    },
  },
  // watch: {
  //   editValue(v) {
  //     console.log(v);
  //   },
  // },
  methods: {
    // 上传图片
    handleImageUpload(blobInfo, success, failure) {
      console.log('2', blobInfo, success, failure);
      const xhr = new XMLHttpRequest();
      xhr.withCredentials = false;
      xhr.open('POST', '/home/file/upload'); // 后端处理图片上传的 URL
      xhr.onload = () => {
        if (xhr.status === 0) {
          success(xhr.responseText); // 图片上传成功
        } else {
          this.$message.error('上传失败');
          failure && failure('上传失败'); // 图片上传失败
        }
      };
      xhr.send(blobInfo.blob());
    },
  },
};
</script>


 3453
3453


 被折叠的 条评论
为什么被折叠?
被折叠的 条评论
为什么被折叠?
 到【灌水乐园】发言


