


这本次实验中,需要我们控制的只是我们在底部点击后,中间的fragment能够相应的进行轮转即可
而为了控制这样一个事件,我们需要做两件事:
1.监听我们对底部控件的点击
2.将监听到的底部点击事件,传递给fragment的事件控制
top层
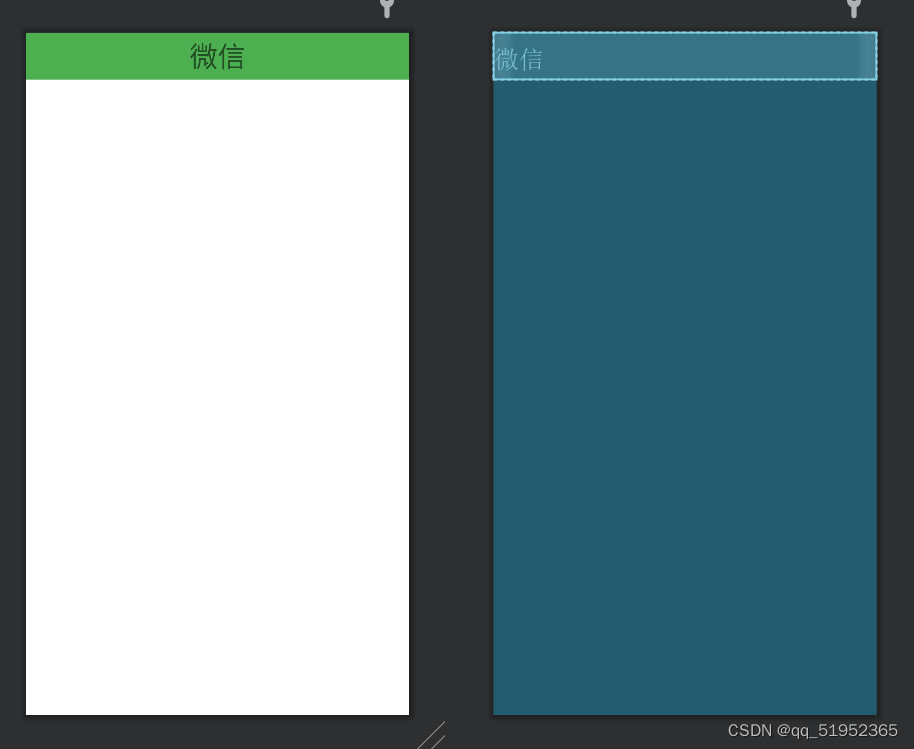
top层xml代码如下
// A code block
var foo = 'bar';
// An highlighted block
<?xml version="1.0" encoding="utf-8"?>
<LinearLayout xmlns:android="http://schemas.android.com/apk/res/android"
    android:layout_width="match_parent"
    android:layout_height="50dp"
    android:background="#4CAF50">

    <TextView
        android:id="@+id/微信"
        android:layout_width="0dp"
        android:layout_height="match_parent"
        android:layout_weight="1"
        android:gravity="center"
        android:text="@string/微信"
        android:textSize="30sp" />
</LinearLayout>
bottom层
在一级linearlayout下再放置4个linearlayout,每个二级linearlayout下分别再放置一个imageview和一个textview用于展示所要点击的图标与文字描述
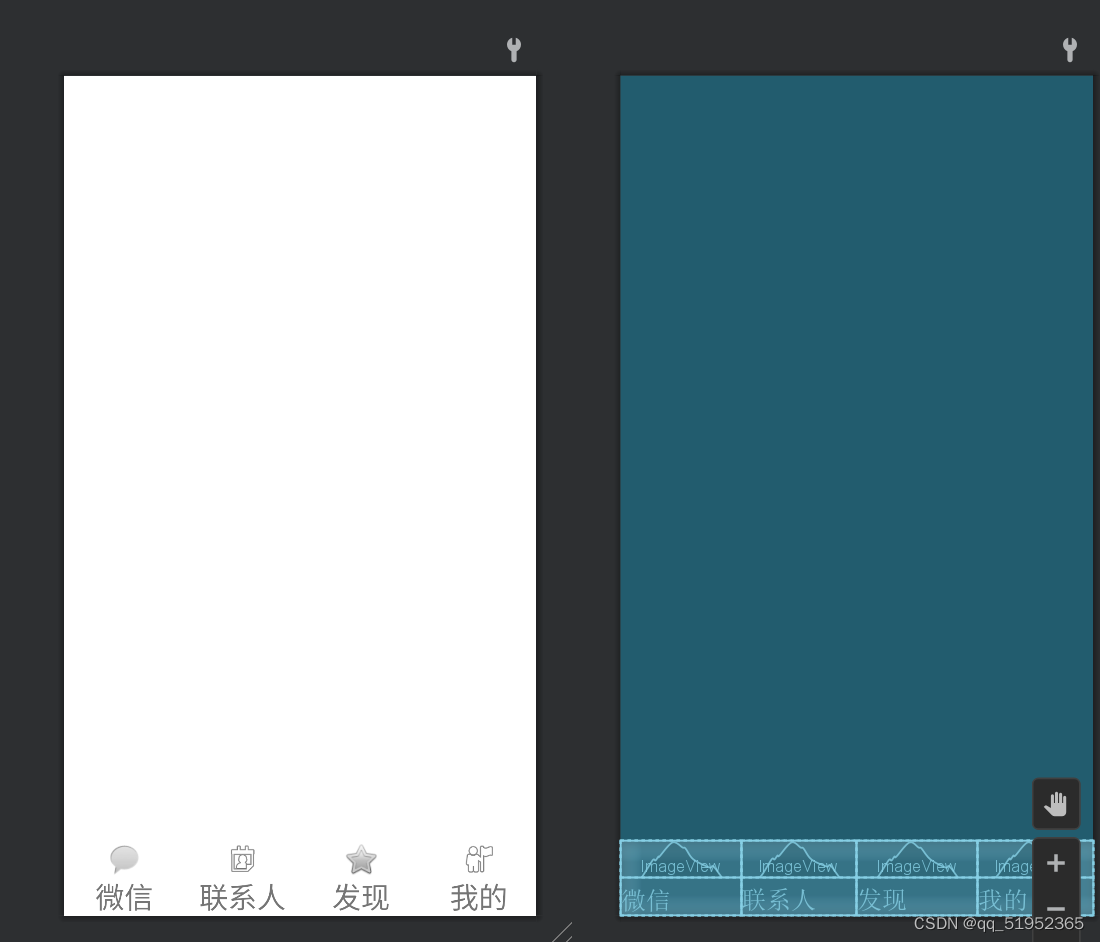
bottom层xml代码如下
下面展示一些 内联代码片。
// A code block
var foo = 'bar';
// An highlighted block
<?xml version="1.0" encoding="utf-8"?>
<LinearLayout xmlns:android="http://schemas.android.com/apk/res/android"
    xmlns:app="http://schemas.android.com/apk/res-auto"
    android:layout_width="match_parent"
    android:layout_height="wrap_content"
    android:layout_gravity="bottom"
    android:orientation="horizontal">

    <LinearLayout
        android:id="@+id/linearLayout1"
        android:layout_width="105dp"
        android:layout_height="match_parent"
        android:orientation="vertical">

        <ImageView
            android:id="@+id/imageView"
            android:layout_width="match_parent"
            android:layout_height="wrap_content"
            app:srcCompat="@android:drawable/sym_action_chat" />

        <TextView
            android:id="@+id/message"
            android:layout_width="match_parent"
            android:layout_height="wrap_content"
            android:gravity="center"
            android:text="微信"
            android:textSize="25sp" />
    </LinearLayout>

    <LinearLayout
        android:id="@+id/linearLayout2"
        android:layout_width="101dp"
        android:layout_height="match_parent"
        android:orientation="vertical">

        <ImageView
            android:id="@+id/imageView2"
            android:layout_width="match_parent"
            android:layout_height="wrap_content"
            app:srcCompat="@android:drawable/ic_menu_my_calendar" />

        <TextView
            android:id="@+id/contact"
            android:layout_width="match_parent"
            android:layout_height="wrap_content"
            android:gravity="center"
            android:text="联系人"
            android:textSize="25sp" />
    </LinearLayout>

    <LinearLayout
        android:id="@+id/linearLayout3"
        android:layout_width="105dp"
        android:layout_height="match_parent"
        android:orientation="vertical">

        <ImageView
            android:id="@+id/imageView3"
            android:layout_width="match_parent"
            android:layout_height="wrap_content"
            app:srcCompat="@android:drawable/btn_star" />

        <TextView
            android:id="@+id/find"
            android:layout_width="105dp"
            android:layout_height="wrap_content"
            android:gravity="center"
            android:text="发现"
            android:textSize="25sp" />
    </LinearLayout>

    <LinearLayout
        android:id="@+id/linearLayout4"
        android:layout_width="match_parent"
        android:layout_height="match_parent"
        android:orientation="vertical">

        <ImageView
            android:id="@+id/imageView4"
            android:layout_width="match_parent"
            android:layout_height="wrap_content"
            app:srcCompat="@android:drawable/ic_menu_myplaces" />

        <TextView
            android:id="@+id/config"
            android:layout_width="match_parent"
            android:layout_height="wrap_content"
            android:gravity="center"
            android:text="我的"
            android:textSize="25sp" />
    </LinearLayout>
</LinearLayout>
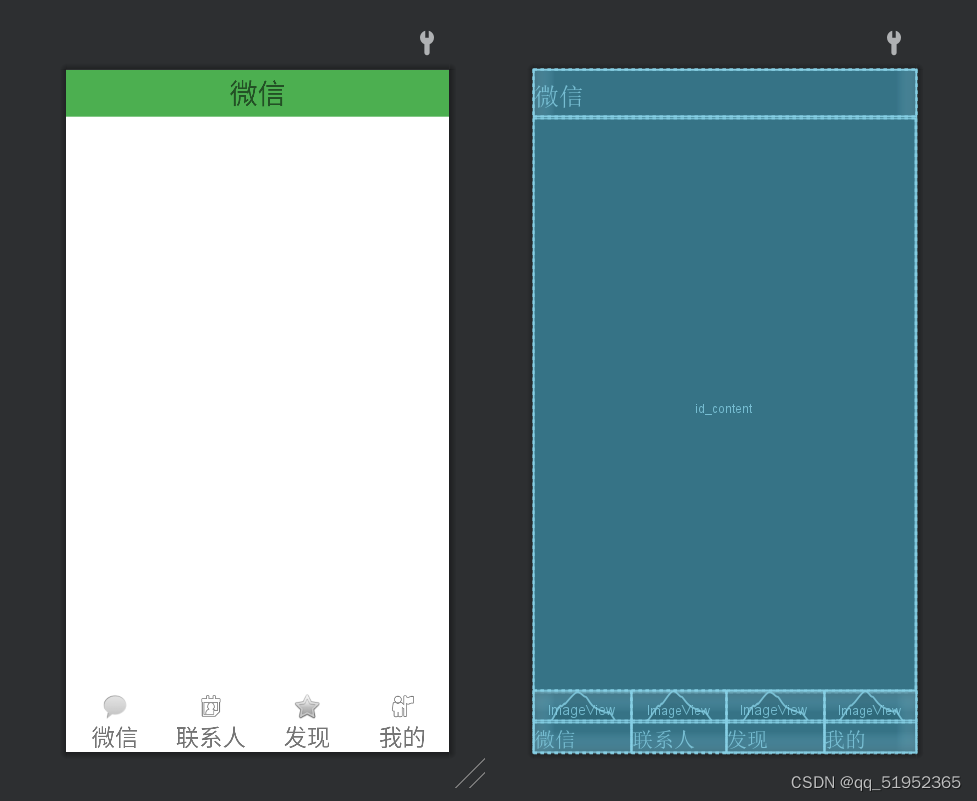
在mainactivity.xml中将botton.xml和top.xml包含进去,并在中间加入一个framelayout用于展示页面信息
下面展示一些 内联代码片。
// A code block
var foo = 'bar';
// An highlighted block
<?xml version="1.0" encoding="utf-8"?>
<androidx.constraintlayout.widget.ConstraintLayout xmlns:android="http://schemas.android.com/apk/res/android"
    xmlns:app="http://schemas.android.com/apk/res-auto"
    xmlns:tools="http://schemas.android.com/tools"
    android:layout_width="match_parent"
    android:layout_height="match_parent"
    tools:context=".MainActivity">

    <LinearLayout
        android:id="@+id/linearLayout"
        android:layout_width="match_parent"
        android:layout_height="50dp"
        android:background="#4CAF50"
        app:layout_constraintEnd_toEndOf="parent"
        app:layout_constraintStart_toStartOf="parent"
        app:layout_constraintTop_toTopOf="parent">

        <TextView
            android:id="@+id/微信"
            android:layout_width="0dp"
            android:layout_height="match_parent"
            android:layout_weight="1"
            android:gravity="center"
            android:text="@string/微信"
            android:textSize="30sp" />
    </LinearLayout>

    <FrameLayout
        android:id="@+id/id_content"
        android:layout_width="409dp"
        android:layout_height="614dp"
        android:layout_marginTop="2dp"
        android:layout_marginEnd="2dp"
        android:layout_weight="1"
        app:layout_constraintBottom_toTopOf="@+id/linearLayout5"
        app:layout_constraintEnd_toEndOf="parent"
        app:layout_constraintStart_toStartOf="parent"
        app:layout_constraintTop_toBottomOf="@+id/linearLayout">

    </FrameLayout>

    <LinearLayout
        android:id="@+id/linearLayout5"
        android:layout_width="match_parent"
        android:layout_height="wrap_content"
        android:layout_gravity="bottom"
        android:background="#00FFFFFF"
        android:orientation="horizontal"
        app:layout_constraintBottom_toBottomOf="parent"
        app:layout_constraintEnd_toEndOf="parent"
        app:layout_constraintStart_toStartOf="parent">

        <LinearLayout
            android:id="@+id/linearLayout1"
            android:layout_width="105dp"
            android:layout_height="match_parent"
            android:orientation="vertical">

            <ImageView
                android:id="@+id/imageView"
                android:layout_width="match_parent"
                android:layout_height="wrap_content"
                android:contentDescription="@string/todo"
                app:srcCompat="@android:drawable/sym_action_chat"
                tools:ignore="ImageContrastCheck" />

            <TextView
                android:id="@+id/message"
                android:layout_width="match_parent"
                android:layout_height="wrap_content"
                android:gravity="center"
                android:text="@string/weixin"
                android:textSize="25sp" />
        </LinearLayout>

        <LinearLayout
            android:id="@+id/linearLayout2"
            android:layout_width="101dp"
            android:layout_height="match_parent"
            android:orientation="vertical">

            <ImageView
                android:id="@+id/imageView2"
                android:layout_width="match_parent"
                android:layout_height="wrap_content"
                android:contentDescription="TODO"
                app:srcCompat="@android:drawable/ic_menu_my_calendar"
                tools:ignore="ImageContrastCheck" />

            <TextView
                android:id="@+id/contact"
                android:layout_width="match_parent"
                android:layout_height="wrap_content"
                android:gravity="center"
                android:text="@string/lianxiren"
                android:textSize="25sp" />
        </LinearLayout>

        <LinearLayout
            android:id="@+id/linearLayout3"
            android:layout_width="105dp"
            android:layout_height="match_parent"
            android:orientation="vertical">

            <ImageView
                android:id="@+id/imageView3"
                android:layout_width="match_parent"
                android:layout_height="wrap_content"
                android:contentDescription="@string/todo2"
                app:srcCompat="@android:drawable/btn_star"
                tools:ignore="ImageContrastCheck" />

            <TextView
                android:id="@+id/find"
                android:layout_width="105dp"
                android:layout_height="wrap_content"
                android:gravity="center"
                android:text="@string/faxian"
                android:textSize="25sp" />
        </LinearLayout>

        <LinearLayout
            android:id="@+id/linearLayout4"
            android:layout_width="match_parent"
            android:layout_height="match_parent"
            android:orientation="vertical">

            <ImageView
                android:id="@+id/imageView4"
                android:layout_width="match_parent"
                android:layout_height="wrap_content"
                android:contentDescription="@string/todo1"
                app:srcCompat="@android:drawable/ic_menu_myplaces"
                tools:ignore="ImageContrastCheck" />

            <TextView
                android:id="@+id/config"
                android:layout_width="match_parent"
                android:layout_height="wrap_content"
                android:gravity="center"
                android:text="@string/wode"
                android:textSize="25sp" />
        </LinearLayout>
    </LinearLayout>
</androidx.constraintlayout.widget.ConstraintLayout>
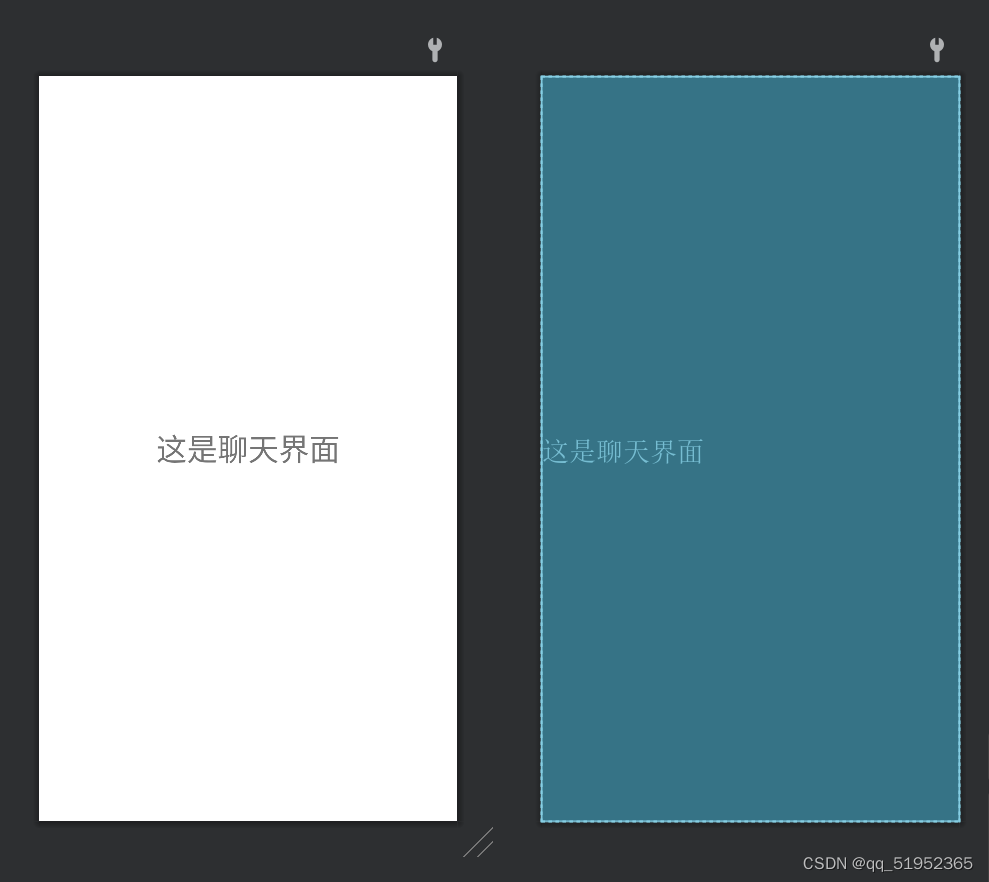
添加fragement文件并设计相应的xml布局文件
下面展示一些 内联代码片。
// A code block
var foo = 'bar';
// An highlighted block
<?xml version="1.0" encoding="utf-8"?>
<FrameLayout xmlns:android="http://schemas.android.com/apk/res/android"
    xmlns:tools="http://schemas.android.com/tools"
    android:layout_width="match_parent"
    android:layout_height="match_parent"
    tools:context=".configFragment">

    <!-- TODO: Update blank fragment layout -->
    <TextView
        android:layout_width="match_parent"
        android:layout_height="match_parent"
        android:text="@string/自己的资料"
        android:gravity="center"
        android:textSize="30sp"/>

</FrameLayout>
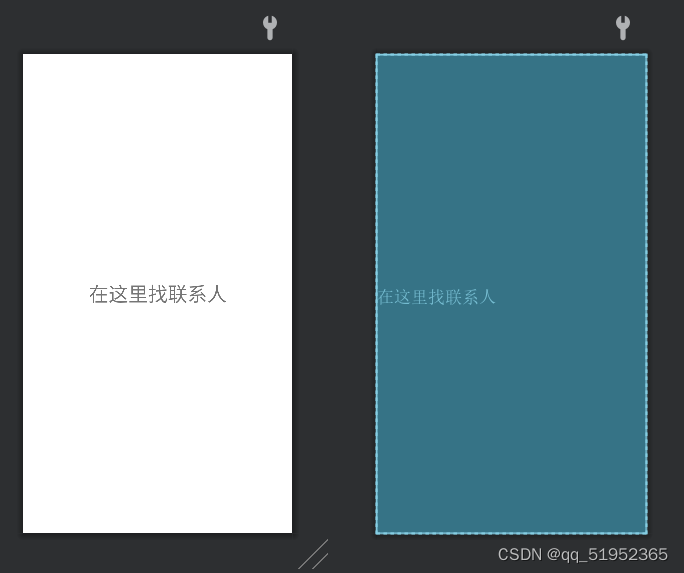
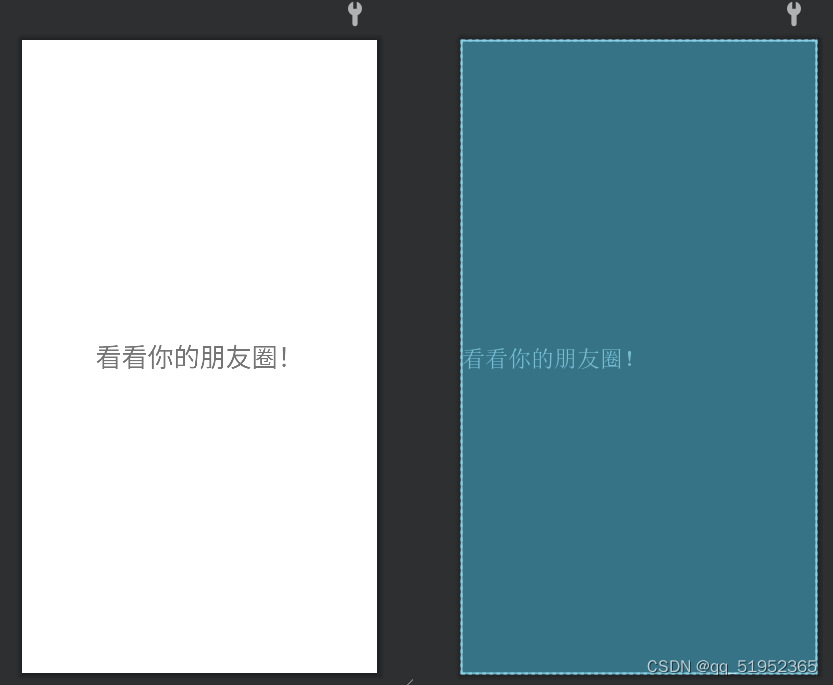
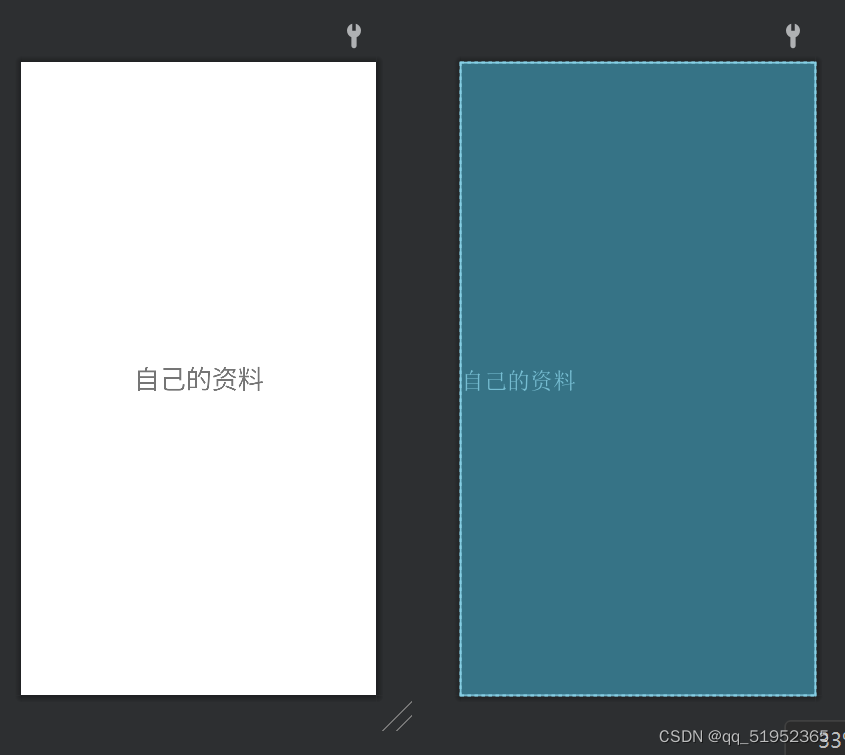
只是其中一个fragment的代码,其余三个是一样的,将android:text改一下即可。
mainactivity.java代码
下面展示一些 内联代码片。
// A code block
var foo = 'bar';
// An highlighted block
package com.example.wechat;

import androidx.appcompat.app.AppCompatActivity;
import androidx.fragment.app.FragmentManager;
import androidx.fragment.app.FragmentTransaction;

import android.graphics.Color;
import android.os.Bundle;
import android.view.View;
import android.widget.LinearLayout;

public class MainActivity extends AppCompatActivity implements View.OnClickListener{

    private LinearLayout linearLayout1,linearLayout2,linearLayout3,linearLayout4;

    private FragmentManager fragmentManager;
    private FragmentTransaction fragmentTransaction;

    @Override
    protected void onCreate(Bundle savedInstanceState)
    {
        super.onCreate(savedInstanceState);
        setContentView(R.layout.activity_main);
        initView();
        initEvent();
        linearLayout1.setBackgroundColor(Color.rgb(155,155,155));
        fragmentManager = getSupportFragmentManager();
        fragmentTransaction = fragmentManager.beginTransaction();
        fragmentTransaction.replace(R.id.id_content,new MessageFragment());
        fragmentTransaction.commit();
    }
    private void initEvent()
    {
        linearLayout1.setOnClickListener(this);
        linearLayout2.setOnClickListener(this);
        linearLayout3.setOnClickListener(this);
        linearLayout4.setOnClickListener(this);
    }
    private void initView()
    {
        linearLayout1 = findViewById(R.id.linearLayout1);
        linearLayout2 = findViewById(R.id.linearLayout2);
        linearLayout3 = findViewById(R.id.linearLayout3);
        linearLayout4 = findViewById(R.id.linearLayout4);
    }

    @Override
    public void onClick(View view)
    {
        setAllColor();
        fragmentManager = getSupportFragmentManager();
        fragmentTransaction = fragmentManager.beginTransaction();
        switch (view.getId())
        {
            case R.id.linearLayout1:
                fragmentTransaction.replace(R.id.id_content,new MessageFragment());
                linearLayout1.setBackgroundColor(Color.rgb(155,155,155));
                break;

            case R.id.linearLayout2:
                fragmentTransaction.replace(R.id.id_content,new contactFragment());
                linearLayout2.setBackgroundColor(Color.rgb(155,155,155));
                break;

            case R.id.linearLayout3:
                fragmentTransaction.replace(R.id.id_content,new findFragment());
                linearLayout3.setBackgroundColor(Color.rgb(155,155,155));
                break;

            case R.id.linearLayout4:
                fragmentTransaction.replace(R.id.id_content,new configFragment());
                linearLayout4.setBackgroundColor(Color.rgb(155,155,155));
                break;
        }
        fragmentTransaction.commit();
    }
    private void setAllColor()
    {
        linearLayout1.setBackgroundColor(Color.WHITE);
        linearLayout2.setBackgroundColor(Color.WHITE);
        linearLayout3.setBackgroundColor(Color.WHITE);
        linearLayout4.setBackgroundColor(Color.WHITE);
    }
}
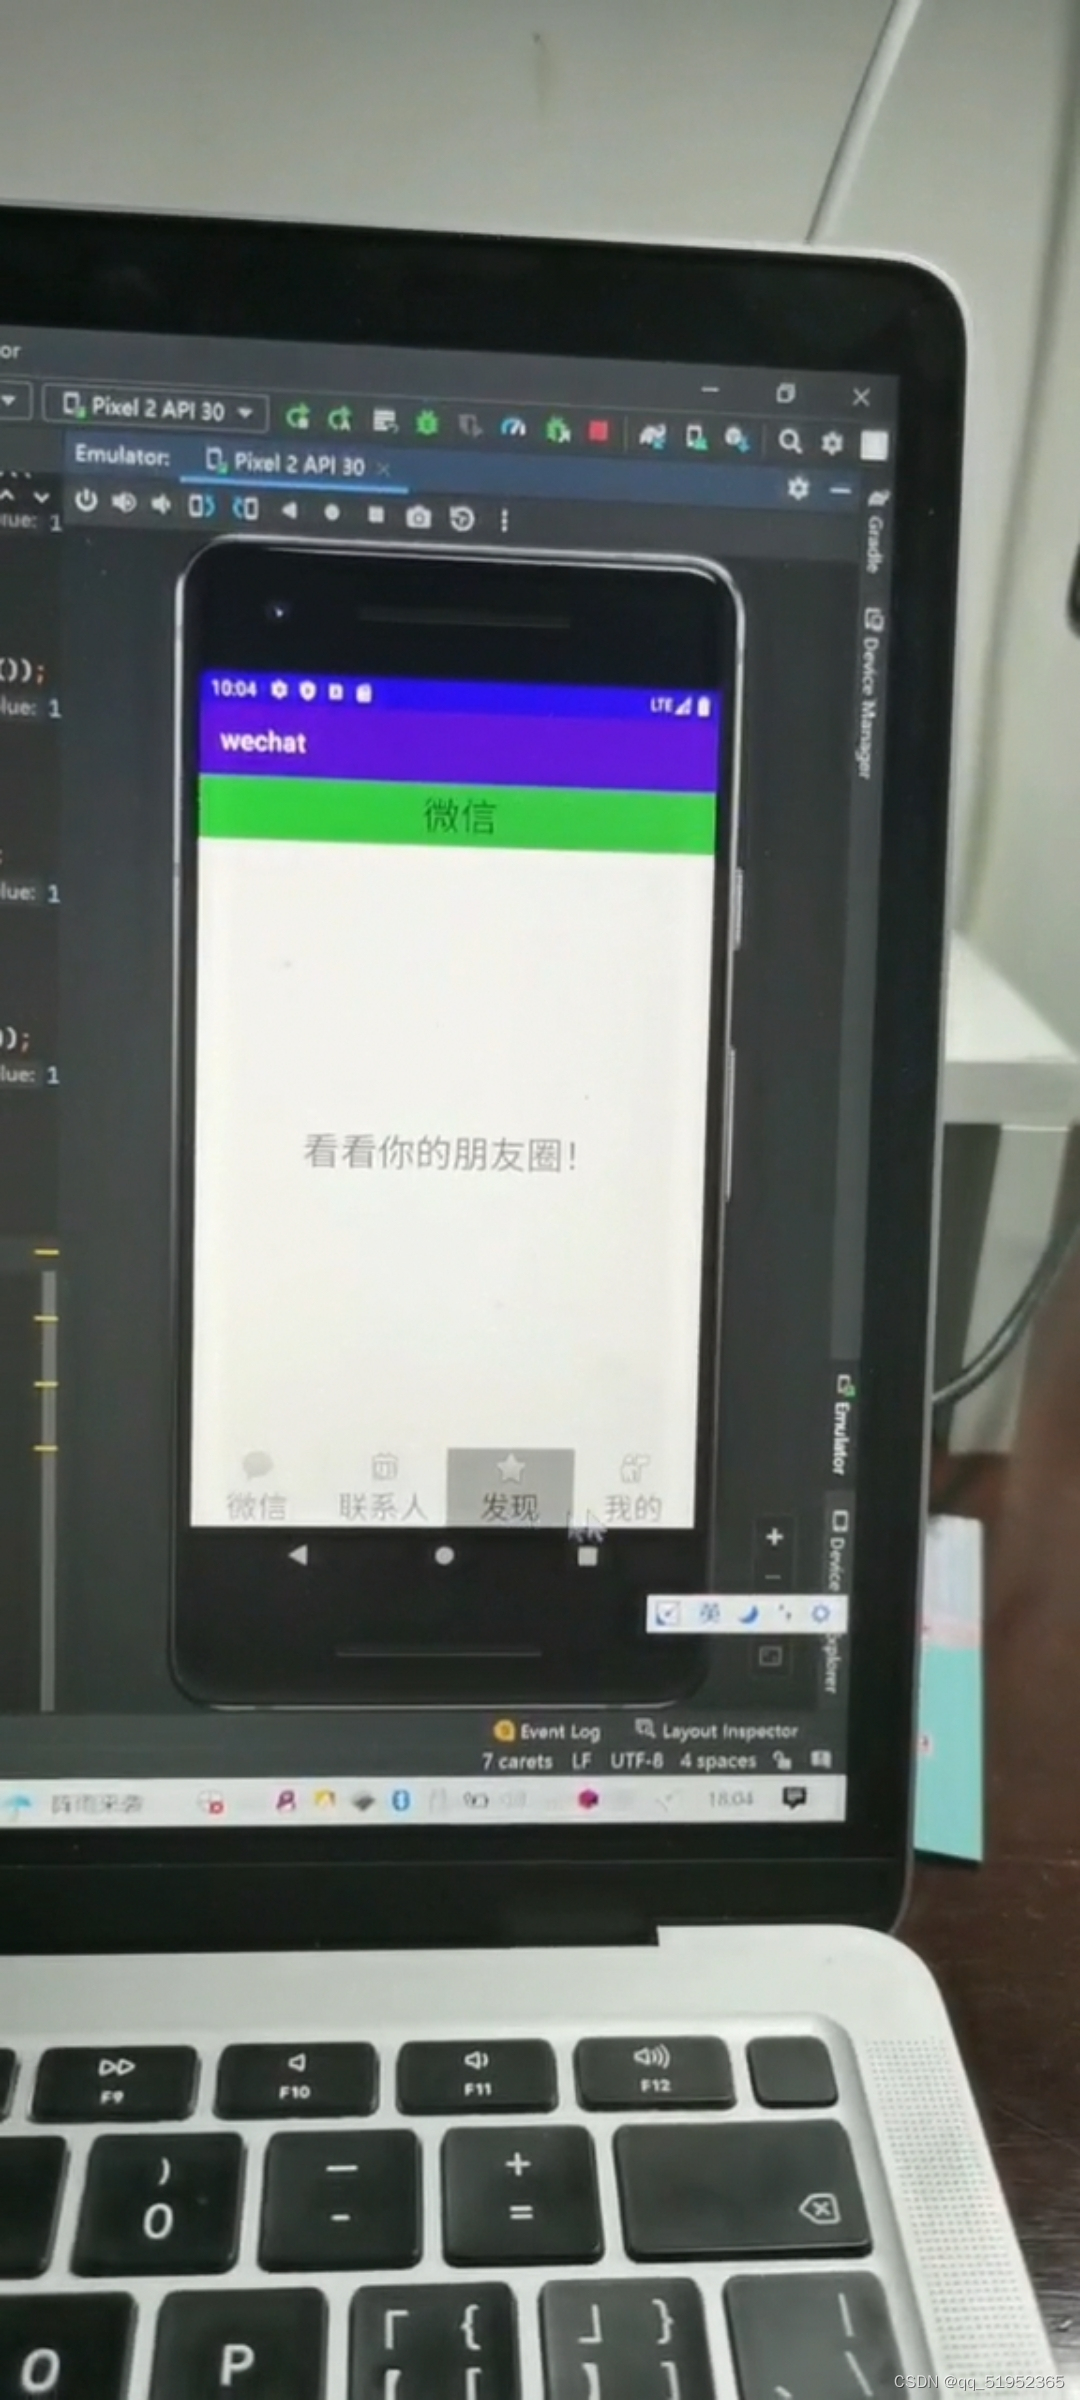
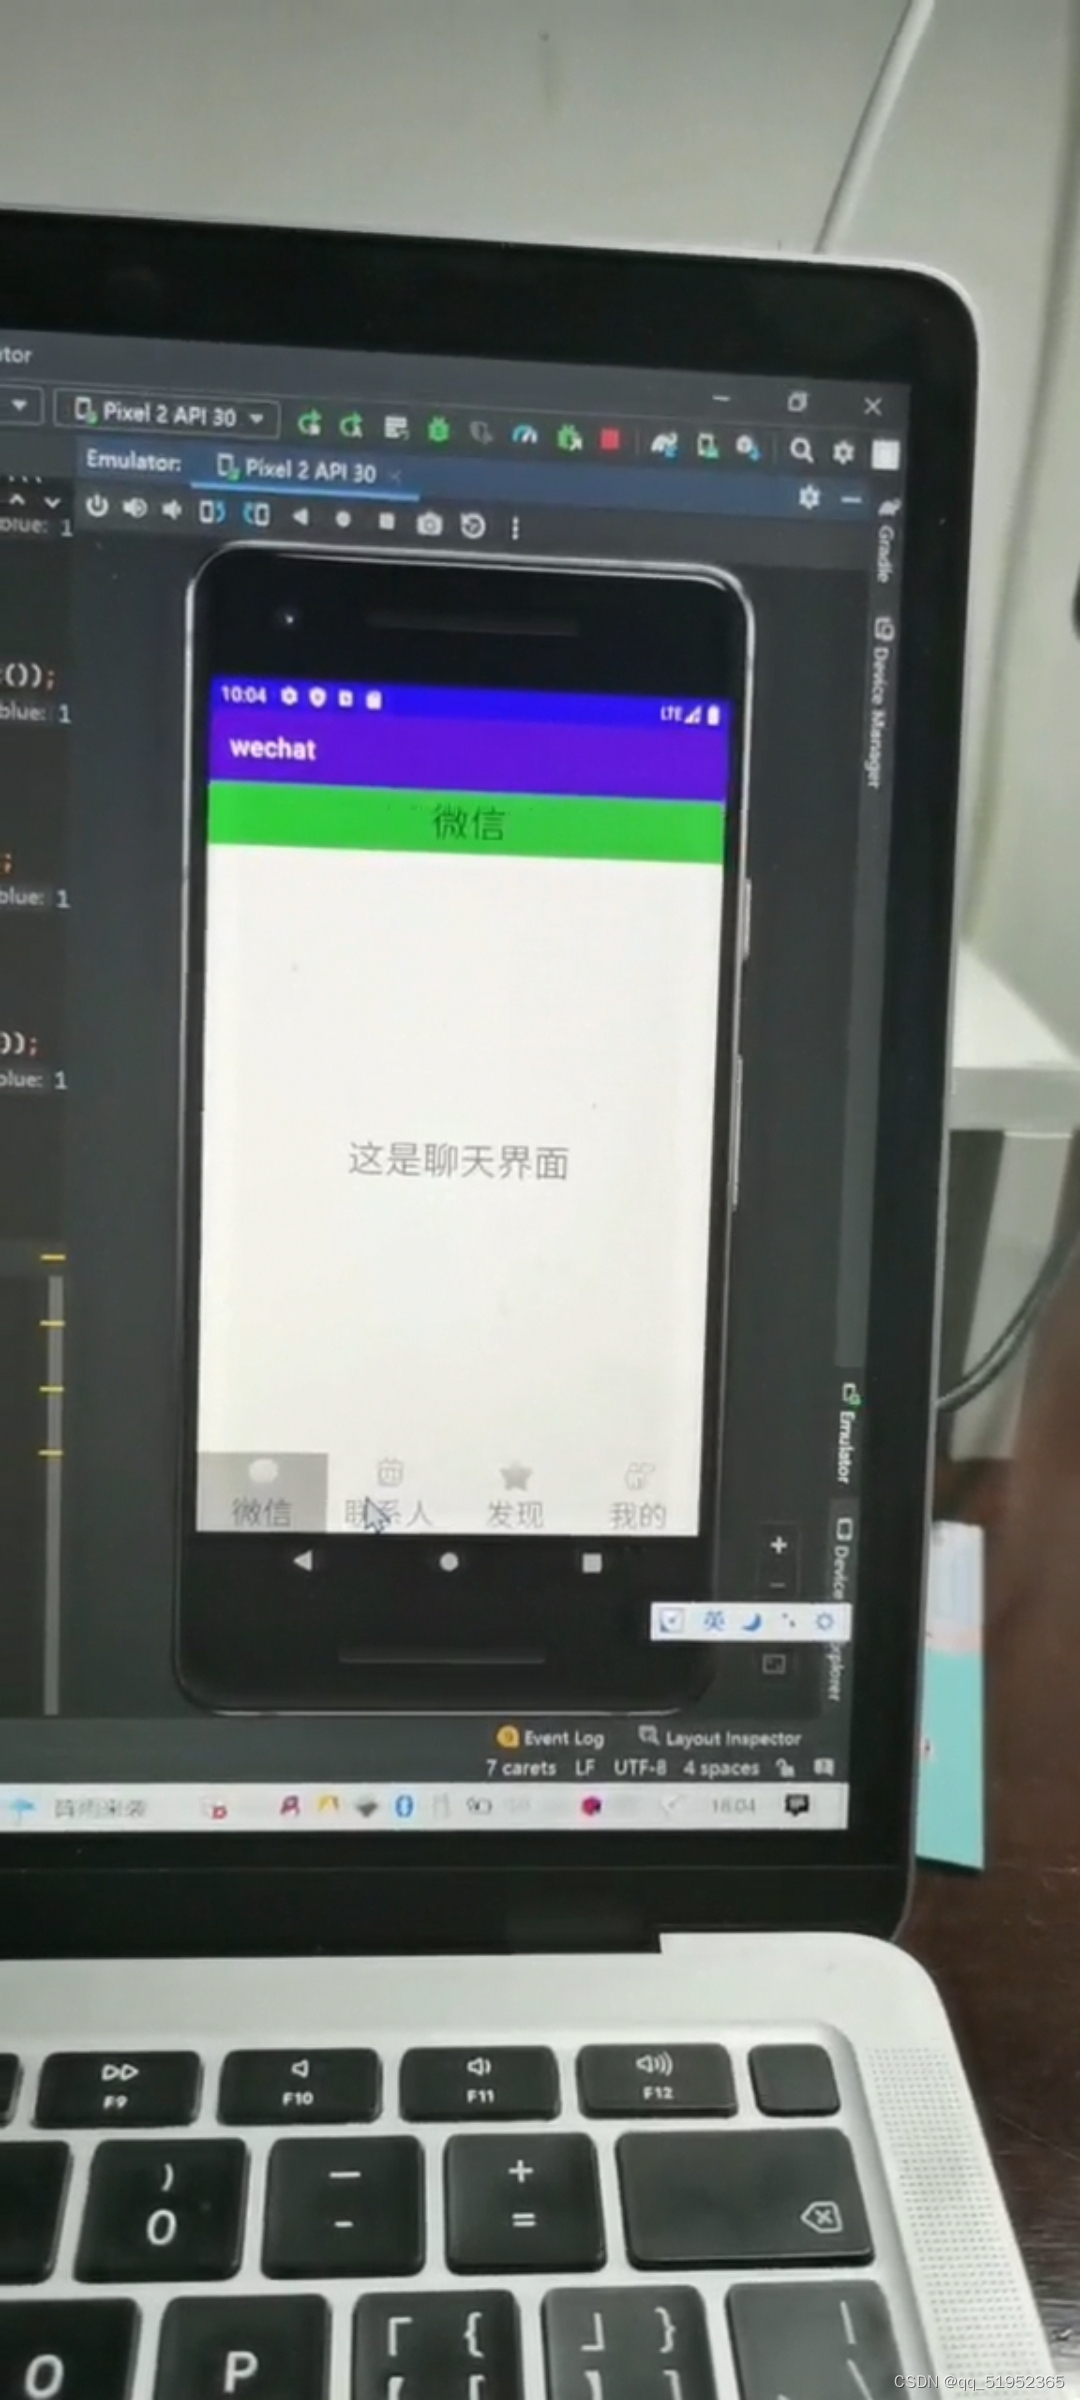
其中switch片段是点击bottom中的四个按键展现出的四个fragment中的text
效果如下
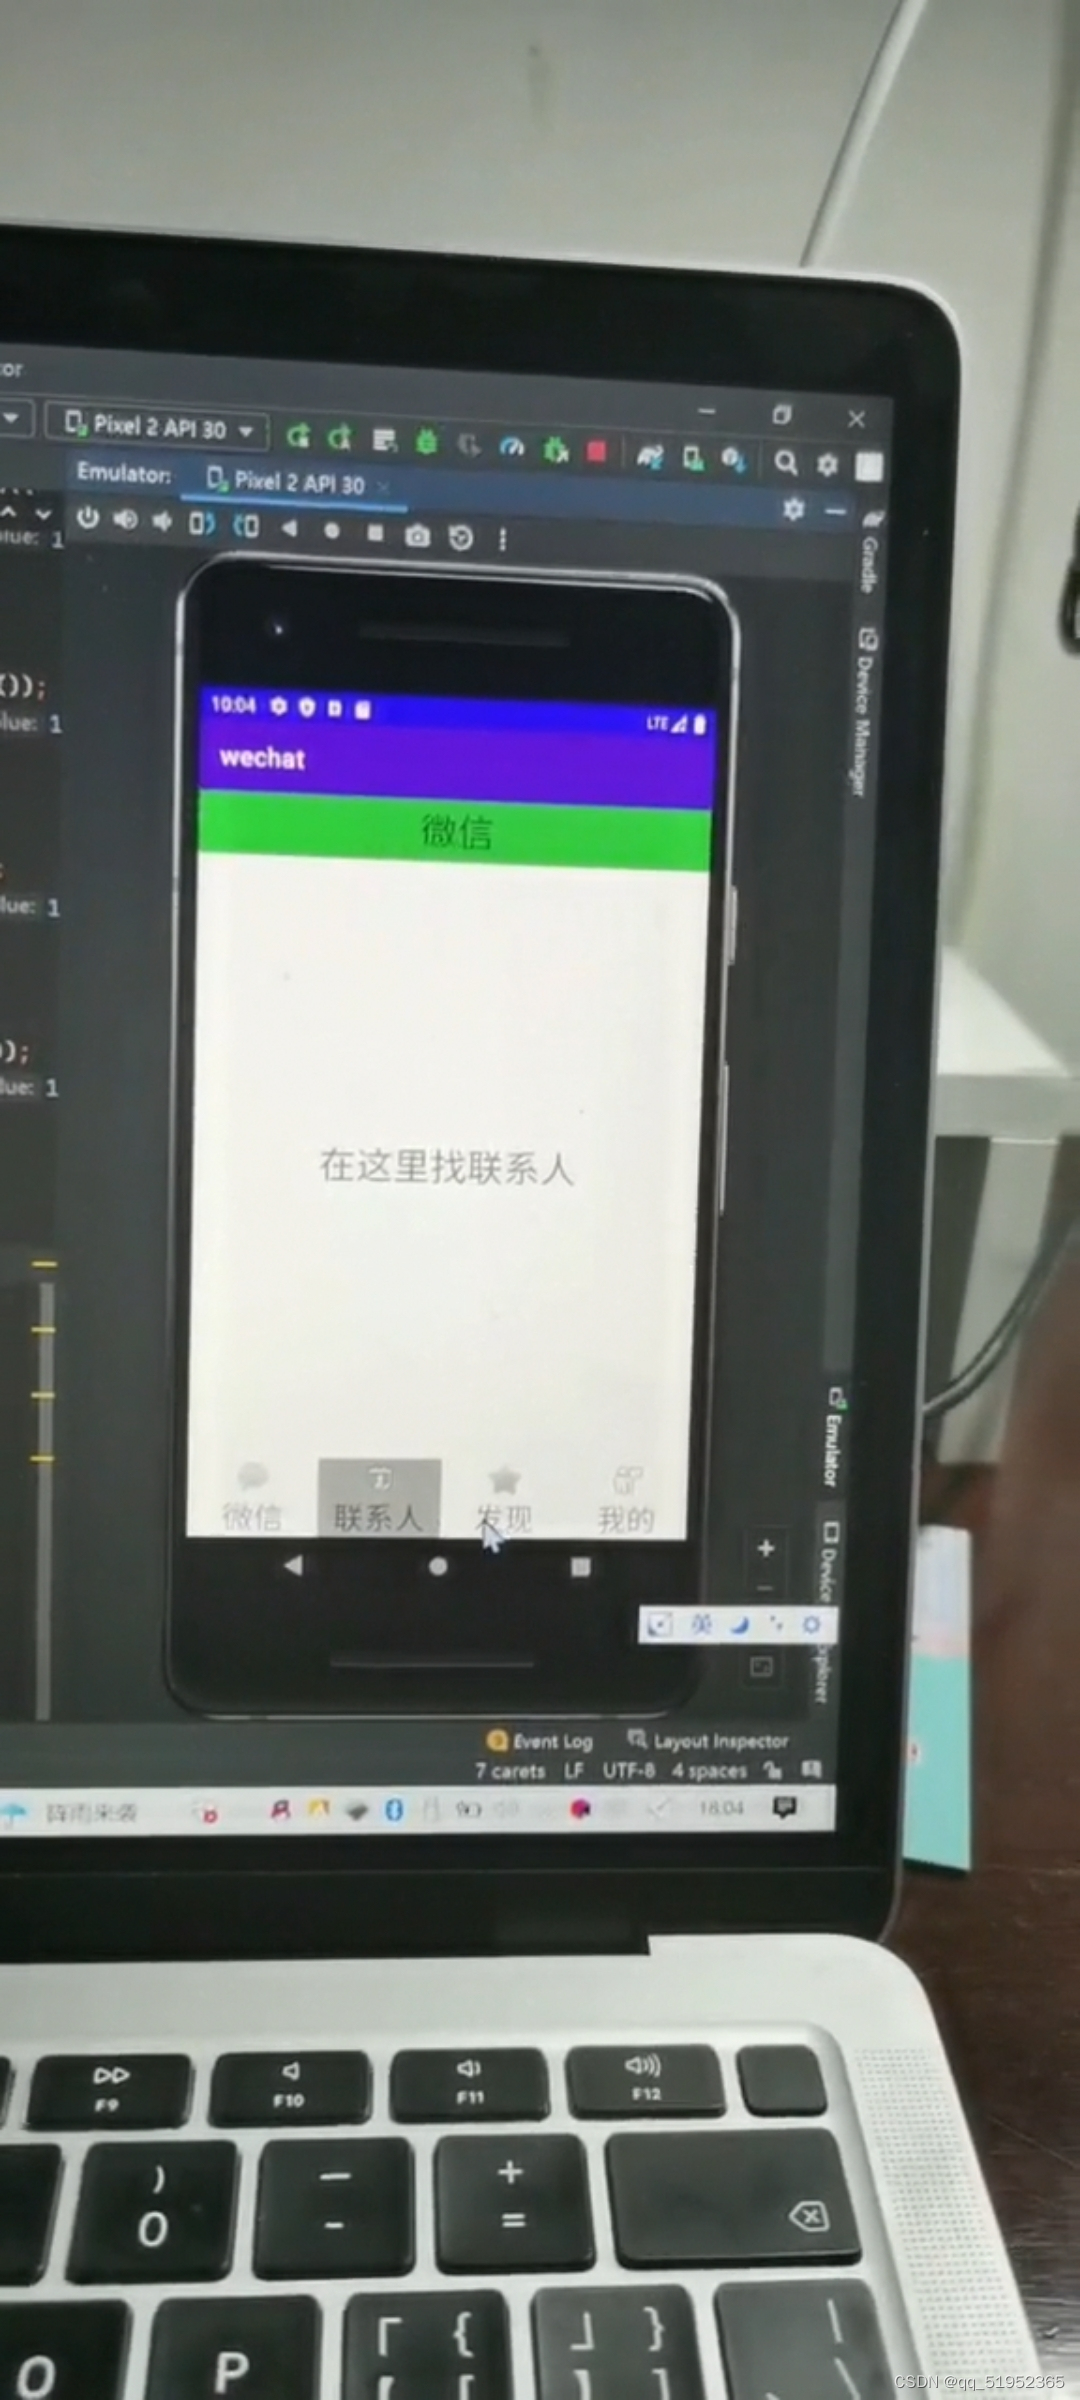

git仓库地址:https://gitee.com/chenrrr/wechat.git


 597
597


 被折叠的 条评论
为什么被折叠?
被折叠的 条评论
为什么被折叠?
 到【灌水乐园】发言


