


以卡片组件为例
编写卡片组件
- packages/Card/index.js
import Card from './src/Card.vue'

// 为组件提供 install 安装方法,供按需引入
Card.install=function(Vue){
    Vue.component(Card.name,Card);
}

export default Card
- packages/Card/src/Card.vue
<template>
    <!-- :style=""  当用户传入有宽度时,使用用户提供的,反之使用之前编写好的 -->
  <div class="m-card" :style="width?{width:width+'px'}:{}">
    <div class="m-card-img" :style="imhHeight?{height:imhHeight+'px'}:{}">
        <img :src="imgSrc" alt="img">
    </div>

    <!-- 卡片概要有两种类型 -->
    <!-- 1.String 类型  则用已经写好的样式 配上 用户传进来的String -->
    <div v-if="summary" class="m-card-summary">
        {{summary}}
    </div>
    <!-- 2.非 String类型  需要用户自定义-->
    <div v-else class="m-card-summary">
        <slot></slot>
    </div>

    <!-- 图片的footer 这个不一定有 -->
    <slot name="footer"></slot>
  </div>
</template>

<script>
export default {
    name:'Card',

    // 放入所需要的属性
    props:{
        //1. 卡片宽度
        width:{
            type:Number,
            default:0,
        },
        //2.卡片 图片资源地址
        imgSrc:{
            type:String,
            default:'',
        },
        // 3. 图片高度
        imhHeight:{
            type:Number,
            // 默认值
            default:0,
        },
        // 4. 卡片概要
        summary:{
            type:String,
            default:'',
        }
    }
}
</script>

<style>

</style>
- css样式:创建文件 packages/css/Card.scss ,并写入样式代码:
.m-card{
    width:270px;
    border-radius:8px ;
    background: #f6fcf9;
    overflow: hidden;
    box-shadow: 0 6px 10px 0 rgba(95,101,105, 0.15);
    padding-bottom: 8px;

    &-img{
        height: 152px;
        img{
            width: 100%;
            height: 100%;
        }
    }

    &-summary{
        padding: 8px;
        text-align: left;
        font-size: 14px;
    }
}
在项目中引入组件
方式一
- examples/main.js中加入Card组件
import Card from '../packages/Card/index';
Vue.use(Card);
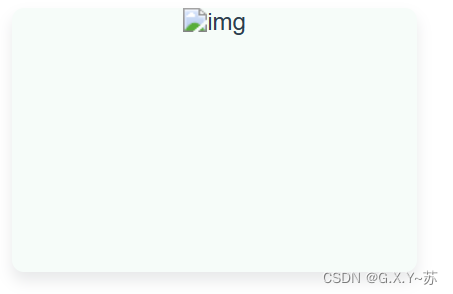
- 在App.vue中写入
<Card></Card>
如图:
可以运行查看结果
这样引入组件数量过多时,操作麻烦,可以用下面的方式进行代替。
方式二
- 在packages文件夹下新建 index.js文件,并写入:
// 导入组件
import Card from "./Card/index.js";
import Demo from "./Demo/index.js";
// 存储组件列表
const components = [Card,Demo];
// 定义 install 方法,接收 Vue 作为参数。如果使用 use 注册插件,则所有的组件都将被注册
const install = function(Vue) {
  // 判断是否安装
  if (install.installed) return;
  // 遍历注册全局组件
  components.forEach(component => {
    Vue.component(component.name, component)
  });
};
// 判断是否是直接引入文件
if (typeof window !== "undefined" && window.Vue) {
  install(window.Vue);
}
export default {
  // 导出的对象必须具有 install,才能被 Vue.use() 方法安装
  install,
  // 以下是具体的组件列表
  Card,
  Demo
};
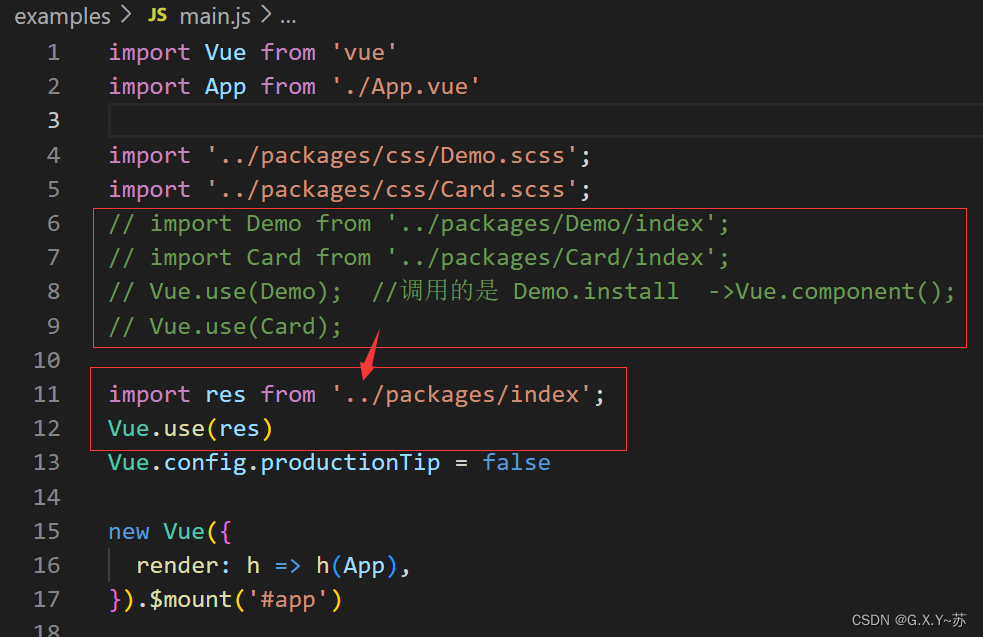
- main.js中的写入
import res from '../packages/index';
Vue.use(res)
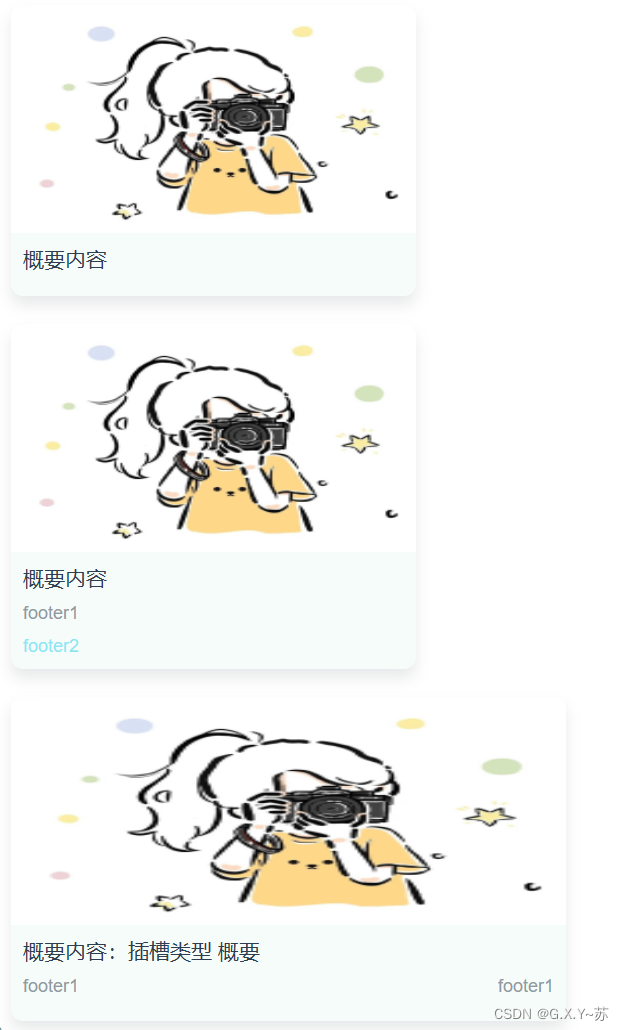
组件测试
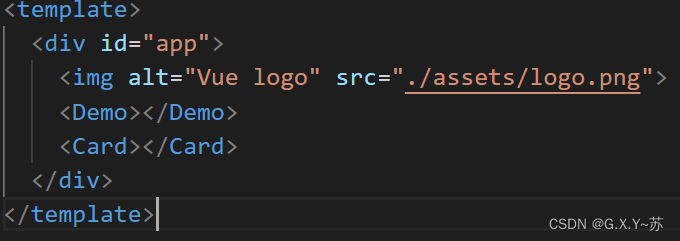
App.vue中
<template>
  <div id="app">
    <img alt="Vue logo" src="./assets/logo.png">
    <Demo></Demo>
    <Card
      imgSrc="./imgs/photo.png"
      summary="概要内容"
    ></Card>
<br>
    <Card
      imgSrc="./imgs/photo.png"
      summary="概要内容"
    >
      <template v-slot:footer>
        <div class="footer">
          <div class="footer1">
            footer1
          </div>
          <div class="footer2">
            footer2
          </div>
        </div>
      </template>
    </Card>
<br>
    <!-- 测试高度 -->
    <Card
      imgSrc="./imgs/photo.png"
      :width="370"
      :imgHeight="90"
    >
      <!-- 插槽类型 概要 -->
      概要内容:插槽类型 概要
      <template v-slot:footer>
        <div class="footer-spring">
          <div class="footer1">
            footer1
          </div>
          <div class="footer1">
            footer1
          </div>
        </div>
      </template>
    </Card>
  </div>
</template>

<script>


export default {
  name: 'App',
  components: {

  }
}
</script>

<style>
#app {
  font-family: Avenir, Helvetica, Arial, sans-serif;
  -webkit-font-smoothing: antialiased;
  -moz-osx-font-smoothing: grayscale;
  text-align: center;
  color: #2c3e50;
  margin-top: 60px;
}

.footer{
  padding: 0 8px;
  font-size: 12px;
  text-align: left;
}
.footer1{
  color: #9199A1;
  margin-bottom: 8px;

}
.footer2{
  color: #8ae6f4;
}

.footer-spring{
  display: flex;
  justify-content: space-between;/*在弹性盒对象的 <div> 元素中的各项周围留有空白:均匀排列每个元素首个元素放置于起点,末尾元素放置于终点 */
  padding: 0 8px;
  font-size: 12px;
}
</style>
可以运行查看结果:


 2411
2411


 被折叠的 条评论
为什么被折叠?
被折叠的 条评论
为什么被折叠?
 到【灌水乐园】发言


