


在使用React进行开发的过程中,我们都是编写一个个的组件,然后进行组合嵌套,在组件间难免会进行通信,在这里我们就学习一下组件之间怎样通信。
Props
Props是父子组件之间的通信方式,在使用子组件时,通过添加属性的方式,将数据传递给子组件
在使用自定义组件时,和普通元素相似,我们可以给子组件添加一些属性,或者写入一些子元素,这些会被单独转化为一个对象,也就是
props。在类组件中,props是挂载到实例上的,我们可以直接通过this获得
// App.jsx
import Parent from "./components/Parent"
class App extends Component {
  render() {
    return (
      <div>
        <h1>App</h1>
        <hr />
        <Parent />
      </div>
    )
  }
}
// Parent.jsx
import Child from "./Child"
class Parent extends Component {
  render() {
    return (
      <div>
        <h1>Parent</h1>
        <hr />
        {/* 使用了Child 组件,并且传入了name */}
        <Child name="sakurige" />
      </div>
    )
  }
}
// Child.jsx
class Child extends Component {
  render() {
  	// 直接从 props 中拿到传入的 name
    const { name } = this.props
    return (
      <div>
        <h1>Child</h1>
        <h3>来自父组件的name:{name}</h3>
      </div>
    )
  }
}
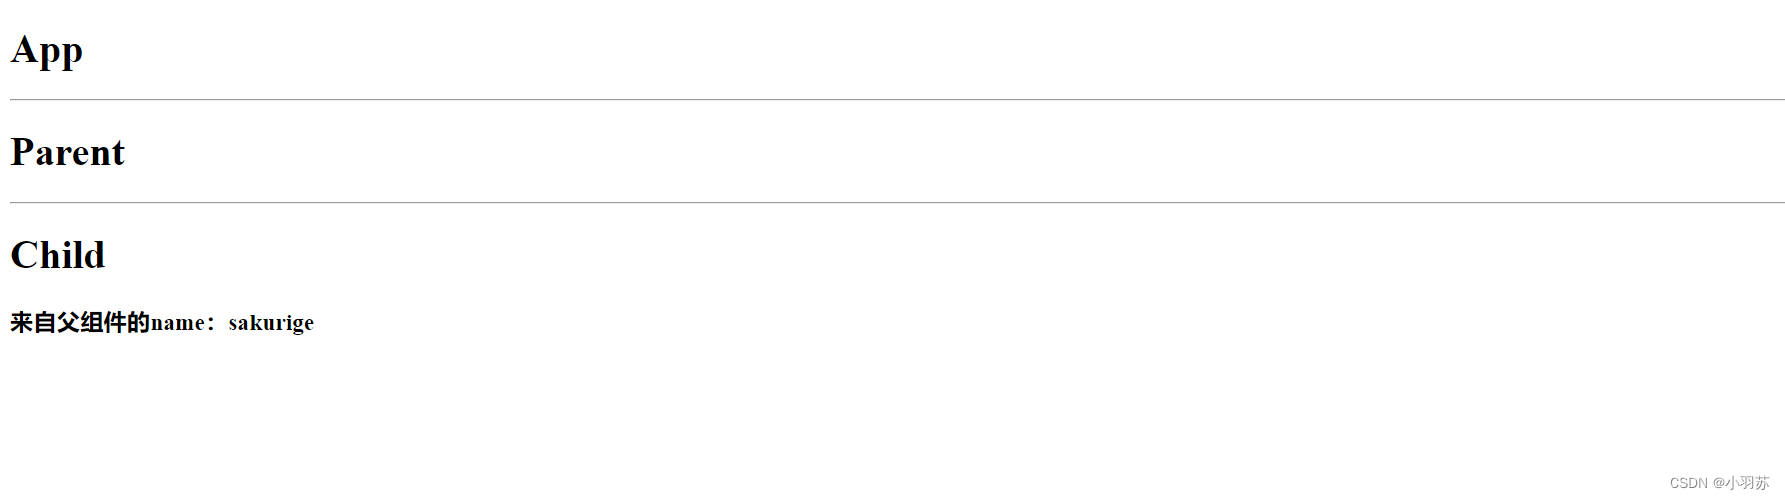
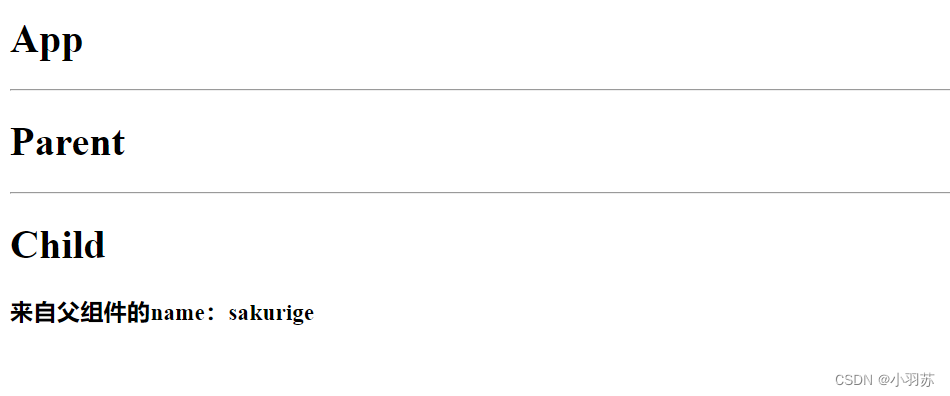
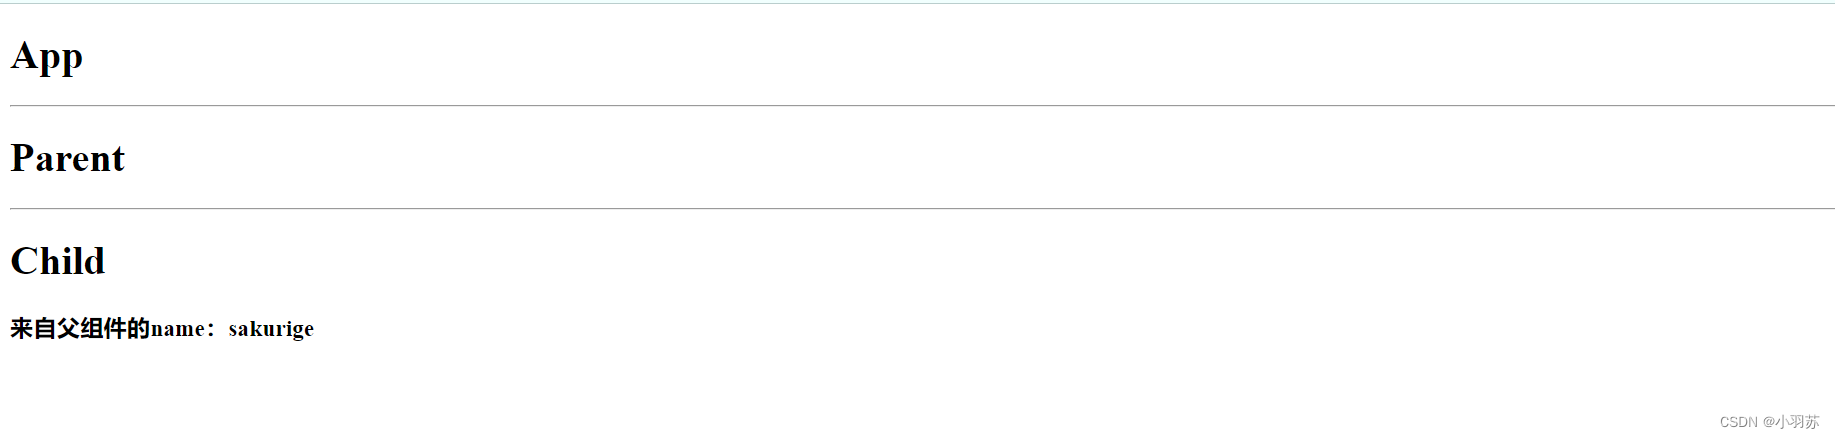
通过props就可以实现父组件给子组件传数据了
props的保存
从上面的例子可以看出,在没有constructor的情况下,我们依旧可以在方法中拿到props并使用,可见react有自动的为我们保存props,在我们有了constructor之后呢?
constructor允许我们传入参数props,并且调用super时传入,这样依旧可以拿到
// Child.jsx
class Child extends Component {
  constructor(props) {
    super(props)
  }
  render() {
    const { name } = this.props
    return (
      <div>
        <h1>Child</h1>
        <h3>来自父组件的name:{name}</h3>
      </div>
    )
  }
}
那有了constructor但是不传入props呢?
// Child.jsx
class Child extends Component {
  constructor() {
    super()
  }
  render() {
    const { name } = this.props
    return (
      <div>
        <h1>Child</h1>
        <h3>来自父组件的name:{name}</h3>
      </div>
    )
  }
}
结果还是可以拿到,这样看来写不写都没啥区别,不过当我们没有给super传入props时,虽然在方法中可以正常使用,到那时在constructor中却不能拿到props
// Child.jsx
	// 未传入
  constructor() {
    super()
    console.log(this.props)  // undefined
  }
  // 传入
   constructor(props) {
    super(props)
    console.log(this.props)  // {name: 'sakurige'}
  }
所以最好还是写上吧。
子组件给父组件传数据
上面我们看见了props的基本用法,通过props我们也可以让子组件给父组件传入一些数据,我们只需要给子组件传入一个函数,然后在子组件中调用,这里用用一个在子组件中点击按钮通知父组件改变counter作为例子
// Parent.jsx
import Child from "./Child"
class Parent extends Component {
  constructor() {
    super()
    this.state = {
      counter: 0,
    }
  }
  increamentNum(num) {
    this.setState({
      counter: this.state.counter + num,
    })
  }
  render() {
    return (
      <div>
        <h1>Parent</h1>
        <h2>{this.state.counter}</h2>
        <hr />
        {/* 使用了Child 组件,并且传入了name */}
        <Child
          name="sakurige"
          counter={this.state.counter}
          increament={( num) => this.increamentNum( num)}
        />
      </div>
    )
  }
// Child.jsx
class Child extends Component {
  increament(num) {
    // 在这里调用父组件传来的函数
    this.props.increament(num)
  }
  render() {
    const { name } = this.props
    return (
      <div>
        <h1>Child</h1>
        <h3>来自父组件的name:{name}</h3>
        <button onClick={() => this.increament(1)}> +1</button>
        <button onClick={() => this.increament(5)}> +5</button>
        <button onClick={() => this.increament(10)}> +10</button>
      </div>
    )
  }
}
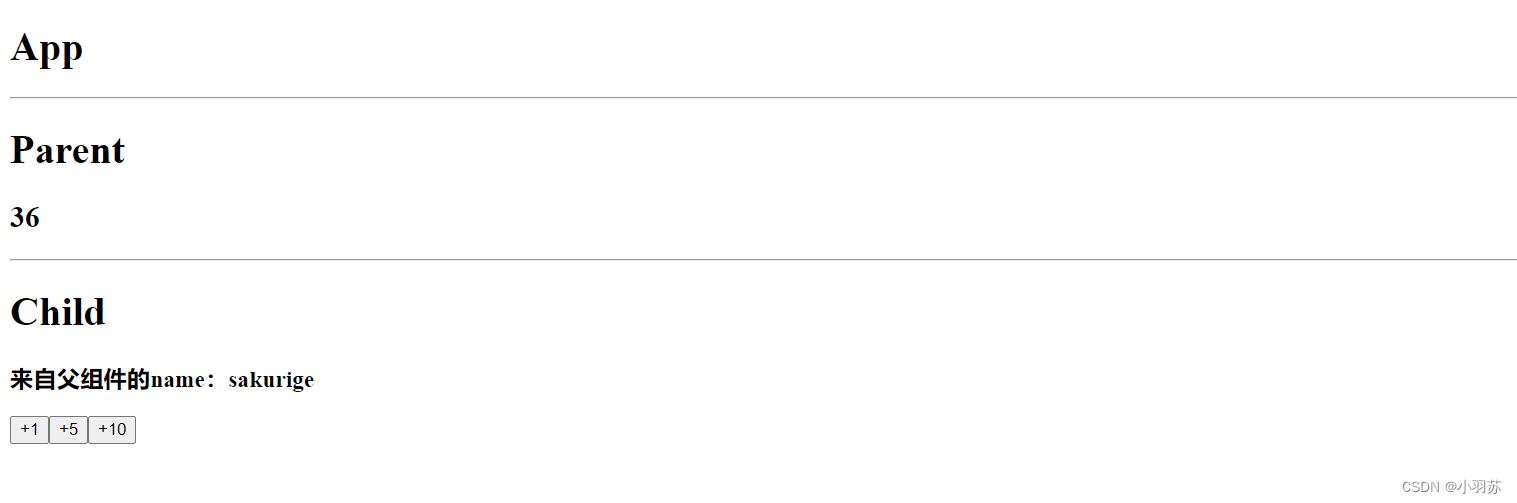
这样,在父组件中就可以拿到子组件传来的用于控制增加几的数了
Context
Context 提供了一个无需为每层组件手动添加 props,就能在组件树间进行数据传递的方法。
也就是在父组件中注入 context,在后代组件中通过context就能拿到数据,不需要一层一层的传入props
使用方法
- 创建
Contenxt
import { createContext } from "react"
// 该方法可以传入一个默认值
const TestContext = createContext({ name: "Test" })
- 在父组件中注入数据
// 首先引入刚刚创建的 context
import TestContext from "../TestContext"
// 给子组件提供数据
render() {
return (
<div>
<h1>Parent</h1>
<h2>{this.state.counter}</h2>
<hr />
{/* 使用了Child 组件,并且传入了name */}
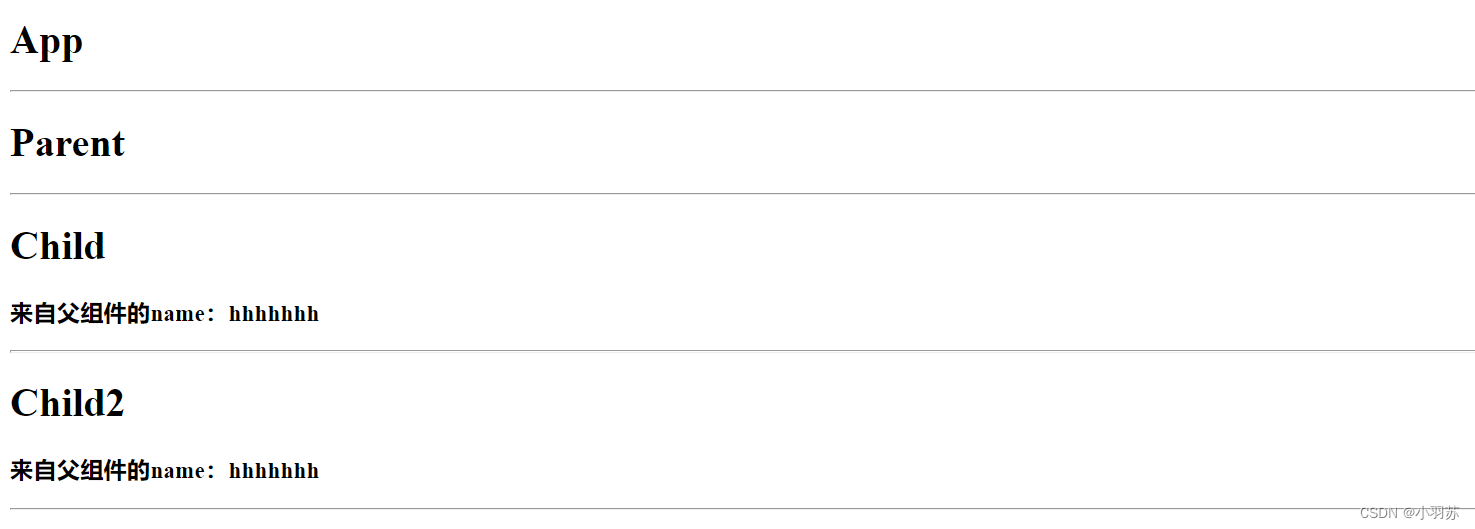
<TestContext.Provider value={{ name: "hhhhhhh" }}>
<Child />
</TestContext.Provider>
</div>
)
}
- 后代组件使用数据,两种方式
- 引入创建的Context,设置
contextType为该Context - 引入创建的Context,直接使用该Context的Consumer消费
- 引入创建的Context,设置
// 方式1
import TestContext from "../TestContext"
class Child2 extends Component {
  render() {
    return (
      <div>
        <h1>Child2</h1>
        <h3>来自父组件的name:{this.context.name}</h3>
        <hr />
      </div>
    )
  }
}
Child2.contextType = TestContext
// 方式2
import TestContext from "../TestContext"
class Child extends Component {
  render() {
    return (
      <div>
        <h1>Child</h1>
        <TestContext.Consumer>
        	{/* value 就是注入的数据,返回值就是要渲染的 */}
          {(value) => <h3>来自父组件的name:{value.name}</h3>}
        </TestContext.Consumer>
      </div>
    )
  }
}
结束语
除了这些方式以外,还可以通过事件总线,以及redux来进行通信
eventBus 可以使用第三方库events,看看实例应该就ok
redux后面学到再说吧


 551
551


 被折叠的 条评论
为什么被折叠?
被折叠的 条评论
为什么被折叠?
 到【灌水乐园】发言


