


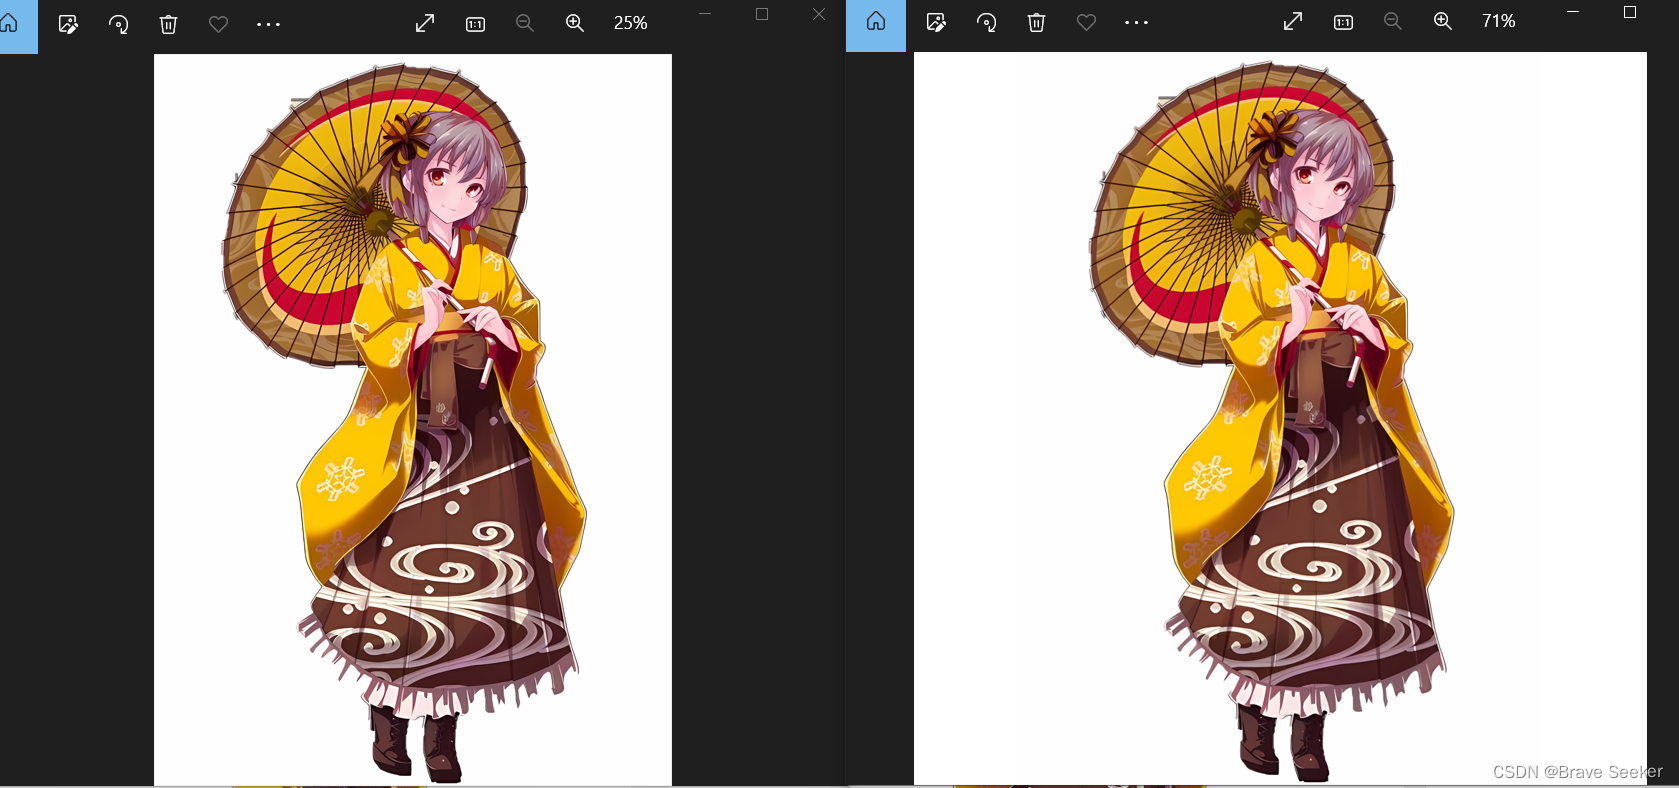
白色是[255,255,255], 黑色[0,0,0]。在cv2.copyMakeBorder()中,修改value对应的值可以将轮廓变为对应颜色。
填充颜色代码:
WHITE = [255, 255, 255]
constant = cv2.copyMakeBorder(shrink, int(b), int(b), int(a), int(a), cv2.BORDER_CONSTANT, value=WHITE)
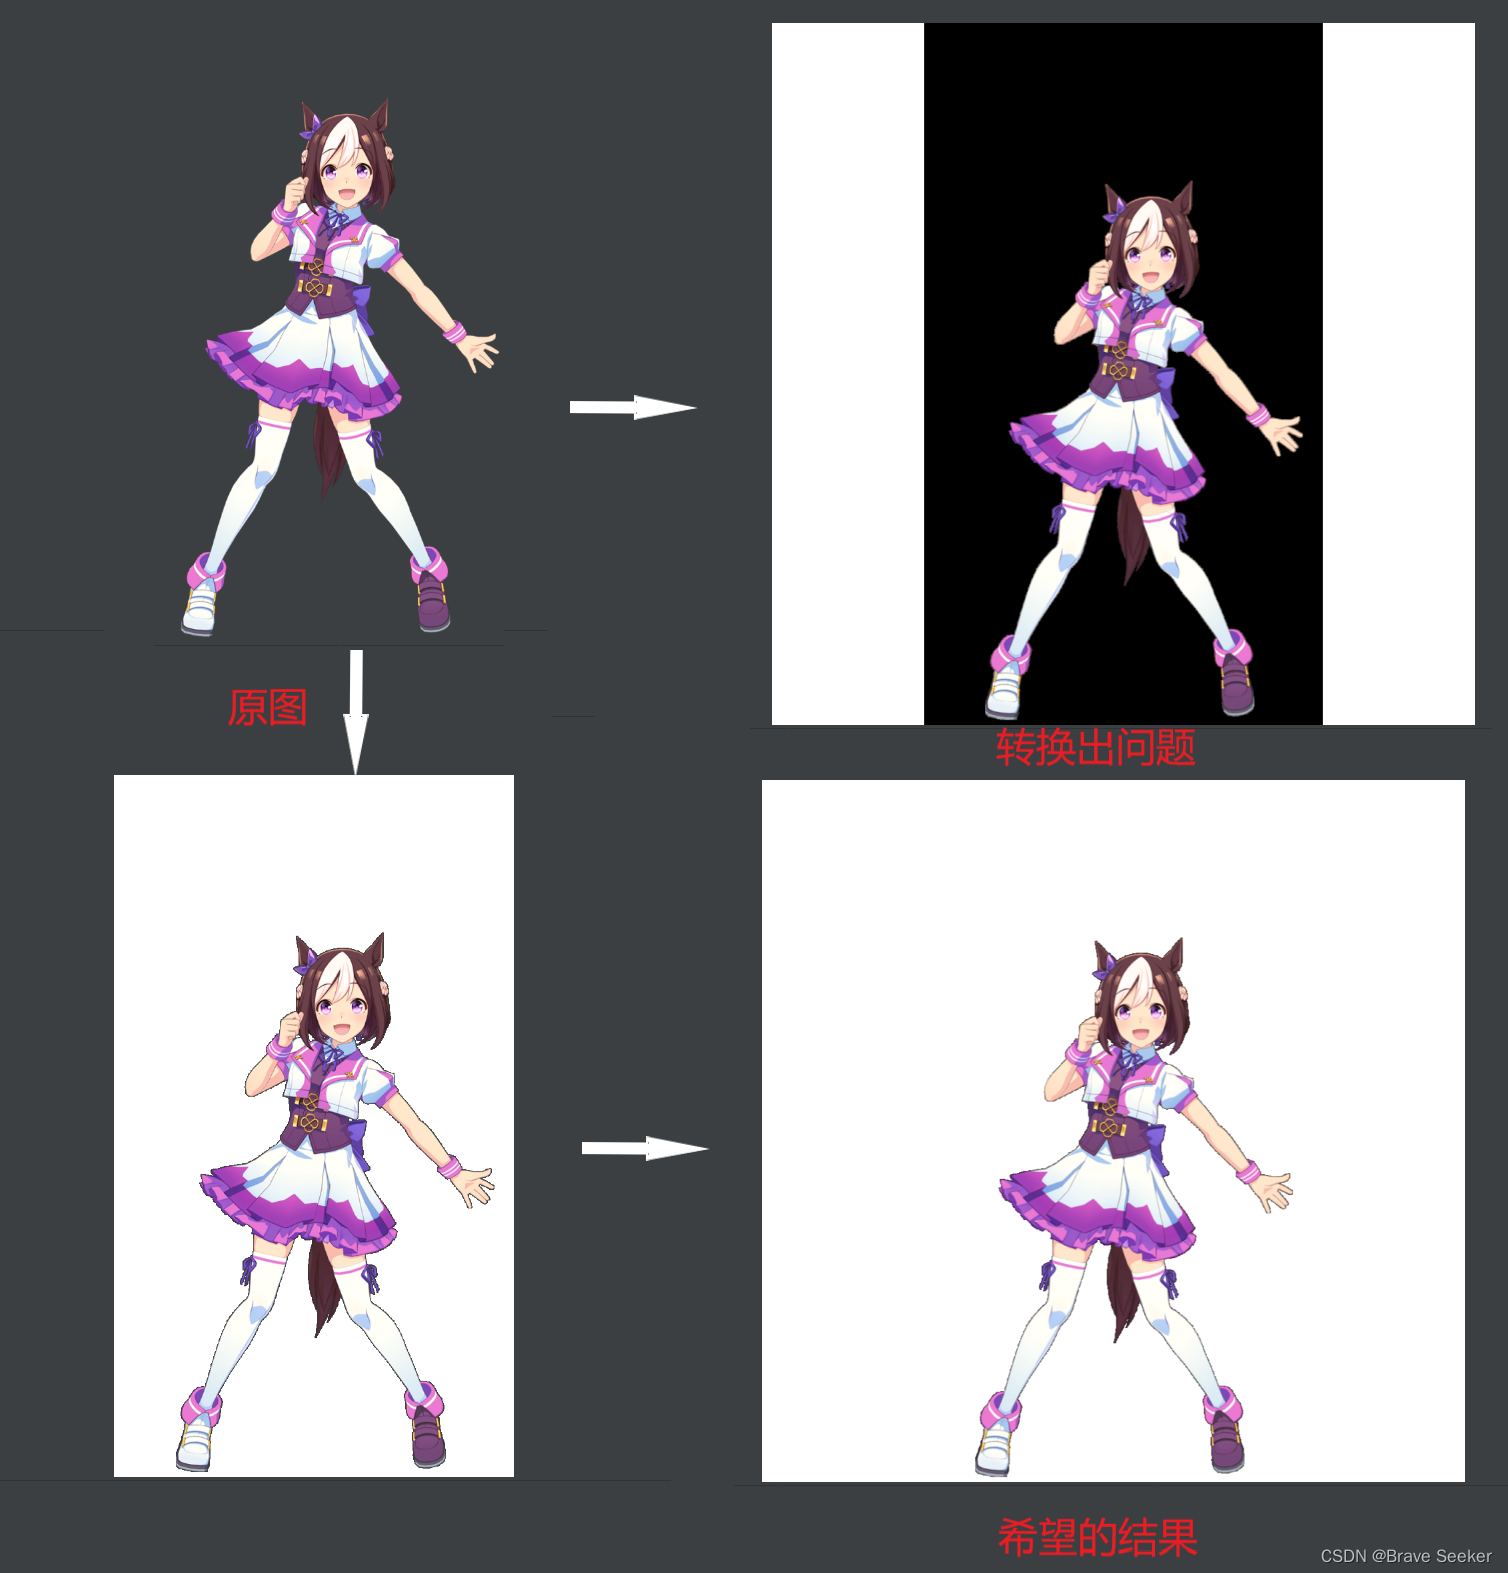
对于RGB三通道图片,处理效果挺好。但是对于RGBA透明图片,会把透明背景变成黑色。
RGBA图片:shape=(1056, 600, 4)
RGB图片: shape=(1056, 600, 3)
根据shape[2]判断图片类型。如果为RGBA,那么将透明背景填充为白色背景。代码如下,能运行得到希望的结果。
import cv2


def suofang(im, target_height, target_width):
    height, width = im.shape[:2]  # 取彩色图片的长、宽。

    ratio_h = height / target_height
    ration_w = width / target_width

    ratio = max(ratio_h, ration_w)

    # 缩小图像  resize(...,size)--size(width,height)
    size = (int(width / ratio), int(height / ratio))
    shrink = cv2.resize(im, size, interpolation=cv2.INTER_AREA)  # 双线性插值
    WHITE = [255, 255, 255]  # 修改该值可以将放大部分填成任意颜色

    a = (target_width - int(width / ratio)) / 2
    b = (target_height - int(height / ratio)) / 2

    constant = cv2.copyMakeBorder(shrink, int(b), int(b), int(a), int(a), cv2.BORDER_CONSTANT, value=WHITE)
    constant = cv2.resize(constant, (target_width, target_height), interpolation=cv2.INTER_AREA)

    return constant


def transparence2white(img):
    sp = img.shape  # 获取图片维度
    width = sp[0]  # 宽度
    height = sp[1]  # 高度
    for yh in range(height):
        for xw in range(width):
            color_d = img[xw, yh]  # 遍历图像每一个点,获取到每个点4通道的颜色数据
            if (color_d[3] == 0):  # 最后一个通道为透明度,如果其值为0,即图像是透明
                img[xw, yh] = [255, 255, 255, 255]  # 则将当前点的颜色设置为白色,且图像设置为不透明
    return img


if __name__ == '__main__':
    targetSize = [1024, 1024]
    inputPicName = '1.png'
    outputPicName = '1_trans.png'
    img = cv2.imread(inputPicName, cv2.IMREAD_UNCHANGED)  # 按原通道数读取图片
    if img.shape[2] == 4:  # RGBA, 需要转为RGB,并填充白色
        img = cv2.imread(inputPicName, -1)
        img = transparence2white(img)  # 此时图片背景已经是白色
        # cv2.imwrite(inputPicName, img)  # 运行此行代码将覆盖原文件
    img = cv2.cvtColor(img, cv2.COLOR_RGBA2RGB)
    img = suofang(img, targetSize[0], targetSize[1])
    cv2.imwrite(outputPicName, img)
    print(outputPicName, '已完成')


 1226
1226


 被折叠的 条评论
为什么被折叠?
被折叠的 条评论
为什么被折叠?
 到【灌水乐园】发言


