


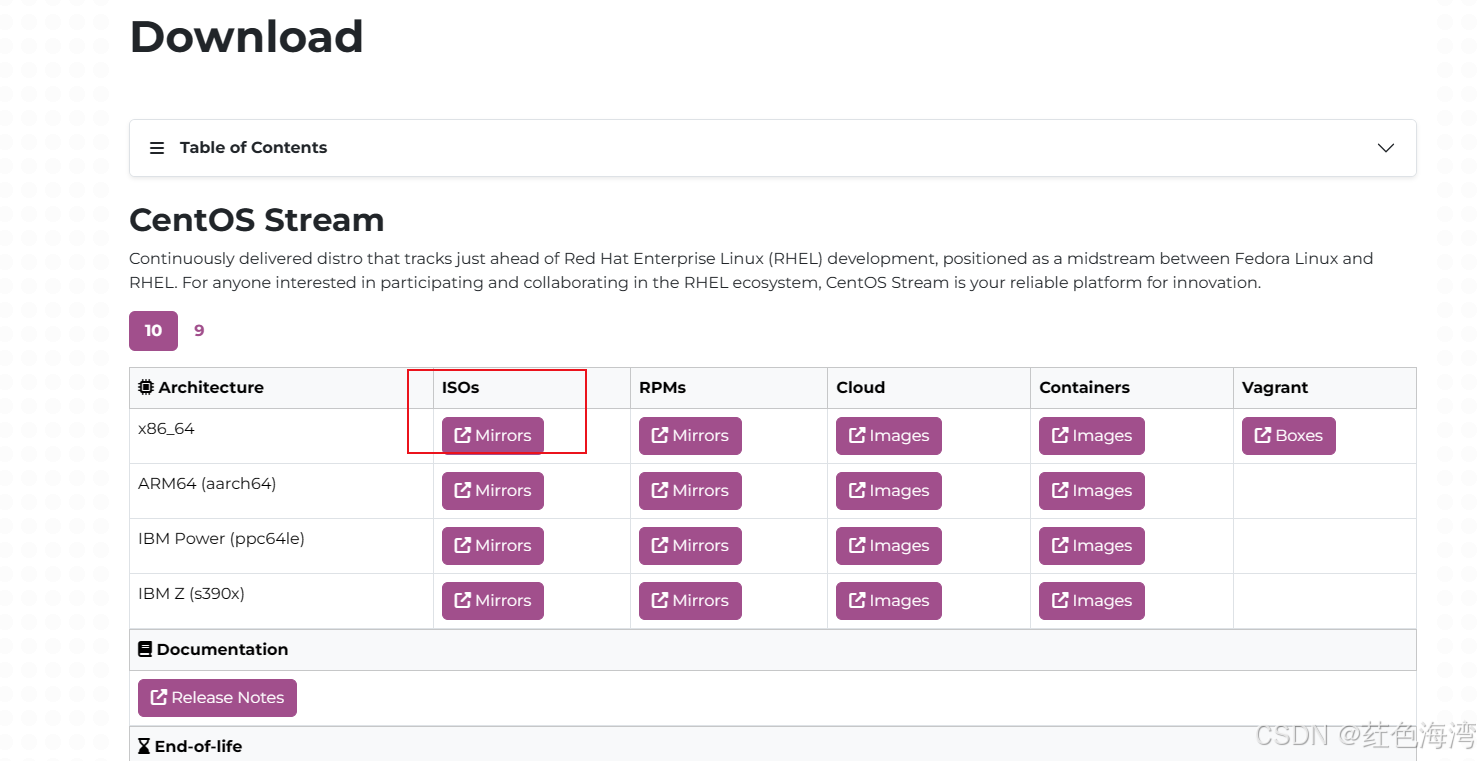
1.下载 Centos 镜像
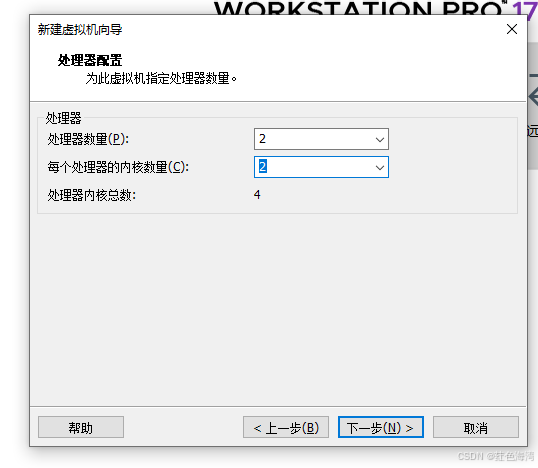
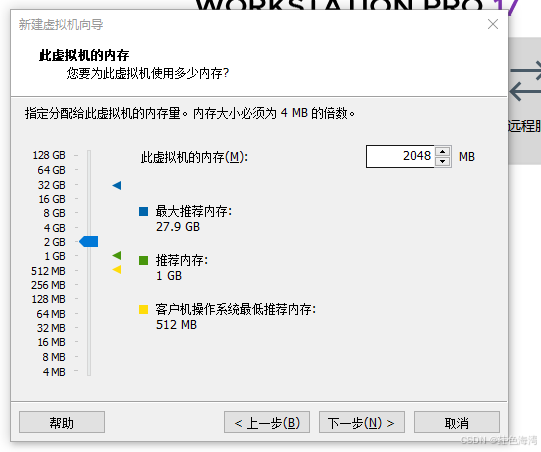
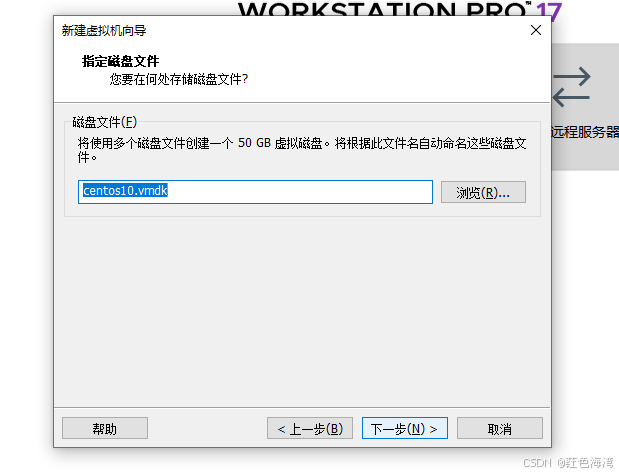
2.安装VM

https://support.broadcom.com/group/ecx/productdownloads?subfamily=VMware+Workstation+Pro
下17.5.2版本免费
https://knowledge.broadcom.com/external/article?articleNumber=368667 说明
NZ4RR-FTK5H-H81C1-Q30QH-1V2LA许可证


 带界面的
带界面的
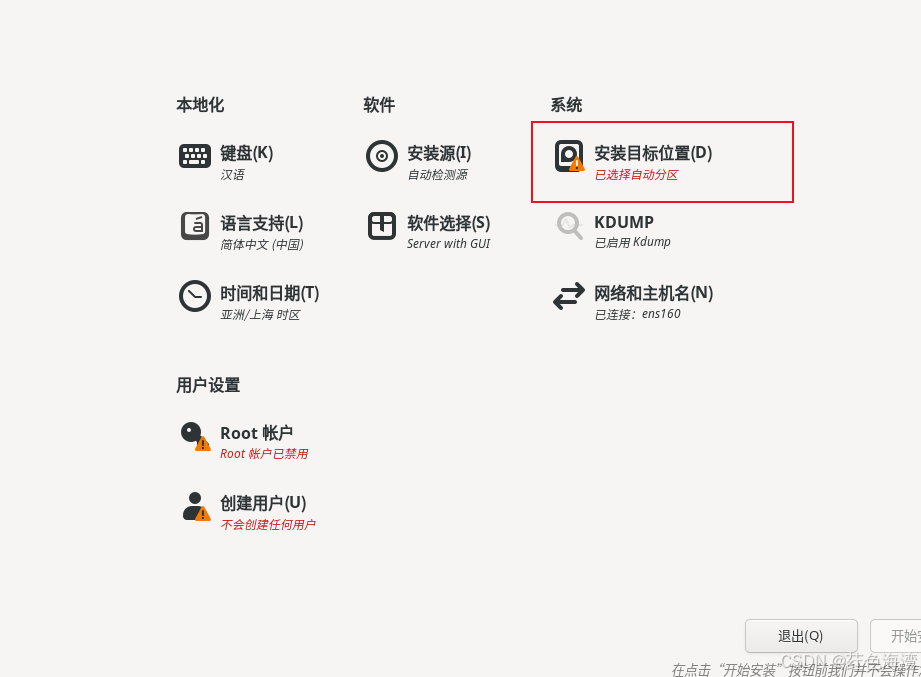
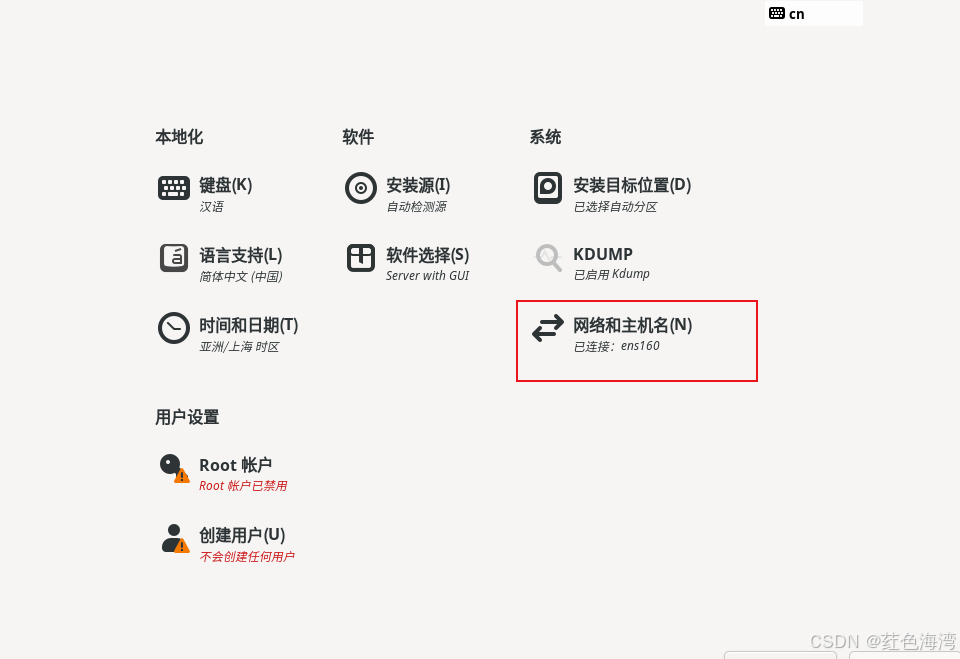
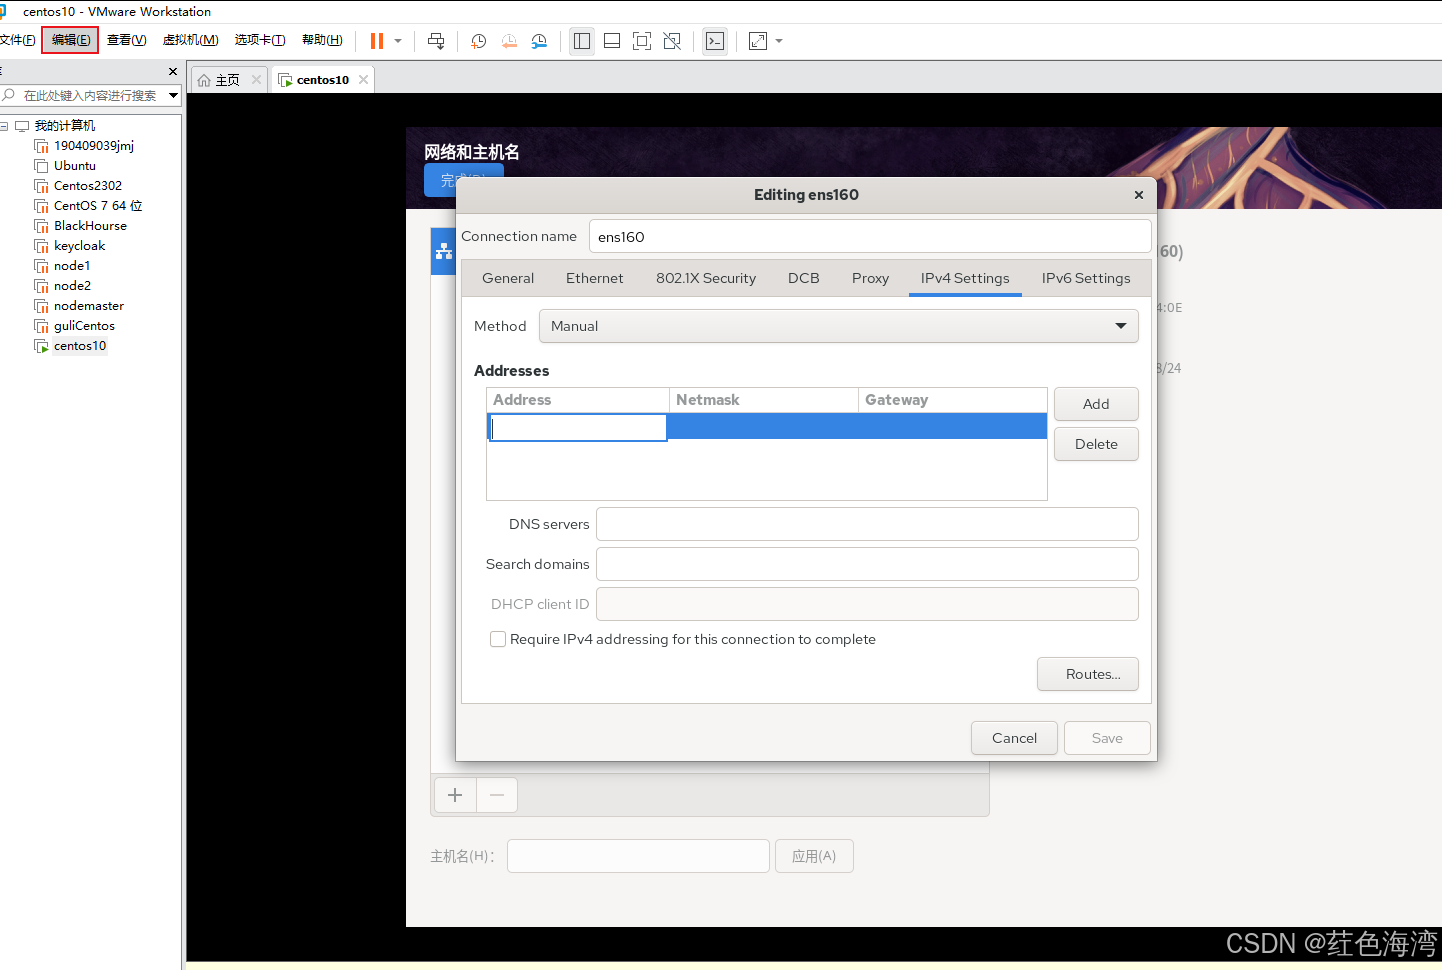
 配置网络
配置网络


先看网段
点击虚拟网络编辑器
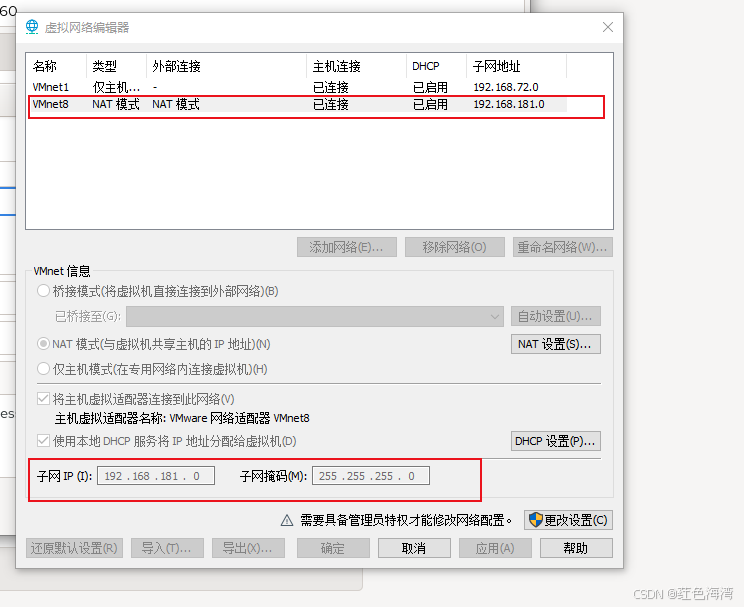
先点击一下NAT模式的那个 看子网 192.168.181 所以我们的网段必须跟这个前三个一样
vm .2默认是网关 所以最好我们选取的时候往后面排


配置主机名 点击应用
点击完成


 安装完成
安装完成
3.安装Docker
1.先执行删除以前版本的Docker
sudo yum remove docker \
                  docker-client \
                  docker-client-latest \
                  docker-common \
                  docker-latest \
                  docker-latest-logrotate \
                  docker-logrotate \
                  docker-engine
2.安装yum存储库
yum -y install yum-utils device-mapper-persistent-data lvm2
这时候会出来一个镜像已经无法抵达的错误
Could not retrieve mirrorlist http://mirrorlist.centos.org/?release=7&arch=x86_64&repo=os&infra=stock error was
14: curl#6 - "Could not resolve host: mirrorlist.centos.org; 未知的错误"
3.解决错误
我们的服务器没法访问镜像的网络,所以我们需要配置正确的镜像源;
进入 /etc/yum.repos.d文件目录;
cd /etc/yum.repos.d
1.先备份
sudo cp /etc/yum.repos.d/CentOS-Base.repo /etc/yum.repos.d/CentOS-Base.repo.backup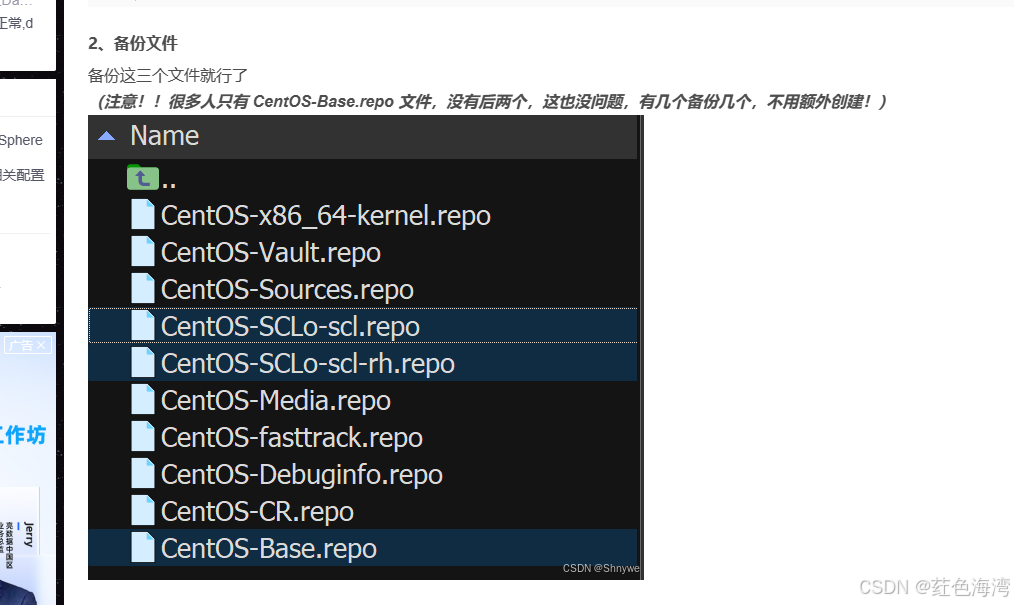
编辑CentOS-Base.repo 文件(必选)
全选替换 centos-base.repo
# CentOS-Base.repo
#
# The mirror system uses the connecting IP address of the client and the
# update status of each mirror to pick mirrors that are updated to and
# geographically close to the client.  You should use this for CentOS updates
# unless you are manually picking other mirrors.
#
# If the mirrorlist= does not work for you, as a fall back you can try the
# remarked out baseurl= line instead.
#
#

[base]
name=CentOS-$releasever - Base
baseurl=https://mirrors.aliyun.com/centos/$releasever/os/$basearch/
gpgcheck=1
gpgkey=https://mirrors.aliyun.com/centos/RPM-GPG-KEY-CentOS-7

#released updates
[updates]
name=CentOS-$releasever - Updates
baseurl=https://mirrors.aliyun.com/centos/$releasever/updates/$basearch/
gpgcheck=1
gpgkey=https://mirrors.aliyun.com/centos/RPM-GPG-KEY-CentOS-7

#additional packages that may be useful
[extras]
name=CentOS-$releasever - Extras
baseurl=https://mirrors.aliyun.com/centos/$releasever/extras/$basearch/
gpgcheck=1
gpgkey=https://mirrors.aliyun.com/centos/RPM-GPG-KEY-CentOS-7

#contrib - packages by Centos Users
[centosplus]
name=CentOS-$releasever - Plus
baseurl=https://mirrors.aliyun.com/centos/$releasever/centosplus/$basearch/
gpgcheck=1
enabled=0
gpgkey=https://mirrors.aliyun.com/centos/RPM-GPG-KEY-CentOS-7
第一个就行 我用上面那个就好使
或者
# CentOS-Base.repo
#
# The mirror system uses the connecting IP address of the client and the
# update status of each mirror to pick mirrors that are updated to and
# geographically close to the client.  You should use this for CentOS updates
# unless you are manually picking other mirrors.
#
# If the mirrorlist= does not work for you, as a fall back you can try the
# remarked out baseurl= line instead.
#
#

[base]
name=CentOS-$releasever - Base - mirrors.aliyun.com
failovermethod=priority
baseurl=http://mirrors.aliyun.com/centos/$releasever/os/$basearch/
        http://mirrors.aliyuncs.com/centos/$releasever/os/$basearch/
        http://mirrors.cloud.aliyuncs.com/centos/$releasever/os/$basearch/
gpgcheck=1
gpgkey=http://mirrors.aliyun.com/centos/RPM-GPG-KEY-CentOS-7

#released updates
[updates]
name=CentOS-$releasever - Updates - mirrors.aliyun.com
failovermethod=priority
baseurl=http://mirrors.aliyun.com/centos/$releasever/updates/$basearch/
        http://mirrors.aliyuncs.com/centos/$releasever/updates/$basearch/
        http://mirrors.cloud.aliyuncs.com/centos/$releasever/updates/$basearch/
gpgcheck=1
gpgkey=http://mirrors.aliyun.com/centos/RPM-GPG-KEY-CentOS-7

#additional packages that may be useful
[extras]
name=CentOS-$releasever - Extras - mirrors.aliyun.com
failovermethod=priority
baseurl=http://mirrors.aliyun.com/centos/$releasever/extras/$basearch/
        http://mirrors.aliyuncs.com/centos/$releasever/extras/$basearch/
        http://mirrors.cloud.aliyuncs.com/centos/$releasever/extras/$basearch/
gpgcheck=1
gpgkey=http://mirrors.aliyun.com/centos/RPM-GPG-KEY-CentOS-7

#additional packages that extend functionality of existing packages
[centosplus]
name=CentOS-$releasever - Plus - mirrors.aliyun.com
failovermethod=priority
baseurl=http://mirrors.aliyun.com/centos/$releasever/centosplus/$basearch/
        http://mirrors.aliyuncs.com/centos/$releasever/centosplus/$basearch/
        http://mirrors.cloud.aliyuncs.com/centos/$releasever/centosplus/$basearch/
gpgcheck=1
enabled=0
gpgkey=http://mirrors.aliyun.com/centos/RPM-GPG-KEY-CentOS-7

#contrib - packages by Centos Users
[contrib]
name=CentOS-$releasever - Contrib - mirrors.aliyun.com
failovermethod=priority
baseurl=http://mirrors.aliyun.com/centos/$releasever/contrib/$basearch/
        http://mirrors.aliyuncs.com/centos/$releasever/contrib/$basearch/
        http://mirrors.cloud.aliyuncs.com/centos/$releasever/contrib/$basearch/
gpgcheck=1
enabled=0
gpgkey=http://mirrors.aliyun.com/centos/RPM-GPG-KEY-CentOS-7
2.编辑 CentOS-SCLo-scl-rh.repo 文件:(没有不用管)
替换内容: ***注意哦!!!***这里不是全部替换,只替换【centos-sclo-rh】下面的内容。
[centos-sclo-rh]
name=CentOS-$releasever - SCLo rh
baseurl=https://mirrors.aliyun.com/centos/$releasever/sclo/$basearch/rh/
gpgcheck=1
enabled=1
gpgkey=https://mirrors.aliyun.com/centos/RPM-GPG-KEY-CentOS-7
3.编辑 CentOS-SCLo-scl.repo 文件(如果没有这个文件,不用管)
[centos-sclo-sclo]
name=CentOS-$releasever - SCLo sclo
baseurl=https://mirrors.aliyun.com/centos/$releasever/sclo/$basearch/sclo/
gpgcheck=1
enabled=1
gpgkey=https://mirrors.aliyun.com/centos/RPM-GPG-KEY-CentOS-7
4.清理缓存、重新加载缓存
清理缓存
yum clean all
加载缓存
yum makecache
完美解决
此方法引入 感谢博主
4.配置镜像源
yum-config-manager --add-repo http://mirrors.aliyun.com/docker-ce/linux/centos/docker-ce.repo
5.安装最新版本
sudo yum install -y docker-ce docker-ce-cli containerd.io docker-buildx-plugin docker-compose-plugin如果想安装具体版本
dnf list docker-ce --showduplicates | sort -r

docker-ce.x86_64    3:27.4.0-1.el9    docker-ce-stable
docker-ce.x86_64    3:27.3.1-1.el9    docker-ce-stable
<...>
sudo yum install docker-ce-<VERSION_STRING> docker-ce-cli-<VERSION_STRING> containerd.io docker-buildx-plugin docker-compose-plugin6.启动docker
sudo systemctl enable --now docker7.拉取Hello world 镜像 并运行
sudo docker run hello-world1.出现报错
Unable to find image 'hello-world:latest' locally
docker: Error response from daemon: Get "https://registry-1.docker.io/v2/": context deadline exceeded.
See 'docker run --help'.
2.配置阿里云镜像
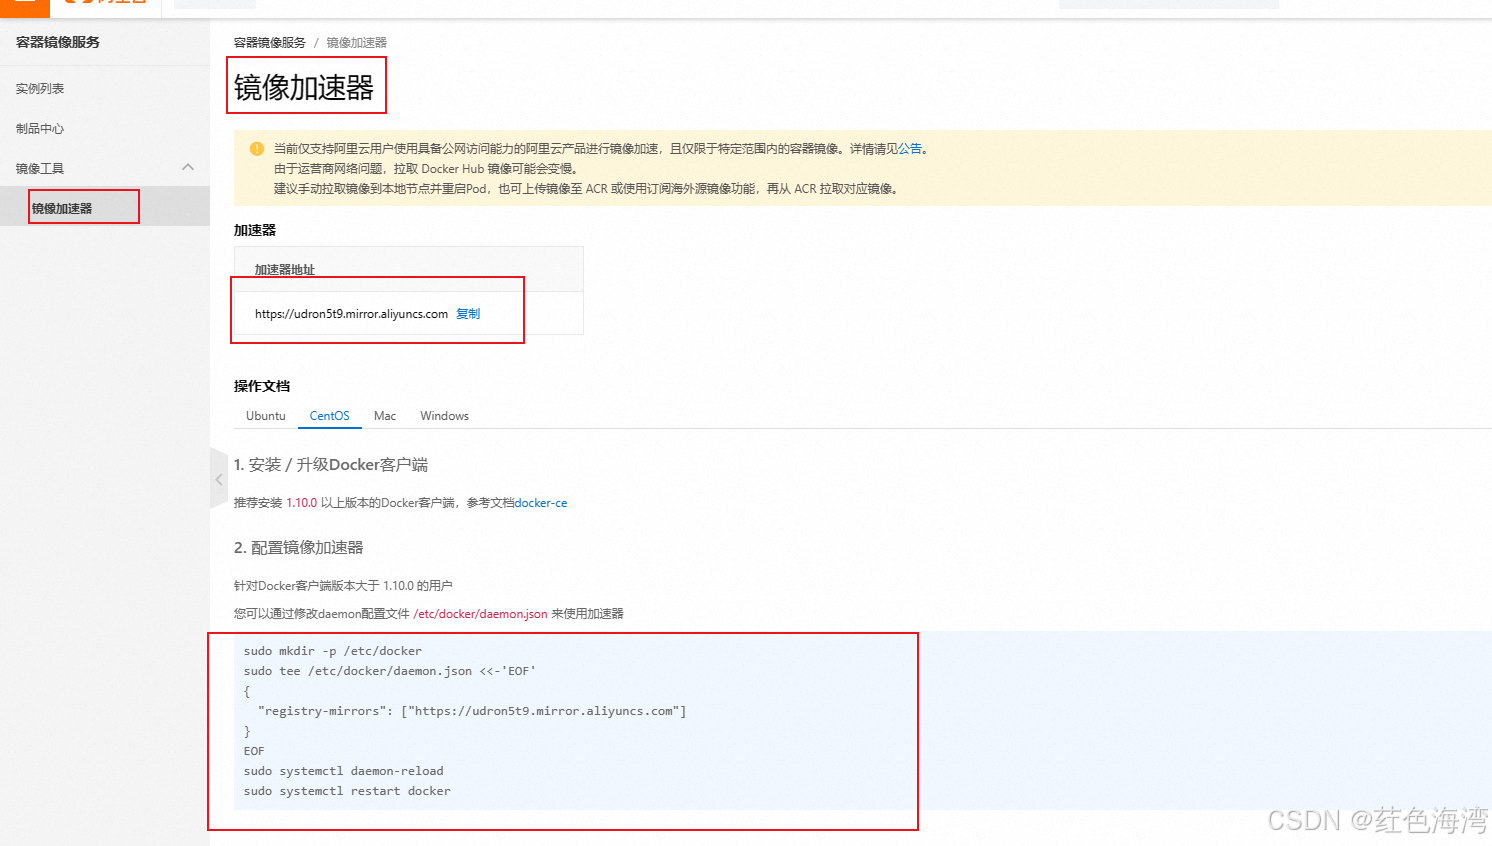
sudo mkdir -p /etc/dockersudo tee /etc/docker/daemon.json <<-'EOF'
{
"registry-mirrors": ["https://udron5t9.mirror.aliyuncs.com"]
}
EOFsudo systemctl daemon-reloadsudo systemctl restart docker3.最后把镜像在做上补充
vim /etc/docker/daemon.json{
"registry-mirrors": [
"https://docker.registry.cyou",
"https://docker-cf.registry.cyou",
"https://dockercf.jsdelivr.fyi",
"https://docker.jsdelivr.fyi",
"https://dockertest.jsdelivr.fyi",
"https://mirror.aliyuncs.com",
"https://dockerproxy.com",
"https://mirror.baidubce.com",
"https://docker.m.daocloud.io",
"https://docker.nju.edu.cn",
"https://docker.mirrors.sjtug.sjtu.edu.cn",
"https://docker.mirrors.ustc.edu.cn",
"https://mirror.iscas.ac.cn",
"https://docker.rainbond.cc",
"https://udron5t9.mirror.aliyuncs.com"
]
}
systemctl daemon-reload
systemctl restart docker
再次保存重启
4.运行 Hello world

完美解决
这样docker就安装完毕了


 376
376

 被折叠的 条评论
为什么被折叠?
被折叠的 条评论
为什么被折叠?
 到【灌水乐园】发言


