


目录
1.创建项目

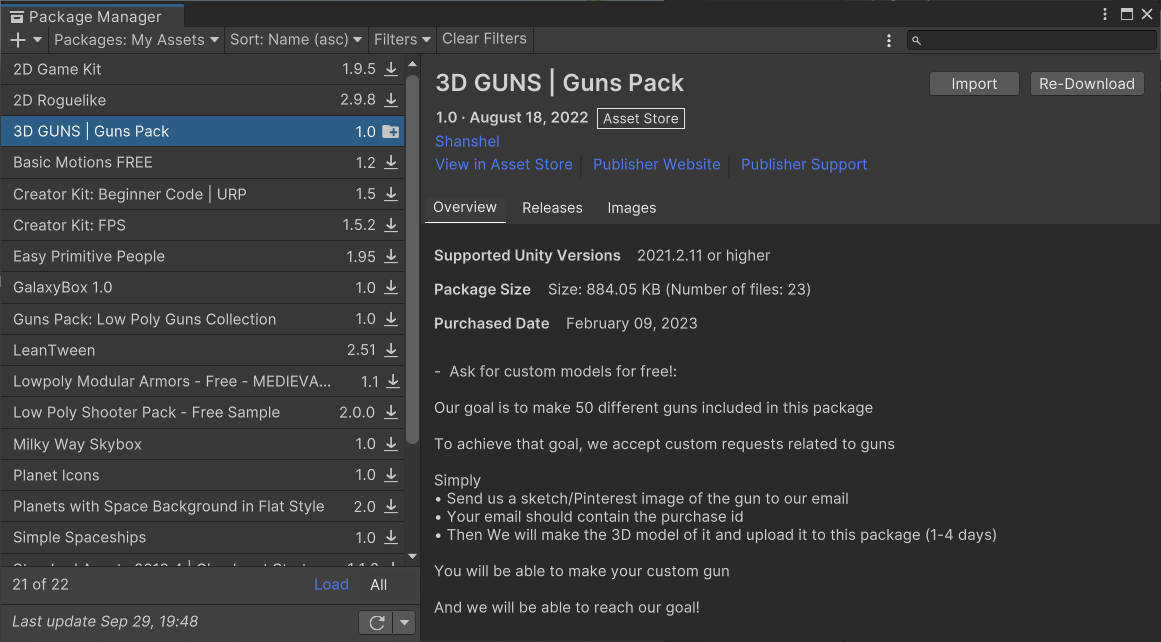
2.导入素材

3.搭建场景
(1)选择合适的Meshes拖入场景中并调整位置

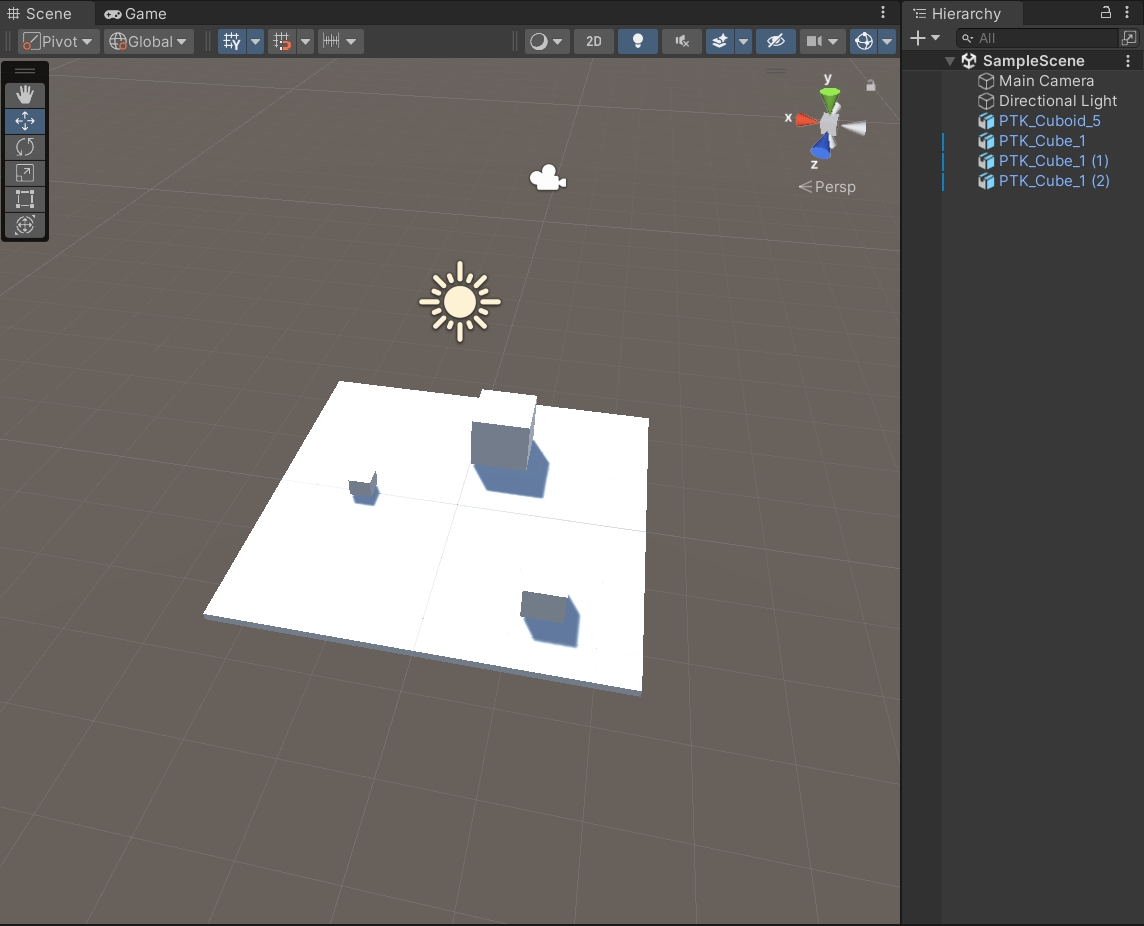 (2)创建空物体“Environment”并将场景中的物体和Directional Light置于与其内部(使用Ctrl进行多选)

(3)选择空物体“Environment”,调整Scale属性使其成比例放大

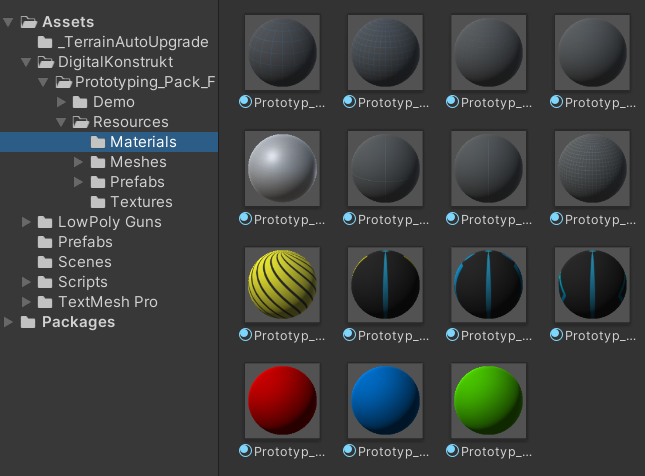
(4) 选择合适的Materials拖至对应物体
效果图如下:

4.创建玩家
(1) 创建空物体“Player”并在其内部创建同为空物体“Graphis”和Camera,在“Graphis内部”创建一个球体作为玩家模型。Hierarchy中结构应如下:

对空物体“Player”添加Sphere Collider组件和Rigidbody组件

Rigidbody组件的设置如下:

(2)选择合适的枪械素材,将其拖入场景并置于空物体“Player”中Camera下。Hierarchy中的物体结构应如下:


分别先后将对应文件夹下的New Material和obstacle_texture拖至枪械素材

适当调整枪械相对于玩家的位置

(4)在Asset目录下创建Prefabs目录,并将刚刚创建的Player拖入所新创建的Prefabs目录以创建预制体

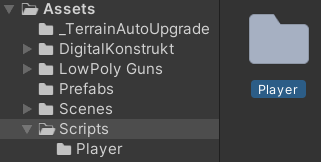
(5)在Asset目录下创建Scripts目录,用与放置所编写的各种script,并在其内部创建Player目录用于存储与Player相关的script
(6)在Player预制体上创建并编写PlayerInput.cs,用与接收玩家输入
using UnityEngine;

public class PlayerInput : MonoBehaviour
{
    [SerializeField]
    private float speed = 5f;
    [SerializeField]
    private PlayerControllor playerControllor;
    [SerializeField]
    private float lookSensitivity = 8f;

    // Start is called before the first frame update
    void Start()
    {
        Cursor.lockState = CursorLockMode.Locked;
    }

    // Update is called once per frame
    void Update()
    {
        float xMov = Input.GetAxisRaw("Horizontal");
        float yMov = Input.GetAxisRaw("Vertical");

        Vector3 velocity = (transform.right * xMov + transform.forward * yMov).normalized*speed;
        playerControllor.Move(velocity);

        float xMouse = Input.GetAxisRaw("Mouse X");
        float yMouse = Input.GetAxisRaw("Mouse Y");

        Vector3 yRotation = new Vector3(0f, xMouse, 0f)*lookSensitivity;
        Vector3 xRotation = new Vector3(-yMouse, 0f, 0f)*lookSensitivity;
        playerControllor.Rotate(yRotation,xRotation);
    }
}
注:可在Edit>Project Setting>Input Manager中查看各按键的对应关系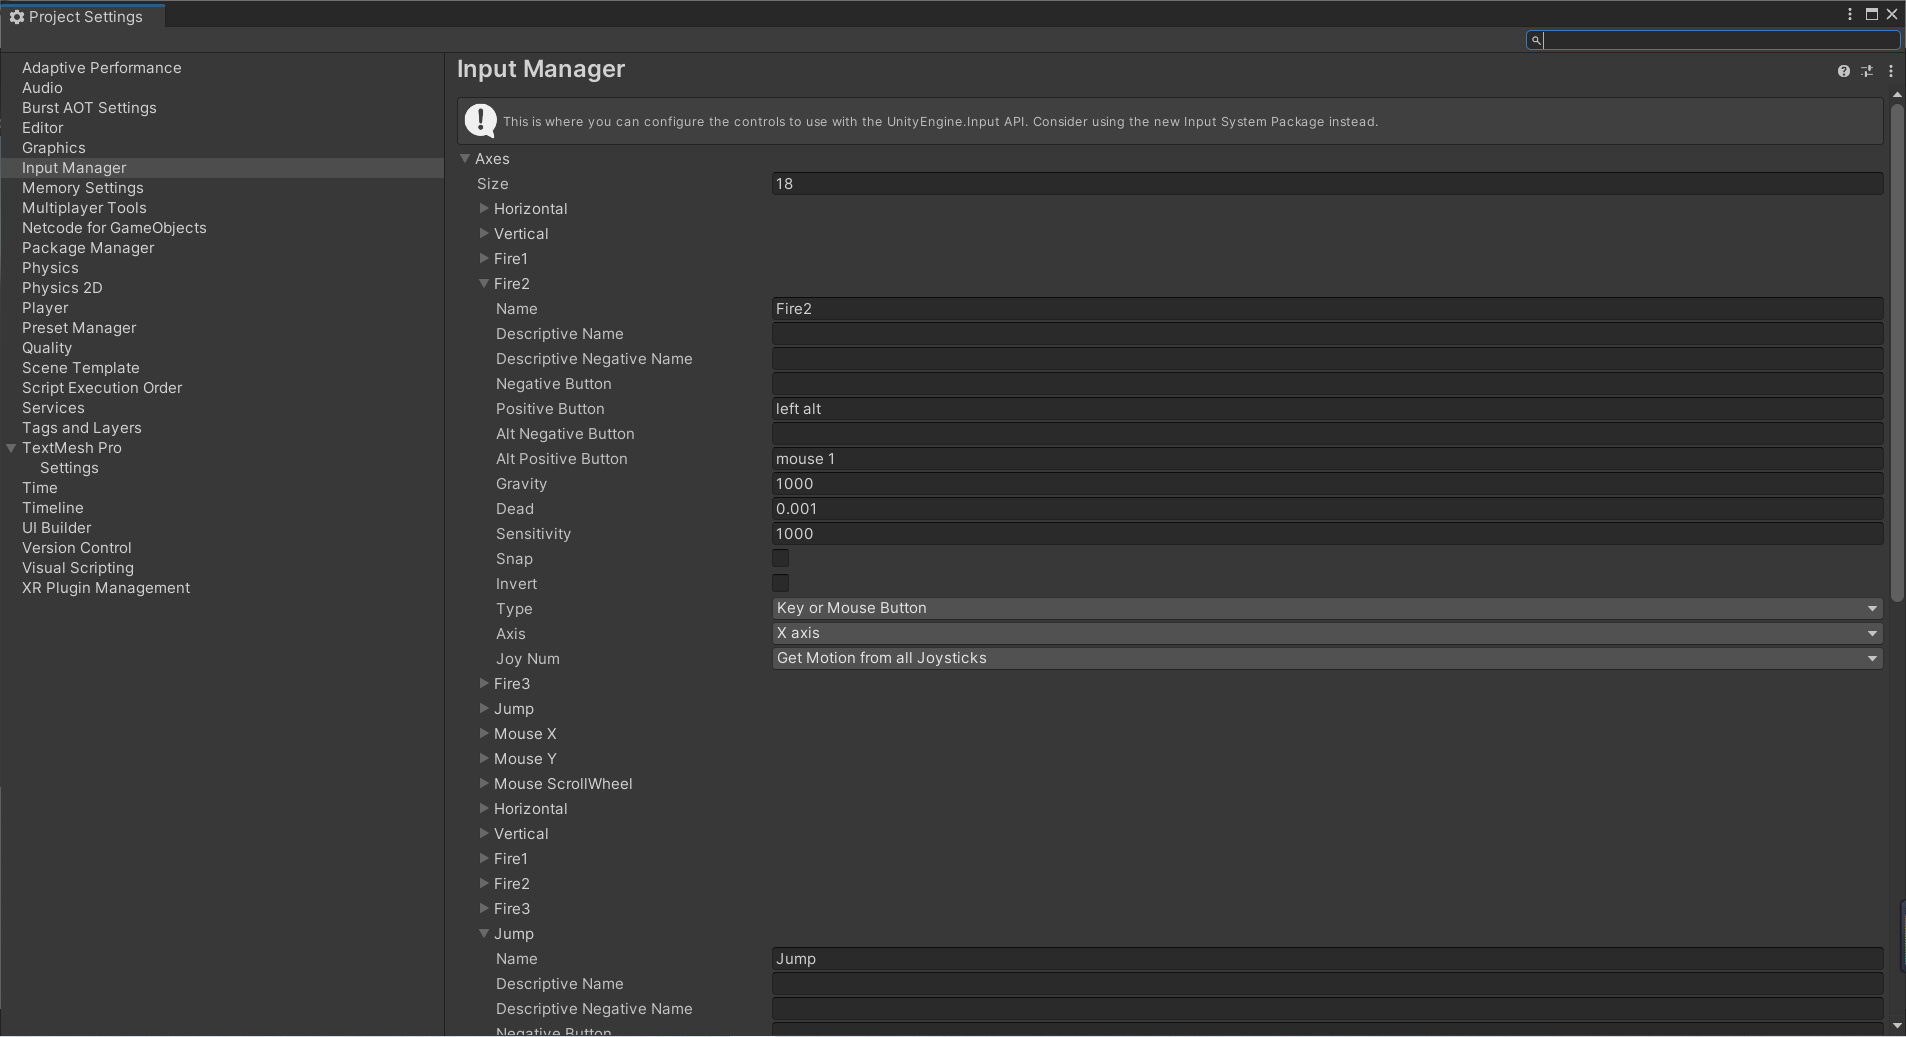
(7)在Player预制体是创建并编写PlayerController.cs,用于控制玩家行为
using UnityEngine;

public class PlayerControllor : MonoBehaviour
{
    [SerializeField]
    private Rigidbody rb;
    [SerializeField]
    private Camera _camera;

    private Vector3 velocity = Vector3.zero;//速度:每秒钟移动的距离
    private Vector3 yRotation=Vector3.zero;//旋转角色
    private Vector3 xRotation = Vector3.zero;//旋转视角

    public void Move(Vector3 _velocity)
    {
        velocity = _velocity;
    }

    public void Rotate(Vector3 _yRotation, Vector3 _xRotation)
    {
        yRotation = _yRotation;
        xRotation = _xRotation;
    }

    private void PerformMovement()
    {
        if (velocity != Vector3.zero)
        {
            rb.MovePosition(rb.position+velocity*Time.fixedDeltaTime);
        }
    }

    private void PerformRotation()
    {
        if (yRotation != Vector3.zero)
        {
            rb.transform.Rotate(yRotation);
        }
        if (xRotation != Vector3.zero)
        {
            _camera.transform.Rotate(xRotation);
        }
    }

    private void FixedUpdate()
    {
        PerformMovement();
        PerformRotation();
    }
}
将(6)(7)所编写的PlayerInput.cs和PlayerController.cs移动至Assets/Scripts/Player


 1185
1185


 被折叠的 条评论
为什么被折叠?
被折叠的 条评论
为什么被折叠?
 到【灌水乐园】发言


