


 本文详细介绍如何在Windows环境下搭建TensorFlow2对象检测环境,包括创建conda虚拟环境、安装TensorFlow及GPU版本、配置环境变量等步骤,并提供常见问题的解决方案。
1.创建conda虚拟环境
打开cmd运行
conda create -n tensorflow pip python=3.9
其中tensorflow为虚拟环境的名字,python版本要与tensorflow匹配
2.激活虚拟环境
在cmd运行
activate tensorflow(创建的虚拟环境的名字)
激活虚拟环境后,环境的名称应显示在 cmd 路径说明符开头的括号内,接下来的命令语句都在该虚拟环境中执行。
3.安装tensorflow-gpu
在cmd运行
pip install tensorflow==2.6.0
验证安装:
python -c "import tensorflow as tf;print(tf.reduce_sum(tf.random.normal([1000, 1000])))"
将会得到如下类似输出
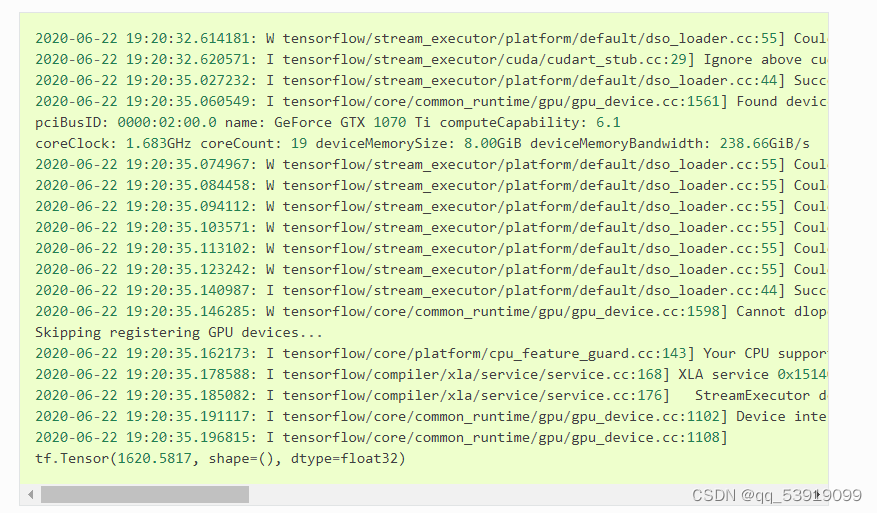
4.下载tensorflow object-detection
GitHub - 张量流/模型:使用张量流构建的模型和示例 download zip
在D盘新建一个名为tensorflow-model的文件夹,将模型解压缩到该文件夹下并重命名为models
5.编译protobuf
Releases · protocolbuffers/protobuf (github.com)
下载最新版 protoc-×××-win64.zip,解压缩到D盘,将./bin下的protoc.exe复制到C:Windows/Sytstem32下。
在cmd中进入D盘依次运行
cd tensorflow-model/models/research
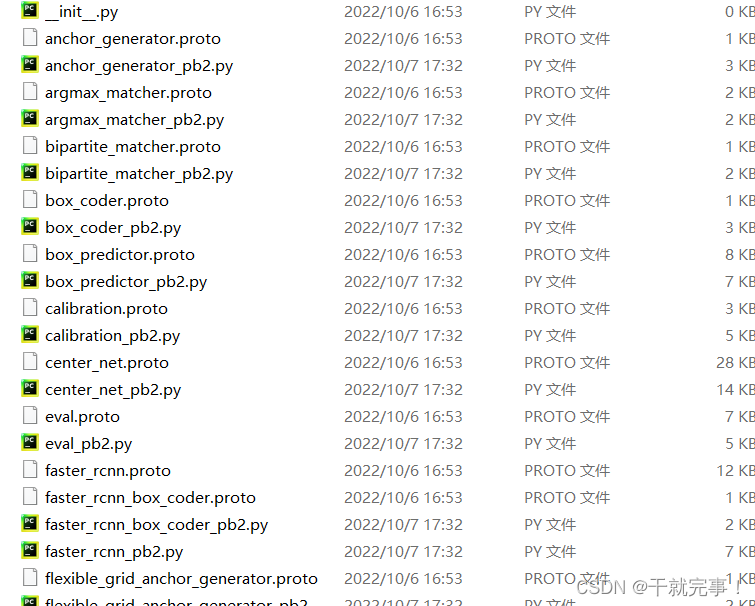
protoc object_detection/protos/*.proto --python_out=.
编译完成后再tensorflow-model/models/research/object_detection/protoc下会出现相应的.py文件
6.安装COCO API
在安装COCO API之前,需确保已在电脑安装了 Visual C++ 2015 build tools。
cmd 输入
pip install cython
pip install git+https://github.com/philferriere/cocoapi.git#subdirectory=PythonAPI
7.配置PYTHONPATH环境变量
在系统环境变量下新建一个PYTHONPATH,里面放research、slim、object-detection这三个的路径,重启电脑让环境变量生效。
注:若在cmd中使用新配置的环境变量,需打开一个新的cmd窗口。
8.安装tensorflow object-detection api
cd 到 object_detection/packages/tf2 运行:
python setup.py build
python setup.py install
可能遇到的报错:
[WinError 32] 另一个程序正在使用此文件,进程无法访问。: 'c:\\.....\\.conda\\envs\\tensorflow\\lib\\site-packages\\object_detection-0.1-py3.9.egg
解决方法:删除虚拟环境下的object_detection-0.1-py3.9.egg文件
注:在这里的时候千万不能使用pip install object_detection-0.1,这样下下来的object_detection包里用的是tensorflow1,而tensorflow2不包含tensorflow1的部分函数功能,这就导致在后面测试api是否成功下载或是训练模型的时候都会报错,十分麻烦。
ValueError: invalid wheel name: 'apache_beam2.42.0rc00-cp37-cp37m-macosx_10_9_x86_64.whl'
解决方法:pip install apache-beam==2.42.0rc0 根据报错给出的下载地址下载该依赖到虚拟环境中,解压缩,cmd定位到setup.py文件位置,执行python setup.py build 、python setup.py install
下载tensorflow2.10时报错
解决方法:同样根据报错给出的地址下载whl文件到虚拟环境,cmd定位到虚拟环境site-packages,执行pip install ×××.whl
注:在安装object-detection api的时候,不能直接pip下载某个包(也不要换源),这样会导致缺少依赖,无法使用该api,而且易导致各种包之间版本冲突。
9.测试安装
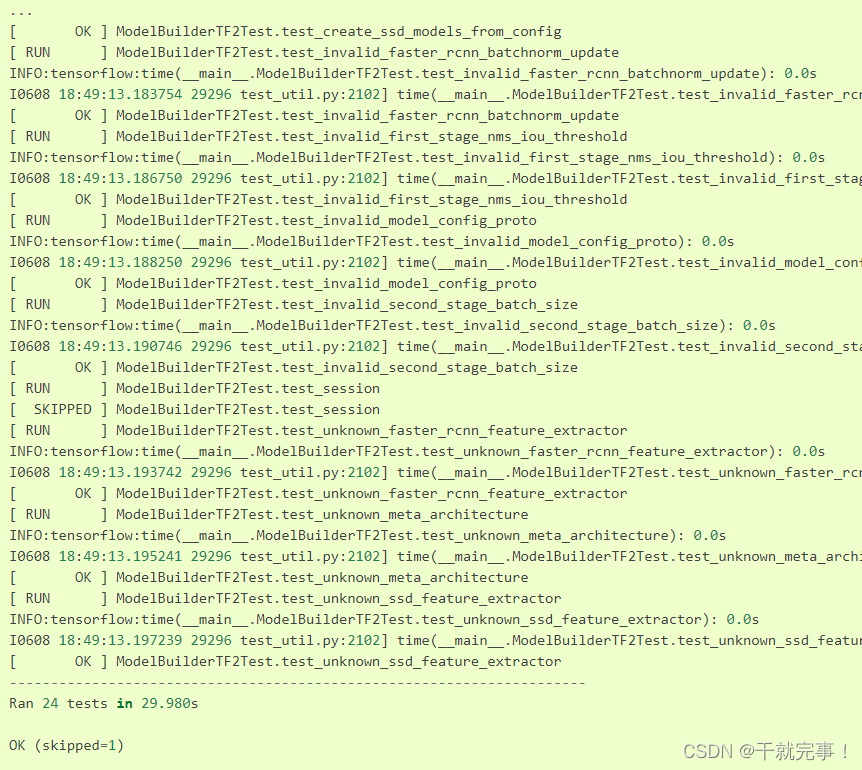
cd 到D:\tensorflow-model\models\research\object_detection\builders目录下,运行
python model_builder_tf2_test.py
可能遇到的报错:
no modle name object-detection
解决方法: 在虚拟环境site-packages下新建一个tensorflow_modle.pth文件,添上research、slim、object-detection这三个的路径
cannot import name 'builder' from 'google.protobuf.internal
解决方法:回到Releases · protocolbuffers/protobuf (github.com)下载你刚刚下载好的protobuf同版本的Source code,将该zip文件下python\google\protobuf\internal的builder.py文件复制到虚拟环境site-packages\google\protobuf\internal下
如果有以下显示,那么,恭喜你,恭喜我,终于可以去到训练模型了!
10. 训练模型
Windows 利用tensorflow2 object-detection api训练自己的模型
参考博客、文档:
安装 — 张量流 2 对象检测 API 教程文档 (tensorflow-object-detection-api-tutorial.readthedocs.io)


 567
567

 被折叠的 条评论
为什么被折叠?
被折叠的 条评论
为什么被折叠?
 到【灌水乐园】发言


