


1 测试用户查找
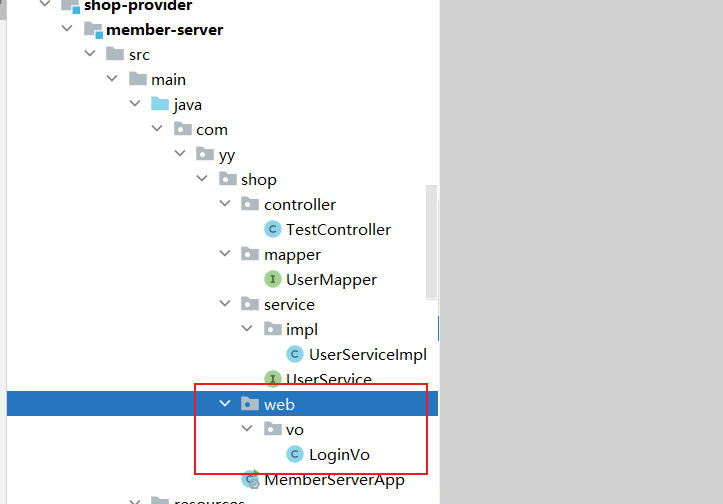
1.1 创建对象实体类

@Data
public class User implements Serializable {

    private Long id;
    private String nickname;
    private String password;
    private String salt;
    private String head;
    private Date registerDate;
    private Date lastLoginDate;
    private Integer loginCount;
}
引入依赖
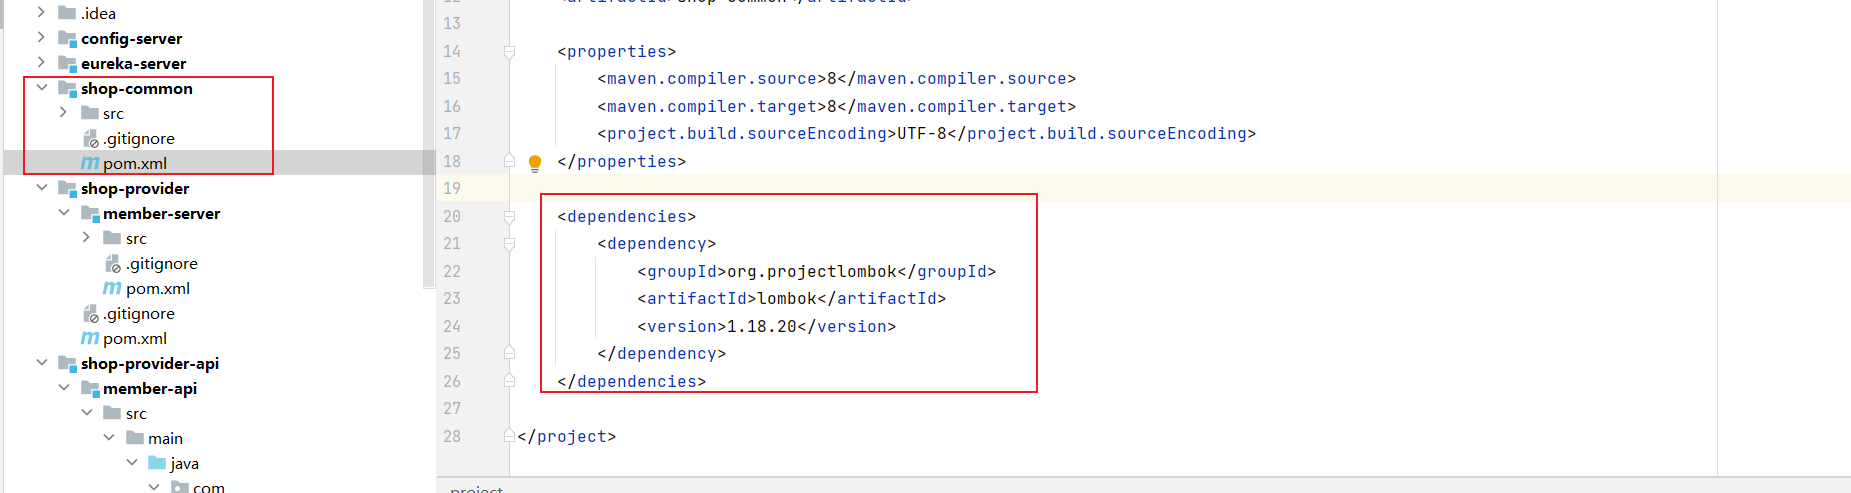
        <dependency>
            <groupId>org.projectlombok</groupId>
            <artifactId>lombok</artifactId>
        </dependency>
1.2 创建Mapper类
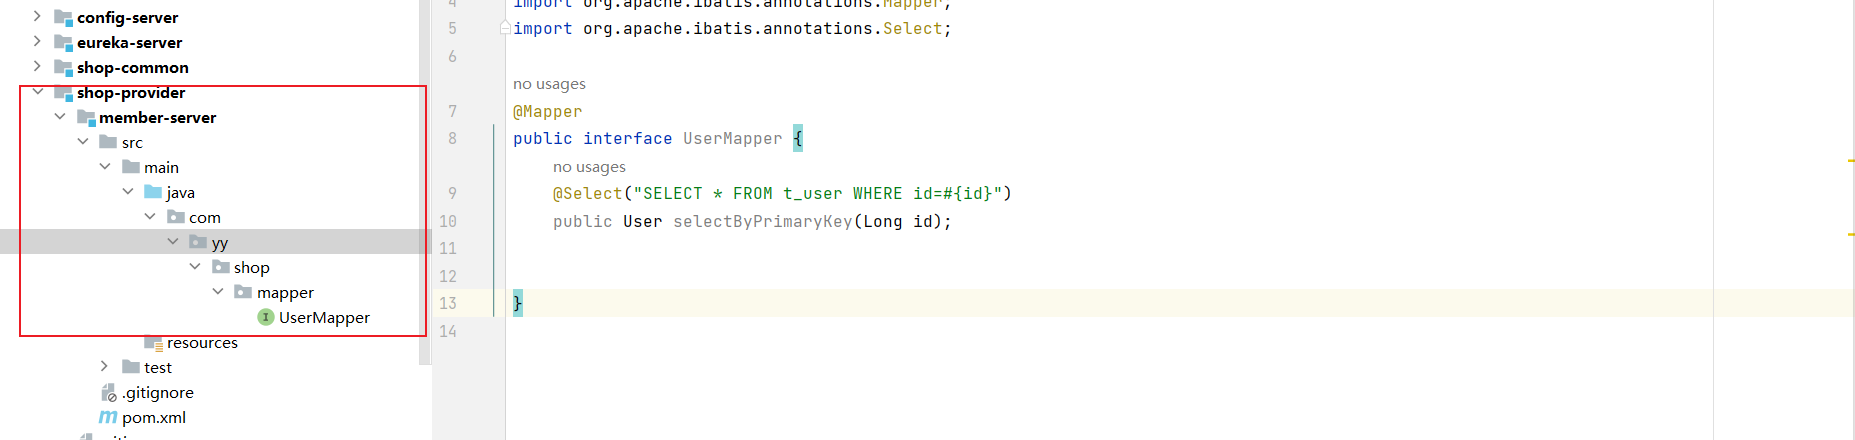
@Mapper
public interface UserMapper {
    @Select("SELECT * FROM t_user WHERE id=#{id}")
    public User selectByPrimaryKey(Long id);
}
1.3 创建service业务逻辑接口及其实现类
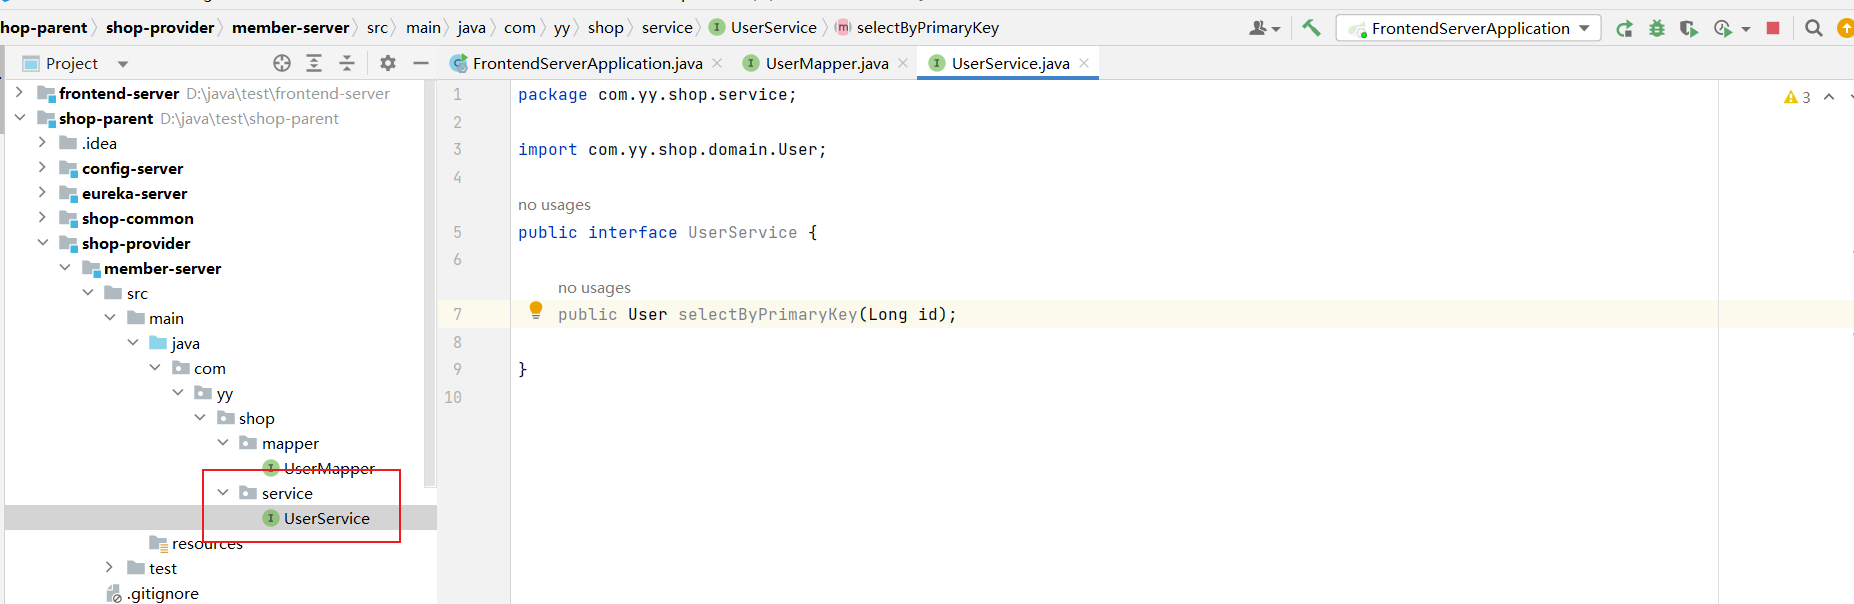
public interface UserService {
    public User selectByPrimaryKey(Long id);
}
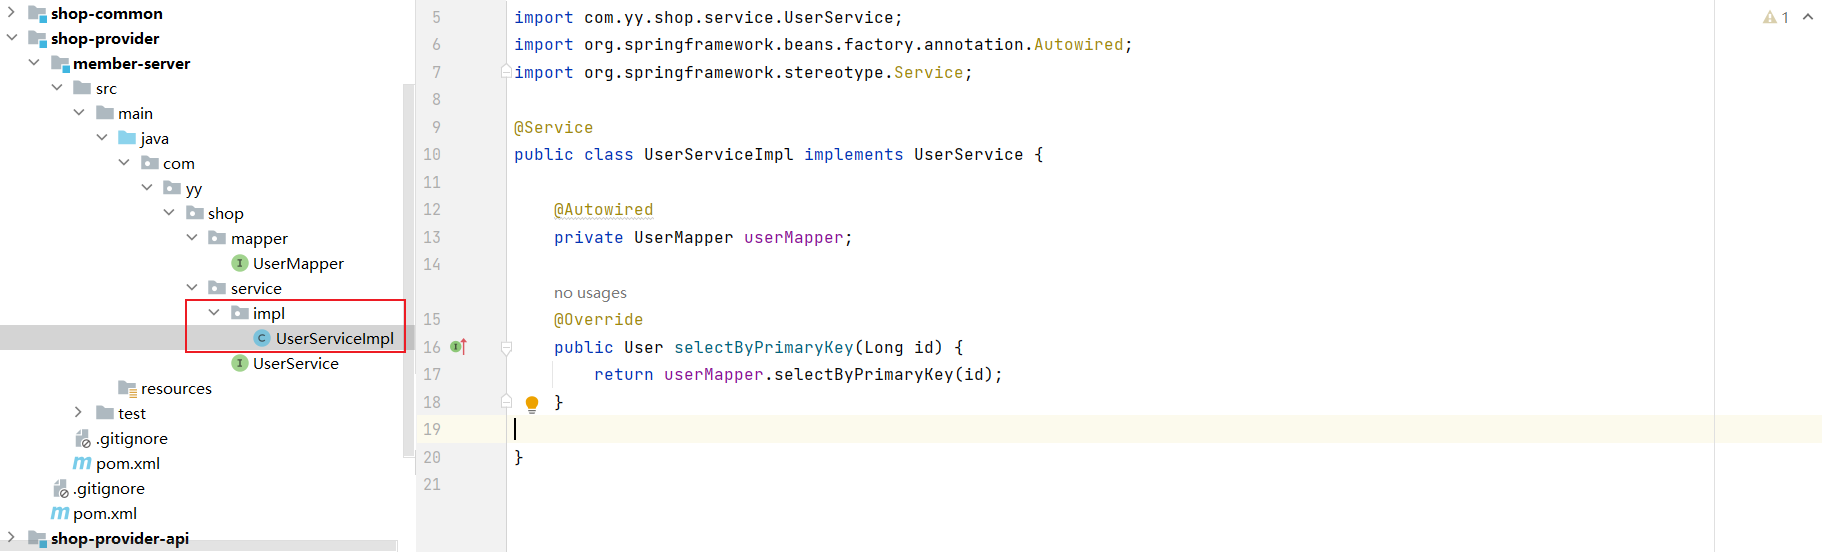
@Service
public class UserServiceImpl implements UserService {

    @Autowired
    private UserMapper userMapper;

    @Override
    public User selectByPrimaryKey(Long id) {
        return userMapper.selectByPrimaryKey(id);
    }
}
1.4 创建controller层
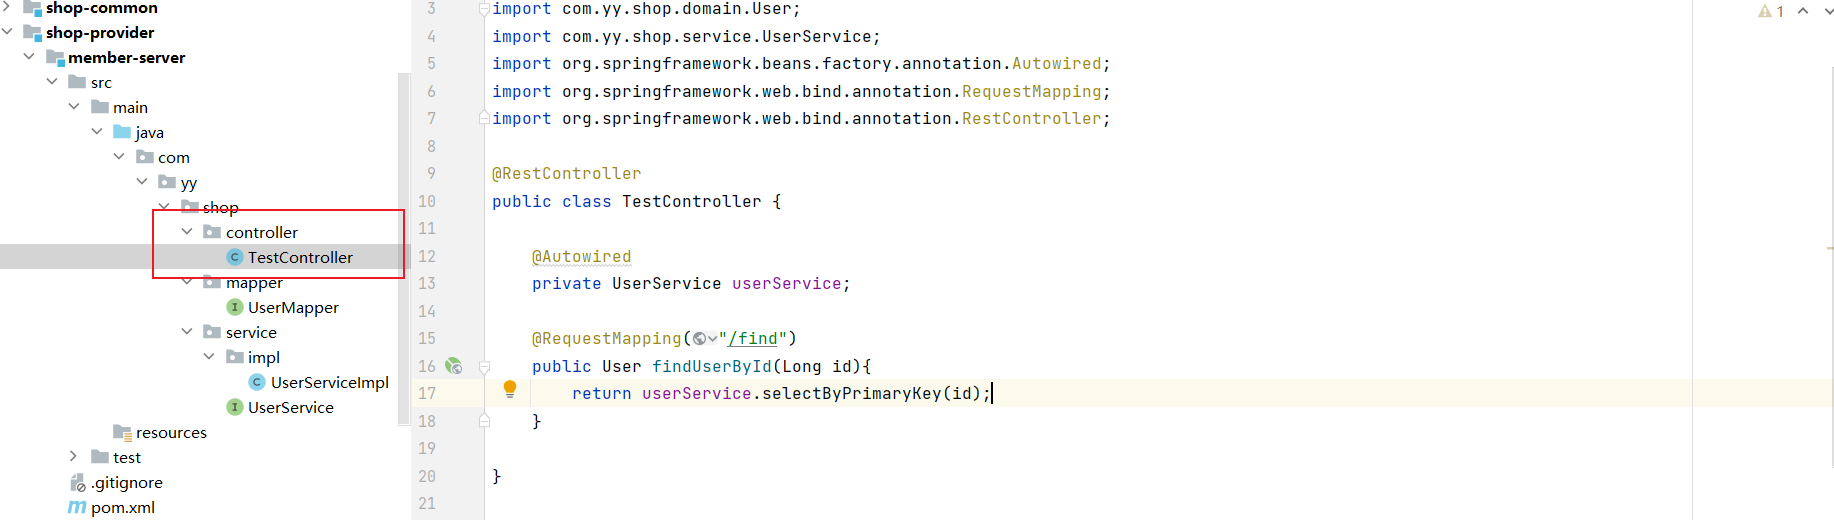
@RestController
public class TestController {

    @Autowired
    private UserService userService;

    @RequestMapping("/find")
    public User findUserById(Long id){
        return userService.selectByPrimaryKey(id);
    }
}
1.5 创建MemberServerApp启动类
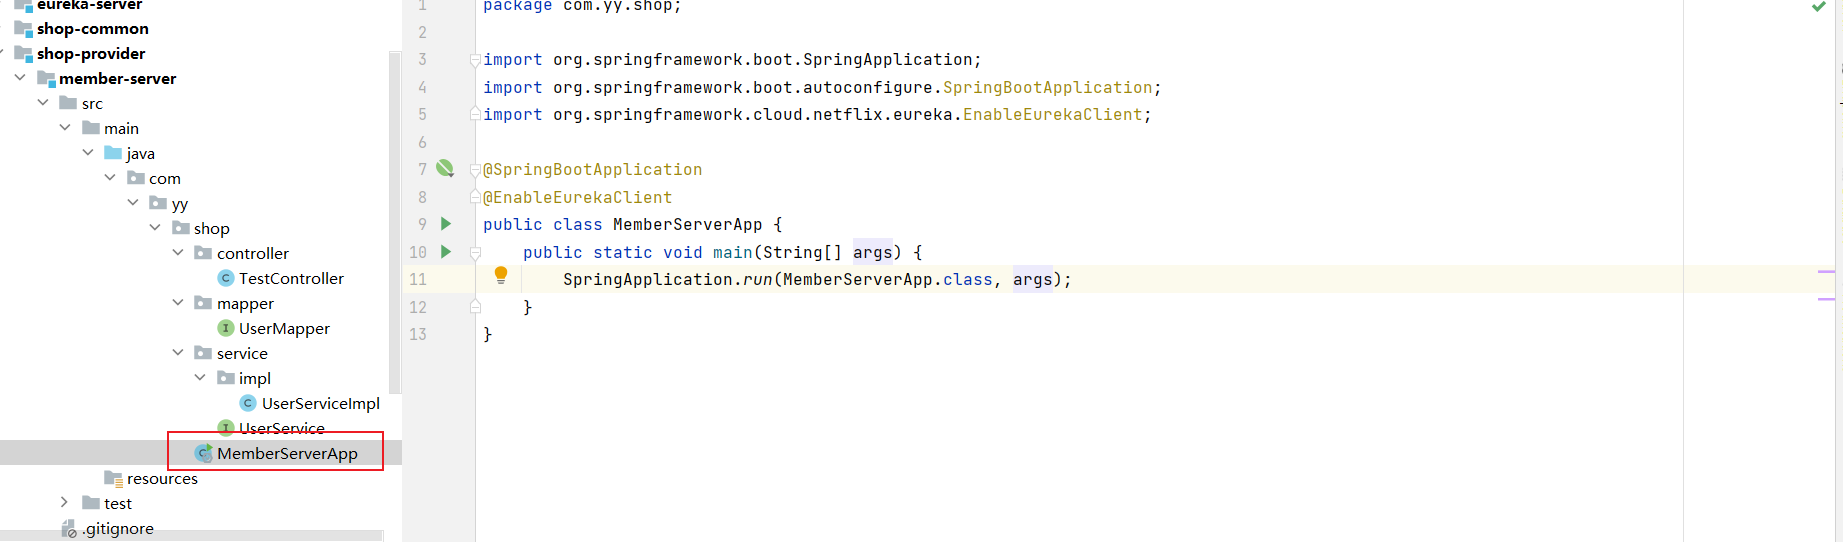
@SpringBootApplication
public class MemberServerApp {
    public static void main(String[] args) {
        SpringApplication.run(MemberServerApp.class, args);
    }
}
1.6 创建bootstrap.yml
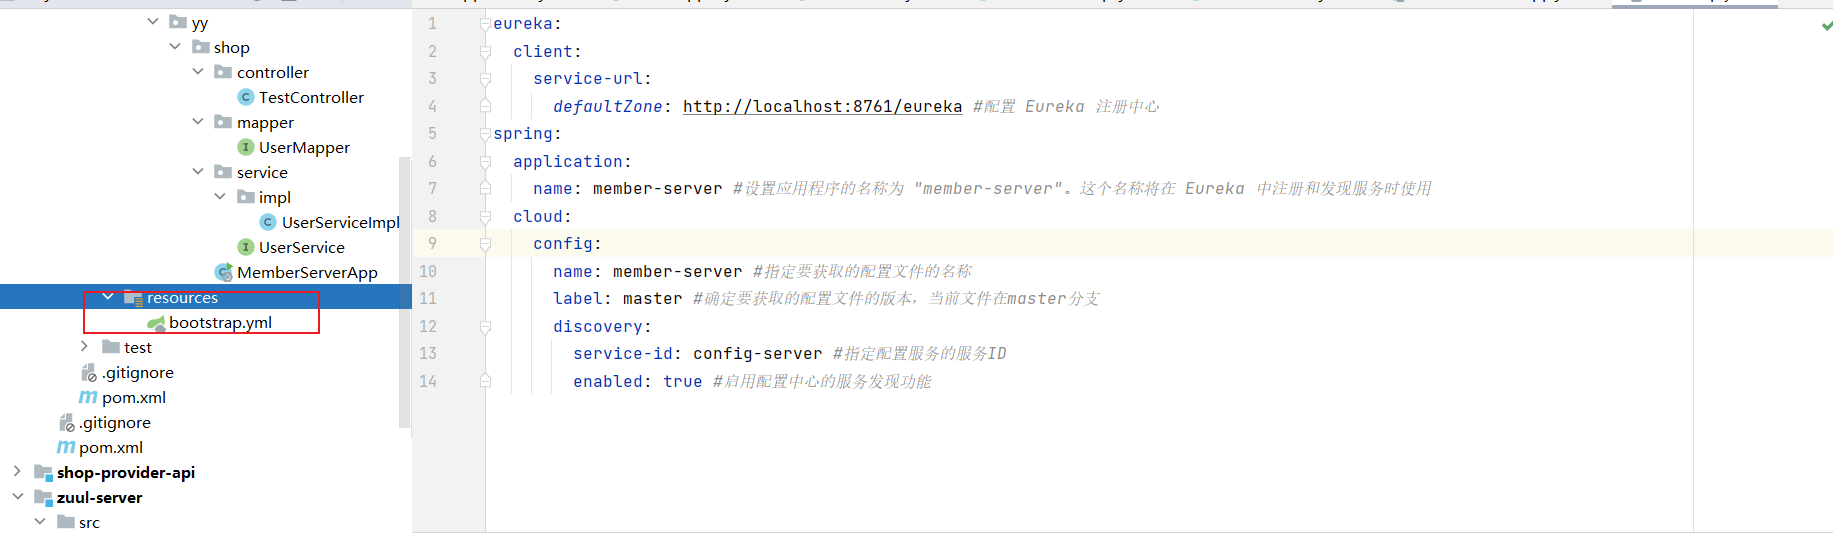
1.7 在gitee仓库添加member-server.yml
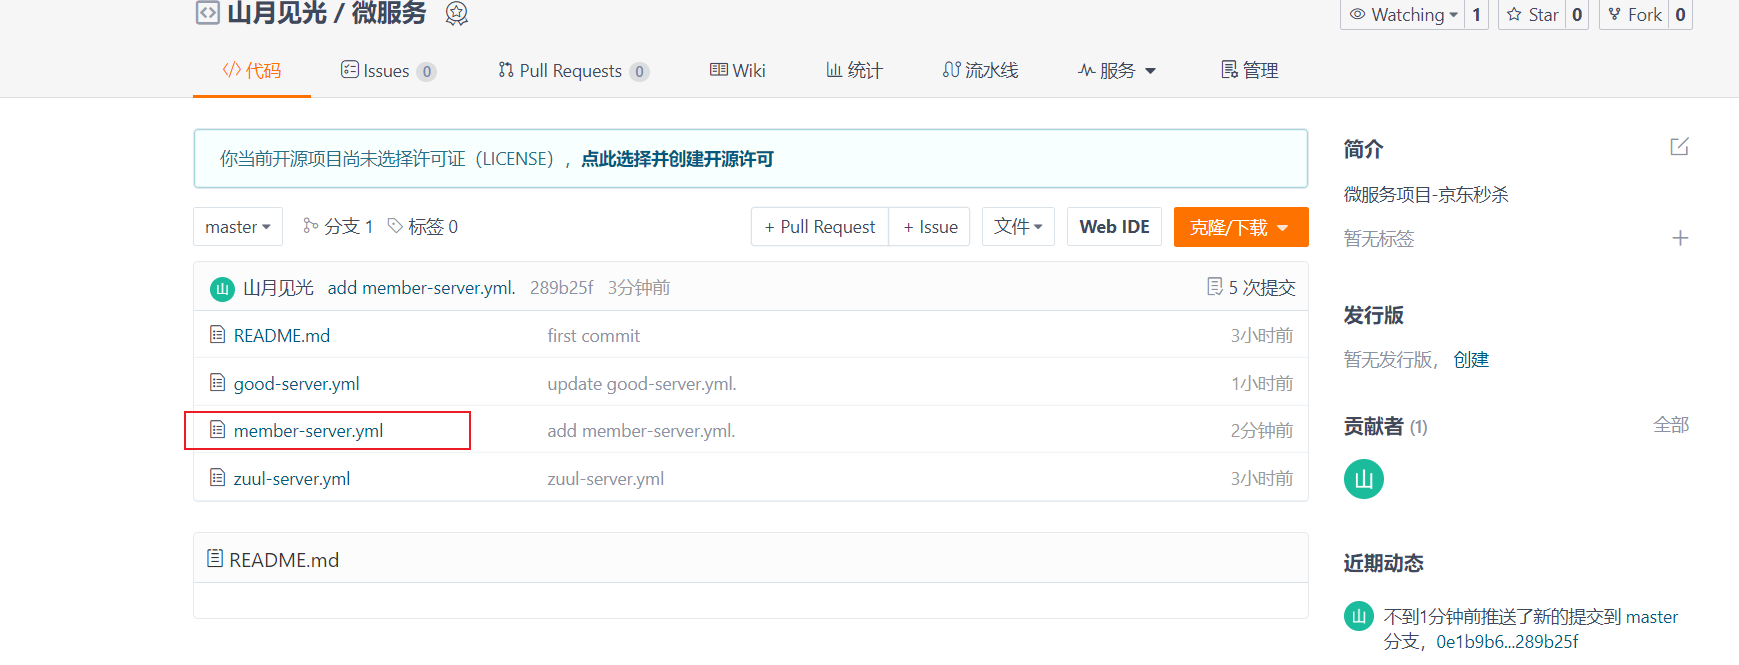
server:
  port: 8083
spring:
  datasource:
    url: jdbc:mysql://localhost:3306/shop_member?serverTimezone=GMT%2B8
    driverClassName: com.mysql.cj.jdbc.Driver
    type: com.alibaba.druid.pool.DruidDataSource
    username: root
    password: 123456
mybatis:
  configuration:
    default-fetch-size: 100
    default-statement-timeout: 3000
    map-underscore-to-camel-case: true
1.8 启动测试类进行测试


2 实现登陆校验
2.1 添加跨域支持
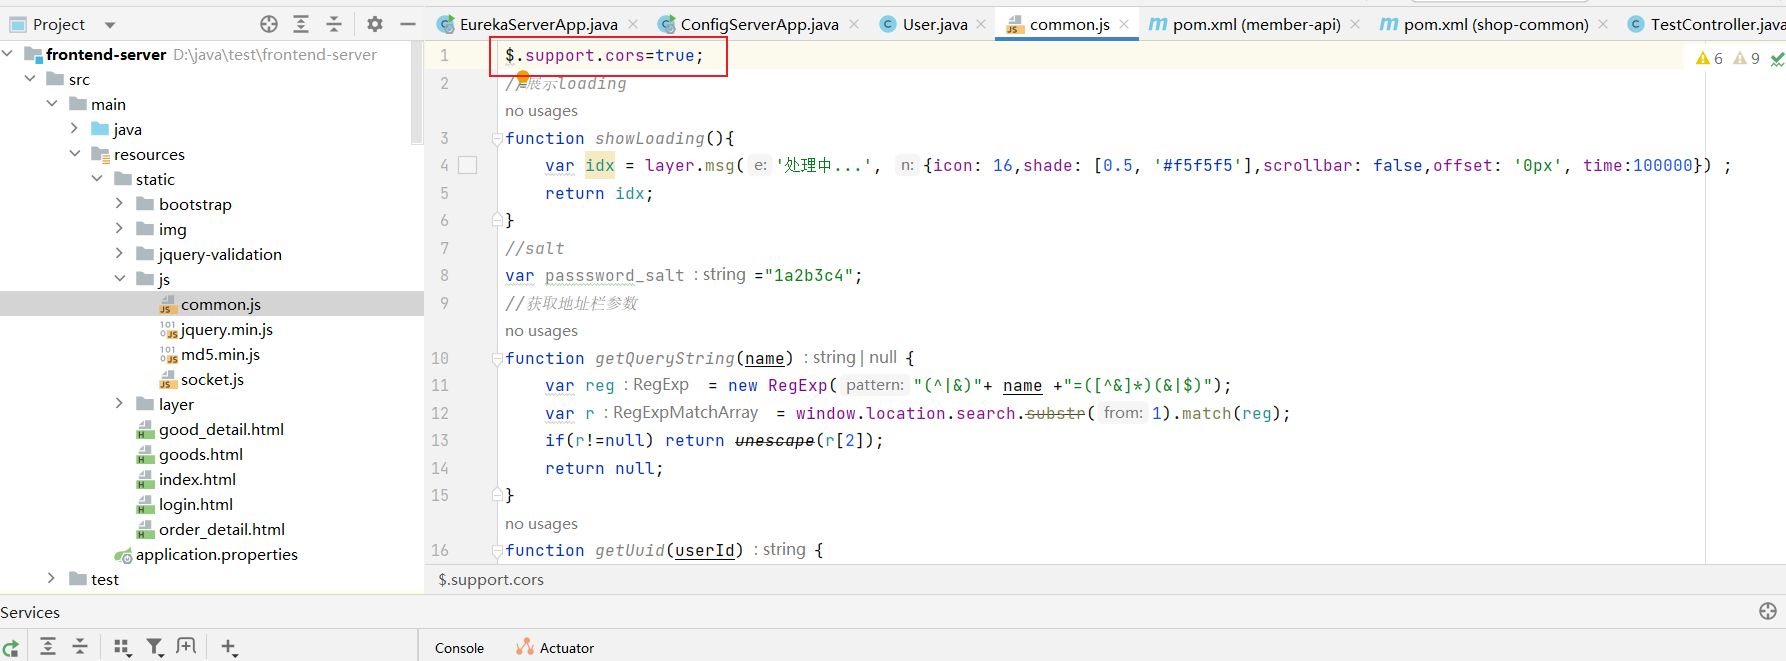
1 告知jQuery浏览器支持CORS
2 编写跨域方法
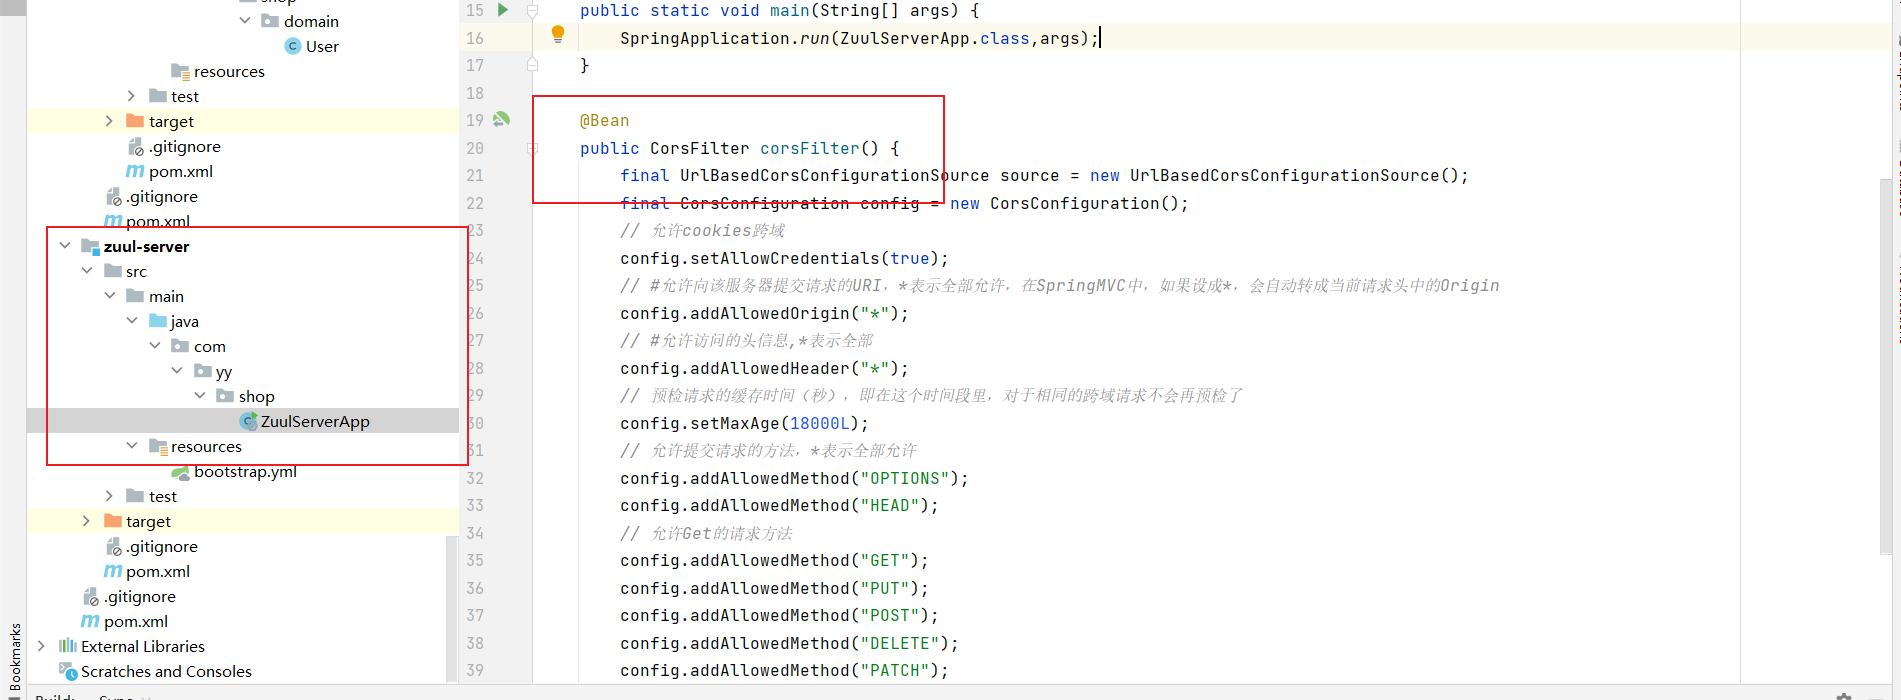
    @Bean
    public CorsFilter corsFilter() {
        final UrlBasedCorsConfigurationSource source = new UrlBasedCorsConfigurationSource();
        final CorsConfiguration config = new CorsConfiguration();
        // 允许cookies跨域
        config.setAllowCredentials(true);
        // #允许向该服务器提交请求的URI,*表示全部允许,在SpringMVC中,如果设成*,会自动转成当前请求头中的Origin
        config.addAllowedOrigin("*");
        // #允许访问的头信息,*表示全部
        config.addAllowedHeader("*");
        // 预检请求的缓存时间(秒),即在这个时间段里,对于相同的跨域请求不会再预检了
        config.setMaxAge(18000L);
        // 允许提交请求的方法,*表示全部允许
        config.addAllowedMethod("OPTIONS");
        config.addAllowedMethod("HEAD");
        // 允许Get的请求方法
        config.addAllowedMethod("GET");
        config.addAllowedMethod("PUT");
        config.addAllowedMethod("POST");
        config.addAllowedMethod("DELETE");
        config.addAllowedMethod("PATCH");
        source.registerCorsConfiguration("/**", config);
        return new CorsFilter(source);
    }
2.2 编写前端登陆页面
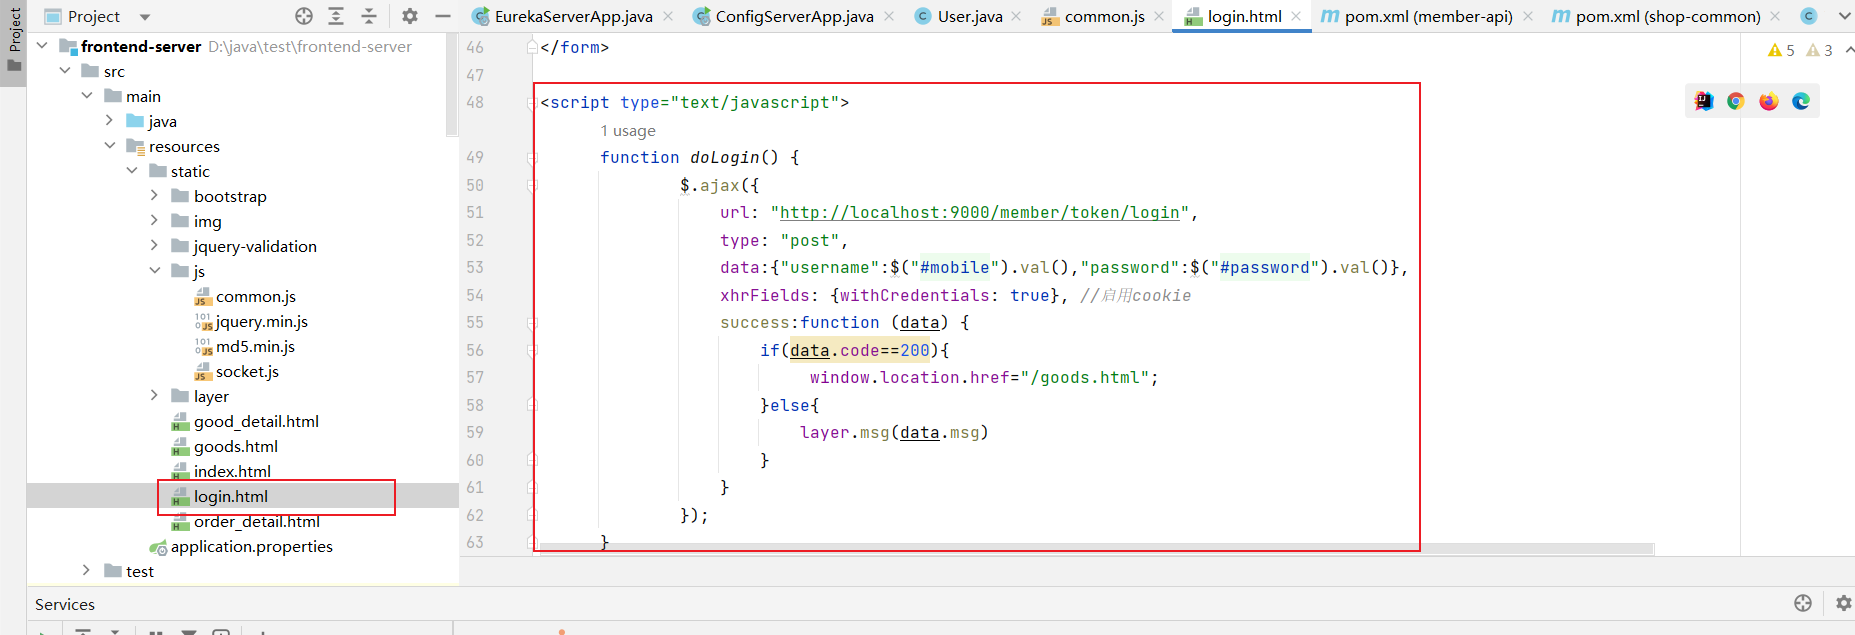
<script type="text/javascript">
function doLogin() {
$.ajax({
url: "http://localhost:9000/member/token/login", //发送 POST 请求到 URL "http://localhost:9000/member/token/login"
type: "post",
data:{"username":$("#mobile").val(),"password":$("#password").val()},
xhrFields: {withCredentials: true}, //启用跨域请求时携带 cookies,保持用户的登录状态
success:function (data) {
if(data.code==200){
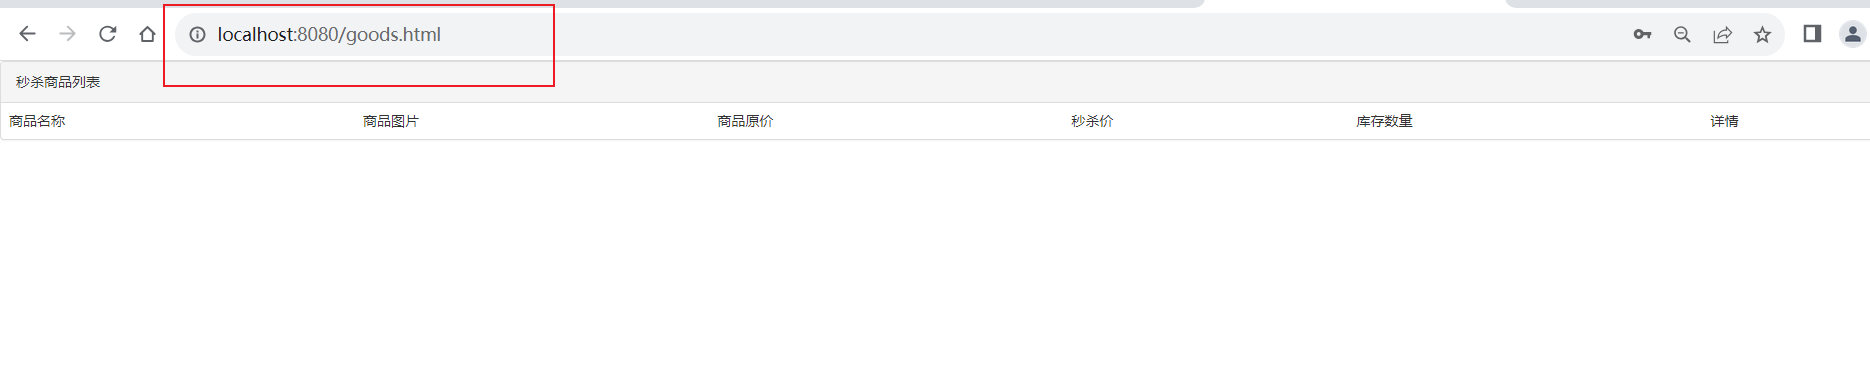
window.location.href="/goods.html"; //将页面重定向到 "/goods.html"
}else{
layer.msg(data.msg)
}
}
});
}
</script>
2.3 创建统一返回结果类

@Setter
@Getter
public class Result<T> {

    private Integer code;
    private String msg;
    private T data;

    public Result() {
    }

    public Result(Integer code, String msg, T data) {
        this.code = code;
        this.msg = msg;
        this.data = data;
    }

    public static final int SUCCESS_CODE=200;
    public static final String SUCCESS_MESSAGE="操作成功";

    public static final int ERROR_CODE=500000;
    public static final String ERROR_MESSAGE="系统异常";

    public static <T> Result<T> success(T data){
        return new Result<>(SUCCESS_CODE, SUCCESS_MESSAGE, data);
    }

    public static <T> Result<T> success(String msg, T data){
        return new Result<>(SUCCESS_CODE, msg, data);
    }

    public static <T> Result<T> error(CodeMsg codeMsg){
        return new Result<>(codeMsg.getCode(), codeMsg.getMsg(), null);
    }

    public static <T> Result<T> defaultError(){
        return new Result<>(ERROR_CODE, ERROR_MESSAGE, null);
    }

    public boolean hasError(){
        return this.code!=SUCCESS_CODE;
    }
}
2.4 创建异常返回结果类
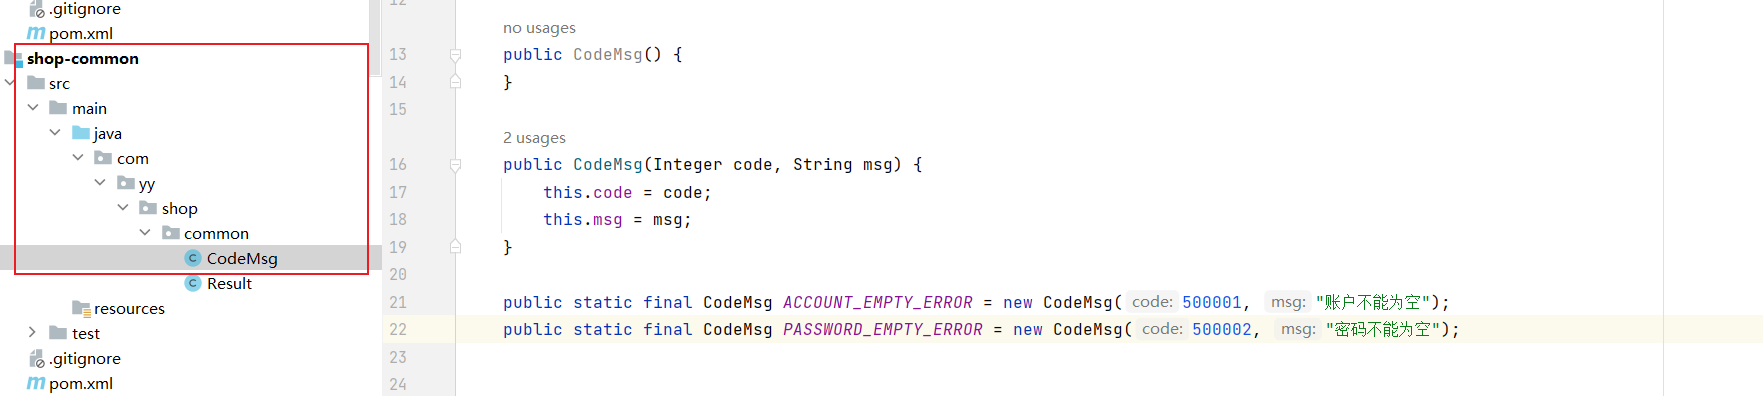
@Setter
@Getter
public class CodeMsg {

    private Integer code;
    private String msg;

    public CodeMsg() {
    }

    public CodeMsg(Integer code, String msg) {
        this.code = code;
        this.msg = msg;
    }

    public static final CodeMsg ACCOUNT_EMPTY_ERROR = new CodeMsg(500001, "账户不能为空");
    public static final CodeMsg PASSWORD_EMPTY_ERROR = new CodeMsg(500002, "密码不能为空");
}
2.5 创建登录封装类
@Data
public class LoginVo {

    private String username;
    private String password;
}
2.6 创建自定义异常类
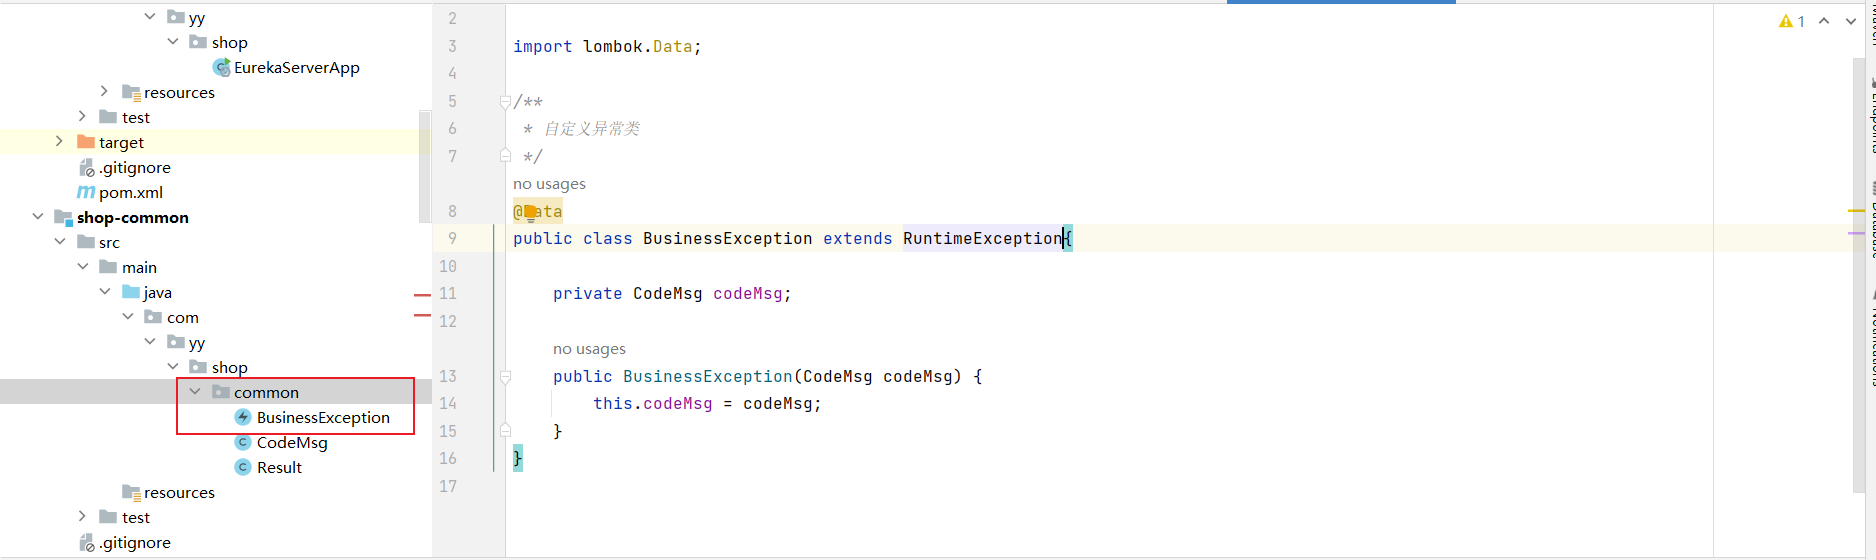
@Data
public class BusinessException extends RuntimeException{

    private CodeMsg codeMsg;

    public BusinessException(CodeMsg codeMsg) {
        this.codeMsg = codeMsg;
    }
}
2.7 创建属于会员的codeMsg
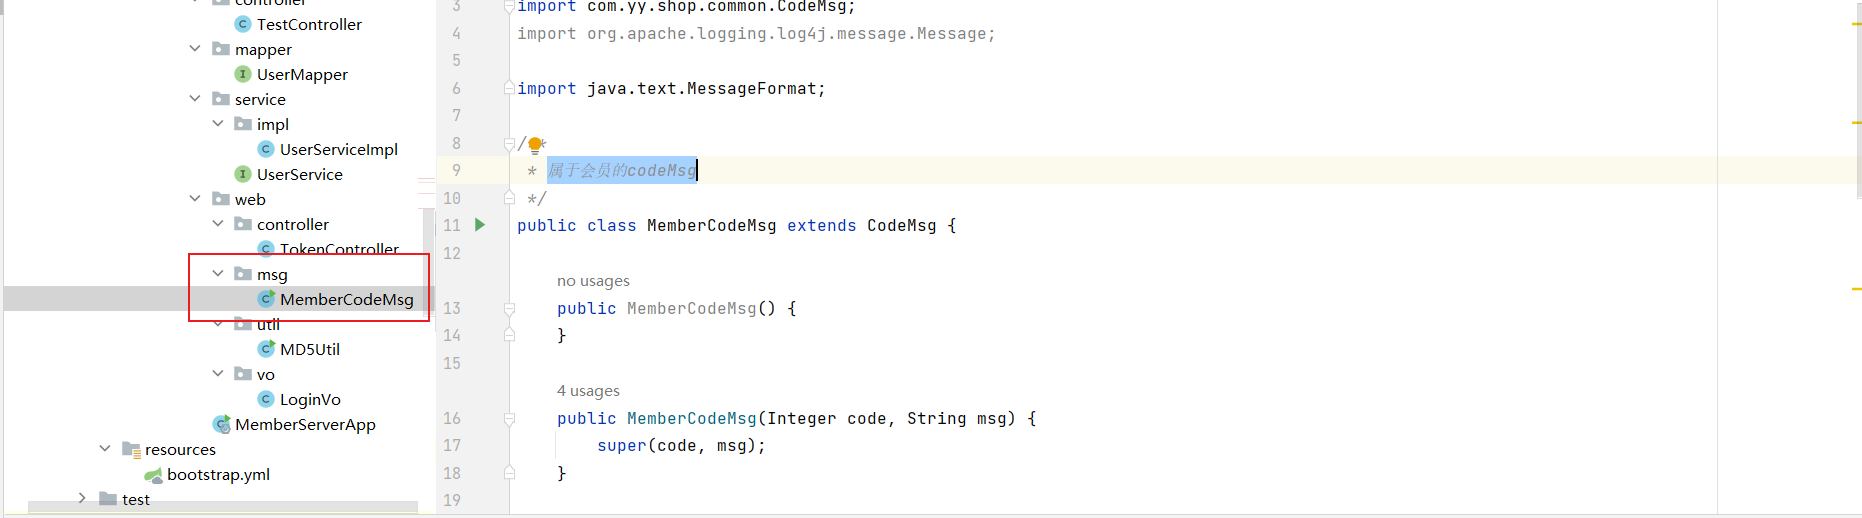
创建会员的错误信息并创建fillArgs方法来将错误信息中的占位符替换成具体参数
如:设原有的错误码为 “500005”,原有的错误信息为 “参数校验:{0}”,那么调用 fillArgs(“john”) 方法后,生成的新的 MemberCodeMsg 对象的错误信息就会变成 “参数校验:join”
public class MemberCodeMsg extends CodeMsg {

    public MemberCodeMsg() {
    }

    public MemberCodeMsg(Integer code, String msg) {
        super(code, msg);
    }

    public static final MemberCodeMsg LOGIN_ERROR = new MemberCodeMsg(500003, "账号或密码错误");
    public static final MemberCodeMsg OP_ERROR = new MemberCodeMsg(500004, "非法操作");
    public static final MemberCodeMsg PARAM_ERROR = new MemberCodeMsg(500005, "参数校验:{0}");

    //格式化成员对象的错误码和错误信息,并替换其中的占位符
    public MemberCodeMsg fillArgs(Object...args){
        //将原有的错误码和错误信息复制给codeMsg对象
        MemberCodeMsg codeMsg = new MemberCodeMsg(this.getCode(), this.getMsg());
        //替换错误信息中的占位符,生成最终的错误信息
        codeMsg.setMsg(MessageFormat.format(codeMsg.getMsg(), args));

        return codeMsg;
    }
2.8 创建加密类
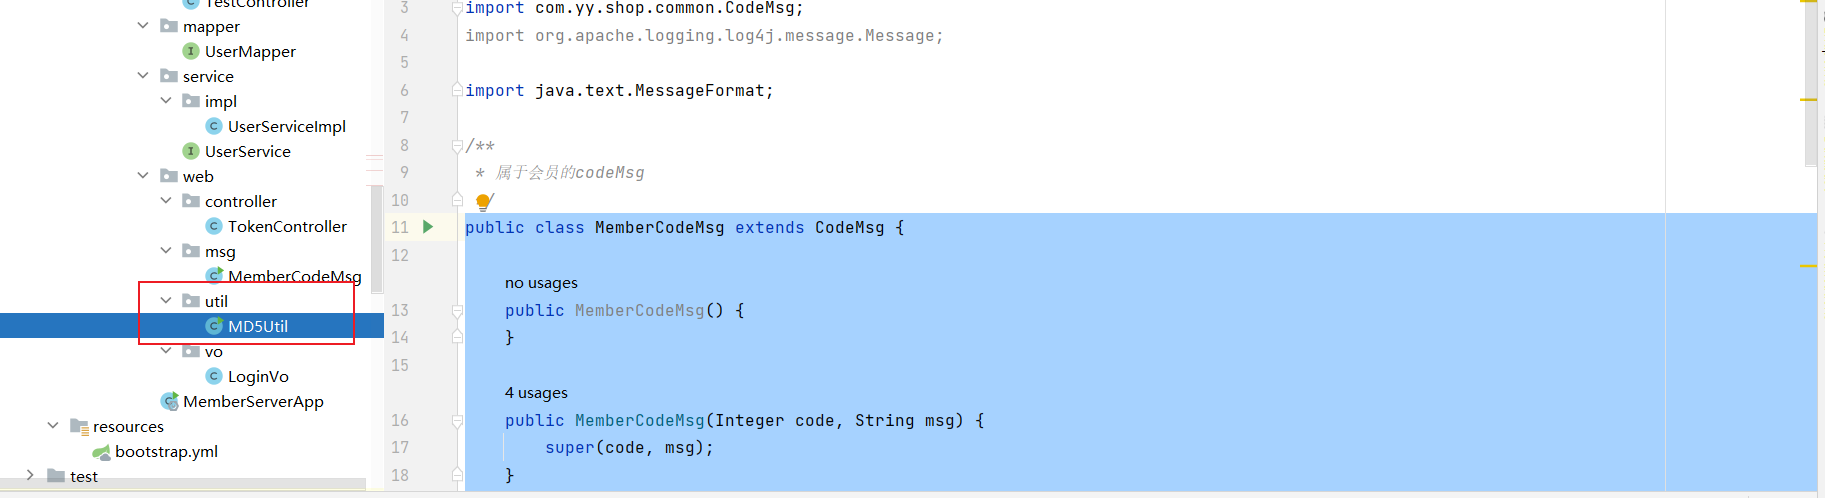
public class MD5Util {
    public static  String md5Hex(String password,String salt){

        String newPwd = DigestUtils.md5Hex("" + salt.charAt(1) + salt.charAt(3) + password + salt.charAt(4) + salt.charAt(5));

        return newPwd;
    }
}
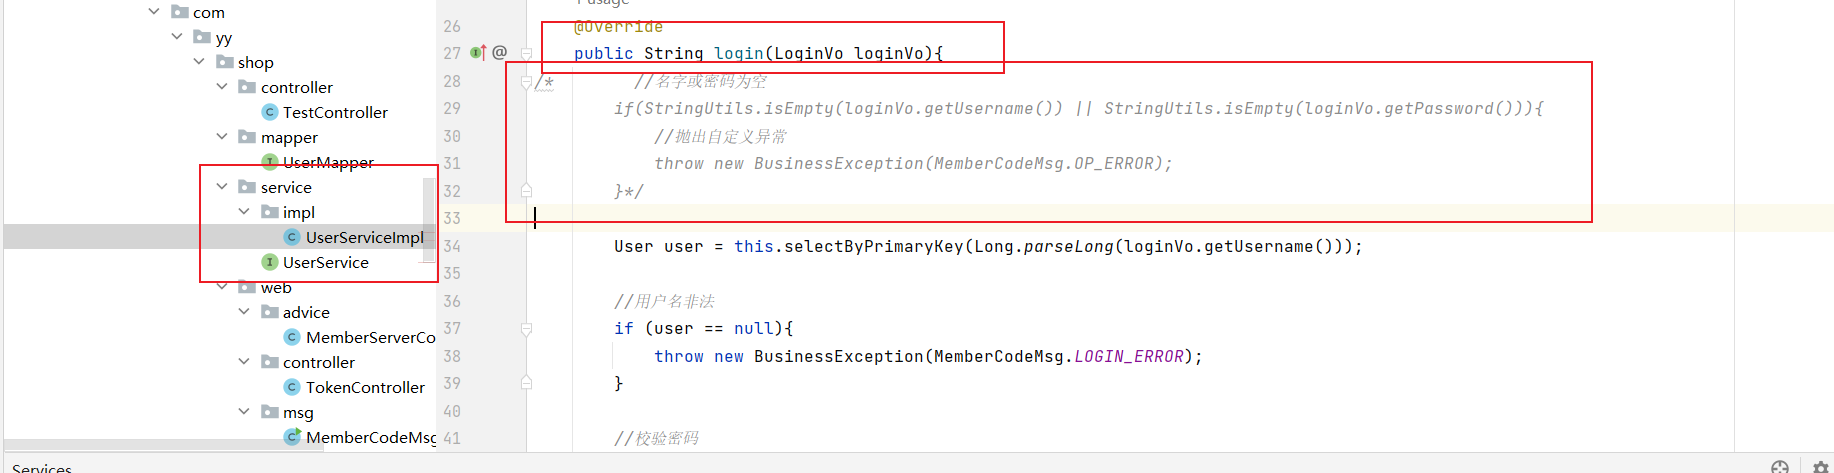
2.9 在service业务逻辑接口及其实现类中实现校验方法
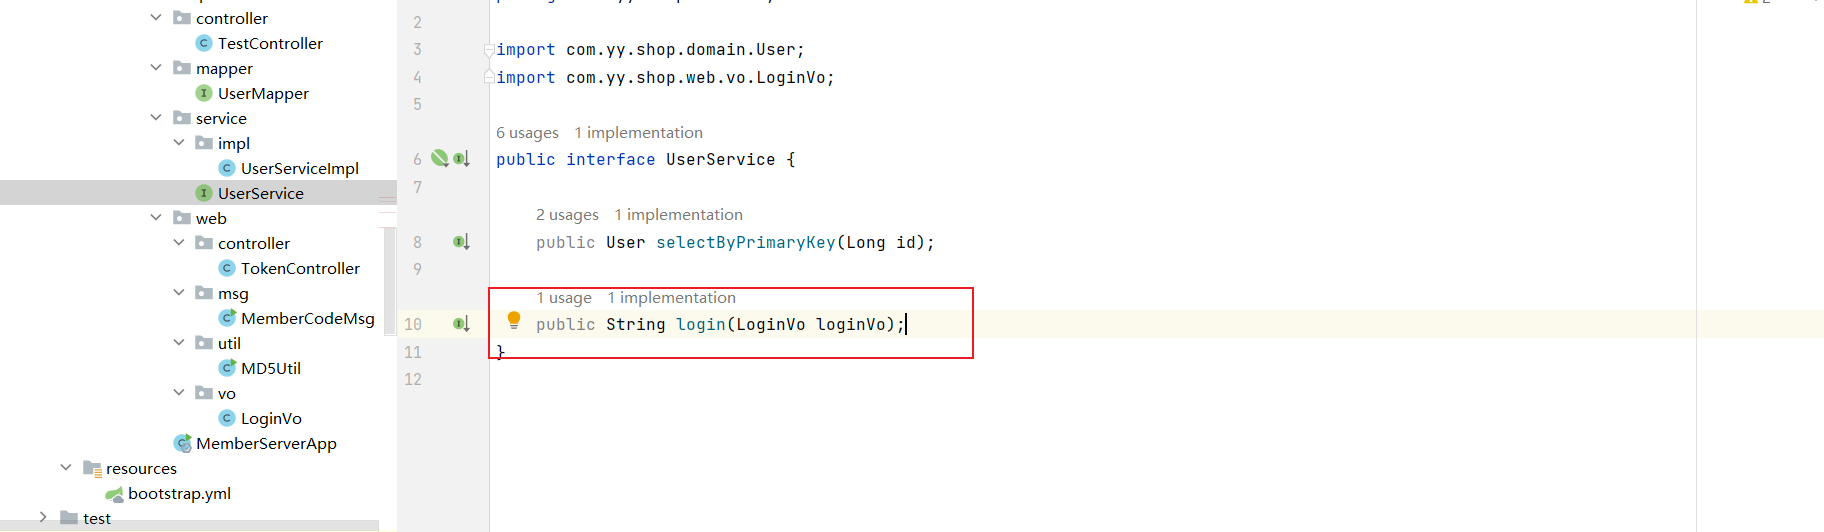
public String login(LoginVo loginVo);
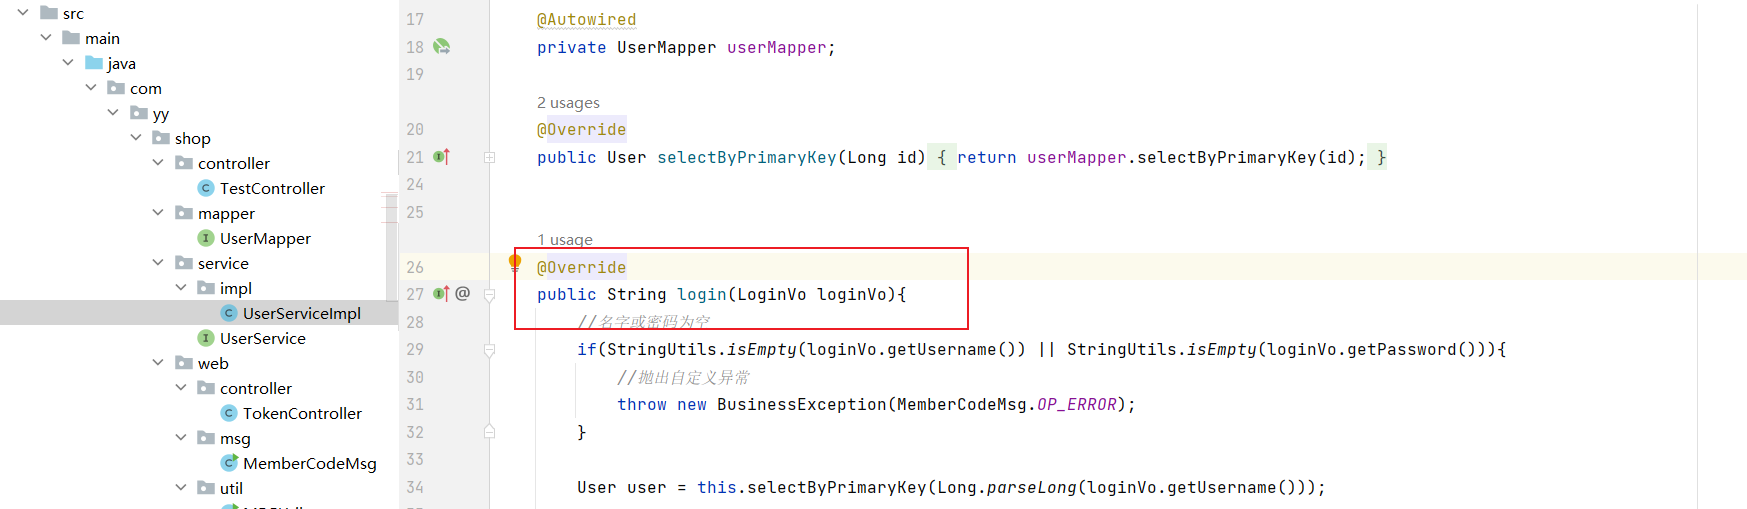
    @Override
    public String login(LoginVo loginVo){
        //名字或密码为空
        if(StringUtils.isEmpty(loginVo.getUsername()) || StringUtils.isEmpty(loginVo.getPassword())){
            //抛出自定义异常
            throw new BusinessException(MemberCodeMsg.OP_ERROR);
        }

        User user = this.selectByPrimaryKey(Long.parseLong(loginVo.getUsername()));

        //用户名非法
        if (user == null){
            throw new BusinessException(MemberCodeMsg.LOGIN_ERROR);
        }

        //校验密码
        String pass = MD5Util.md5Hex(loginVo.getPassword(), user.getSalt());

        //密码不正确
        if (!user.getPassword().equals(pass)){
            throw new BusinessException(MemberCodeMsg.PARAM_ERROR);
        }

        String token = "";

        return token;
    }
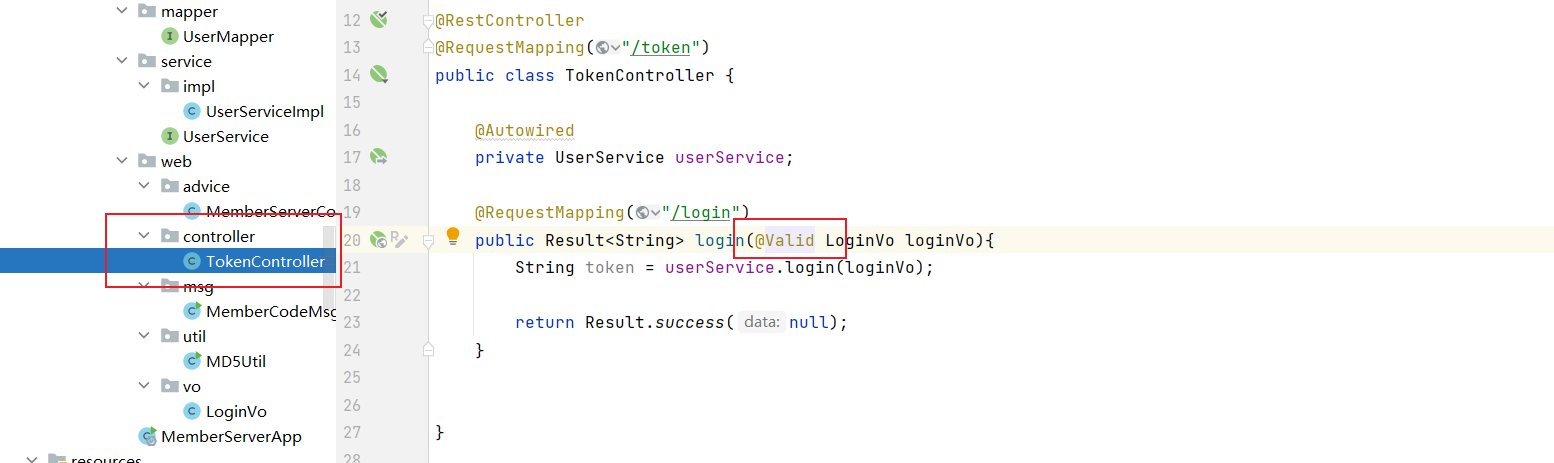
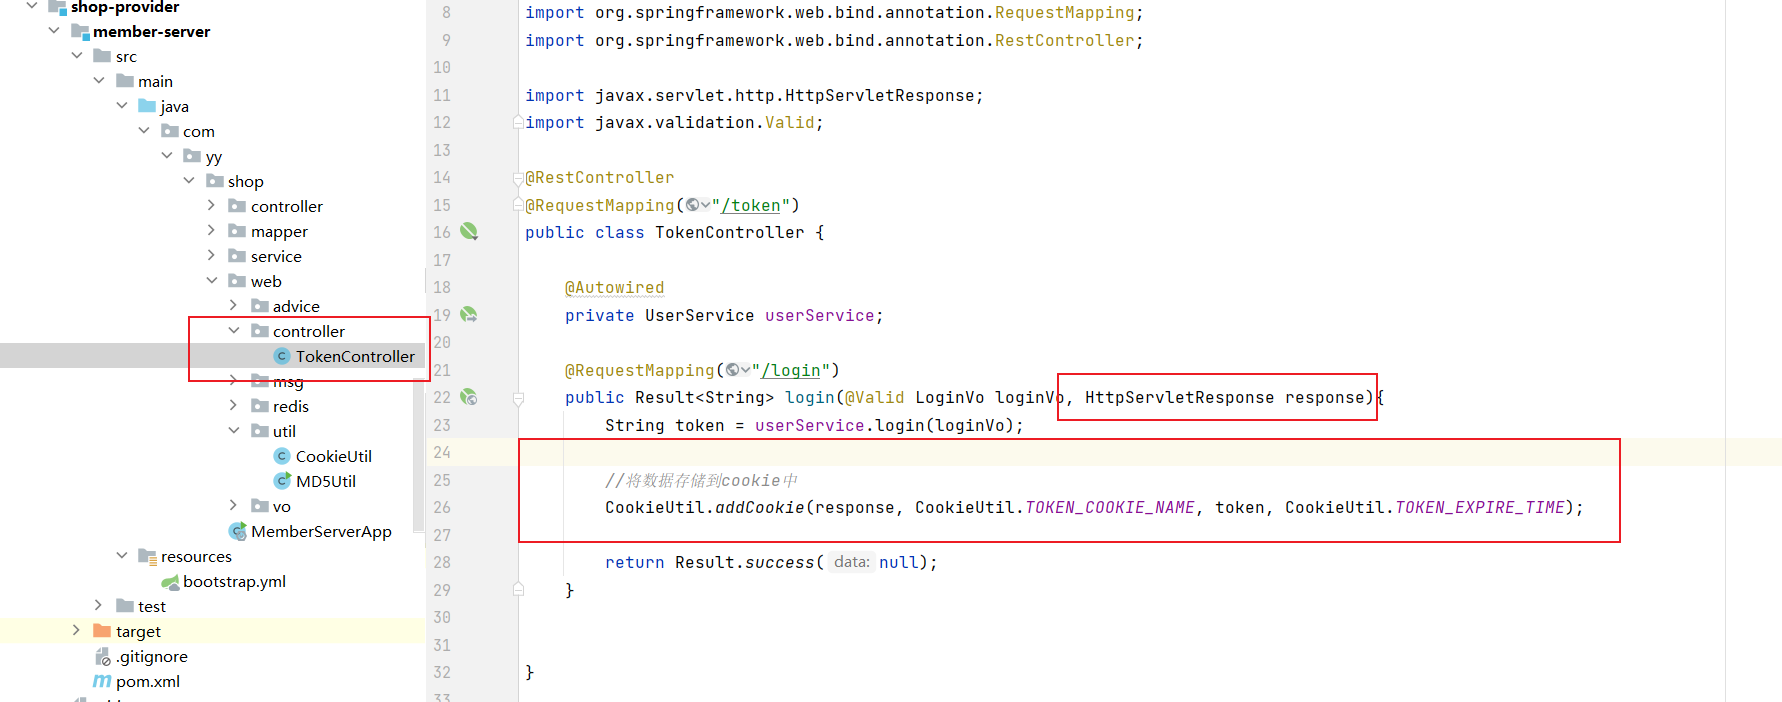
2.10 创建controller层
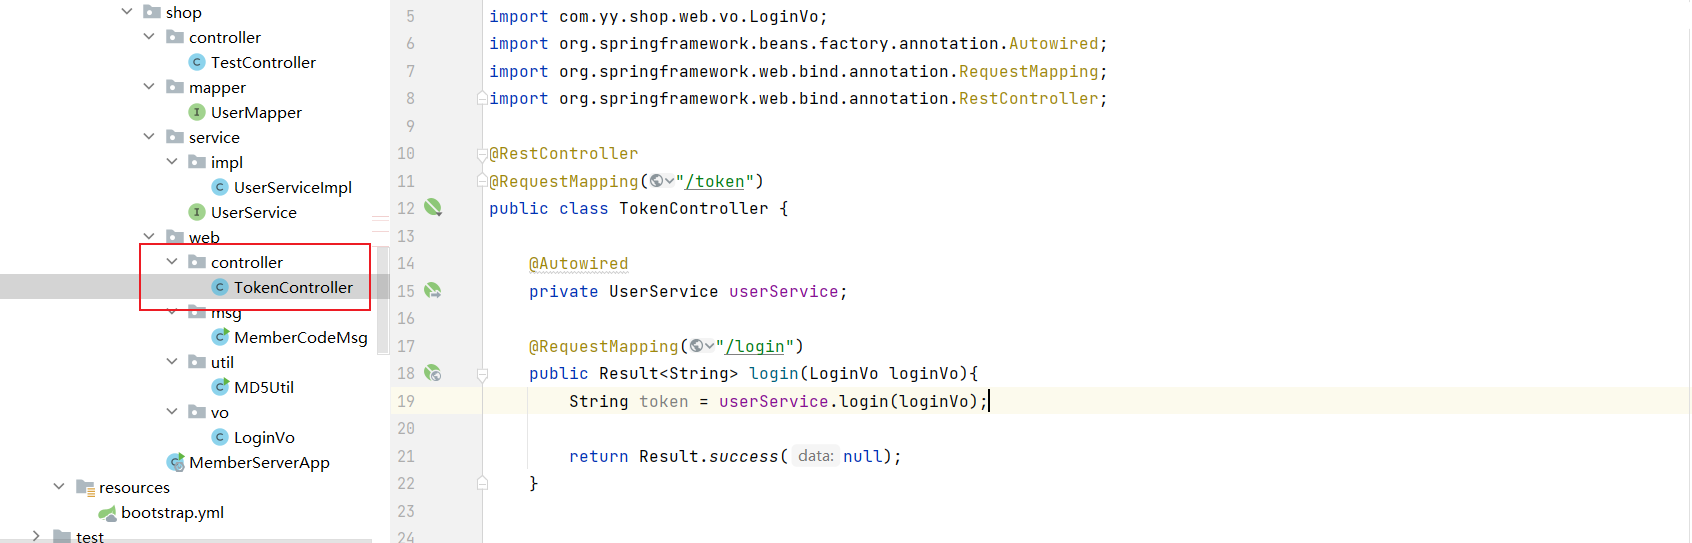
@RestController
@RequestMapping("/token")
public class TokenController {

    @Autowired
    private UserService userService;

    @RequestMapping("/login")
    public Result<String> login(LoginVo loginVo){
        String token = userService.login(loginVo);

        return Result.success(null);
    }
}
2,11 给控制器添加try catch 异常处理语句
由于控制器在调用service层方法时,方法可能会抛出异常,此时需要调用类(即控制器)类处理异常
1 创建公共添加类
添加依赖
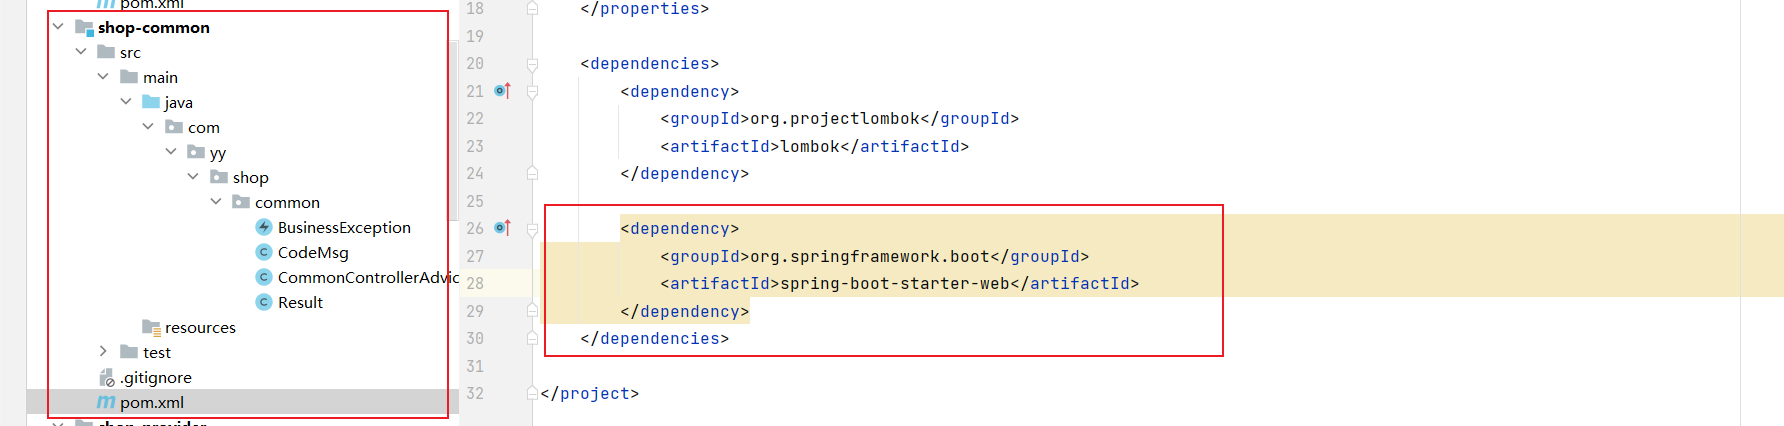
创建CommonControllerAdvice类

@ControllerAdvice
public class CommonControllerAdvice {

    /**
     * 处理 BusinessException 异常的方法
     * @param businessException
     * @return
     */
    @ExceptionHandler(BusinessException.class)
    @ResponseBody //该方法的返回值将直接作为响应体返回给客户端
    public Result handlerBusinessException(BusinessException businessException){
        return Result.error(businessException.getCodeMsg());
    }

    /**
     * 处理idea默认异常
     * @param e
     * @return
     */
    @ExceptionHandler(Exception.class)
    @ResponseBody //该方法的返回值将直接作为响应体返回给客户端
    public Result handlerDefaultException(Exception e){
        e.printStackTrace();
        return Result.defaultError();
    }
}
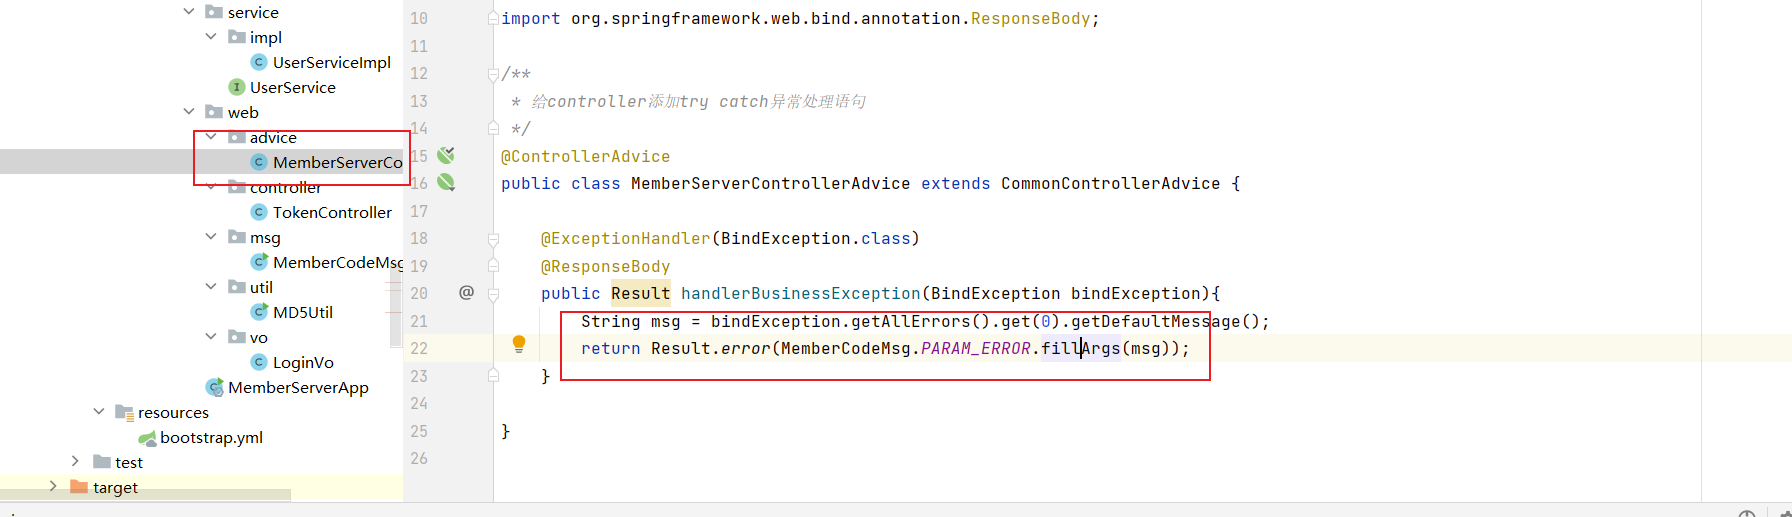
2 创建会员的异常处理添加类
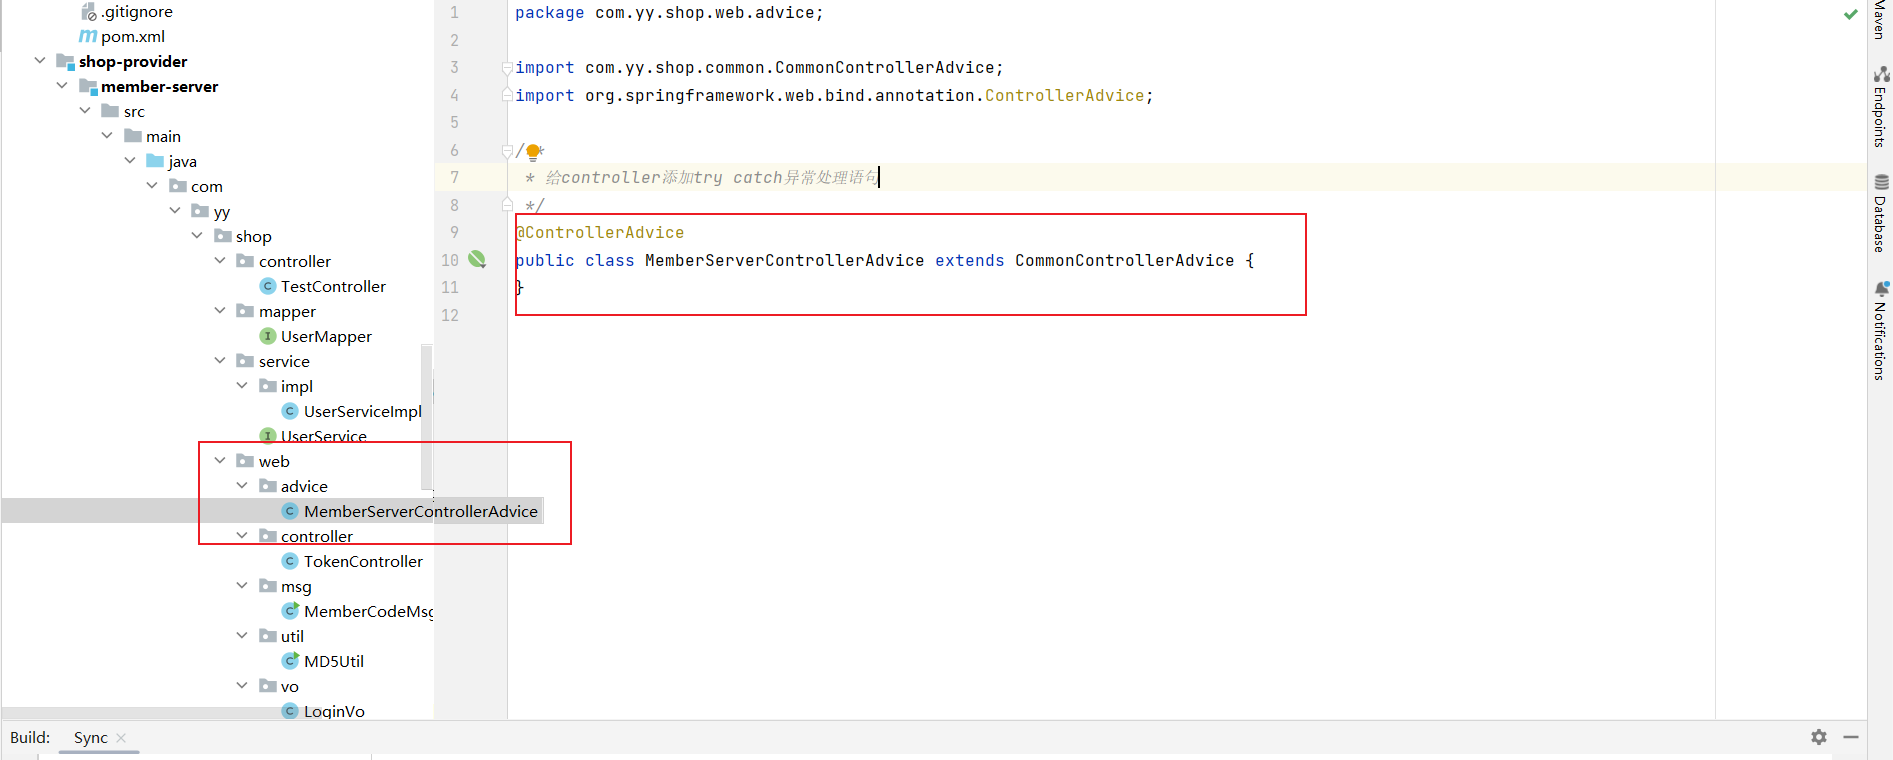
@ControllerAdvice
public class MemberServerControllerAdvice extends CommonControllerAdvice {

    @ExceptionHandler(BindException.class)
    @ResponseBody
    public Result handlerBusinessException(BindException bindException){
        String msg = bindException.getAllErrors().get(0).getDefaultMessage();
        return Result.error(MemberCodeMsg.PARAM_ERROR.fillArgs(msg));
    }

}
2.12 登陆测试
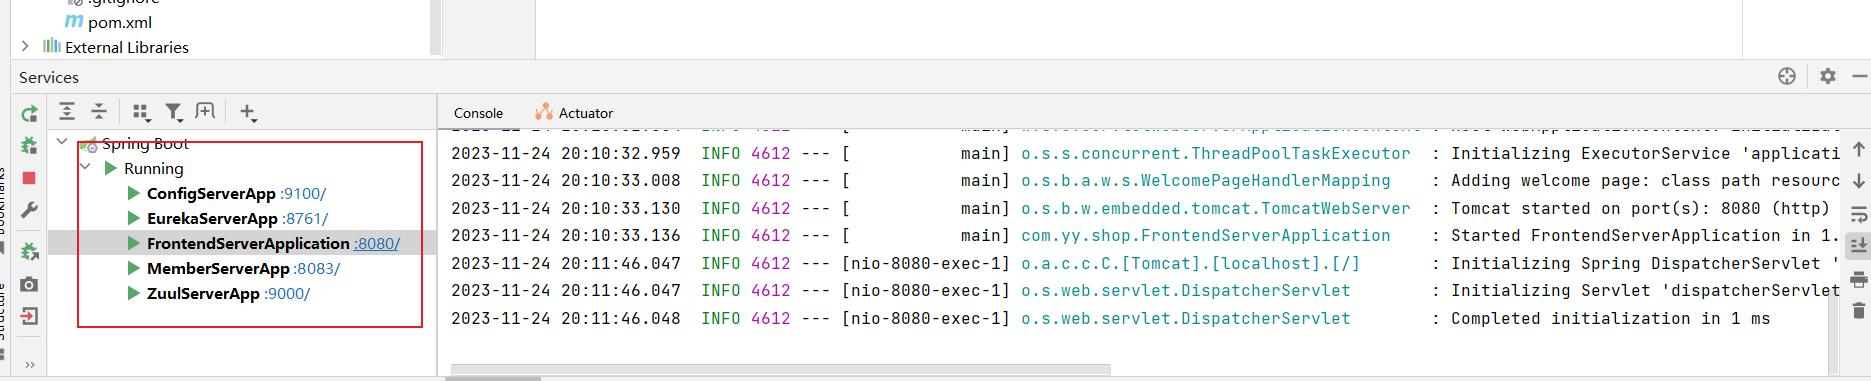
启动服务
测试
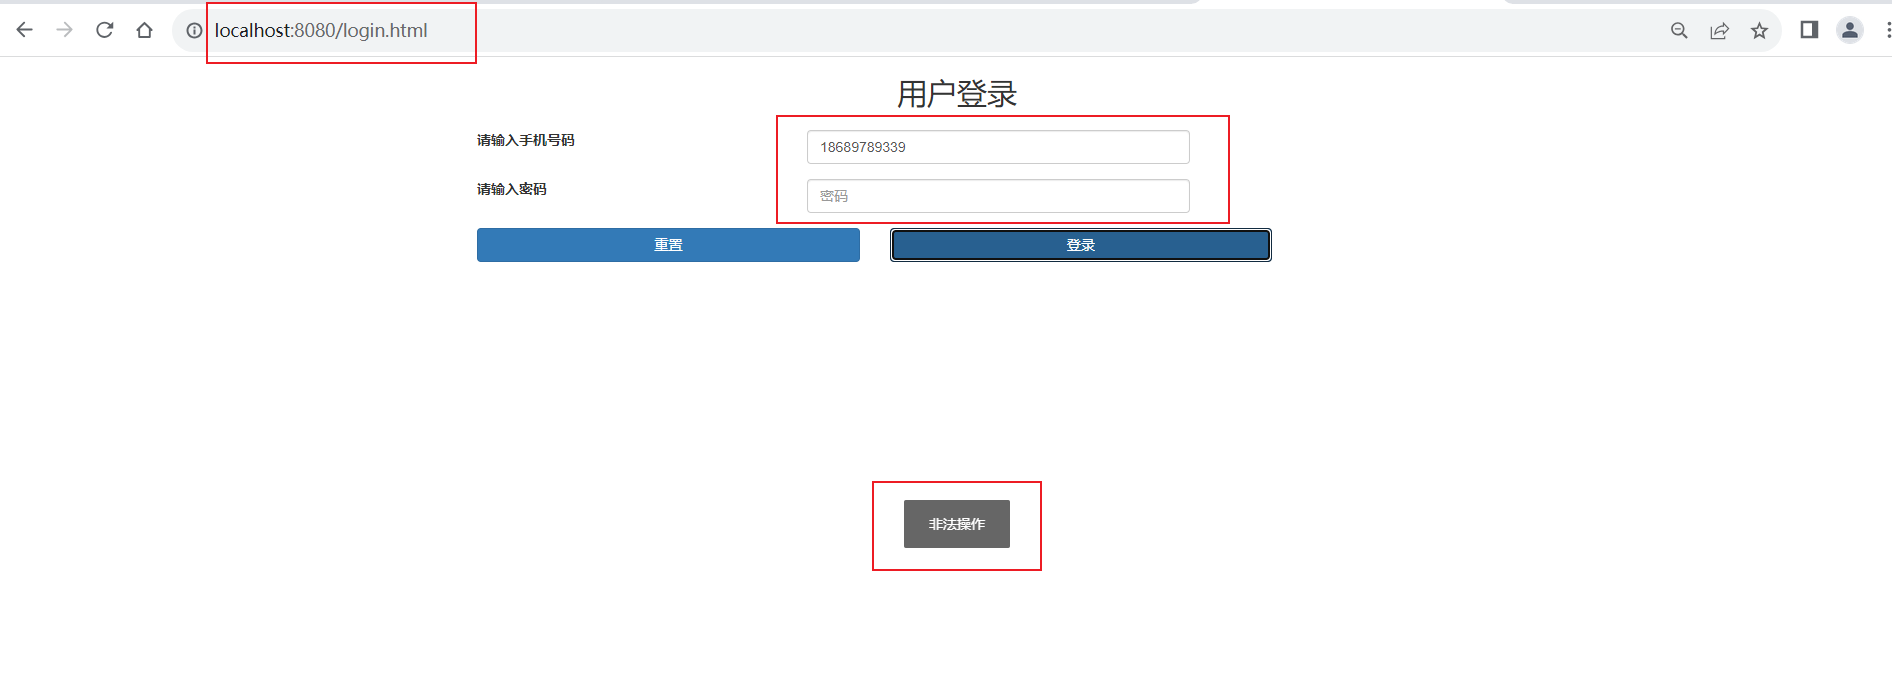
输入正确的用户名和密码
登录成功
3 登录的完善(JSR303参数校验)
3.1 对前端用户封装类属性添加注解

@Data
public class LoginVo {

    //利用JSR303进行参数校验

    //用正则表达式判断手机号格式
    @Pattern(regexp = "1[3456789]\\d(9)", message = "手机号格式不正确")
    private String username;

    //密码不为空
    @NotEmpty(message = "密码不能为空")
    private String password;

}
3.2 将controller方法中的参数添加校验注解
3.3 测试
1 将原先在登录方法中进行的用户名密码判断注释,使用JSR303参数校验
2 进行登录测试
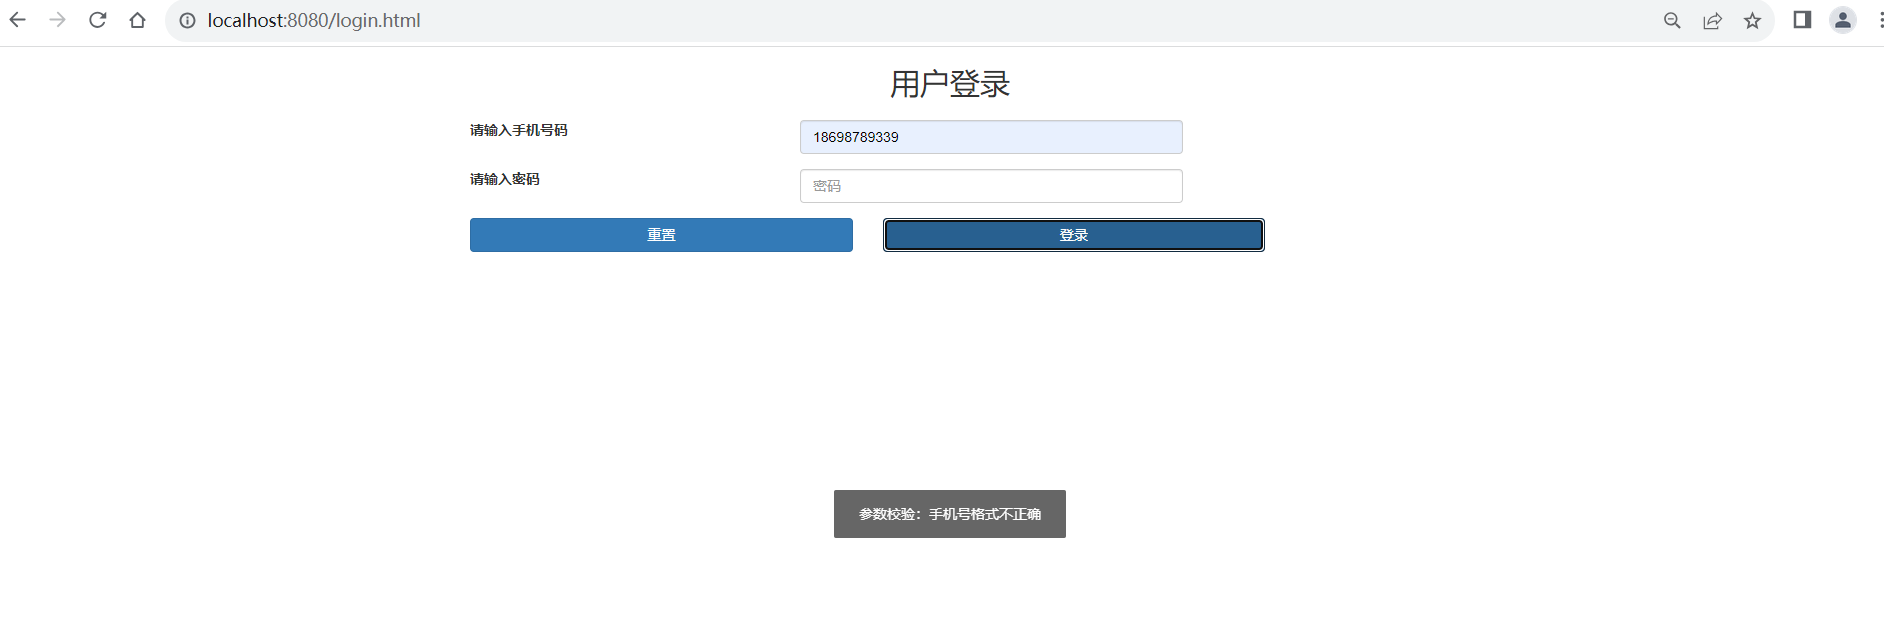
此时使用了JSR303进行参数校验并且调用了我们自己设置的fillArgs方法来将自定义错误信息替换到报错信息中

3.4 将前端输入的用户信息存储到redis中
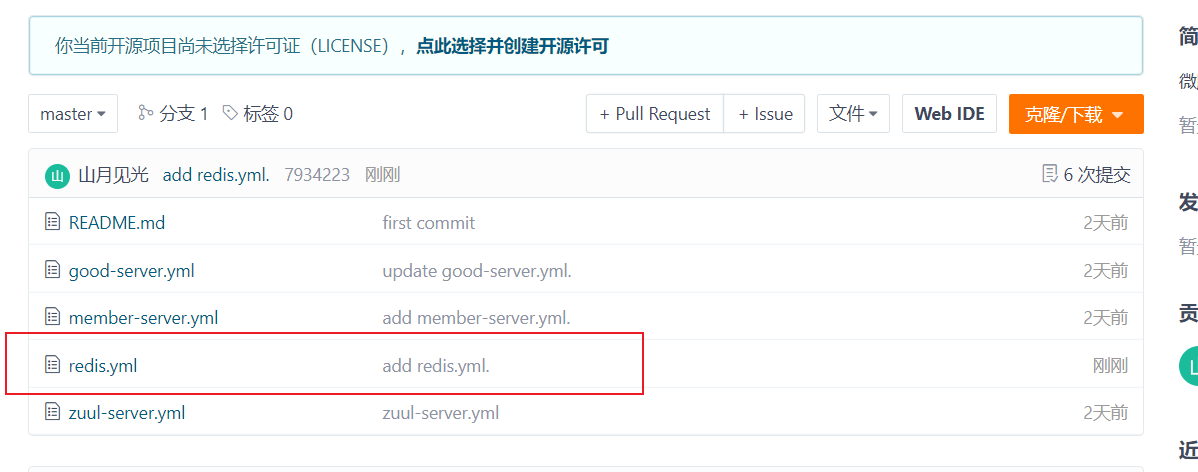
1 在gitee中创建redis.yml文件
redis:
  host: 127.0.0.1
  port: 6379
  timeout: 500
  password:
  poolMaxTotal: 500
  poolMaxIdle: 500
  poolMaxWait: 500
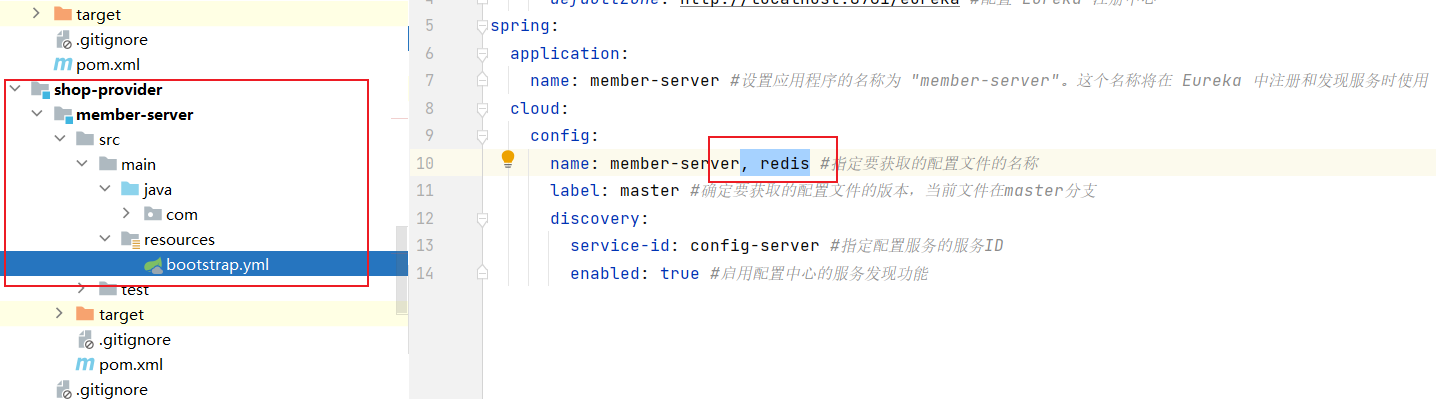
2 配置配置文件拉取gitee中的redis.yml文件
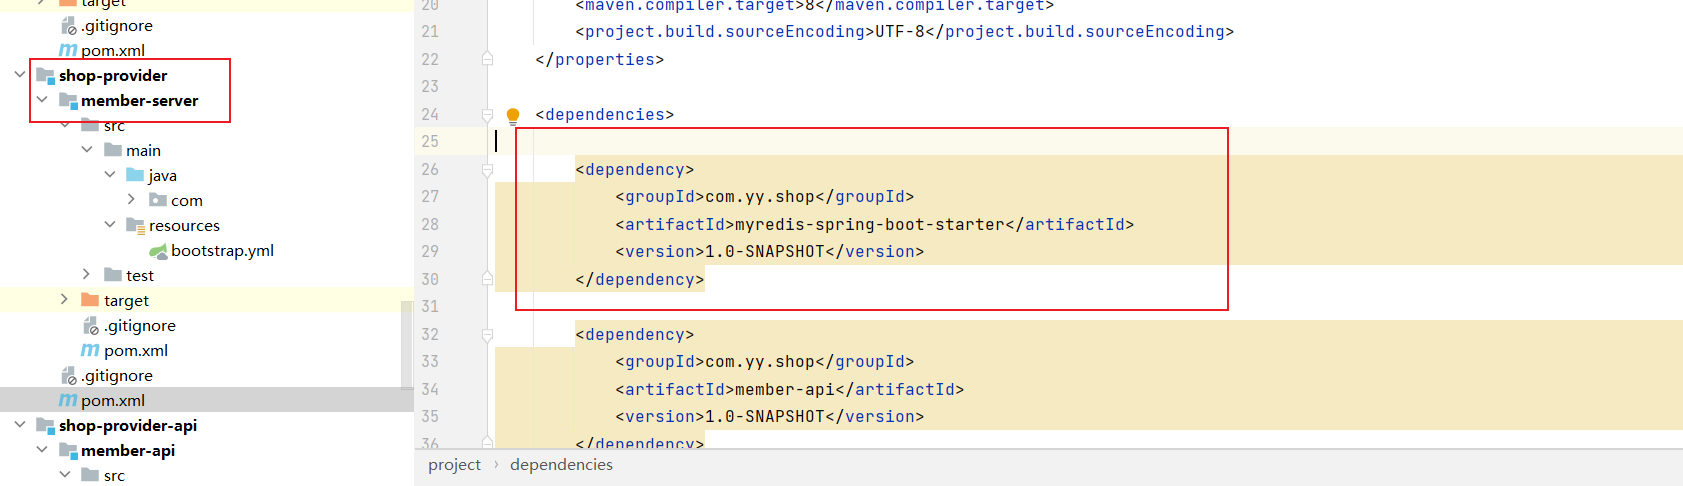
3 在pom文件中引入自定义redis
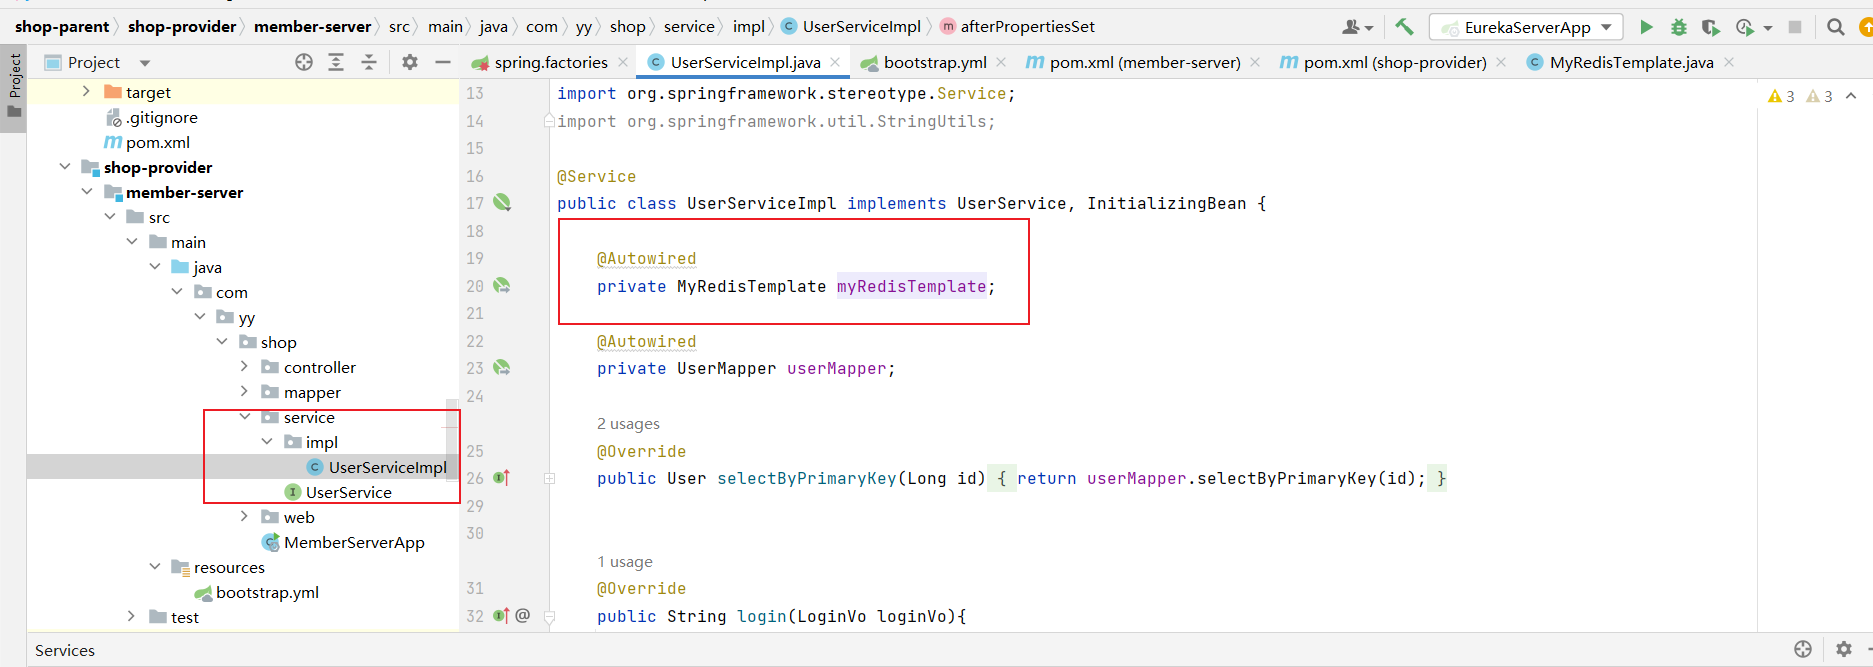
4 在service层注入自定义redis
4 分布式session共享(redis + token)
4.1 创建用户处理类(处理用户前缀和过期时间)
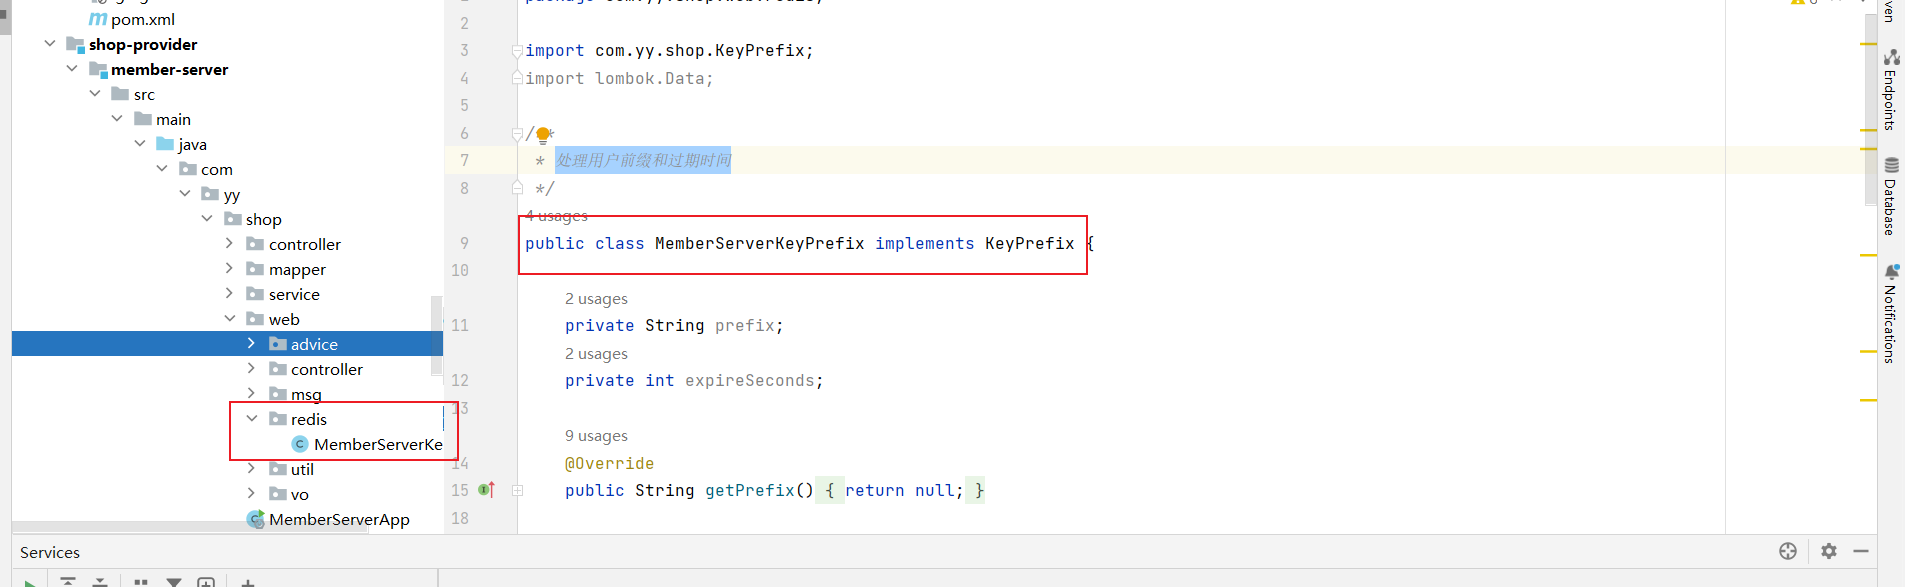
public class MemberServerKeyPrefix implements KeyPrefix {

    private String prefix;
    private int expireSeconds;

    @Override
    public String getPrefix() {
        return null;
    }

    @Override
    public int getExpireSeconds() {
        return 0;
    }

    public MemberServerKeyPrefix() {
    }

    public MemberServerKeyPrefix(String prefix, int expireSeconds) {
        this.prefix = prefix;
        this.expireSeconds = expireSeconds;
    }

    public void setPrefix(String prefix) {
        this.prefix = prefix;
    }

    public void setExpireSeconds(int expireSeconds) {
        this.expireSeconds = expireSeconds;
    }

    //将前缀和过期时间绑定在一起
    public static final MemberServerKeyPrefix USER_TOKEN = new MemberServerKeyPrefix("userToken", 30*60);
}
4.2 创建生成token的方法
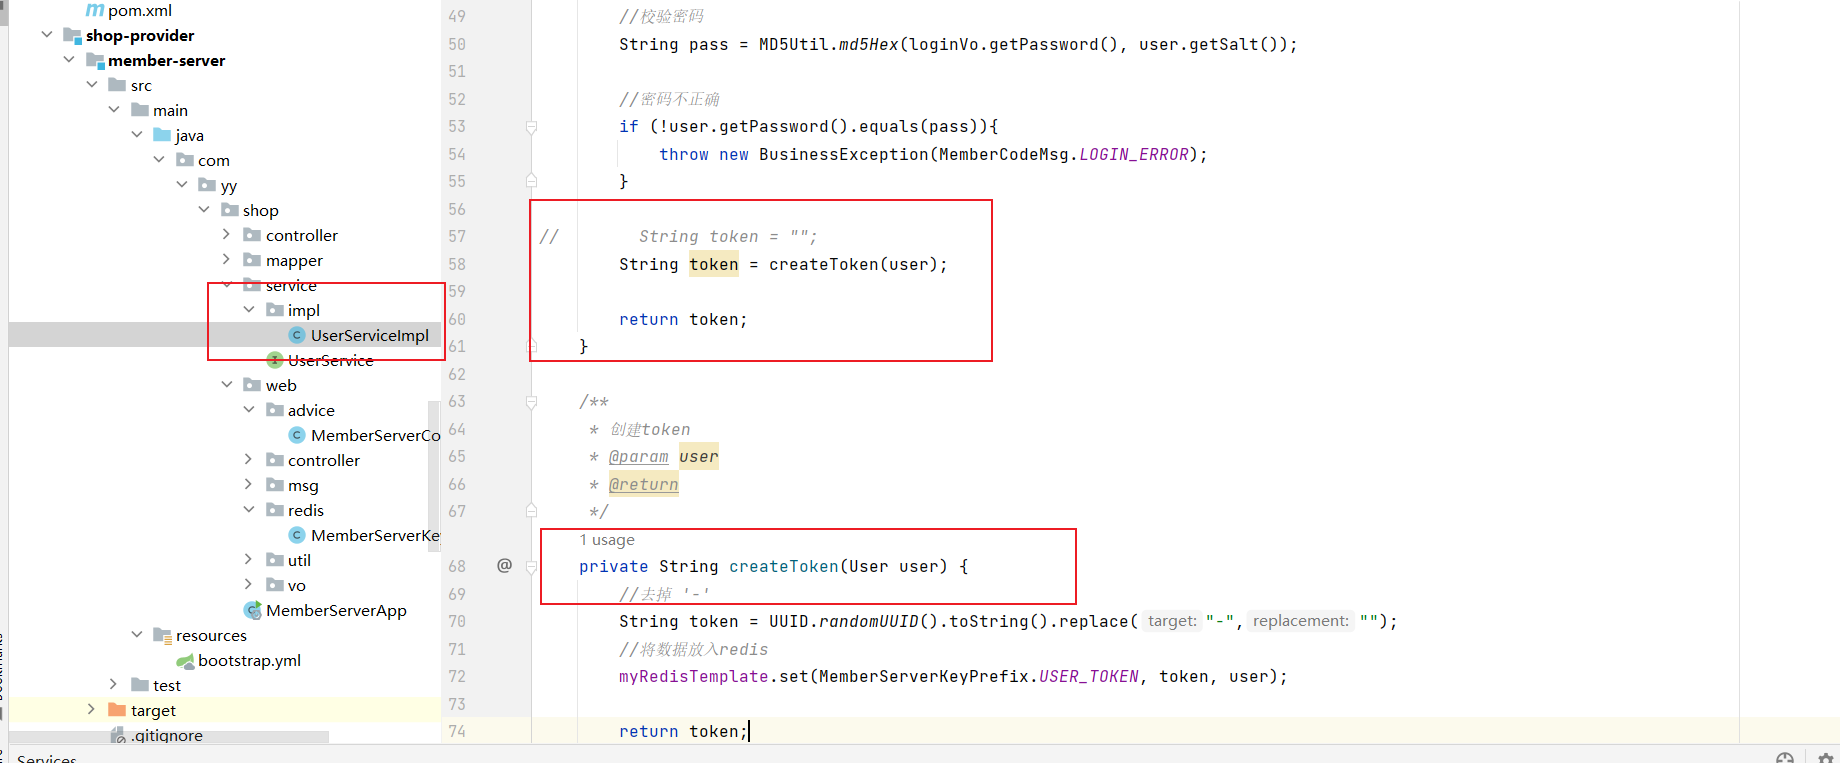
    /**
     * 创建token
     * @param user
     * @return
     */
    private String createToken(User user) {
        //去掉 '-'
        String token = UUID.randomUUID().toString().replace("-","");
        //将数据放入redis
        myRedisTemplate.set(MemberServerKeyPrefix.USER_TOKEN, token, user);

        return token;
    }
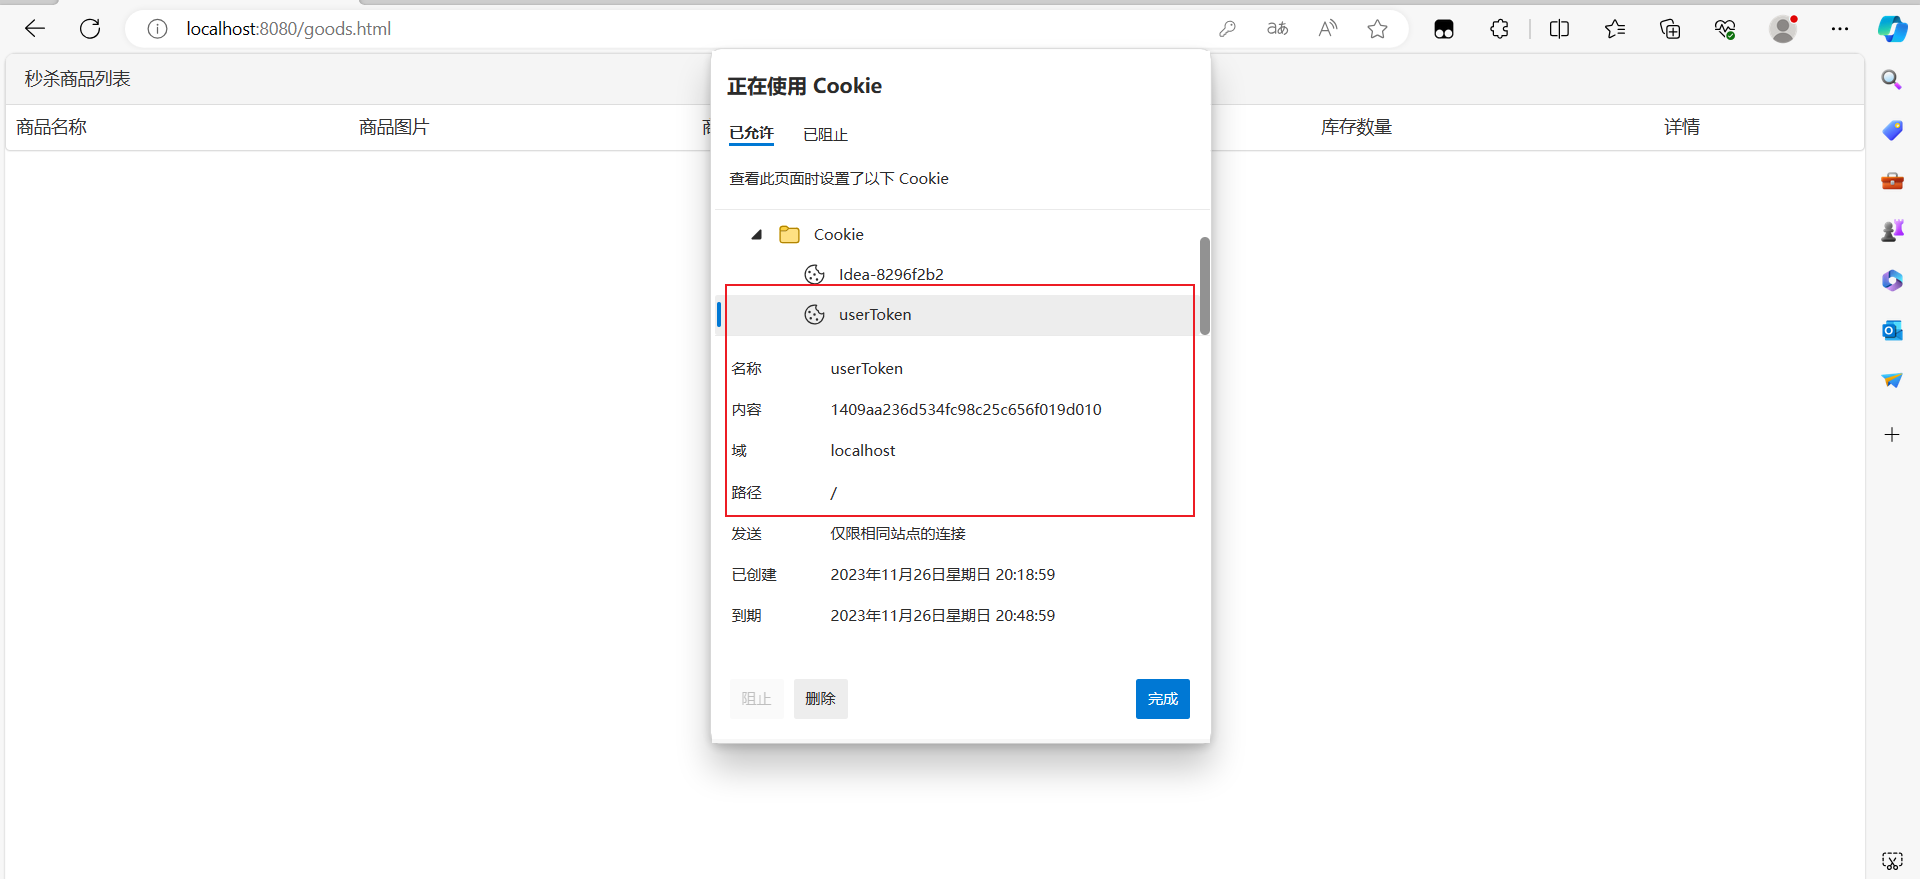
4.3 创建cookie工具类
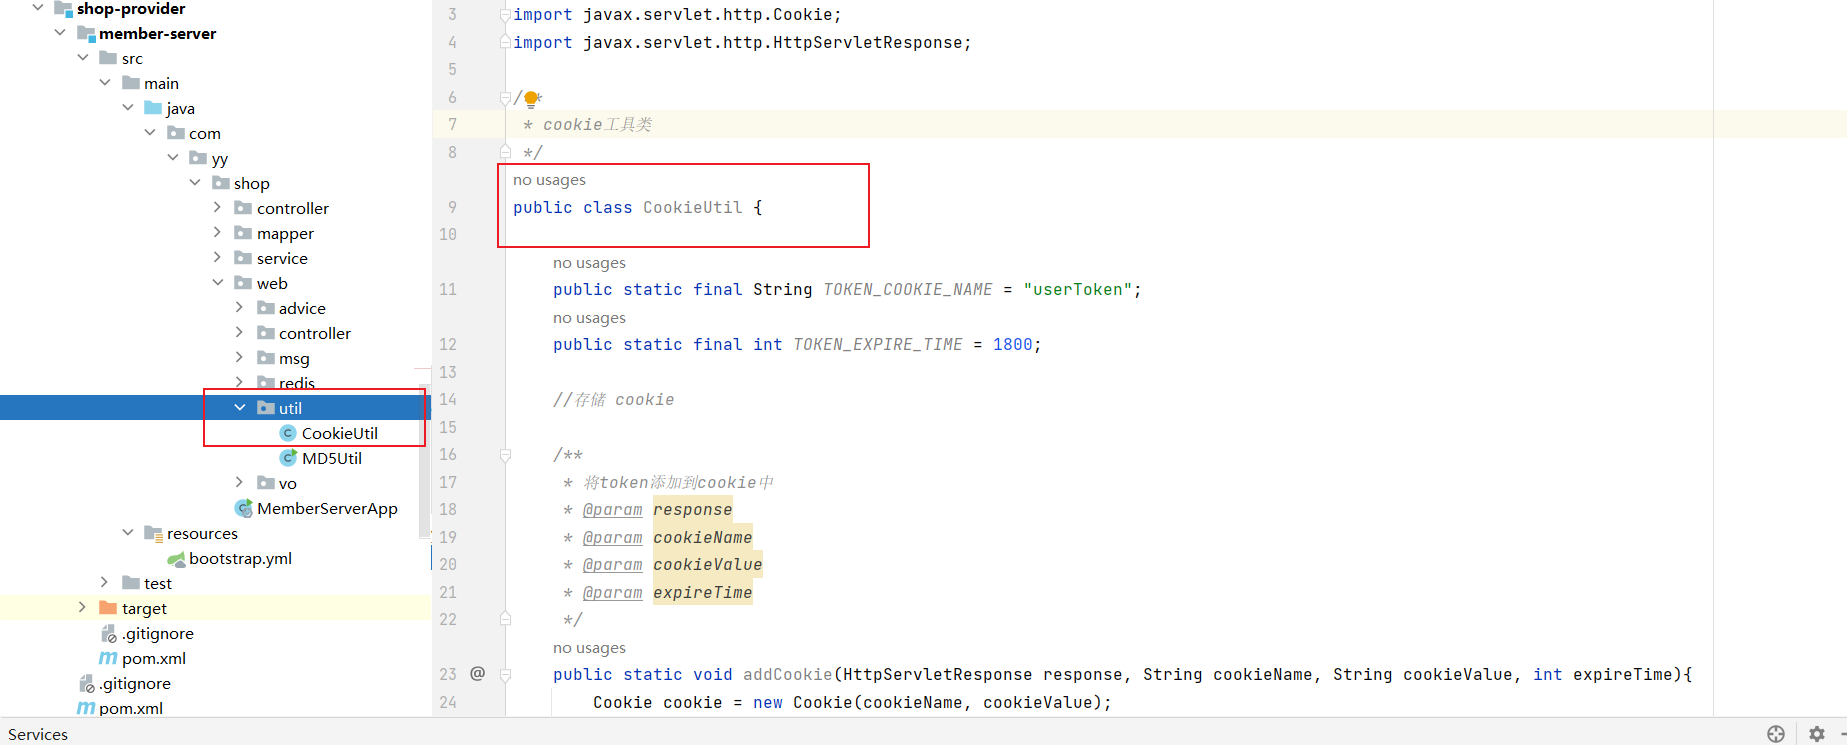
public class CookieUtil {

    public static final String TOKEN_COOKIE_NAME = "userToken";
    public static final int TOKEN_EXPIRE_TIME = 1800;

    //存储 cookie

    /**
     * 将token添加到cookie中
     * @param response
     * @param cookieName
     * @param cookieValue
     * @param expireTime
     */
    public static void addCookie(HttpServletResponse response, String cookieName, String cookieValue, int expireTime){
        Cookie cookie = new Cookie(cookieName, cookieValue);
        //设置作用域
        cookie.setDomain("localhost");
        //设置作用路径
        cookie.setPath("/");
        //设置存活时间
        cookie.setMaxAge(expireTime);
        //把cookie添加到响应中
        response.addCookie(cookie);
    }
}
4.4 调用cookie工具类来将数据存储到cookie中
4.5 登录查看浏览器cookie中是否有数据


 1731
1731

 被折叠的 条评论
为什么被折叠?
被折叠的 条评论
为什么被折叠?
 到【灌水乐园】发言


