


参考链接:
https://github.com/HumanSignal/labelImg
用Labelimg标注YOLO格式的目标检测数据_哔哩哔哩_bilibili
https://docs.ultralytics.com/zh/yolov5/tutorials/train_custom_data/
一、标注数据集
1.下载labelImg
下面是ubantu安装这个labelImg软件的办法。
git clone https://github.com/HumanSignal/labelImg.git
cd labelImg
sudo apt-get install pyqt5-dev-tools
sudo pip3 install -r requirements/requirements-linux-python3.txt
make qt5py3
python3 labelImg.py
python3 labelImg.py [IMAGE_PATH] [PRE-DEFINED CLASS FILE]
注意千万不要在虚拟环境里面操作,否则会报错:
(data_label) yzh@yzh:~/labelImg$ python3 labelImg.py
labelImg.py:73: DeprecationWarning: sipPyTypeDict() is deprecated, the extension module should use sipPyTypeDictRef() instead
  class MainWindow(QMainWindow, WindowMixin):

(process:24875): GLib-CRITICAL **: 16:33:59.365: g_hash_table_contains: assertion 'hash_table != NULL' failed

(process:24875): GLib-CRITICAL **: 16:33:59.365: g_hash_table_insert_internal: assertion 'hash_table != NULL' failed
段错误 (核心已转储)
这个问题折磨了我一下午。
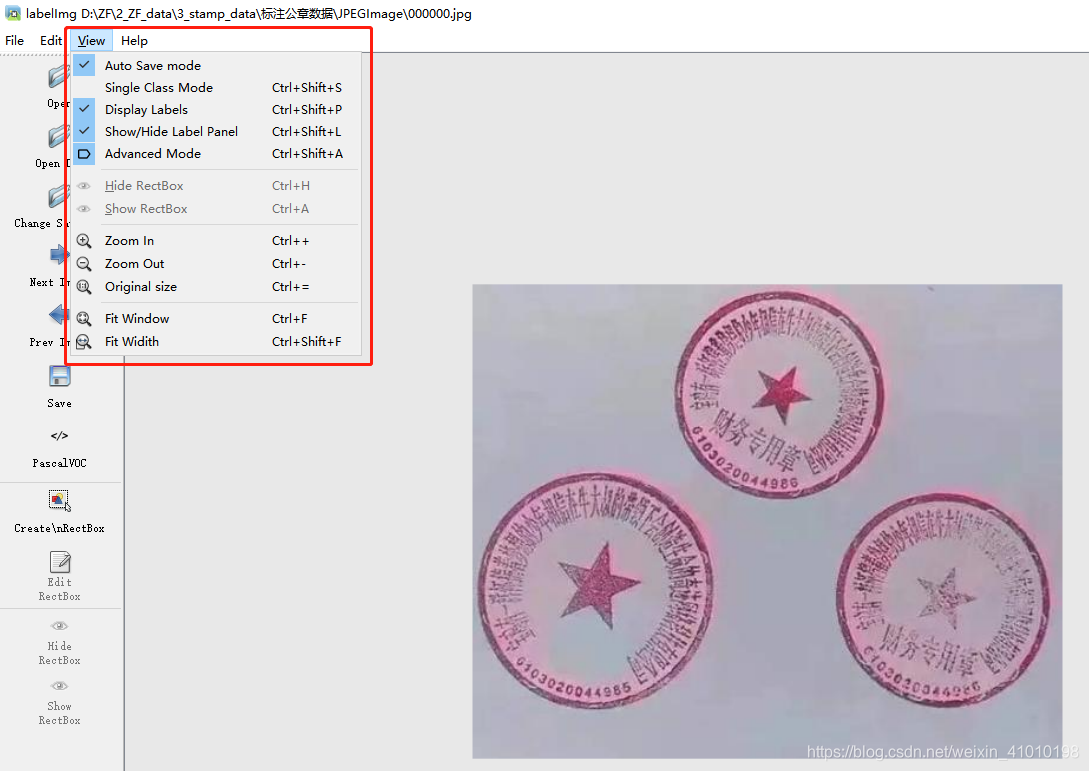
2.labelImg 的使用
(1)打开labelImg
python3 labelImg.py如果就一个对象,那么把single class mode也标上就好了。
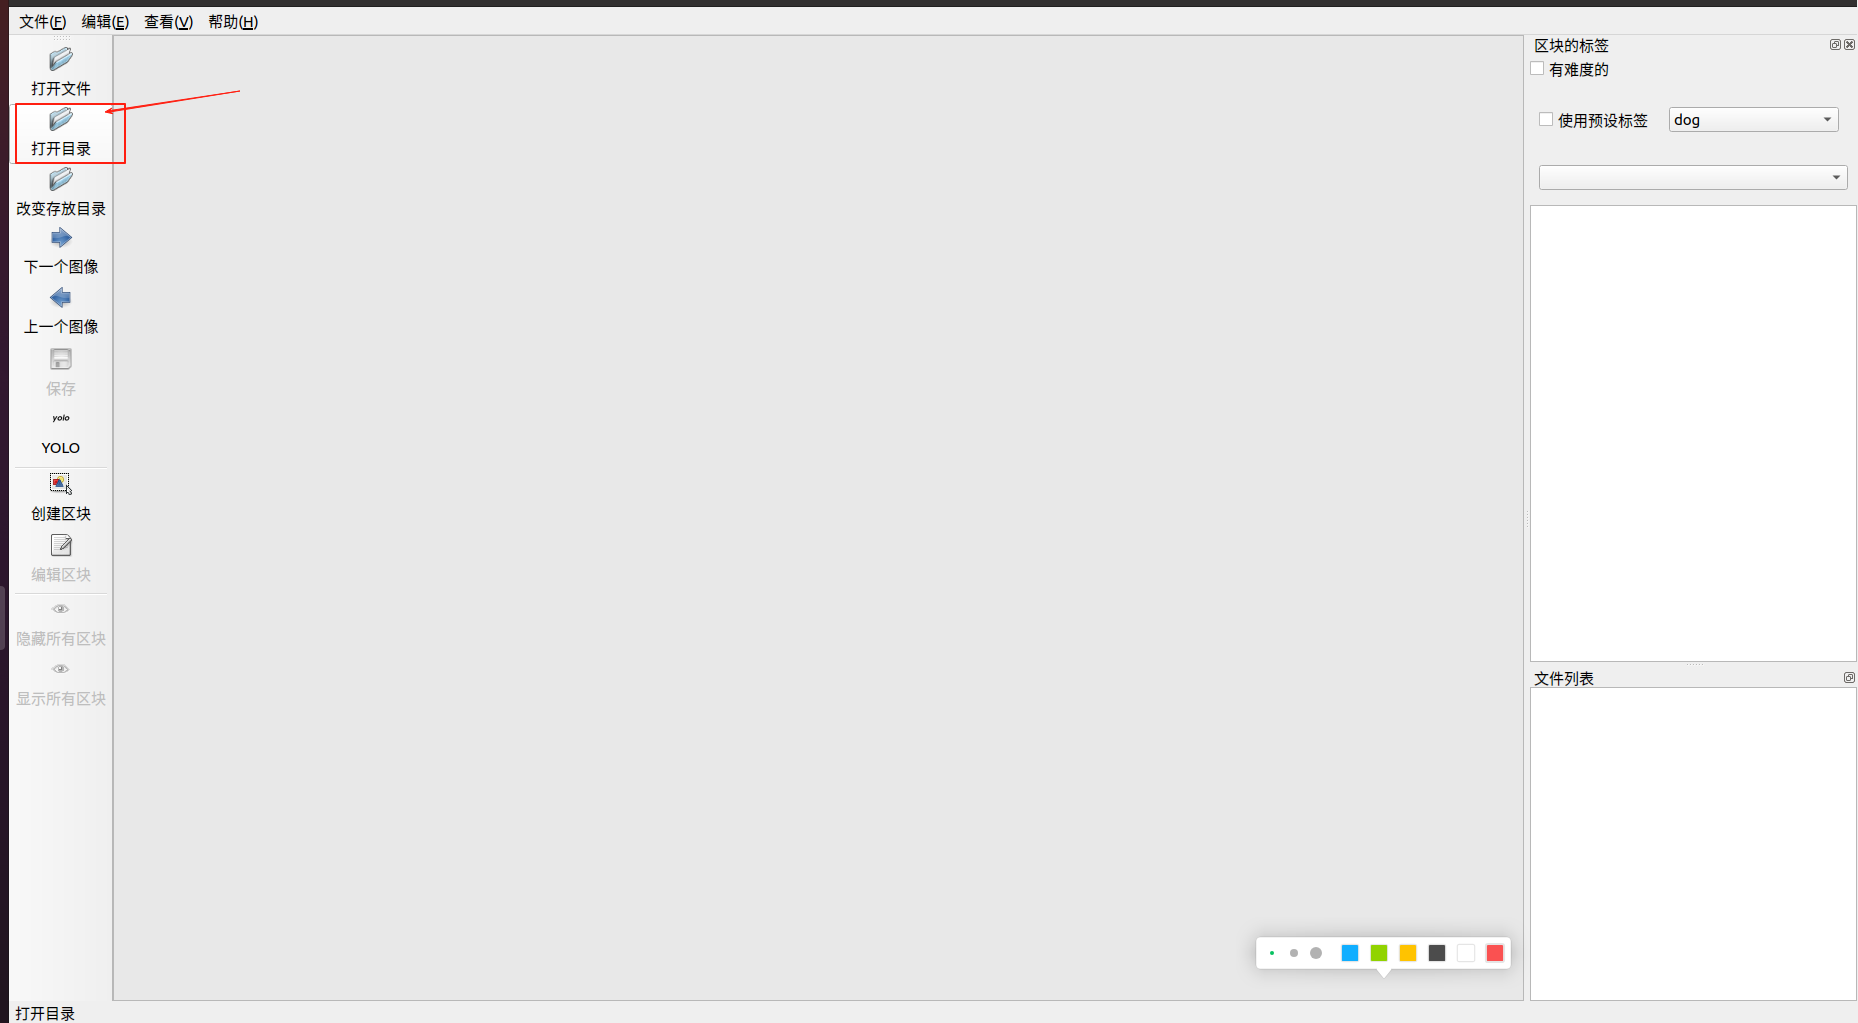
(2)选择需要标注数据的位置
一般为images
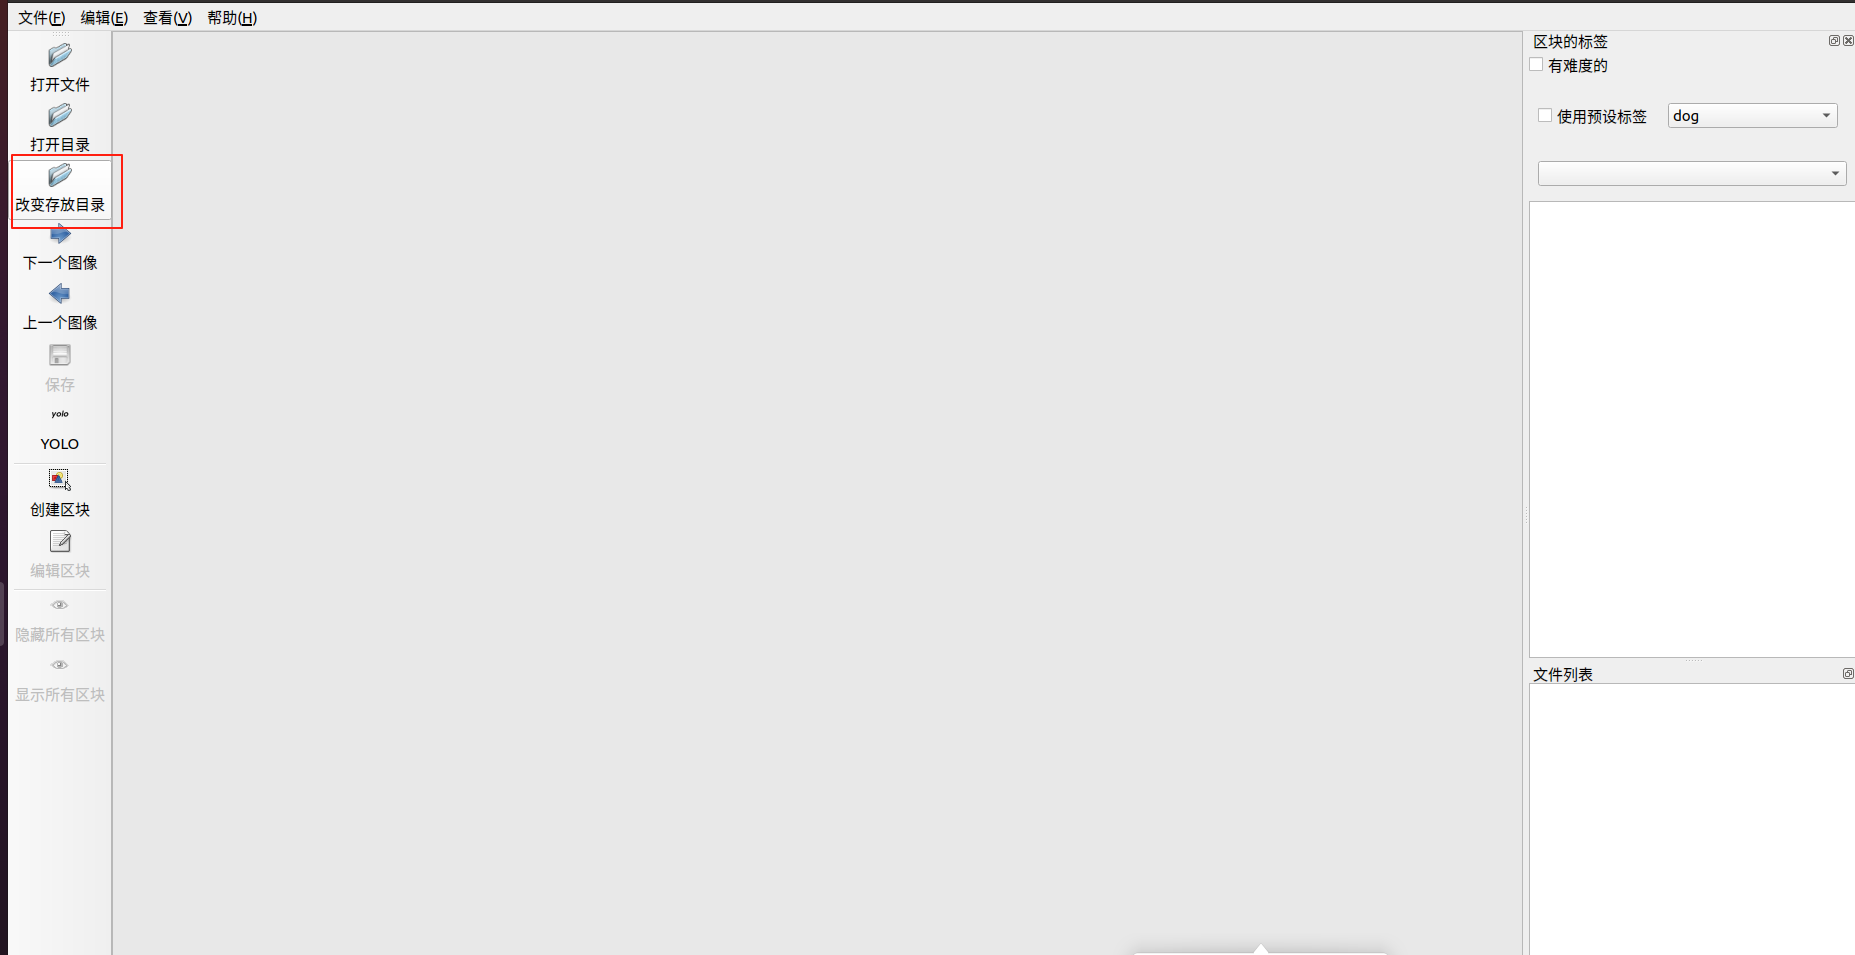
(3)选择保存的标签的位置
一般为labels
(4)开始标注
快捷键: a是上一张图片
d是下一章图片
w是标注线,按出来标注线之后标注
(5)继续上次标注
一次标注完成后,会在一个目录下生成标签文件和一个class.txt文件,如果想要第二次标注直接加载上一次标注的信息,那么选择。
python3 labelImg.py [IMAGE_PATH] [PRE-DEFINED CLASS FILE]特别的,如果有一种需求,只标注一个类型,比如person,直接启动这个脚本文件,它里面有一些默认的标签,会将person=1,但是我们想让person=0。这个时候的解决办法是在labels中创建一个classes.txt这个文件。之后正常打开labelimg,之后选择目录,之后选择保存的目录,退出软件。之后使用上述命令行就可以了。
二、模型训练
1.数据集分割
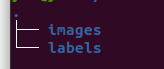
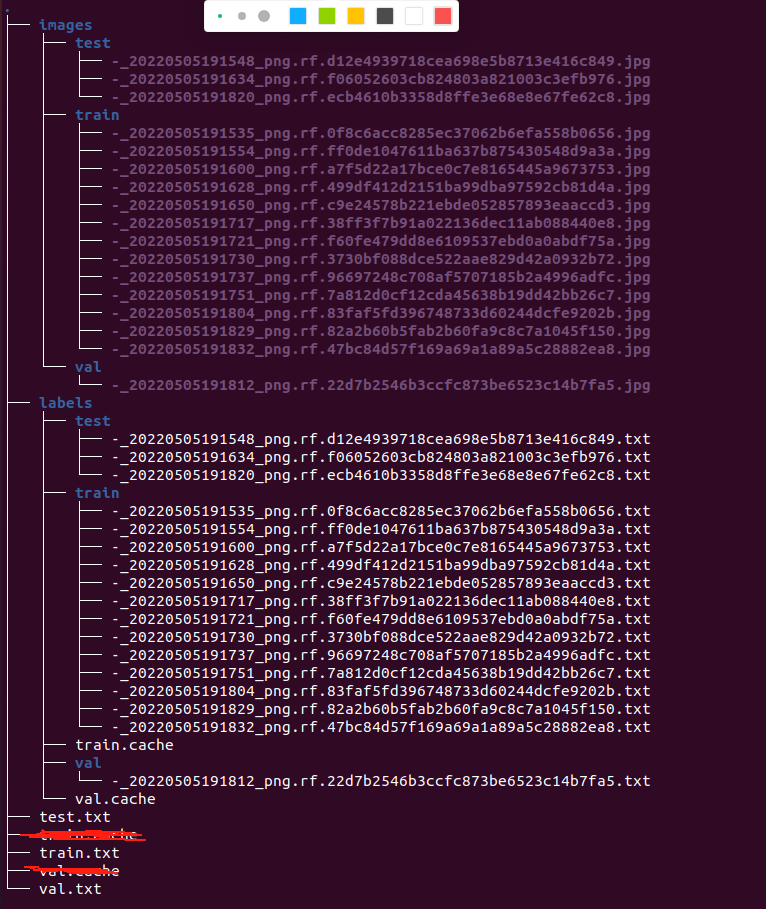
标注完成之后文件树如下,接下来需要划分数据集。在与这个两个目录同级文件夹下创建split.py文件,内容如下。
# 将图片和标注数据按比例切分为 训练集和测试集
import shutil
import random
import os

# 原始路径
image_original_path = "/home/yzh/my_data_500/image/"
label_original_path = "/home/yzh/my_data_500/label/"		## 该路径下不要有classes.txt

cur_path = os.getcwd()

# 训练集路径
train_image_path = os.path.join(cur_path, "images/train/")
train_label_path = os.path.join(cur_path, "labels/train/")

# 验证集路径
val_image_path = os.path.join(cur_path, "images/val/")
val_label_path = os.path.join(cur_path, "labels/val/")

# 测试集路径
test_image_path = os.path.join(cur_path, "images/test/")
test_label_path = os.path.join(cur_path, "labels/test/")

# 训练集目录
list_train = os.path.join(cur_path, "train.txt")
list_val = os.path.join(cur_path, "val.txt")
list_test = os.path.join(cur_path, "test.txt")

train_percent = 0.8
val_percent = 0.1
test_percent = 0.1

# windows
# def del_file(path):
#     for i in os.listdir(path):
#         file_data = path + "\\" + i
#         os.remove(file_data)
# ubantu
def del_file(path):
    for i in os.listdir(path):
        # 使用 os.path.join 自动处理路径分隔符
        file_data = os.path.join(path, i)
        os.remove(file_data)


def mkdir():
    if not os.path.exists(train_image_path):
        os.makedirs(train_image_path)
    else:
        del_file(train_image_path)
    if not os.path.exists(train_label_path):
        os.makedirs(train_label_path)
    else:
        del_file(train_label_path)

    if not os.path.exists(val_image_path):
        os.makedirs(val_image_path)
    else:
        del_file(val_image_path)
    if not os.path.exists(val_label_path):
        os.makedirs(val_label_path)
    else:
        del_file(val_label_path)

    if not os.path.exists(test_image_path):
        os.makedirs(test_image_path)
    else:
        del_file(test_image_path)
    if not os.path.exists(test_label_path):
        os.makedirs(test_label_path)
    else:
        del_file(test_label_path)


def clearfile():
    if os.path.exists(list_train):
        os.remove(list_train)
    if os.path.exists(list_val):
        os.remove(list_val)
    if os.path.exists(list_test):
        os.remove(list_test)


def main():
    mkdir()
    clearfile()

    file_train = open(list_train, 'w')
    file_val = open(list_val, 'w')
    file_test = open(list_test, 'w')

    total_txt = os.listdir(label_original_path)
    num_txt = len(total_txt)
    list_all_txt = range(num_txt)

    num_train = int(num_txt * train_percent)
    num_val = int(num_txt * val_percent)
    num_test = num_txt - num_train - num_val

    train = random.sample(list_all_txt, num_train)
    # train从list_all_txt取出num_train个元素
    # 所以list_all_txt列表只剩下了这些元素
    val_test = [i for i in list_all_txt if not i in train]
    # 再从val_test取出num_val个元素,val_test剩下的元素就是test
    val = random.sample(val_test, num_val)

    print("训练集数目:{}, 验证集数目:{}, 测试集数目:{}".format(len(train), len(val), len(val_test) - len(val)))
    for i in list_all_txt:
        name = total_txt[i][:-4]

        srcImage = image_original_path + name + '.jpg'
        srcLabel = label_original_path + name + ".txt"

        if i in train:
            dst_train_Image = train_image_path + name + '.jpg'
            dst_train_Label = train_label_path + name + '.txt'
            shutil.copyfile(srcImage, dst_train_Image)
            shutil.copyfile(srcLabel, dst_train_Label)
            file_train.write(dst_train_Image + '\n')
        elif i in val:
            dst_val_Image = val_image_path + name + '.jpg'
            dst_val_Label = val_label_path + name + '.txt'
            shutil.copyfile(srcImage, dst_val_Image)
            shutil.copyfile(srcLabel, dst_val_Label)
            file_val.write(dst_val_Image + '\n')
        else:
            dst_test_Image = test_image_path + name + '.jpg'
            dst_test_Label = test_label_path + name + '.txt'
            shutil.copyfile(srcImage, dst_test_Image)
            shutil.copyfile(srcLabel, dst_test_Label)
            file_test.write(dst_test_Image + '\n')

    file_train.close()
    file_val.close()
    file_test.close()

if __name__ == "__main__":
    main()
运行上述脚本,可以得到下面的文件树。
2.修改训练配置文件
配置文件的路径是:/home/yzh/yolo_v5/yolov5/data/my_dataset_17.yaml,my_dataset_17.yaml是你自己新建的配置文件的名称。
# Ultralytics 🚀 AGPL-3.0 License - https://ultralytics.com/license

# COCO 2017 dataset http://cocodataset.org by Microsoft
# Example usage: python train.py --data coco.yaml
# parent
# ├── yolov5
# └── datasets
#     └── coco  ← downloads here (20.1 GB)

# Train/val/test sets as 1) dir: path/to/imgs, 2) file: path/to/imgs.txt, or 3) list: [path/to/imgs1, path/to/imgs2, ..]
path: /home/yzh/my_data_17 # dataset root dir
train: /home/yzh/my_data_17/train.txt # train images (relative to 'path') 118287 images
val: /home/yzh/my_data_17/val.txt # val images (relative to 'path') 5000 images
test: /home/yzh/my_data_17/test.txt # 20288 of 40670 images, submit to https://competitions.codalab.org/competitions/20794

# Classes
names:
  0: person
3.开始训练
--data:数据集的位置
--weight:预训练权重的位置,这个写上去就算没有他应该会自己下。
python train.py --img 640 --batch 1 --epochs 10 --data my_dataset_17.yaml --weights yolov5s.pt训练完成后,训练的结果保存在/home/yzh/yolo_v5/yolov5/runs/train,包括权重和一些评价指标。


 被折叠的 条评论
为什么被折叠?
被折叠的 条评论
为什么被折叠?
 到【灌水乐园】发言


