


1.创建springboot项目
首先,按照下面的顺序依次点击创建一个新的项目。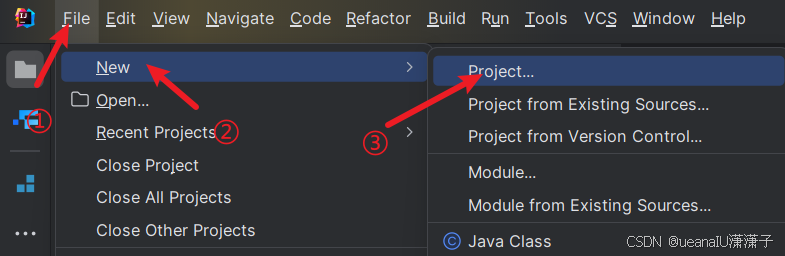 然后,在左侧选择springboot创建一个springboot项目,我创建的项目名称为mysql-demo,然后点击next
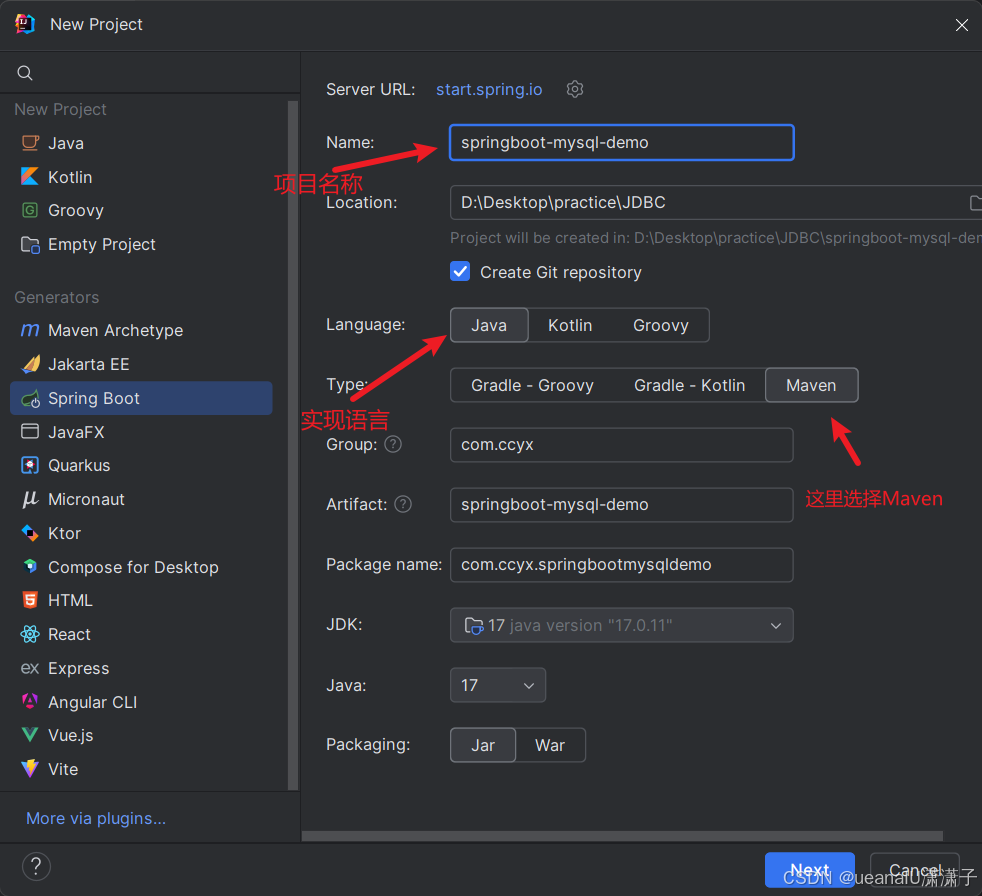
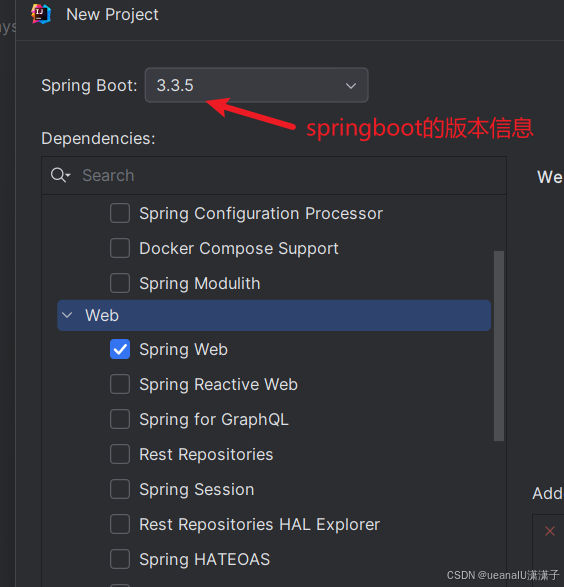
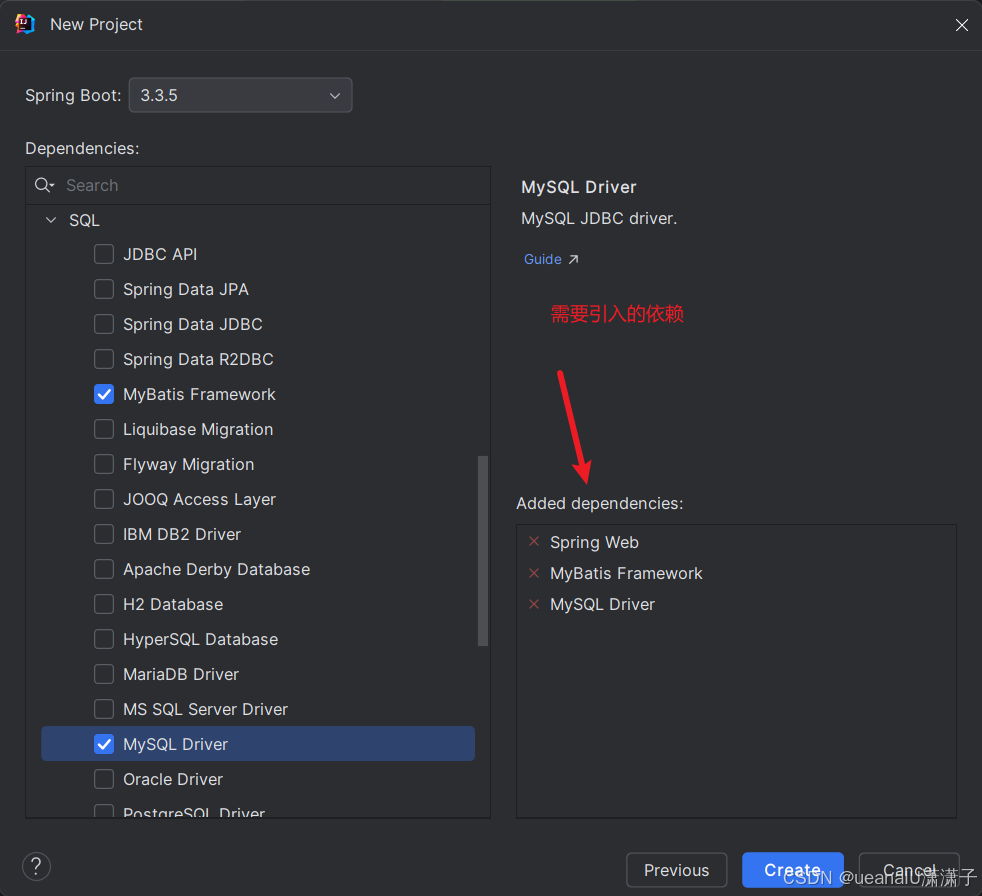
在下图的界面后选择图中的依赖,由于只是连接mysql,所以只选择下图的两个依赖就行了,然后
点击create ,项目就开始创建了,第一次创建会有点慢,可以慢慢等’
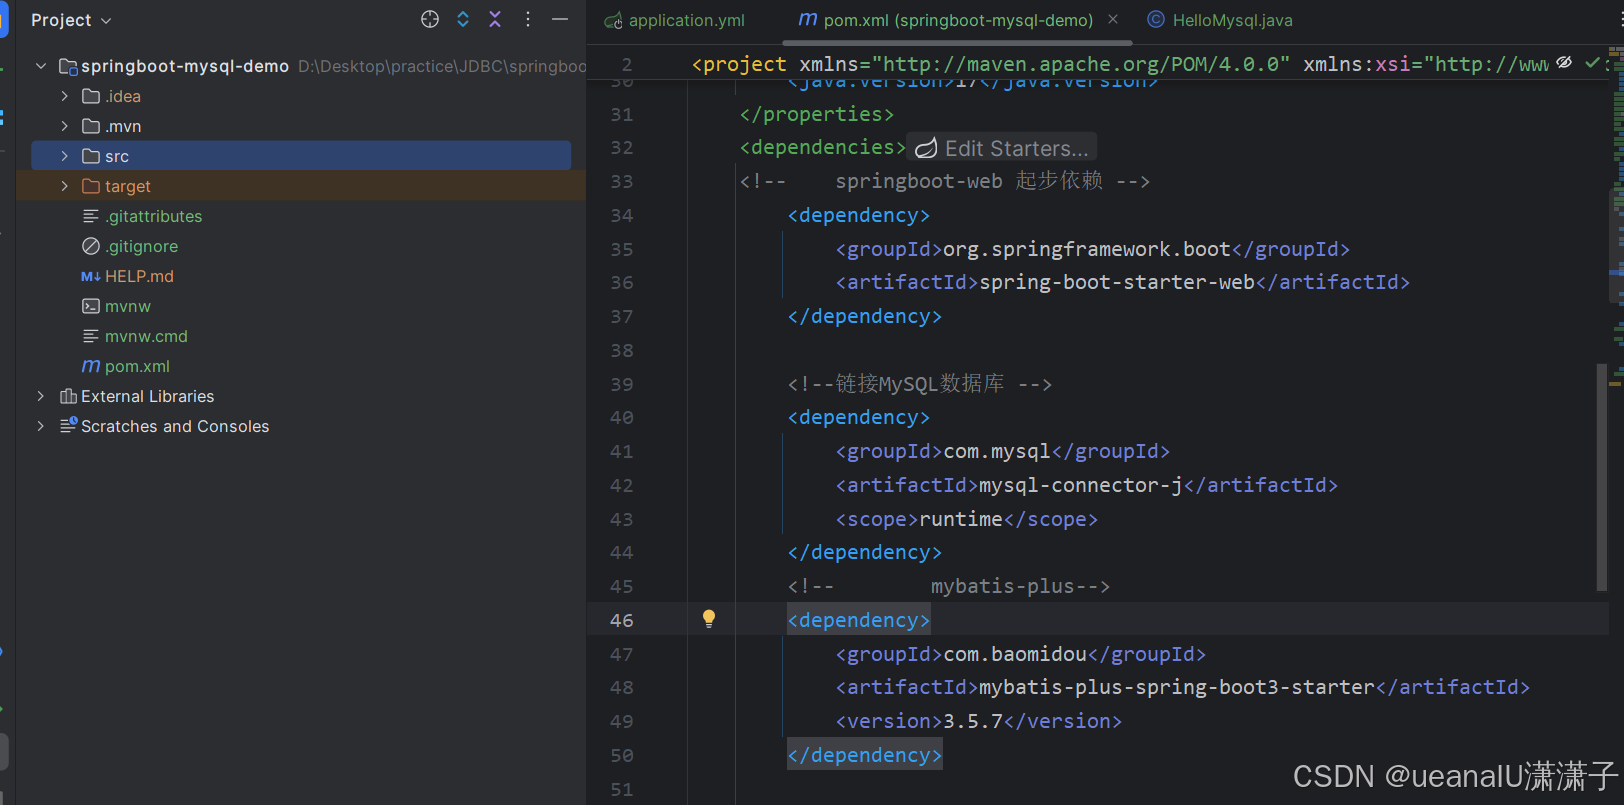
然后点击pom.xml文件我们就可以看到刚才引入的三个依赖的信息:
2.mysql的配置
默认的配置文件是src文件夹下的application.properties文件,下图是application.properties中进行配置的书写格式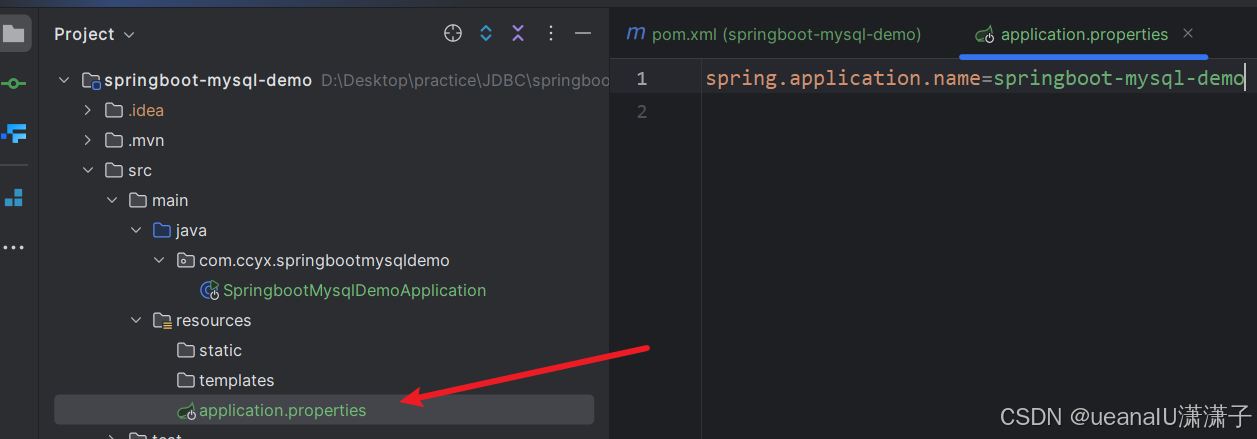
由于 application.yml的格式更加清晰,所以现在基本都采用application.yml来进行配置。所以,我们可以把application.properties文件的后缀改成yml或者yaml都可以。在application.yml中进行配置
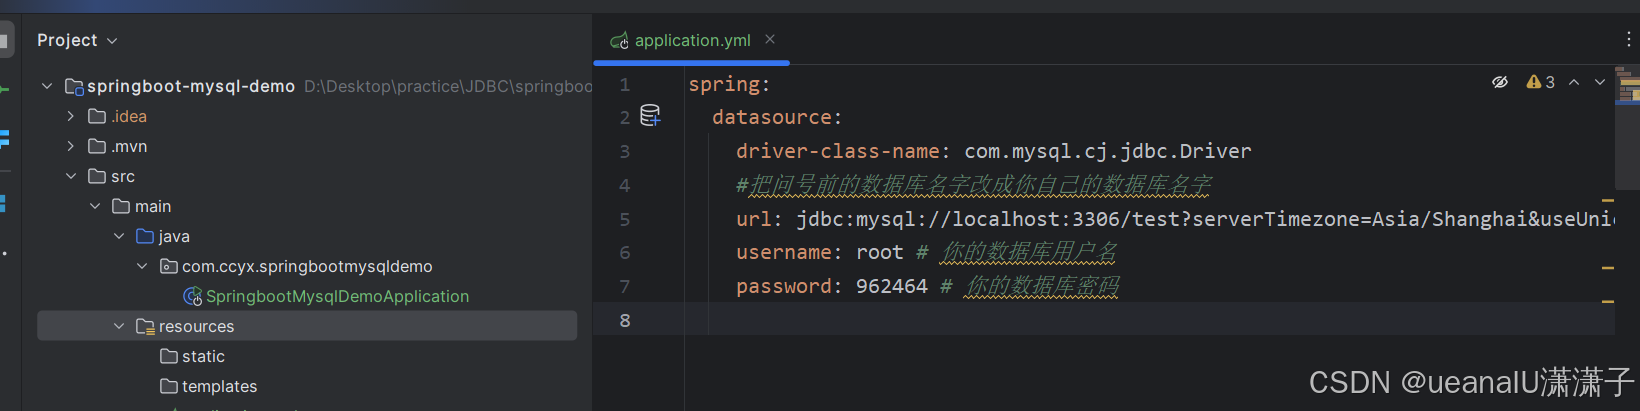 配置如下:
配置如下:
spring:
  datasource:
    driver-class-name: com.mysql.cj.jdbc.Driver
    #把问号前的数据库名字改成你自己的数据库名字
    url: jdbc:mysql://localhost:3306/test?serverTimezone=Asia/Shanghai&useUnicode=true&characterEncoding=utf-8&zeroDateTimeBehavior=convertToNull&useSSL=false&allowPublicKeyRetrieval=true
    username: root # 你的数据库用户名
    password: 962464 # 你的数据库密码
在下图位置创建一个实体类来接收数据库的内容(实体类的字段名和mysql中的字段名要一样,否则无法自动对应)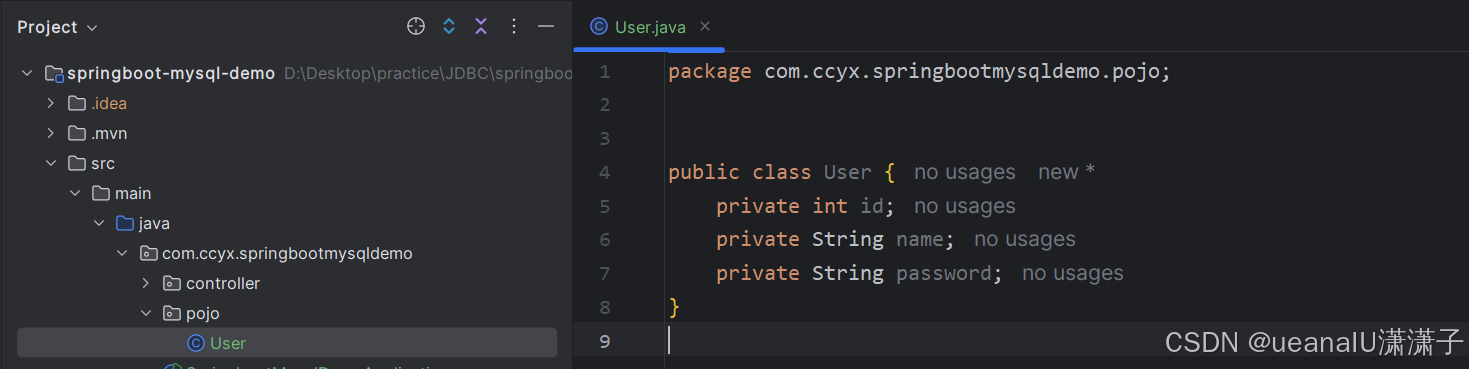
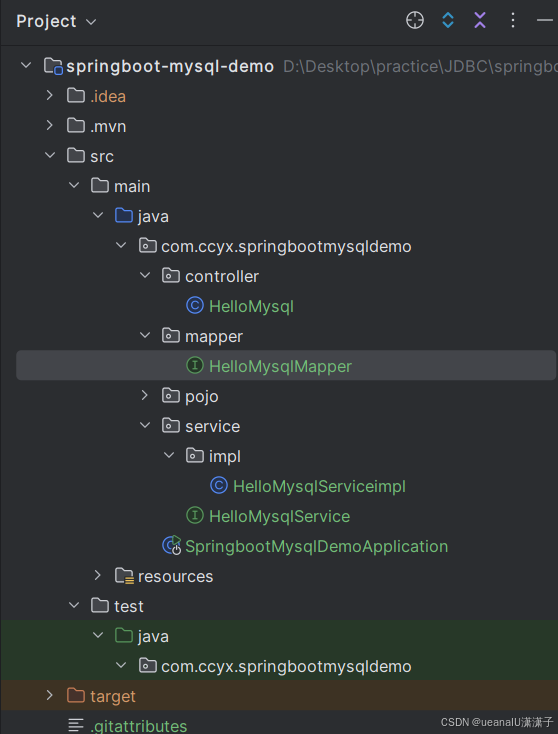
分别对应图中创建文件夹及文件:
user实体类代码:
package com.ccyx.springbootmysqldemo.pojo;


public class User {
    private int id;
    private String name;


    private String password;

    public int getId() {
        return id;
    }

    public void setId(int id) {
        this.id = id;
    }

    public String getName() {
        return name;
    }

    public void setName(String name) {
        this.name = name;
    }

    public String getPassword() {
        return password;
    }

    public void setPassword(String password) {
        this.password = password;
    }


}
在controller中实现下面代码: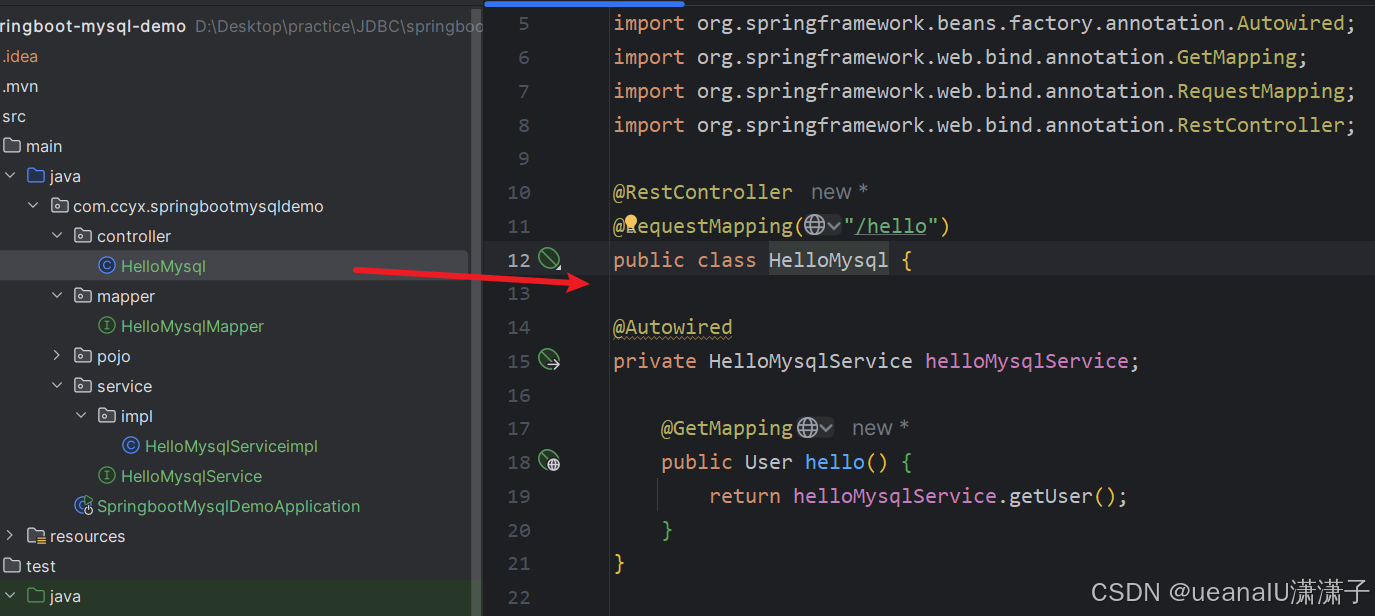
package com.ccyx.springbootmysqldemo.controller;

import com.ccyx.springbootmysqldemo.pojo.User;
import com.ccyx.springbootmysqldemo.service.HelloMysqlService;
import org.springframework.beans.factory.annotation.Autowired;
import org.springframework.web.bind.annotation.GetMapping;
import org.springframework.web.bind.annotation.RequestMapping;
import org.springframework.web.bind.annotation.RestController;

@RestController
@RequestMapping("/hello")
public class HelloMysql {

@Autowired
private HelloMysqlService helloMysqlService;

    @GetMapping
    public User hello() {
        return helloMysqlService.getUser();
    }
}
service中的代码: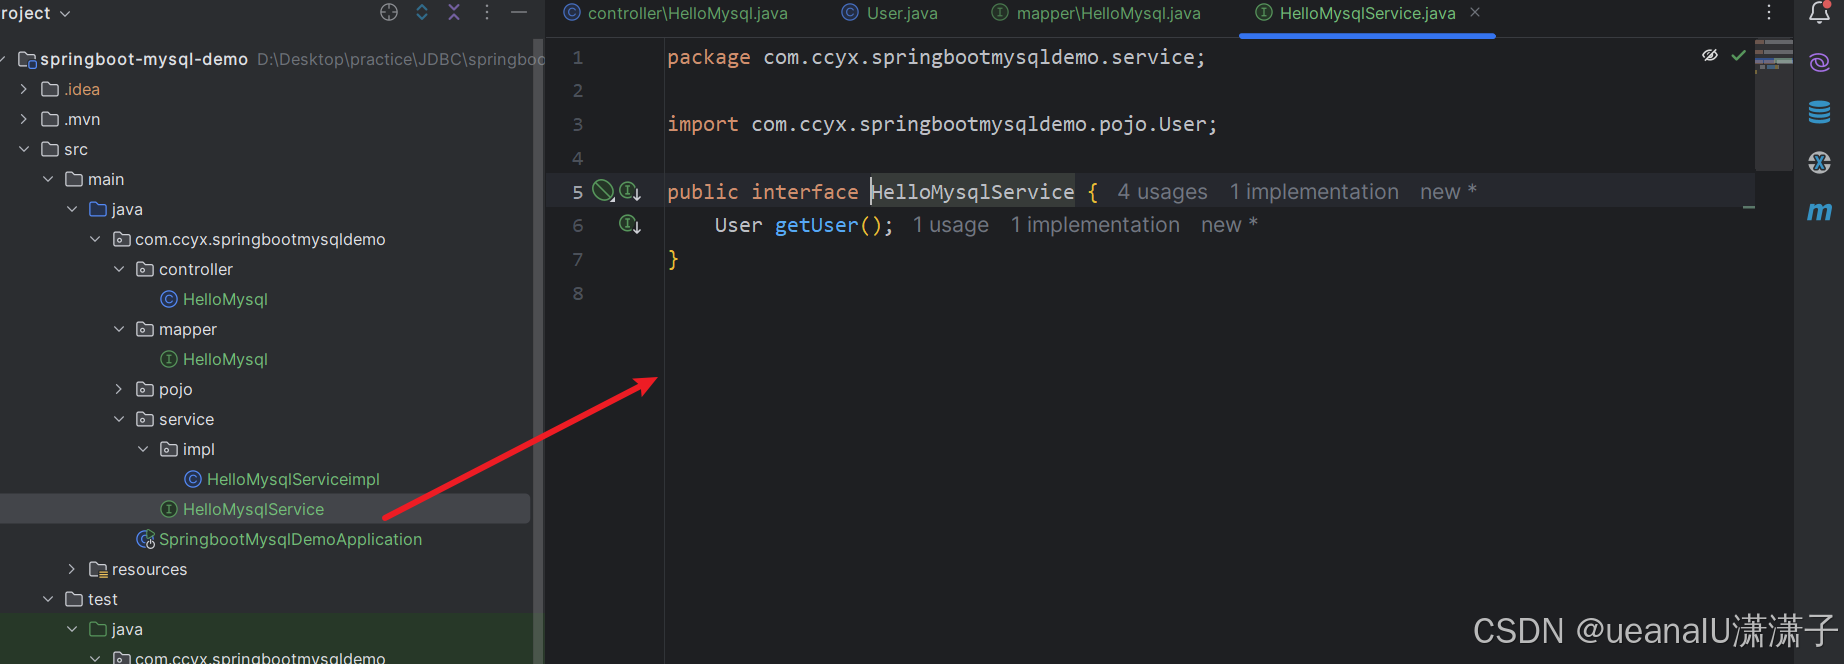
package com.ccyx.springbootmysqldemo.service;

import com.ccyx.springbootmysqldemo.pojo.User;

public interface HelloMysqlService {
    User getUser();
}
impl中的代码:
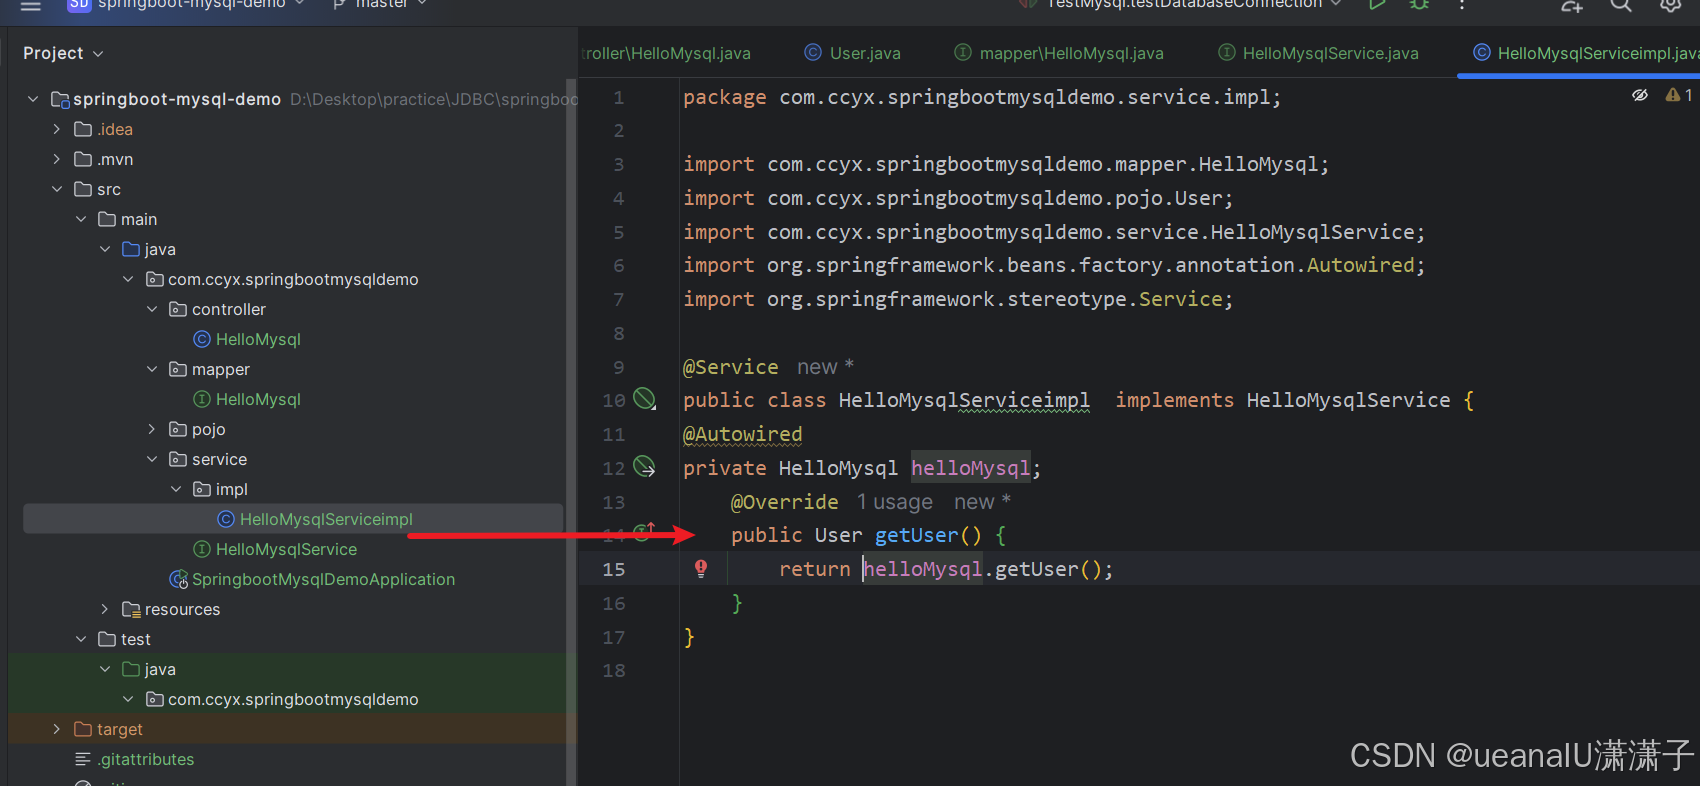
package com.ccyx.springbootmysqldemo.service.impl;

import com.ccyx.springbootmysqldemo.mapper.HelloMysqlMapper;
import com.ccyx.springbootmysqldemo.pojo.User;
import com.ccyx.springbootmysqldemo.service.HelloMysqlService;
import org.springframework.beans.factory.annotation.Autowired;
import org.springframework.stereotype.Service;

@Service
public class HelloMysqlServiceimpl  implements HelloMysqlService {
@Autowired
private HelloMysqlMapper helloMysql;
    @Override
    public User getUser() {
        return helloMysql.getUser();
    }
}
mapper文件中的代码:
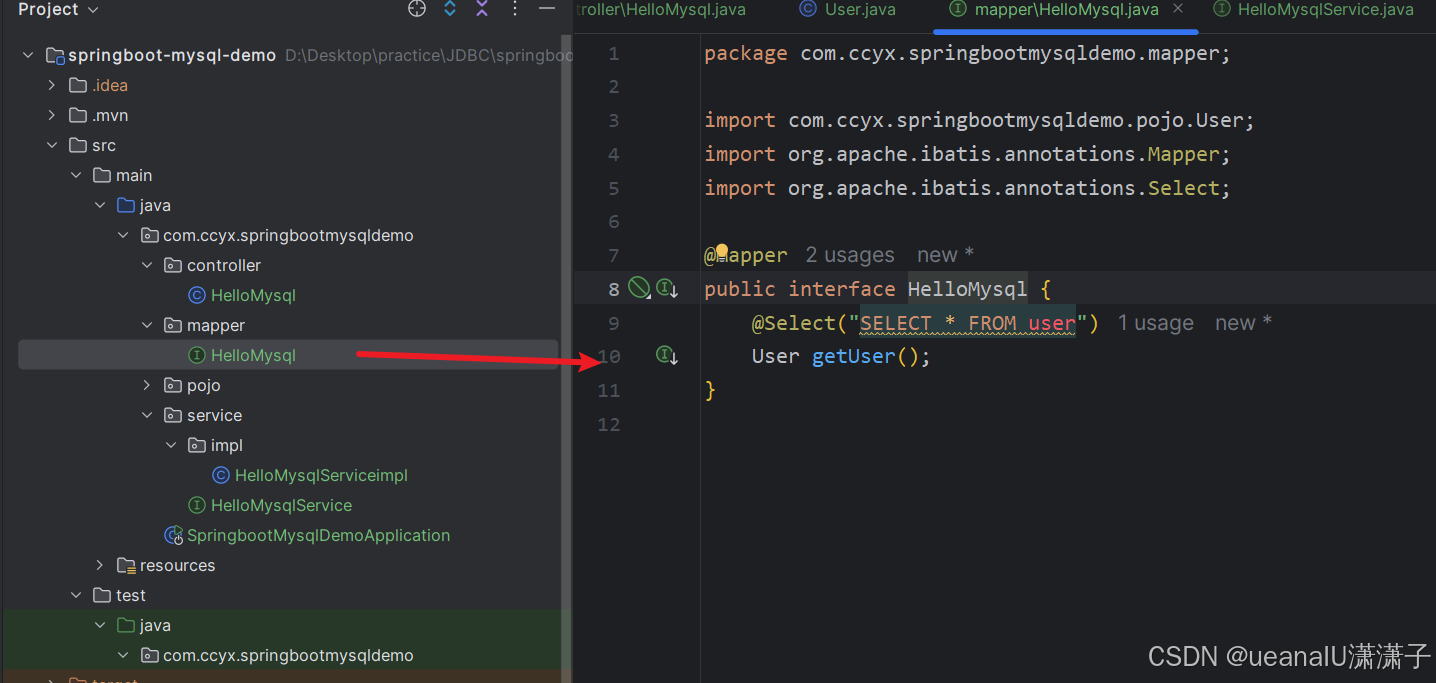
package com.ccyx.springbootmysqldemo.mapper;

import com.ccyx.springbootmysqldemo.pojo.User;
import org.apache.ibatis.annotations.Mapper;
import org.apache.ibatis.annotations.Select;

@Mapper
public interface HelloMysql {
    @Select("SELECT * FROM user")
    User getUser();
}
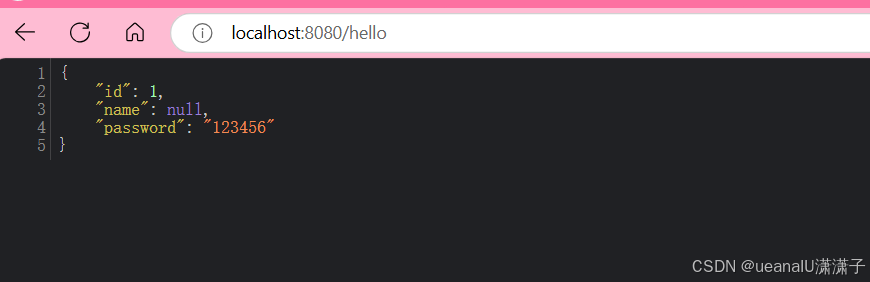
上面全部代码完成后,启动springboot项目,网页直接访问:localhost:8080/hello, 就可以看到从数据库返回的数据


 3500
3500

 被折叠的 条评论
为什么被折叠?
被折叠的 条评论
为什么被折叠?
 到【灌水乐园】发言


