


L:Linux
A:apache
M:mysql
P:PHP
首先需要在 linux服务端安装 apache mysql 还有 PHP
[root@server ~]# yum install httpd php* mariadb-server
安装 apache php mysql
下载nextcloud.zip并解压
[root@server /]# unzip nextcloud-25.0.1.zip
创建数据库 用户 设置密码 给予权限
创建数据库:
[root@server /]# systemctl start mariadb
[root@server /]# mariadb
Welcome to the MariaDB monitor. Commands end with ; or \g.
Your MariaDB connection id is 3
Server version: 10.5.16-MariaDB MariaDB ServerCopyright (c) 2000, 2018, Oracle, MariaDB Corporation Ab and others.
Type 'help;' or '\h' for help. Type '\c' to clear the current input statement.
MariaDB [(none)]> create database nextcloud ;
Query OK, 1 row affected (0.000 sec)MariaDB [(none)]> create user 'admin'@'localhost' identified by 'passwd ';
Query OK, 0 rows affected (0.001 sec)MariaDB [(none)]> grant all on nextcloud.* to 'admin'@'localhost';
Query OK, 0 rows affected (0.001 sec)
创建完成后 需要重启服务systemctl restart mariadb
配置apache部分 进入到httpd目录下 对网页根目录进行修改:
修改前:
DocumentRoot "/var/www/html"
#
# Relax access to content within /var/www.
#
<Directory "/var/www">
AllowOverride None
# Allow open access:
Require all granted
</Directory>
修改后:
DocumentRoot "/nextcloud"
#
# Relax access to content within /var/www.
#
<Directory "/nextcloud">
AllowOverride None
# Allow open access:
Require all granted
</Directory>
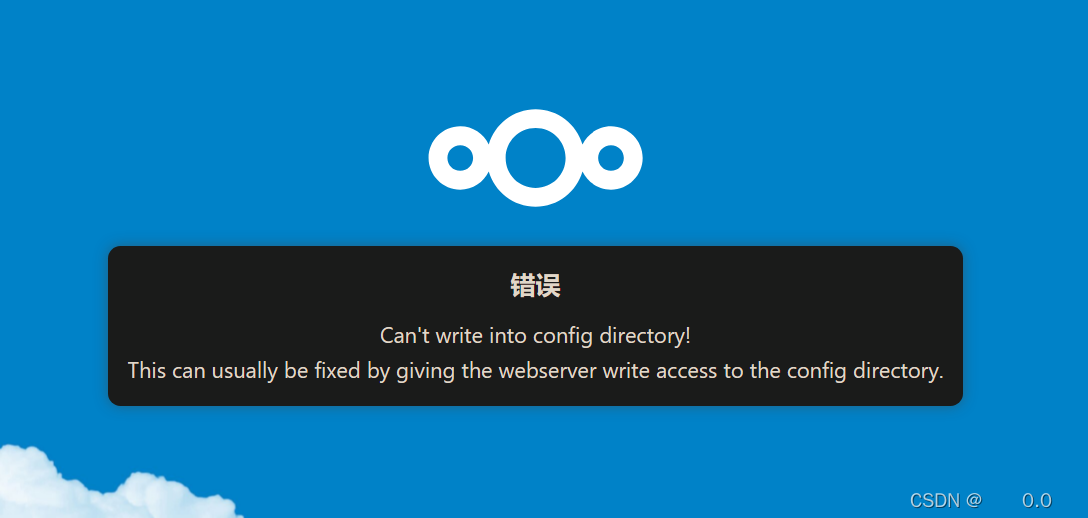 这是由于 云存储页面 访问权限不够导致的
[root@server /]# chmod -Rf 777 nextcloud
执行后 云存储页面可以被所有用户访问
最后进行数据的填写 即可使用私有云存储


 313
313


 被折叠的 条评论
为什么被折叠?
被折叠的 条评论
为什么被折叠?
 到【灌水乐园】发言


