


服务器
1、创建QTcpServer对象
2、listen设置监听 + 设置端口,等待客户端连接
3、有新客户端连接后,会发出QTcpServer::newConnection信号,使用connect绑定该信号,对新连接客户端进行处理
4、当客户端发送消息给服务器时,会发出QTcpSocket::readyRead信号,关联槽函数后,使用sock->readAll()可获取消息内容
5、服务器通过sock->write(message.toUtf8());将消息发送给客户端,发送需要为QByteArray类型,因此要将message转为utf8
客户端
1、创建QTcpSocket对象
2、connectToHost设置连接的服务器 ip + 端口
3、当客户端与服务器连接成功后,会发出QTcpSocket::connected
4、当服务器发送消息给客户端时,会发出QTcpSocket::readyRead信号,关联槽函数后,使用sock->readAll()可获取消息内容
5、客户端通过sock->write(message.toUtf8());将消息发送给服务器
注意:需要在工程的.pro文件中加入network 模块
QT += core gui network示例代码:
代码中 p 指针是在.h文件中定义的结构体指针,需要在构造函数中分配内存实例化。
server.cpp
#include "server.h"
#include "ui_server.h"
#include <QTcpServer> //服务器类
#include <QTcpSocket> //套接字类
#include <map>
#include <QDebug>
struct ServerPrivate
{
QTcpServer *s;
std::map<QString,QTcpSocket*> sockMap;
};
Server::Server(QWidget *parent) :
QWidget(parent),
ui(new Ui::Server),p(new ServerPrivate)
{
ui->setupUi(this);
p->s = new QTcpServer();
//监听+端口号
p->s->listen(QHostAddress::Any,8999);
connect(p->s,&QTcpServer::newConnection,[this](){
QTcpSocket *sock = p->s->nextPendingConnection(); //最新的一个连接客户端
QString ip = sock->peerAddress().toString(); //IP
QString port = QString::number(sock->peerPort()); //Port
p->sockMap.insert(std::make_pair(ip,sock));
connect(sock,&QTcpSocket::readyRead,[=](){
//sock->readAll()接收到的消息
QString text = "from ip" + ip + ":" + sock->readAll();
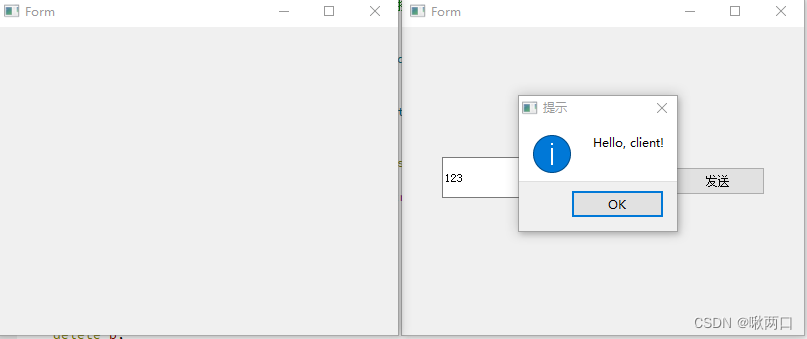
QString message = "Hello, client!" ; // 你要发送的消息
sock->write(message.toUtf8());
});
});
}
Server::~Server()
{
delete ui;
delete p->s;
delete p;
}
client.cpp
#include "client.h"
#include "ui_client.h"
#include <QTcpSocket>
#include <QHostAddress>
#include <QMessageBox>
#include <QPushButton>
struct ClientPrivarte
{
QTcpSocket *sock;
};
Client::Client(QWidget *parent) :
QWidget(parent),
ui(new Ui::Client),p(new ClientPrivarte)
{
ui->setupUi(this);
//创建套接字
p->sock = new QTcpSocket();
//设置连接的服务器 ip + 端口
p->sock->connectToHost(QHostAddress("192.168.1.84"),8999);
connect(p->sock,&QTcpSocket::connected,[this]()
{
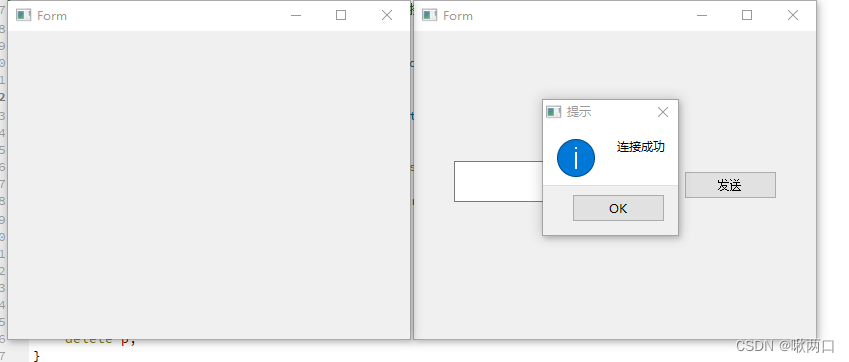
//连接成功 提示信息
QMessageBox::information(this,"提示","连接成功");
});
connect(ui->pushButton,&QPushButton::clicked,[this]()
{
//向服务器发送信息
p->sock->write(ui->lineEdit->text().toUtf8());
});
connect(p->sock,&QTcpSocket::readyRead,[this]()
{
QMessageBox::information(this,"提示",QString(p->sock->readAll()));
});
}
Client::~Client()
{
delete ui;
delete p->sock;
delete p;
}
运行结果如下:


 471
471


 被折叠的 条评论
为什么被折叠?
被折叠的 条评论
为什么被折叠?
 到【灌水乐园】发言


