


适用版本:Spring Boot 2 + OpenAPI3 demo:knife4j-springdoc-openapi-demo
参照于官网:https://doc.xiaominfo.com/
1、下载依赖:(swgger依赖不用动)
<!-- 官网:https://doc.xiaominfo.com/  访问:http://{IP}:{端口}/doc.html -->
        <dependency>
            <groupId>com.github.xiaoymin</groupId>
            <artifactId>knife4j-openapi3-spring-boot-starter</artifactId>
            <version>4.4.0</version>
        </dependency>
2、配置yaml文件或nacos配置中心
knife4j:
  # 开启增强配置
  enable: true
  # 开启生产环境屏蔽
  production: false
  basic:
    # 是否开启认证
    enable: true
    # 用户名
    username: root
    # 密码
    password: root
3、使用OpenAPI3的规范注解(原swgger @API相关注解冲突不可用)

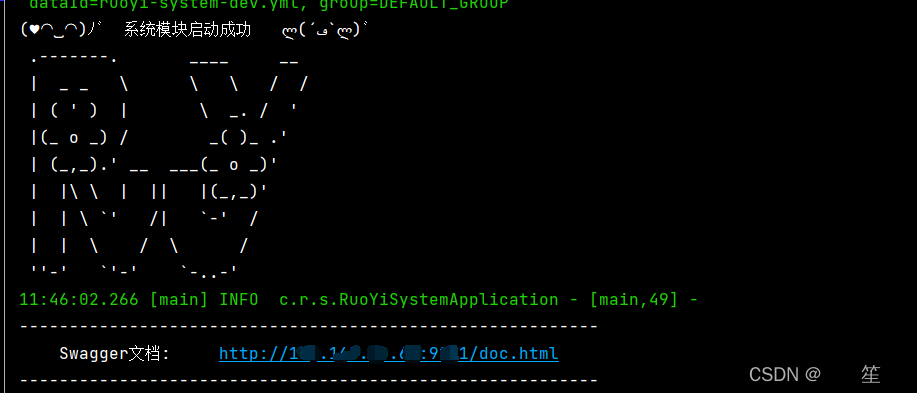
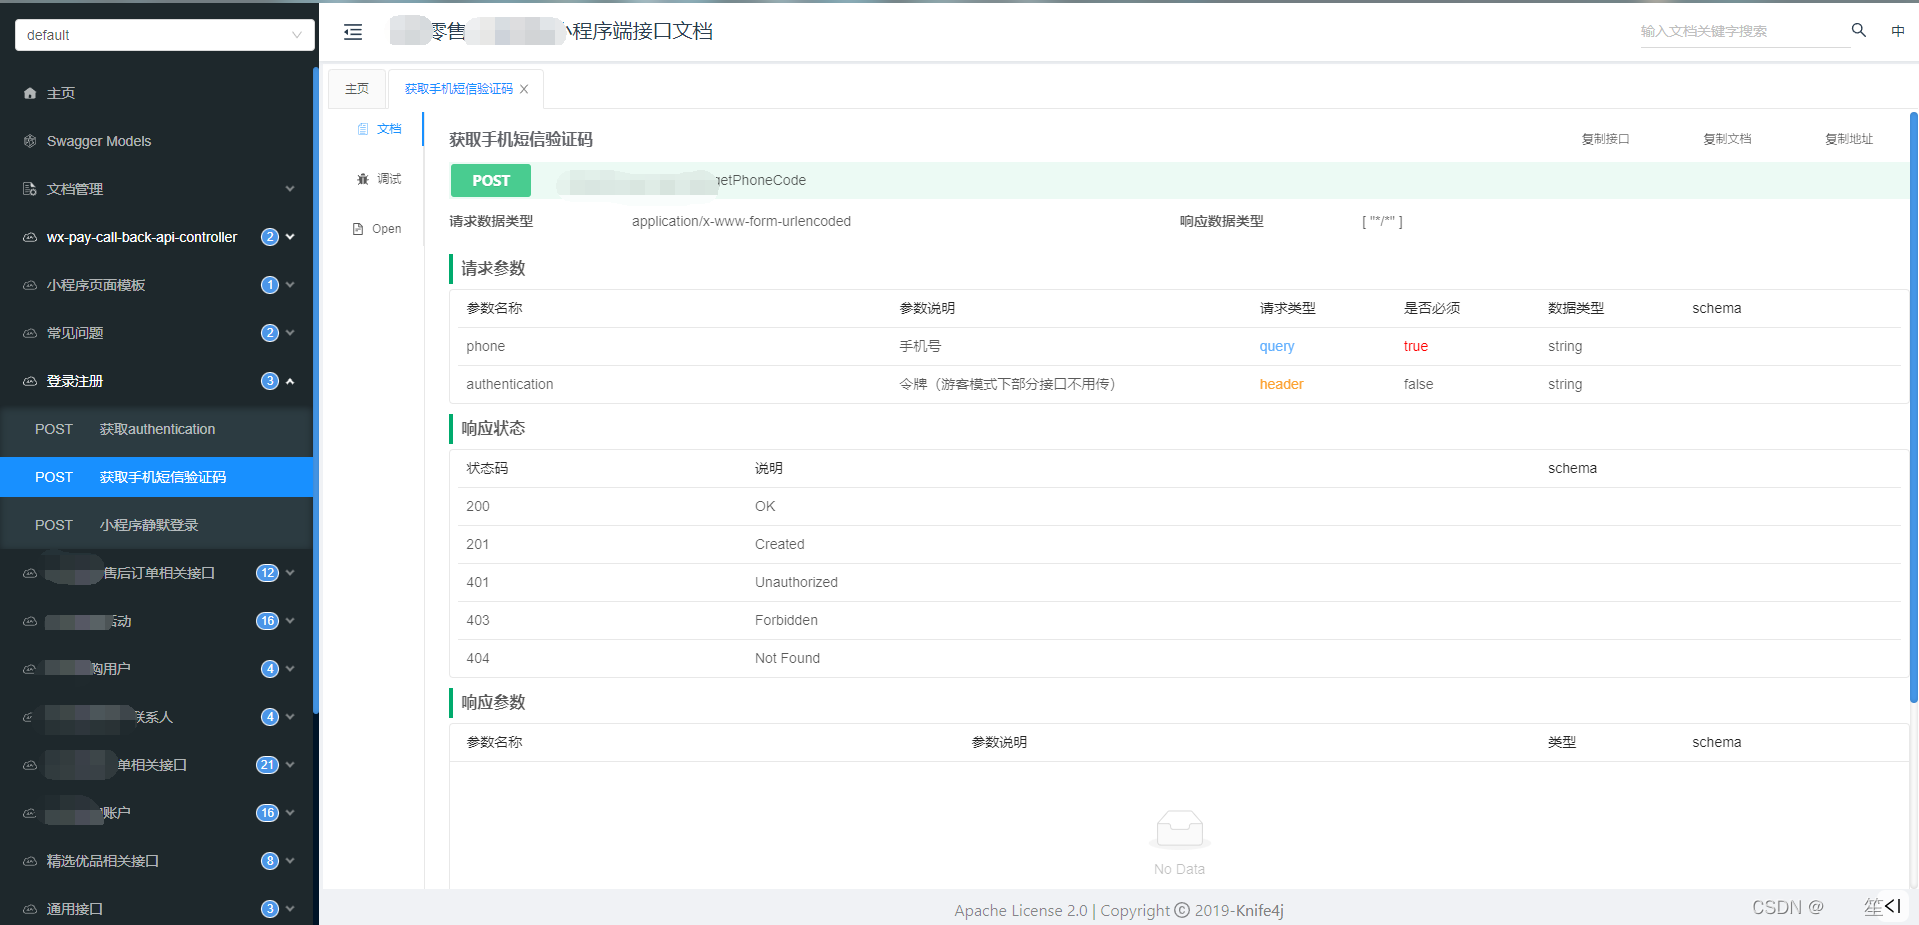
4、访问地址(http://{IP}:{端口}/doc.html)
启动类代码:
public static void main(String[] args)
    {
        ConfigurableApplicationContext applicationContext = SpringApplication.run(RuoYiSystemApplication.class, args);
        Environment env = applicationContext.getEnvironment();
        String ip = null;
        try {
            ip = InetAddress.getLocalHost().getHostAddress();
        } catch (UnknownHostException e) {
            e.printStackTrace();
        }
        String port = env.getProperty("server.port");
//        String path = env.getProperty("server.servlet.context-path");
        System.out.println("(♥◠‿◠)ノ゙  系统模块启动成功   ლ(´ڡ`ლ)゙  \n" +
                " .-------.       ____     __        \n" +
                " |  _ _   \\      \\   \\   /  /    \n" +
                " | ( ' )  |       \\  _. /  '       \n" +
                " |(_ o _) /        _( )_ .'         \n" +
                " | (_,_).' __  ___(_ o _)'          \n" +
                " |  |\\ \\  |  ||   |(_,_)'         \n" +
                " |  | \\ `'   /|   `-'  /           \n" +
                " |  |  \\    /  \\      /           \n" +
                " ''-'   `'-'    `-..-'              ");
        log.info("\n----------------------------------------------------------\n\t" +
//                "Local: \t\thttp://localhost:" + port + path + "/\n\t" +
//                "External: \thttp://" + ip + ":" + port + path + "/\n\t" +
                "Swagger文档: \thttp://" + ip + ":" + port + "/doc.html\n" +
                "----------------------------------------------------------");
    }
5、效果图:


 198
198

 被折叠的 条评论
为什么被折叠?
被折叠的 条评论
为什么被折叠?
 到【灌水乐园】发言


