


gitlab部署文档
环境说明:
ip : 192.168.31.11
系统: CentOS Linux release 7.9.2009 (Core)gitlab-ce: 16.11.2(2024-05-08更新)
1、下载rpm包
wget https://mirrors.tuna.tsinghua.edu.cn/gitlab-ce/yum/el7/gitlab-ce-16.11.2-ce.0.el7.x86_64.rpm
2、安装依赖
yum install -y curl policycoreutils openssh-server openssh-clients
3、启动ssh服务&设置为开机启动
systemctl enable sshd systemctl start sshd
4、安装Postfix: Postfix是一个邮件服务器,GitLab发送邮件需要用到
yum install -y postfix
systemctl enable postfix #启动postfix并设置为开机启动 systemctl start postfix
5、开放ssh以及http服务(80端口)
firewall-cmd --add-service=ssh --permanent firewall-cmd --add-service=http --permanent
或者: systemctl stop firewalld     #直接关闭防火墙
      systemctl disable firewalld
      setenforce 0
6、安装gitlab依赖
yum install policycoreutils-python
7、安装gitlab
rpm -ivh gitlab-ce-16.11.2-ce.0.el7.x86_64.rpm
# 以下为效果展示
warning: gitlab-ce-16.11.2-ce.0.el7.x86_64.rpm: Header V4 RSA/SHA1 Signature, key ID f27eab47: NOKEY Preparing... ################################# [100%] Updating / installing... 1:gitlab-ce-16.11.2-ce.0.el7 ################################# [100%] It looks like GitLab has not been configured yet; skipping the upgrade script. *. *. *** *** ***** ***** .****** ******* ******** ******** ,,,,,,,,,***********,,,,,,,,, ,,,,,,,,,,,*********,,,,,,,,,,, .,,,,,,,,,,,*******,,,,,,,,,,,, ,,,,,,,,,*****,,,,,,,,,. ,,,,,,,****,,,,,, .,,,***,,,, ,*,. _______ __ __ __ / ____(_) /_/ / ____ _/ /_ / / __/ / __/ / / __ `/ __ \ / /_/ / / /_/ /___/ /_/ / /_/ / \____/_/\__/_____/\__,_/_.___/ Thank you for installing GitLab! GitLab was unable to detect a valid hostname for your instance. Please configure a URL for your GitLab instance by setting `external_url` configuration in /etc/gitlab/gitlab.rb file. Then, you can start your GitLab instance by running the following command: sudo gitlab-ctl reconfigure For a comprehensive list of configuration options please see the Omnibus GitLab readme https://gitlab.com/gitlab-org/omnibus-gitlab/blob/master/README.md Help us improve the installation experience, let us know how we did with a 1 minute survey: https://gitlab.fra1.qualtrics.com/jfe/form/SV_6kVqZANThUQ1bZb?installation=omnibus&release=16-11
netstat -ntlp #查看端口
Active Internet connections (only servers) Proto Recv-Q Send-Q Local Address Foreign Address State PID/Program name tcp 0 0 127.0.0.1:9100 0.0.0.0:* LISTEN 1470/node_exporter tcp 0 0 127.0.0.1:9229 0.0.0.0:* LISTEN 1473/gitlab-workhor tcp 0 0 127.0.0.1:8080 0.0.0.0:* LISTEN 1477/puma 6.4.0 (un tcp 0 0 127.0.0.1:9168 0.0.0.0:* LISTEN 1466/ruby tcp 0 0 127.0.0.1:8082 0.0.0.0:* LISTEN 1658/sidekiq_export tcp 0 0 127.0.0.1:9236 0.0.0.0:* LISTEN 1549/gitaly tcp 0 0 127.0.0.1:8150 0.0.0.0:* LISTEN 1467/gitlab-kas tcp 0 0 0.0.0.0:22 0.0.0.0:* LISTEN 1017/sshd tcp 0 0 127.0.0.1:8151 0.0.0.0:* LISTEN 1467/gitlab-kas tcp 0 0 0.0.0.0:8888 0.0.0.0:* LISTEN 1454/nginx: master tcp 0 0 127.0.0.1:8153 0.0.0.0:* LISTEN 1467/gitlab-kas tcp 0 0 127.0.0.1:25 0.0.0.0:* LISTEN 1204/master tcp 0 0 127.0.0.1:8154 0.0.0.0:* LISTEN 1467/gitlab-kas tcp 0 0 127.0.0.1:8155 0.0.0.0:* LISTEN 1467/gitlab-kas tcp 0 0 127.0.0.1:8092 0.0.0.0:* LISTEN 1656/sidekiq 7.1.6 tcp 0 0 0.0.0.0:8060 0.0.0.0:* LISTEN 1454/nginx: master tcp 0 0 127.0.0.1:9121 0.0.0.0:* LISTEN 1456/redis_exporter tcp 0 0 127.0.0.1:9090 0.0.0.0:* LISTEN 1463/prometheus tcp 0 0 127.0.0.1:9187 0.0.0.0:* LISTEN 1475/postgres_expor tcp 0 0 127.0.0.1:9093 0.0.0.0:* LISTEN 1472/alertmanager tcp6 0 0 ::1:9168 :::* LISTEN 1466/ruby tcp6 0 0 :::22 :::* LISTEN 1017/sshd tcp6 0 0 ::1:25 :::* LISTEN 1204/master tcp6 0 0 :::9094 :::* LISTEN 1472/alertmanager
8、修改gilab配置
vim /etc/gitlab/gitlab.rb
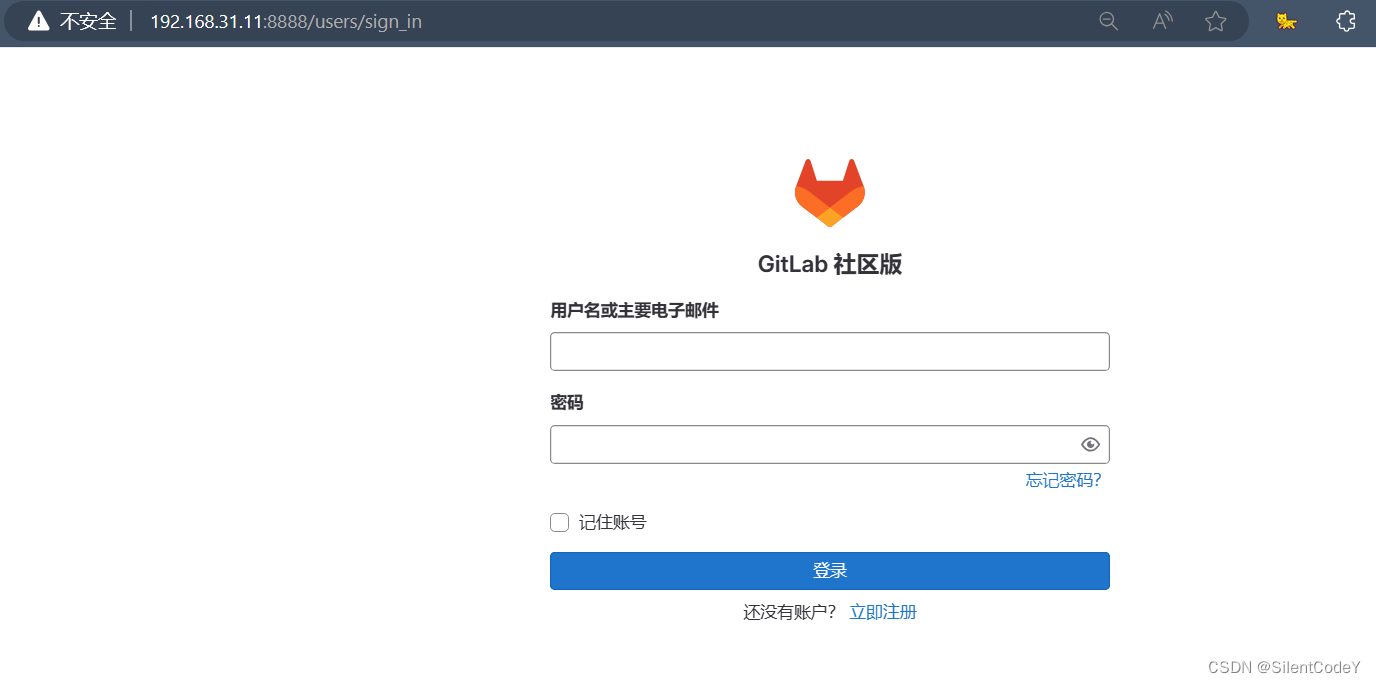
external_url 'http://192.168.31.11:8888' #32行修改 ip:端口
9、启动
gitlab-ctl reconfigure #重载
gitlab-ctl status
gitlab-ctl status
run: alertmanager: (pid 2339) 1864s; run: log: (pid 1461) 3144s
run: gitaly: (pid 2349) 1863s; run: log: (pid 1435) 3144s
run: gitlab-exporter: (pid 2370) 1862s; run: log: (pid 1457) 3144s
run: gitlab-kas: (pid 2381) 1851s; run: log: (pid 1458) 3144s
run: gitlab-workhorse: (pid 2391) 1851s; run: log: (pid 1471) 3144s
run: logrotate: (pid 2404) 1851s; run: log: (pid 1439) 3144s
run: nginx: (pid 2412) 1850s; run: log: (pid 1451) 3144s
run: node-exporter: (pid 2420) 1850s; run: log: (pid 1468) 3144s
run: postgres-exporter: (pid 2427) 1849s; run: log: (pid 1465) 3144s
run: postgresql: (pid 2437) 1849s; run: log: (pid 1464) 3144s
run: prometheus: (pid 2446) 1849s; run: log: (pid 1462) 3144s
run: puma: (pid 2458) 1848s; run: log: (pid 1476) 3144s
run: redis: (pid 2463) 1848s; run: log: (pid 1443) 3144s
run: redis-exporter: (pid 2470) 1847s; run: log: (pid 1455) 3144s
run: sidekiq: (pid 2480) 1845s; run: log: (pid 1459) 3144s
10、配置默认访问密码
注册用户的密码为abc12345
切换到命令运行的目录 cd /opt/gitlab/bin/ 执行如下命令:gitlab-rails console -e production 进行初始化密码
在irb(main):001:0> 后面通过 u=User.where(id:1).first 来查找与切换账号(User.all 可以查看所有用户)
gitlab-rails console -e production
u=User.where(id:1).first
u.password='abc12345'
u.password_confirmation='abc12345'
u.save!
exit

出现true说明设置成功!
此时就可以用root/abc12345来登录页面


报错记录:
irb(main):007:0> u.save!
/opt/gitlab/embedded/lib/ruby/gems/3.1.0/gems/activerecord-7.0.8.1/lib/active_record/validations.rb:80:in `raise_validation_error': Validation failed: Password must not contain commonly used combinations of words and letters (ActiveRecord::RecordInvalid)
这个错误是由于密码不符合GitLab的密码策略而导致的验证失败。根据错误消息,密码必须符合以下要求:
密码确认与密码不匹配
密码不能包含常用的单词和字母组合
密码长度太短(最少为8个字符)
原文: Gitlab 仓库搭建(详细版)_gitlab搭建-CSDN博客
centos7 安装gitlab_错误:依赖检测失败: libcrypt.so.1()(64bit) 被 phddns-5.3.0-1-CSDN博客


 544
544


 被折叠的 条评论
为什么被折叠?
被折叠的 条评论
为什么被折叠?
 到【灌水乐园】发言


