


当你要创建一个例如左边是lable右边是textField的时候怎么样简便一点呢?我们就可以自定义一个视图来将label和textField放在一个view里,让我们以此来举例:
我们先创建一个UILTView的类,把你需要在view上添加的控件定义为属性以方便用
//  重写初始化方法 在初始化LTView的同时把label也加上去
- (instancetype)initWithFrame:(CGRect)frame {
    self = [super initWithFrame:frame];
    if (self) {
        //  获取动态高度
        CGFloat height = frame.size.height;
        //  获取动态宽度
        CGFloat width = frame.size.width;
        self.label = [[UILabel alloc]initWithFrame:CGRectMake(0, 0, width / 5, height)];
        self.label.backgroundColor = [UIColor whiteColor];
        [self addSubview:self.label];
        [_label release];
        self.textField = [[UITextField alloc]initWithFrame:CGRectMake(width / 5 + 20, 0, (2 * width / 3) - 20, height)];
        self.textField.backgroundColor = [UIColor whiteColor];
        self.textField.borderStyle = UITextBorderStyleRoundedRect;
        [self addSubview:self.textField];
        [_textField release];
    }
    return self;
}
如果想更方便就可以再创建一个LoginView将你写好的UILTView放进去:
#import "LoginView.h"
#define kScreenWidth [UIScreen mainScreen].bounds.size.width
#define kScreenHeight [UIScreen mainScreen].bounds.size.height
#define kHighDistance  30 //  行间距
#define kButtonDistance 50  //  button间距
@implementation LoginView
- (void)dealloc {
    [_userNameLTView release];
    [_passwordLTView release];
    [_registerButton release];
    [_findPasswordButton release];
    [_loadingButton release];
    [super dealloc];
}
- (instancetype)initWithFrame:(CGRect)frame {
    self = [super initWithFrame:frame];
    if (self) {
        self.userNameLTView = [[LTView alloc]initWithFrame:CGRectMake((kScreenWidth - 300) / 2, 100, 300, 50)];
        [self addSubview:self.userNameLTView];
        [_userNameLTView release];
        self.passwordLTView = [[LTView alloc]initWithFrame:CGRectMake(self.userNameLTView.frame.origin.x, self.userNameLTView.frame.origin.y + self.userNameLTView.frame.size.height + kHighDistance, self.userNameLTView.frame.size.width, self.userNameLTView.frame.size.height)];
        [self addSubview:self.passwordLTView];
        [self.passwordLTView release];
        //  循环button
        for (int i = 0; i < 3; i ++) {
            UIButton *button = [UIButton buttonWithType:(UIButtonTypeCustom)];
            button.frame = CGRectMake(50 + (i * 100), 300, 80, 80) ;
            button.backgroundColor = [UIColor whiteColor];
            //  加标签 方便取出button 与属性的button 相对应
            button.tag = i + 100;
            [self addSubview:button];
        }
        //  属性与循环的Button进行关联
        self.loadingButton = (UIButton *)[self viewWithTag:100];
        self.findPasswordButton = (UIButton *)[self viewWithTag:101];
        self.registerButton = (UIButton *)[self viewWithTag:102];
    }
return self;
}
这是创建一个LoginView就是这样子的:
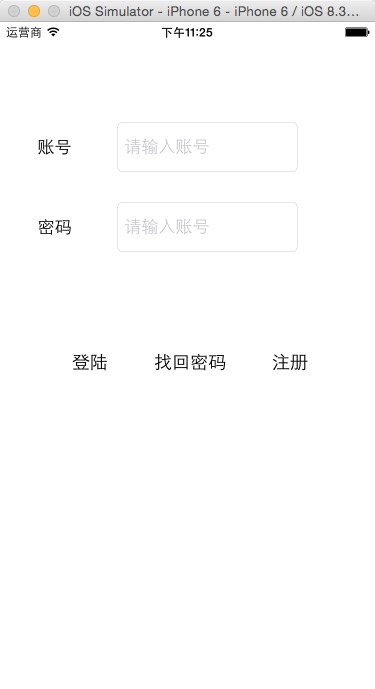
当然手机都会有横屏竖屏的时候,那我们可以这样来调整:(主要是将坐标以及宽高度调整,当手机换方位时,宽高正好互换)
//  重新布局子视图 layoutSubviews
//  frame发生变化的时候 会触发该方法
- (void)layoutSubviews {
    //  因为不知道父类的方法做了什么
    //  所以在重写的时候 先调用一下父类的方法
    //  然后再写咱们自己的
    [super layoutSubviews];

    //  frame发生变化 相当于横屏了
    //  这时需要重新布局
    //  判断是竖屏还是横屏
    //  1.把应用程序取出来
    //  2.判断一下当前应用程序 屏幕的朝向

    //  取出应用程序 sharedApplication 单例方法的命名规范share+
    UIApplication *app = [UIApplication sharedApplication];
    //  判断方向 statusBarOrientation
    if(app.statusBarOrientation == UIInterfaceOrientationPortrait || app.statusBarOrientation == UIInterfaceOrientationPortraitUpsideDown) {
       self.passwordLTView.frame = CGRectMake(self.userNameLTView.frame.origin.x, self.userNameLTView.frame.origin.y + self.userNameLTView.frame.size.height + kHighDistance, self.userNameLTView.frame.size.width, self.userNameLTView.frame.size.height);
    }else {
        self.passwordLTView.frame = CGRectMake(self.userNameLTView.frame.origin.x + self.userNameLTView.frame.size.width + 20, self.userNameLTView.frame.origin.y, self.userNameLTView.frame.size.width, self.userNameLTView.frame.size.height);
    }
}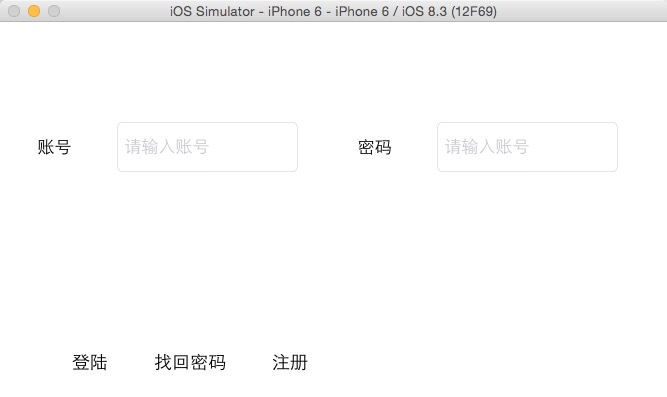
这就是我们的自定义视图 是不是方便了很多


 549
549

 被折叠的 条评论
为什么被折叠?
被折叠的 条评论
为什么被折叠?
 到【灌水乐园】发言


