


1.UIImageView
- (void)viewDidLoad {
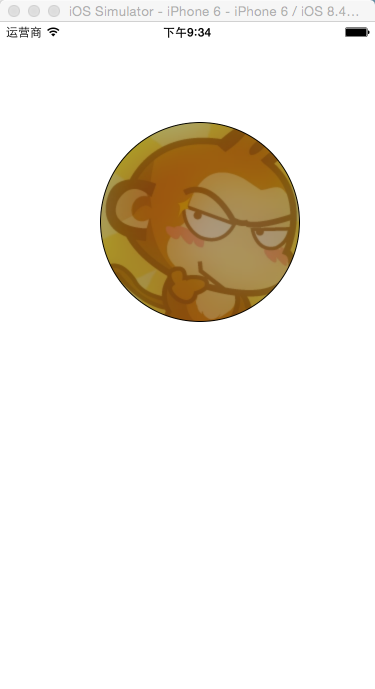
UIImage *image = [UIImage imageNamed:@"1.jpg"];
UIImageView *imageView = [[UIImageView alloc] initWithFrame:CGRectMake(100, 100, 200, 200)];
// 给imageView设置图片.
imageView.image = image;
[self.view addSubview:imageView];
imageView.layer.cornerRadius = 100;
imageView.layer.borderWidth = 1;
imageView.layer.masksToBounds = YES;
2.毛玻璃效果.
UIBlurEffect *effect = [UIBlurEffect effectWithStyle:UIBlurEffectStyleDark];
UIVisualEffectView *effectView = [[UIVisualEffectView alloc] initWithEffect:effect];
effectView.frame = CGRectMake(0, 0, imageView.frame.size.width, imageView.frame.size.height);
effectView.alpha = 0.5;
3.添加子视图.
[imageView addSubview:effectView];
}


09-18
 1601
1601
1601
10-08
707
707
10-06
644
644
10-20
554
554

 被折叠的 条评论
为什么被折叠?
被折叠的 条评论
为什么被折叠?
 到【灌水乐园】发言


