


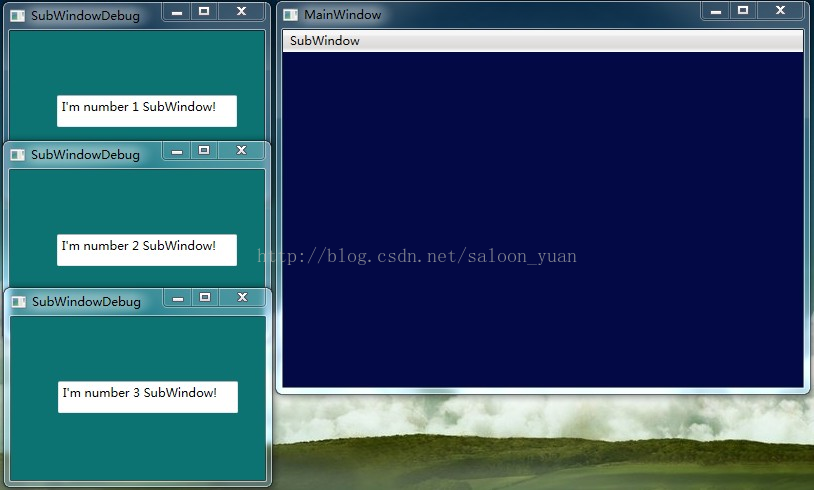
比起MFC,WPF下的多窗口实现更有层次感。下面的例子中,在主窗口下点击SubWindow菜单键实现子窗口的跳出。
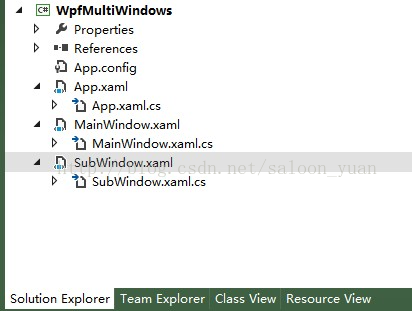
1:工程右键[add] -->[Window], 本次添加的名称为SubWindow。完成之后,工程目录如下图所示:
2:主窗口代码如下:
MainWindow.xaml代码:
<Window x:Class="WpfMultiWindows.MainWindow"
        xmlns="http://schemas.microsoft.com/winfx/2006/xaml/presentation"
        xmlns:x="http://schemas.microsoft.com/winfx/2006/xaml"
        Title="MainWindow" Height="394" Width="537" Background="#FF030944">
    <Grid>
        <Menu Margin="0,0,0,335" HorizontalAlignment="Left" Width="529">
            <MenuItem Header="_SubWindow">
                <MenuItem Header="_New SubWindow" Click="Button_Click_SubWindow"/>
            </MenuItem>
        </Menu>
    </Grid>


</Window>
MainWindow.xaml.cs代码:
using System;
using System.Collections.Generic;
using System.Linq;
using System.Text;
using System.Threading.Tasks;
using System.Windows;
using System.Windows.Controls;
using System.Windows.Data;
using System.Windows.Documents;
using System.Windows.Input;
using System.Windows.Media;
using System.Windows.Media.Imaging;
using System.Windows.Navigation;
using System.Windows.Shapes;

namespace WpfMultiWindows
{
    /// <summary>
    /// Interaction logic for MainWindow.xaml
    /// </summary>
    public partial class MainWindow : Window
    {
        public MainWindow()
        {
            InitializeComponent();
        }

        static int SubWindowsNum = 0;
        private void Button_Click_SubWindow(object sender, RoutedEventArgs e)
        {
            SubWindowsNum++;
            SubWindow sw = new SubWindow();
            sw._Value2 = "I'm number " + SubWindowsNum.ToString() + " SubWindow!" ;
            sw.Show();
            return;
        }

    }

}
3:子窗口代码如下:
SubWindow.xaml代码:<Window x:Class="WpfMultiWindows.SubWindow"
xmlns="http://schemas.microsoft.com/winfx/2006/xaml/presentation"
xmlns:x="http://schemas.microsoft.com/winfx/2006/xaml"
Title="SubWindowDebug" Height="200.952" Width="269.96" Background="#FF0C7272">
<Grid Name="Grid1">
<Grid.ColumnDefinitions>
<ColumnDefinition Width="50*"/>
<ColumnDefinition Width="23*"/>
</Grid.ColumnDefinitions>
<TextBox HorizontalAlignment="Left" Height="32" Margin="47,64,0,0" TextWrapping="Wrap" Text="{Binding Path=TextBoxValue}" VerticalAlignment="Top" Width="180" Grid.ColumnSpan="2"/>
</Grid>
</Window>SubWindow.xaml.cs代码:
using System;
using System.Collections.Generic;
using System.Linq;
using System.Text;
using System.Threading.Tasks;
using System.Windows;
using System.Windows.Controls;
using System.Windows.Data;
using System.Windows.Documents;
using System.Windows.Input;
using System.Windows.Media;
using System.Windows.Media.Imaging;
using System.Windows.Shapes;


using System.ComponentModel;

namespace WpfMultiWindows
{
    /// <summary>
    /// Interaction logic for SubWindowDebug.xaml
    /// </summary>
    public partial class SubWindow : Window, INotifyPropertyChanged
    {
       public int SubWindowNum;

       public event PropertyChangedEventHandler PropertyChanged;

        protected void NotifyPropertyChanged(string property)
        {
            if (PropertyChanged != null)
            {
               PropertyChanged(this, new PropertyChangedEventArgs(property));
            }
        }

        public string _Value2;

        public string TextBoxValue
        {
            get { return _Value2; }
            set
            {
                if (value != _Value2)
                {
                    _Value2 = value;
                    NotifyPropertyChanged("TextBoxValue");
                }
            }
        }


        public SubWindow()
        {
            InitializeComponent();
            Grid1.DataContext = this;
        }

    }
}
运行程序,每点击一次[SubWindow]--->[New SubWindow]之后,都会弹出一个子窗口,并根据顺序编号。


 1万+
1万+


 被折叠的 条评论
为什么被折叠?
被折叠的 条评论
为什么被折叠?
 到【灌水乐园】发言


