


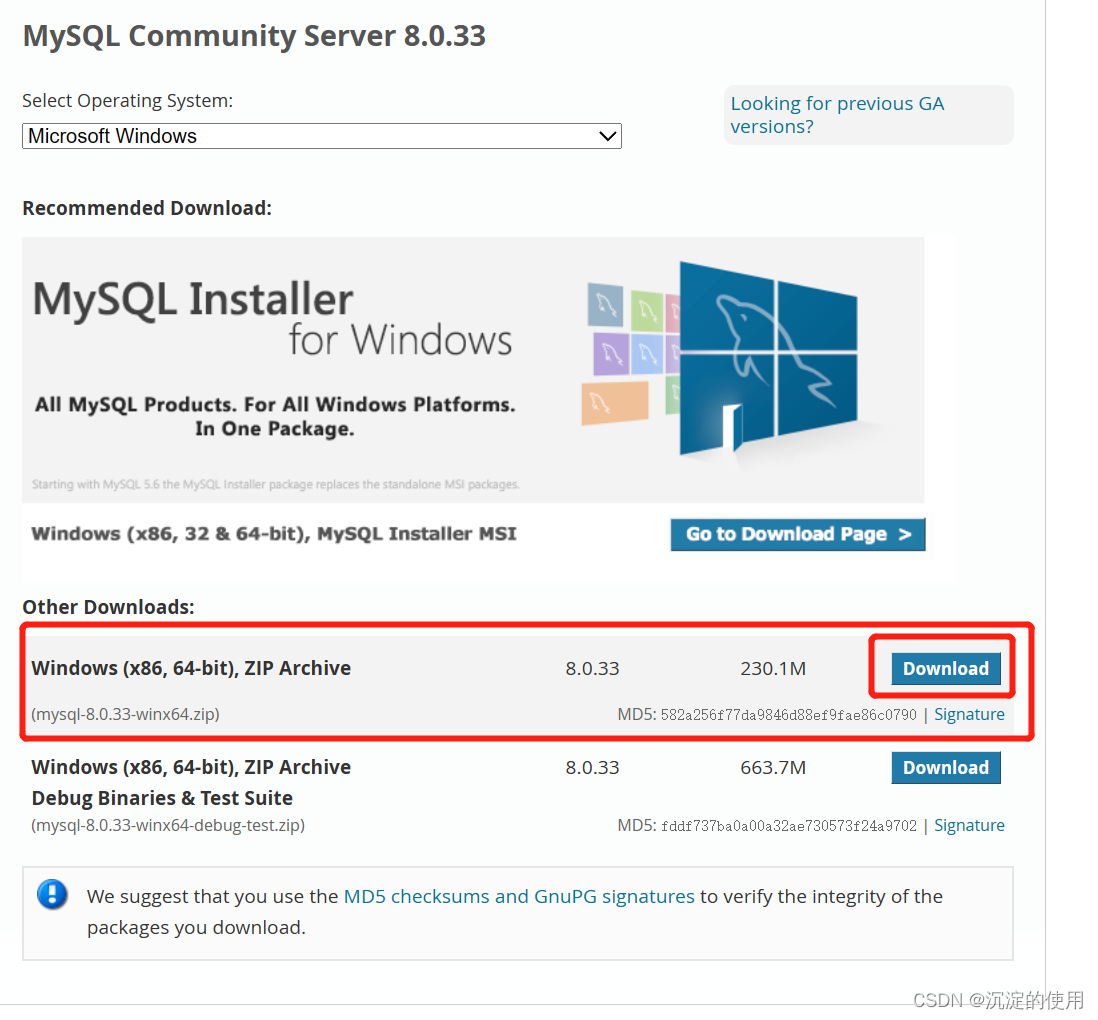
一、先在 MySQL :: Download MySQL Community Server MySQL官网下载你需要的版本,这里我下载的8.0.33

二、进入/usr/local目录下,把下载的MySQL放到这个目录下

2.2.1 在解压安装包
tar xvJf mysql-8.0.33-linux-glibc2.12-x86_64.tar.xz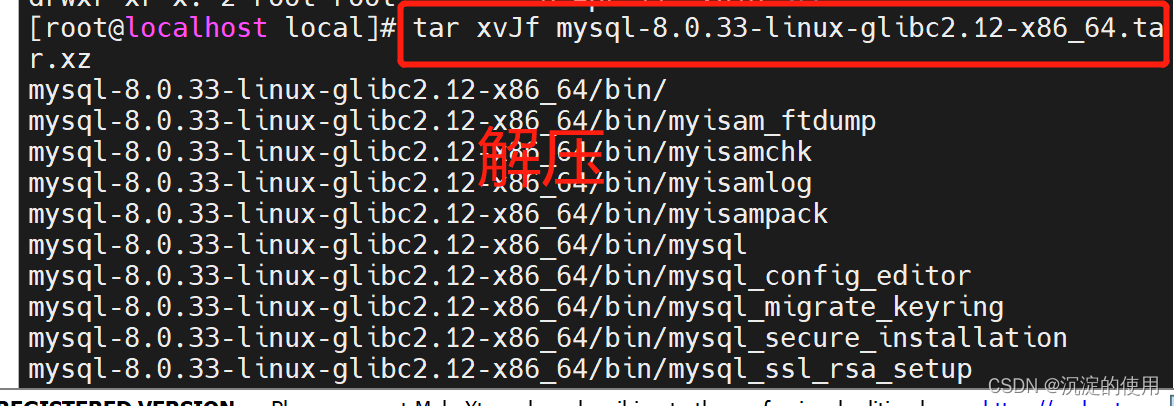
2.2.2 重命令文件名
mv mysql-8.0.33-linux-glibc2.12-x86_64 mysql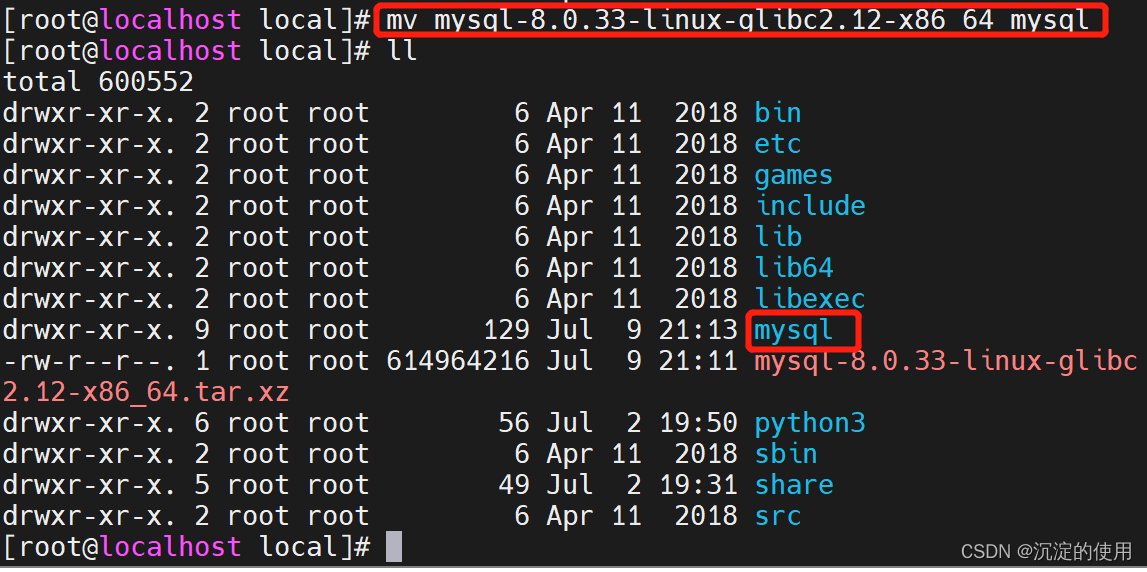
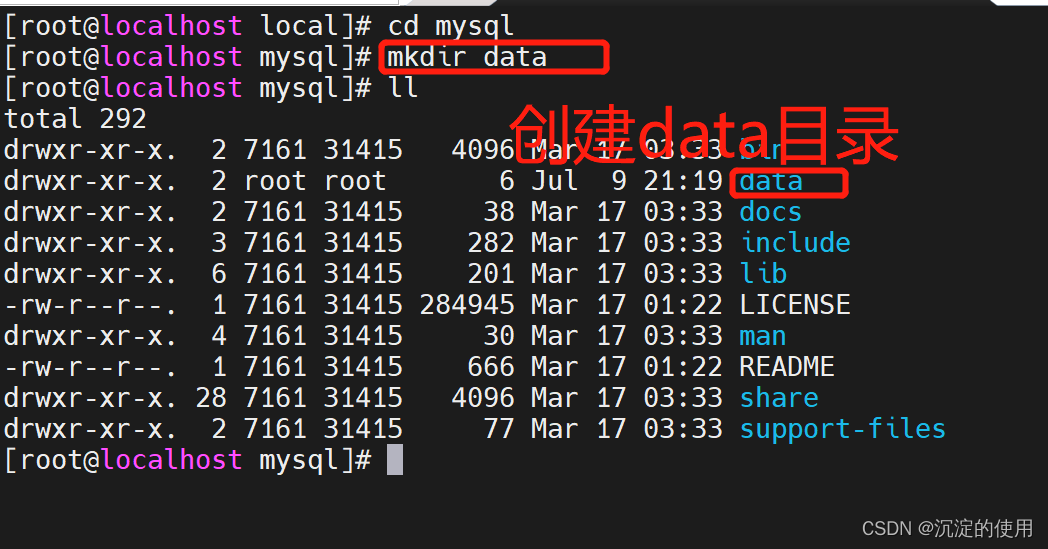
2.2.3 进入mysql目录,在新建一个data目录
三、创建用户组以及用户和密码
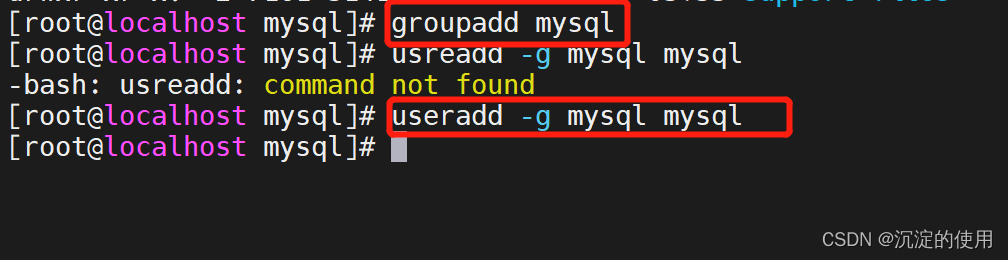
四、授权用户

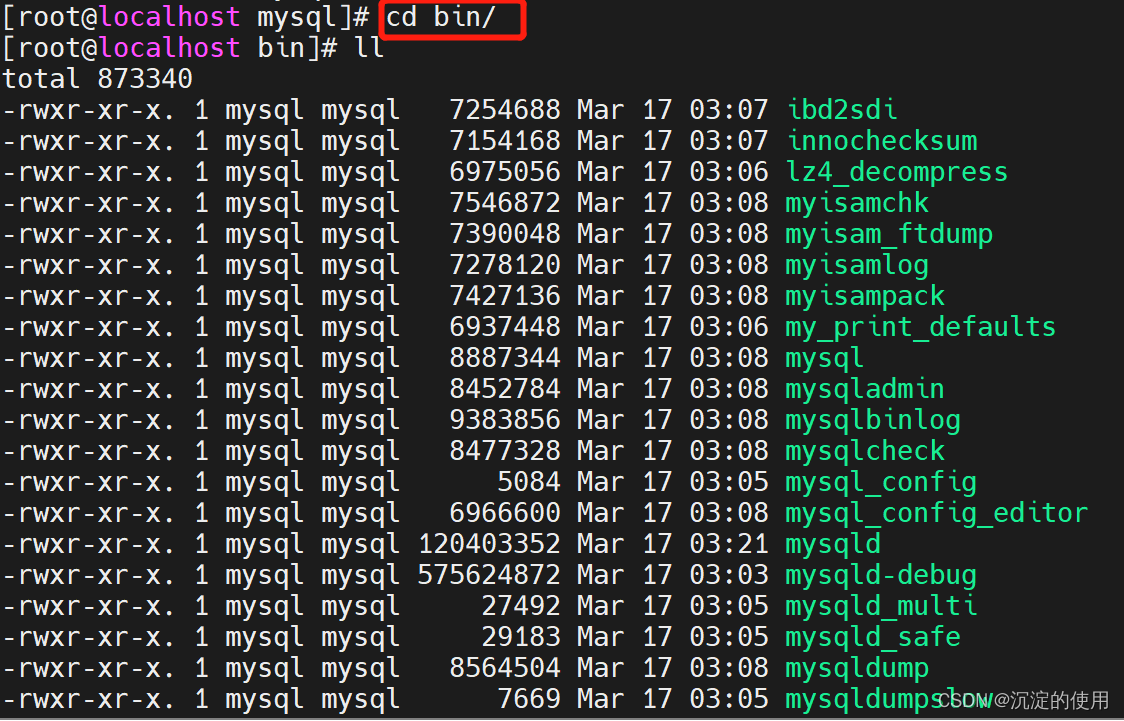
五、在进入bin目录
六、初始化数据库
./mysqld --user=mysql --basedir=/usr/local/mysql --datadir=/usr/local/mysql/data/ --initialize --lower-case-table-names=1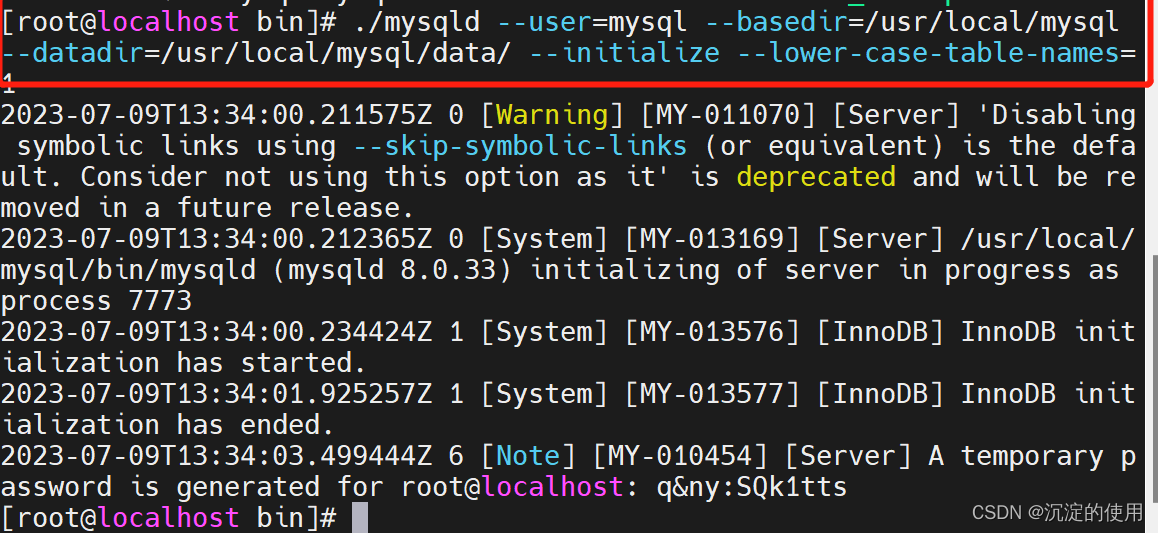
七、 编辑my.cnf文件,这里没有vim可以用vi
vi /etc/my.cnf辑内容如下:
[client]
port = 3306
socket=/usr/local/mysql/mysql.sock

[mysqld]
basedir=/usr/local/mysql
datadir=/usr/local/mysql/data
socket=/usr/local/mysql/mysql.sock
character-set-server=UTF8MB4
lower_case_table_names = 1
# Disabling symbolic-links is recommended to prevent assorted security risks
symbolic-links=0
# Settings user and group are ignored when systemd is used.
# If you need to run mysqld under a different user or group,
# customize your systemd unit file for mariadb according to the
# instructions in http://fedoraproject.org/wiki/Systemd

# [mysqld_safe]
# log-error=/usr/local/mysql-8.0/logs/mysqld-error.log
# pid-file=/tmp/mysqld.pid
八、添加MySQL服务到系统服务中
cp -a ./support-files/mysql.server /etc/init.d/mysql
九、授权以及添加服务
chmod +x /etc/init.d/mysql
chkconfig --add mysql
十、启动MySQL
service mysql start
十一、添加软链接
ln -s /usr/local/mysl/bin/mysgl /usr/bin
十二、登录MySQL
mysql -u root -p十三、修改密码
ALTER USER 'root'@'localhost' IDENTIFIED WITH mysql_native_password BY 'password';


 264
264


 被折叠的 条评论
为什么被折叠?
被折叠的 条评论
为什么被折叠?
 到【灌水乐园】发言


