


测试了几个RTC库文件,不是很好用。后来终于有一个测试成功的,是下面的地址:
https://github.com/adafruit/RTClib
A fork of Jeelab’s fantastic RTC library
成功了,高兴一下。^-^
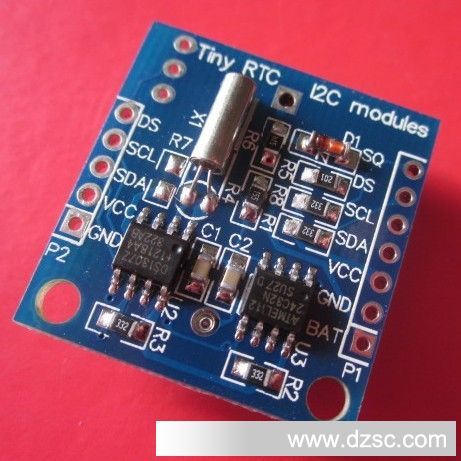
这是我买的时钟模块:
这是接线方法:
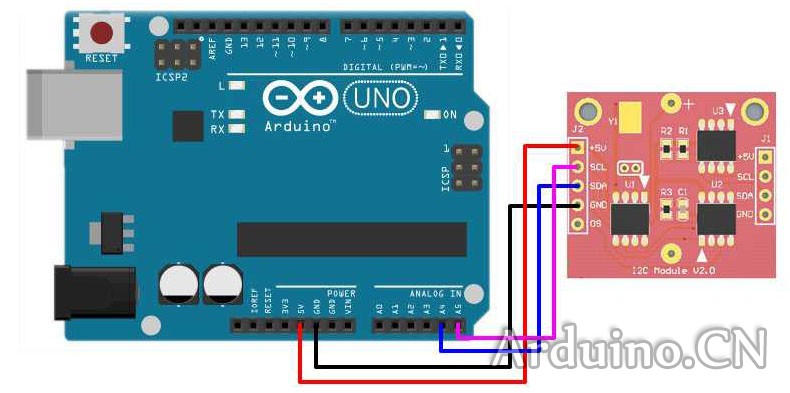
注意:A4是SDA,A5是SCL。
以下为控制代码:
【库文件:RTClib】
【注意点:A4是SDA,A5是SCL。】
#include <Wire.h>
#include <RTClib.h>

RTC_DS1307 RTC;

void setup () {
    Serial.begin(9600);
    Wire.begin();
    RTC.begin();
    if (! RTC.isrunning()) {
        Serial.println("RTC is NOT running!");
        //光庆注: 下面的代码用于矫正时间,__DATE__ 和 __TIME__ 应该是系统关键词,
        //指当前日期和当前时间,编译时直接将当前日期值和时间值写入芯片中,
        //而不是作为变量写入。
    RTC.adjust(DateTime(__DATE__, __TIME__));
  }
}
void loop () {
    DateTime now = RTC.now();
    Serial.print(now.year(), DEC);
    Serial.print('/');
    Serial.print(now.month(), DEC);
    Serial.print('/');
    Serial.print(now.day(), DEC);
    Serial.print(' ');
    Serial.print(now.hour(), DEC);
    Serial.print(':');
    Serial.print(now.minute(), DEC);
    Serial.print(':');
    Serial.print(now.second(), DEC);
    Serial.println();
    delay(1000);
}


 1万+
1万+

 被折叠的 条评论
为什么被折叠?
被折叠的 条评论
为什么被折叠?
 到【灌水乐园】发言


