


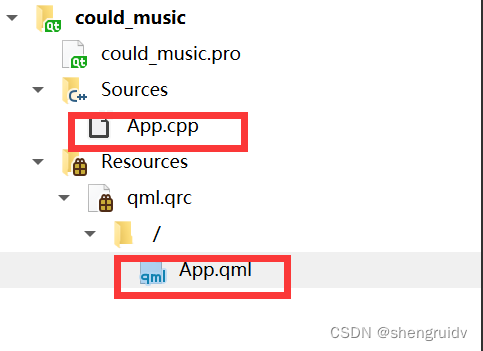
一、创建项目文件
使用App为文件名,防止后续文件被滞后。
二、创建窗口
2.1创建图标文件夹
 之后进行有关命名,并及时添加保存文件。
2.2 添加窗体图标
即文件图标
PS:该步骤在app.cpp文件里添加
#include <QIcon>  //注意添加资源文件


app.setWindowIcon(QIcon(":/images/music.png"));//注意文件路径和符号问题
最终实现如下图所示:
三、添加顶部工具栏
//将原本的window改为ApplicationWindow,以方便后面工具的添加
ApplicationWindow {
    ToolBar{

        //设置背景颜色为透明色
        background:Rectangle{
        color: "#00000000"
        }

        width: parent.width
        Layout.fillWidth: true
        height: 32

        //使用RowLayout,来防止图标重叠,进行分开
        //注意:该处的括号,应该包含ToolButton,否则控制无效
        RowLayout{
        anchors.fill: parent

            ToolButton{
            icon.source:"/images/music.png"
            width: 32
            height: 32
            }

            ToolButton{
            icon.source:"/images/about.png"
            width: 32
            height: 32
            }

            Item{
            Layout.fillWidth: true //类似于弹性压缩
            height: 32
            //加入一行文字
            Text {
                anchors.centerIn: parent
                text: qsTr("晟睿DQ&2023.11.1")
                font.family: "微软雅黑"  //设置字体
                font.pointSize: 15  //设置字号
            }

            }

            ToolButton{
            icon.source:"/images/full-screen.png"
            width: 32
            height: 32
            }


            ToolButton{
            icon.source:"/images/power.png"
            width: 32
            height: 32
            }


        }

    }
最终成果为:


 1863
1863


 被折叠的 条评论
为什么被折叠?
被折叠的 条评论
为什么被折叠?
 到【灌水乐园】发言


