


 本文介绍了如何通过命令行和图形界面方式在已有Flutter工程中添加example,用于测试Android和iOS端的插件功能。步骤包括使用fluttercreate命令创建example,并可指定iOS和Android的语言选项。example、android、ios、lib是关注的重点文件夹。
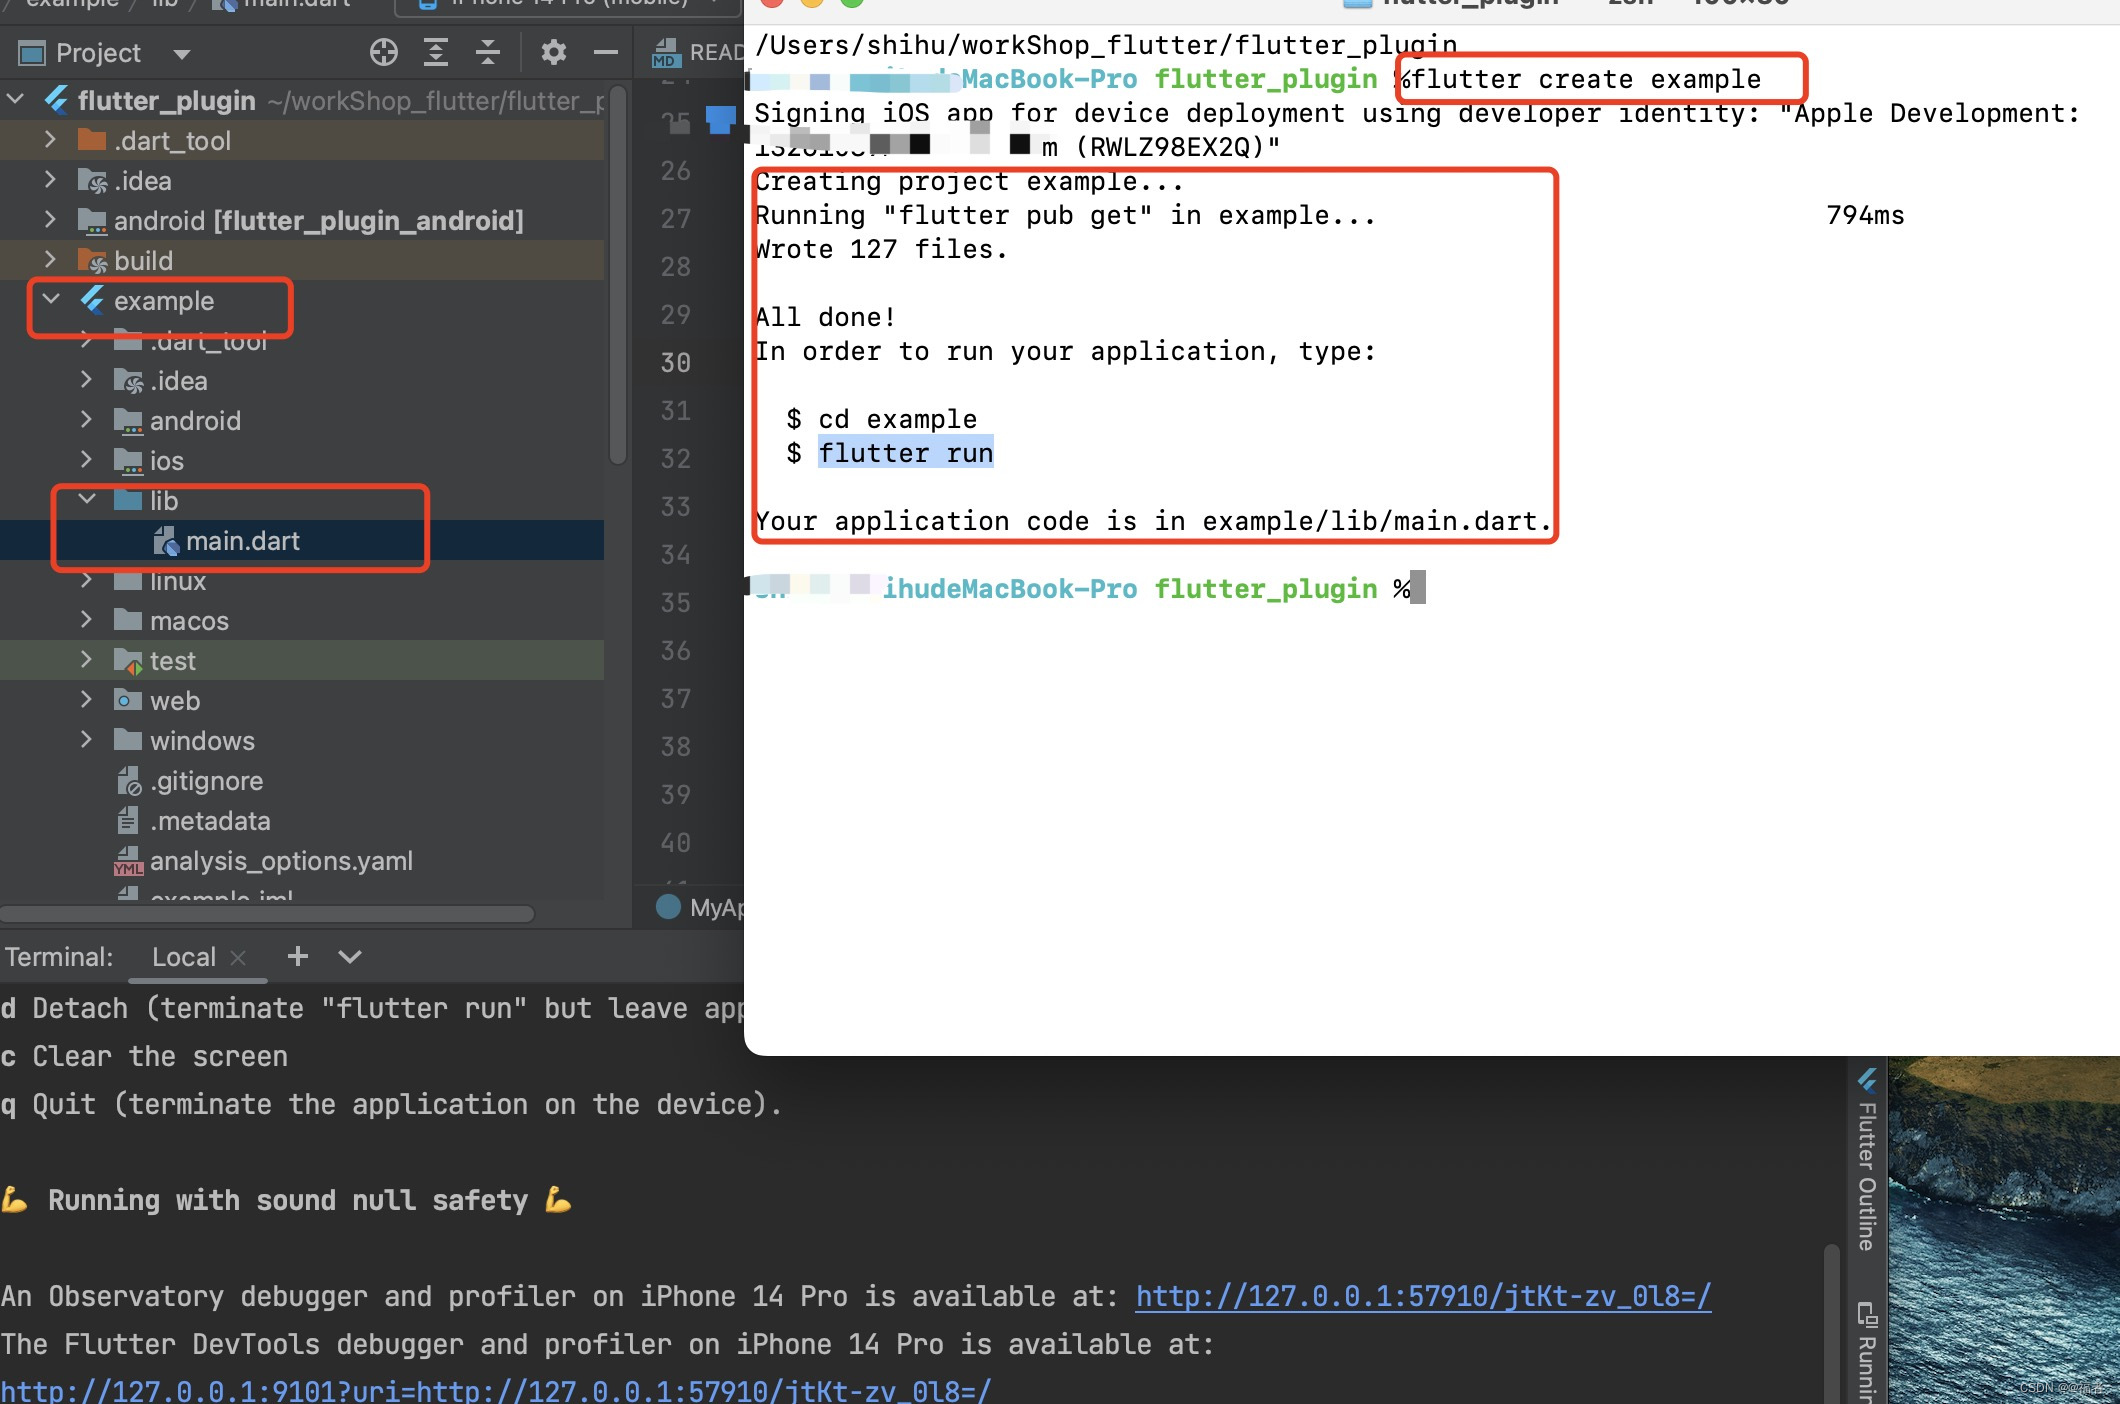
一、已有Flutter工程(命令)添加 example
1、cd 工程(flutter_plugin ,是自己创建的)根目录
例: flutter create example 执行命令创建example
PS:cd example 后执行flutter doctor 后就可以看到效果
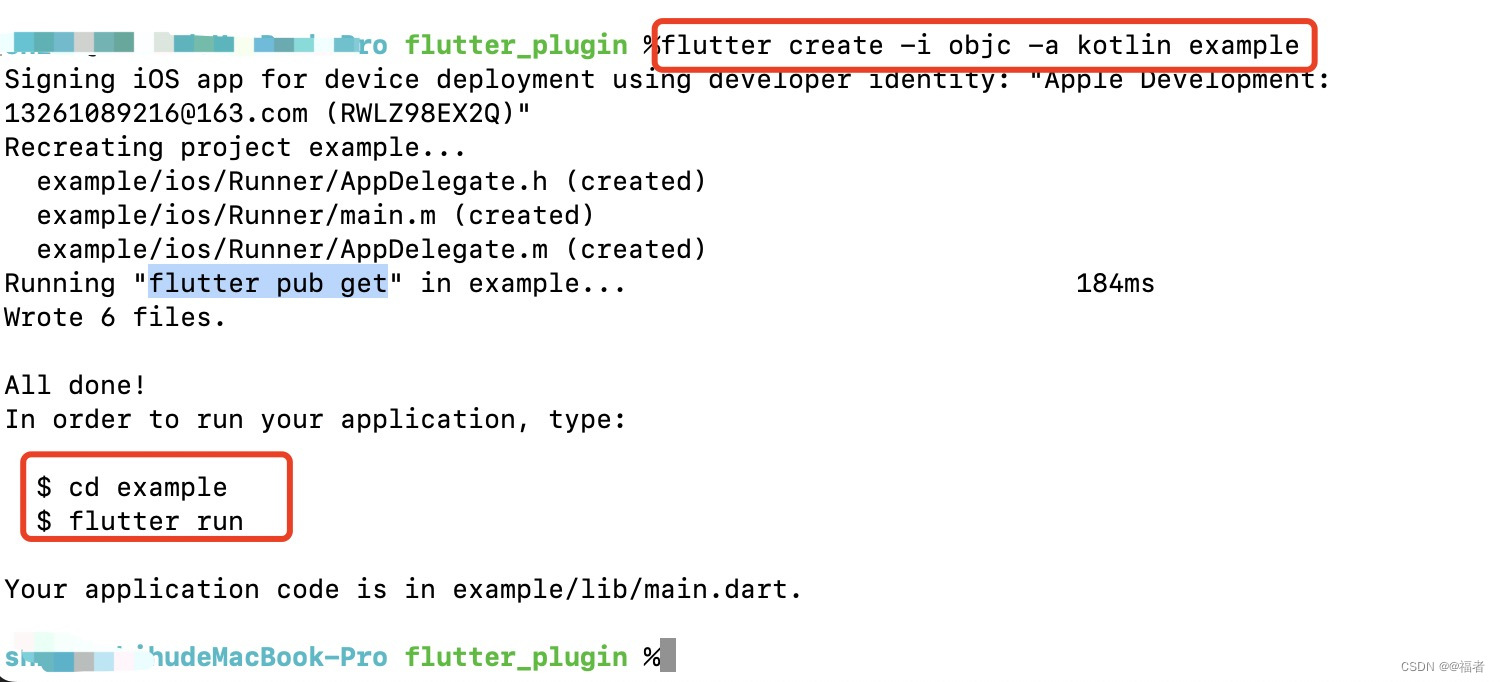
2、如果需要指定iOS/Android 语言,请添加 "-i / -a" 参数
例: flutter create -i objc -a kotlin example
PS:cd example 后执行flutter doctor 后就可以看到效果
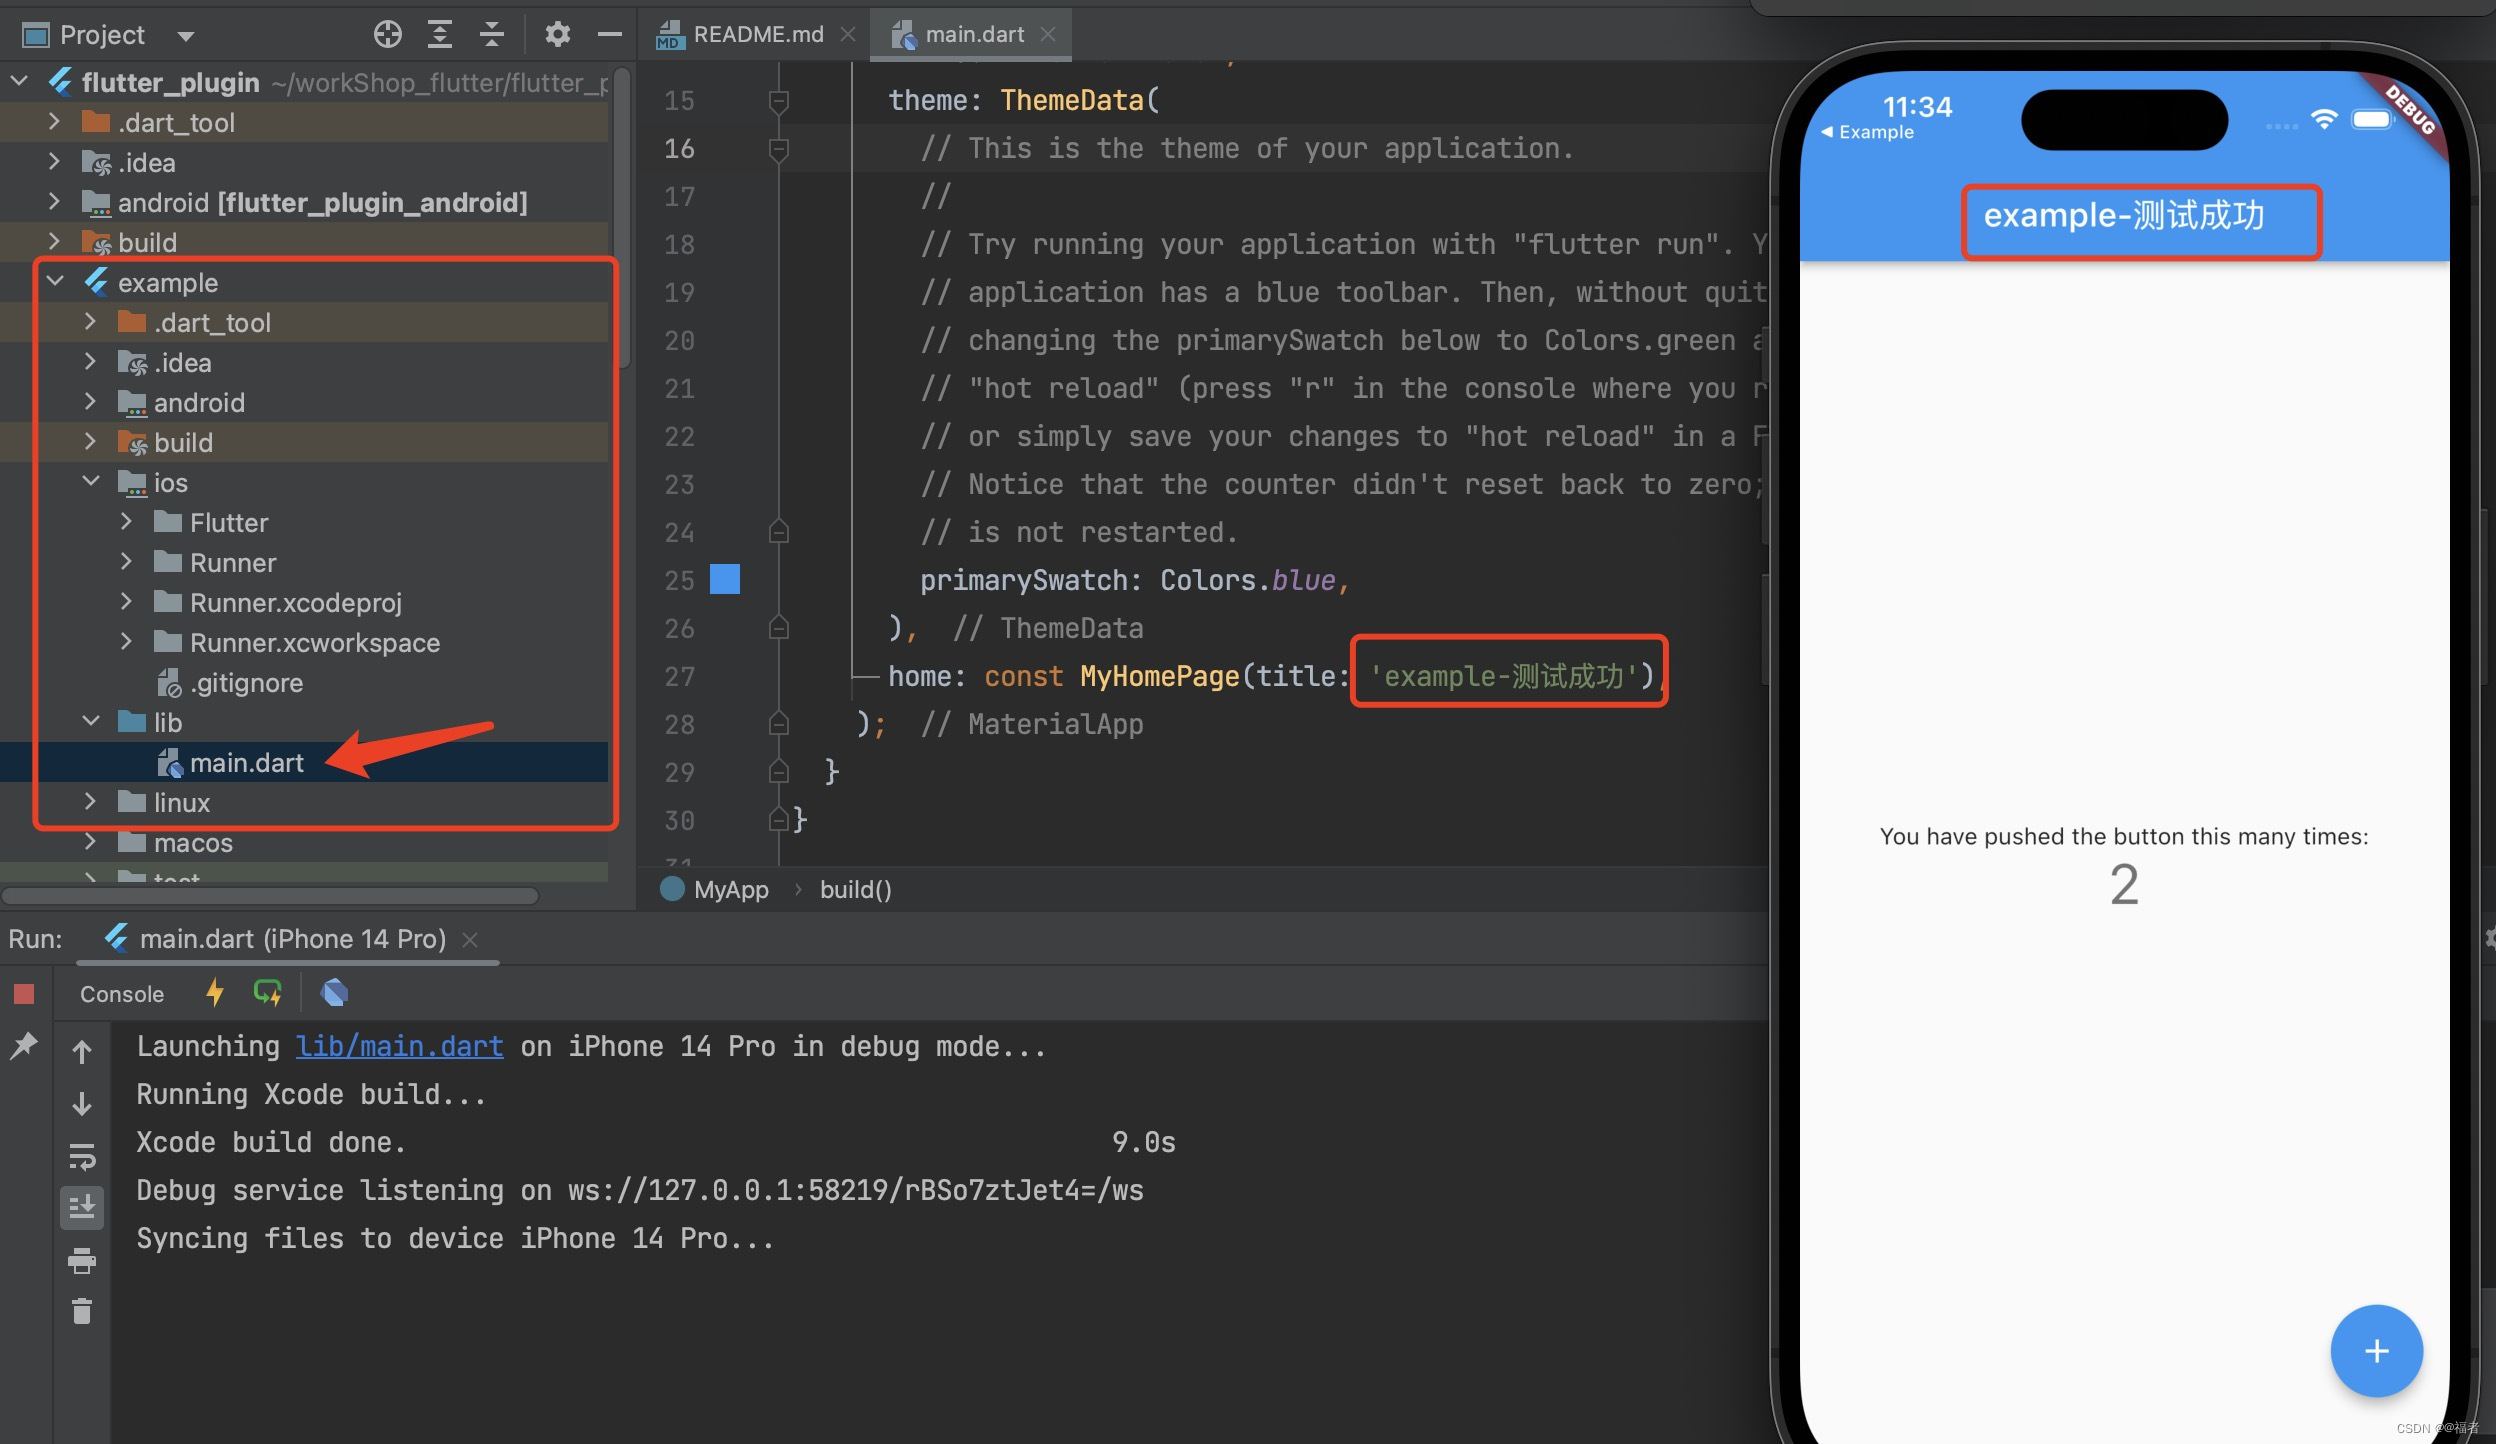
3、运行效果图:
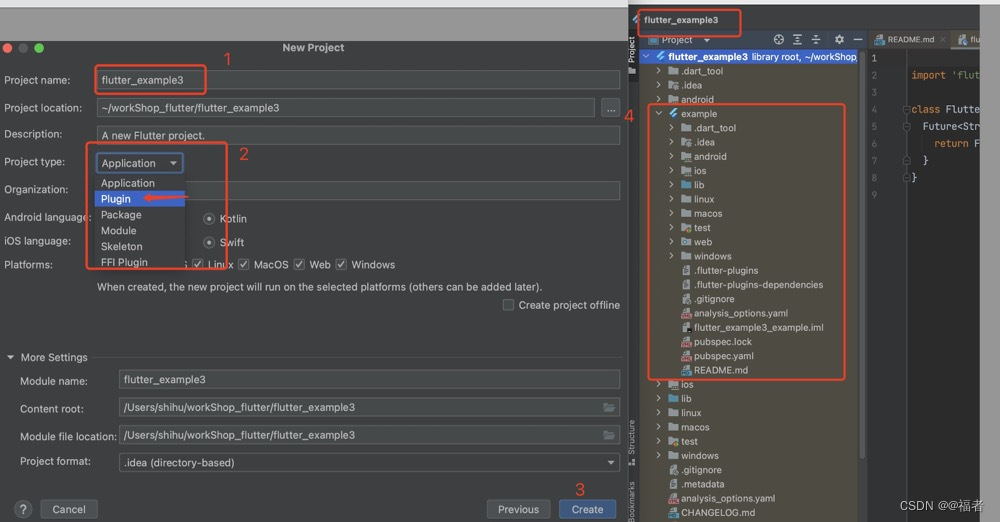
二、已有Flutter工程(图形)添加 example
以下结构中,我们重点关注其中4个文件夹:
1.android(完整的 Android 工程,用来开发 Android 端的插件功能)
2.ios(完整的 IOS工程,用来开发 IOS端的插件功能)
3.example(用来测试 Android 或者 IOS 端的插件功能)
4.lib(负责和 Android 或者 IOS 端的交互)


 3948
3948

 被折叠的 条评论
为什么被折叠?
被折叠的 条评论
为什么被折叠?
 到【灌水乐园】发言


