


XGBoost wins many data science and machine learning challenges. Used in production by multiple companies.
下载:
使用Git Bash
git clone --recursive https://github.com/dmlc/xgboost
上面下载的是xgboost的最新版本,还不支持windows,截至到(16年7月25日)。
我们需要手动下载它的0.4x版本,xgboost-0.47
安装
它的安装步骤主要分为两步:
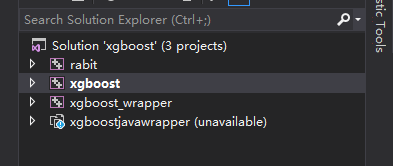
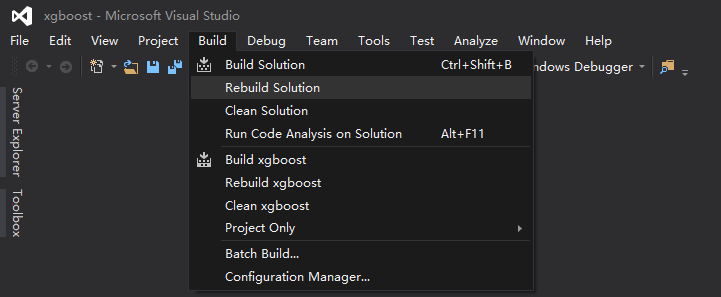
- 首先打开xgboost-0.47源文件夹里的windows文件夹。使用 VS 打开xgboost.sln 工程。build the three shared library。我用的是2015社区版。

官方说明是需要使用x64,release,可以根据自己实际做选择,X32的操作步骤也一样。
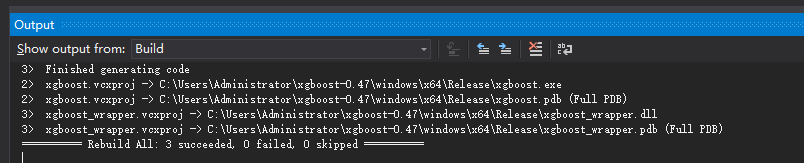
这时生成了xgboost.exe for CLI and xgboost_wrapper.dll for python
- 然后在
cmd里将路径改到xgboost文件夹里python-package目录cd C:\Users\Administrator\xgboost-0.47(根据自己的路径填写),在目录下执行python setup.py install。安装至此完成。
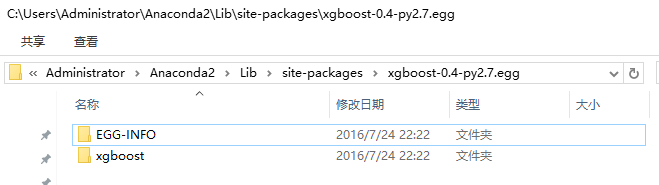
xgboost将会安装在你的python的Lib目录下,我用的Anaconda,所以在Anaconda下:
测试
在ipython里导入xgboost import xgboost as xgb
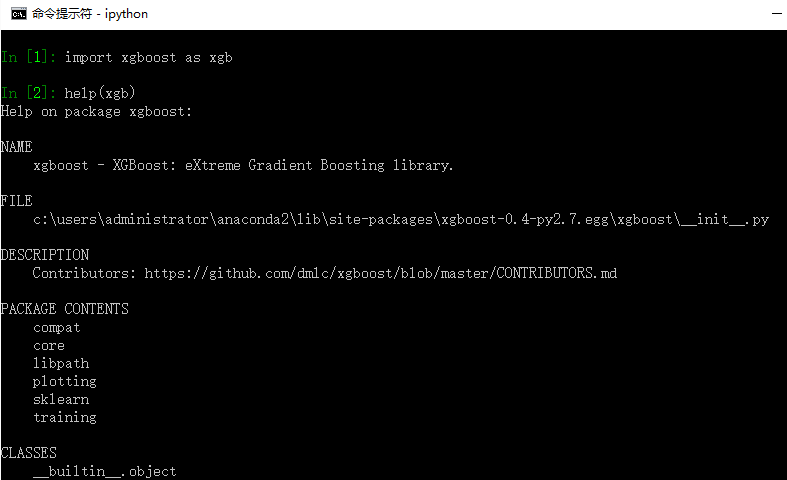
可以用demo目录下的例子熟悉xgboost的使用。
import xgboost as xgb
# read in data
dtrain = xgb.DMatrix('demo/data/agaricus.txt.train')
dtest = xgb.DMatrix('demo/data/agaricus.txt.test')
# specify parameters via map
param = {'max_depth':2, 'eta':1, 'silent':1, 'objective':'binary:logistic' }
num_round = 2
bst = xgb.train(param, dtrain, num_round)
# make prediction
preds = bst.predict(dtest)


 2万+
2万+

 被折叠的 条评论
为什么被折叠?
被折叠的 条评论
为什么被折叠?
 到【灌水乐园】发言


