在Python里应用Openscad实现3D建模(修改简化版)-2
–SolidPython学习笔记2
参考Parkinbotshortcuts.scad做了部分修改使得代码更为简洁易读
以下是对solidpython的readme的学习笔记(其中的部分code进行了简化):
–3D螺纹建模初探
为了进一步学习SolidPython从thingiverse上搜集几个常见的3D螺纹建模的方法,应用solidpython方法重新建模。
方案一:扭出来 Solution One: linear exturde with twist
由linear_extrude()拖出多边形 polygon()的方法:
-
首先应用polygon()创建一个多边形(螺丝的横截面)
-
继而将该截面应用linear_extrude()扭转挤出
比如:
MCAD库里的screw.scad
以下是Python代码:
from solid import *
from solid.utils import *
pitch=1#螺距
length=5#螺丝的总长
outside_radius=2.5#外径
inner_radius=2#内径
rotations = int(length/pitch)#圈数
taper_ratio = 0.25#锥度
points=[[0,inner_radius],[outside_radius,(inner_radius * taper_ratio)],
               [outside_radius,(inner_radius * -1 * taper_ratio)],
               [0,(-1 * inner_radius)]]
paths=[[0,1,2,3]]
c = P2(points, paths)
c = Le(height=length, center=False, convexity=10, twist=360*rotations, slices = 500)(c)
c += Cy(h=length, r=inner_radius)
c

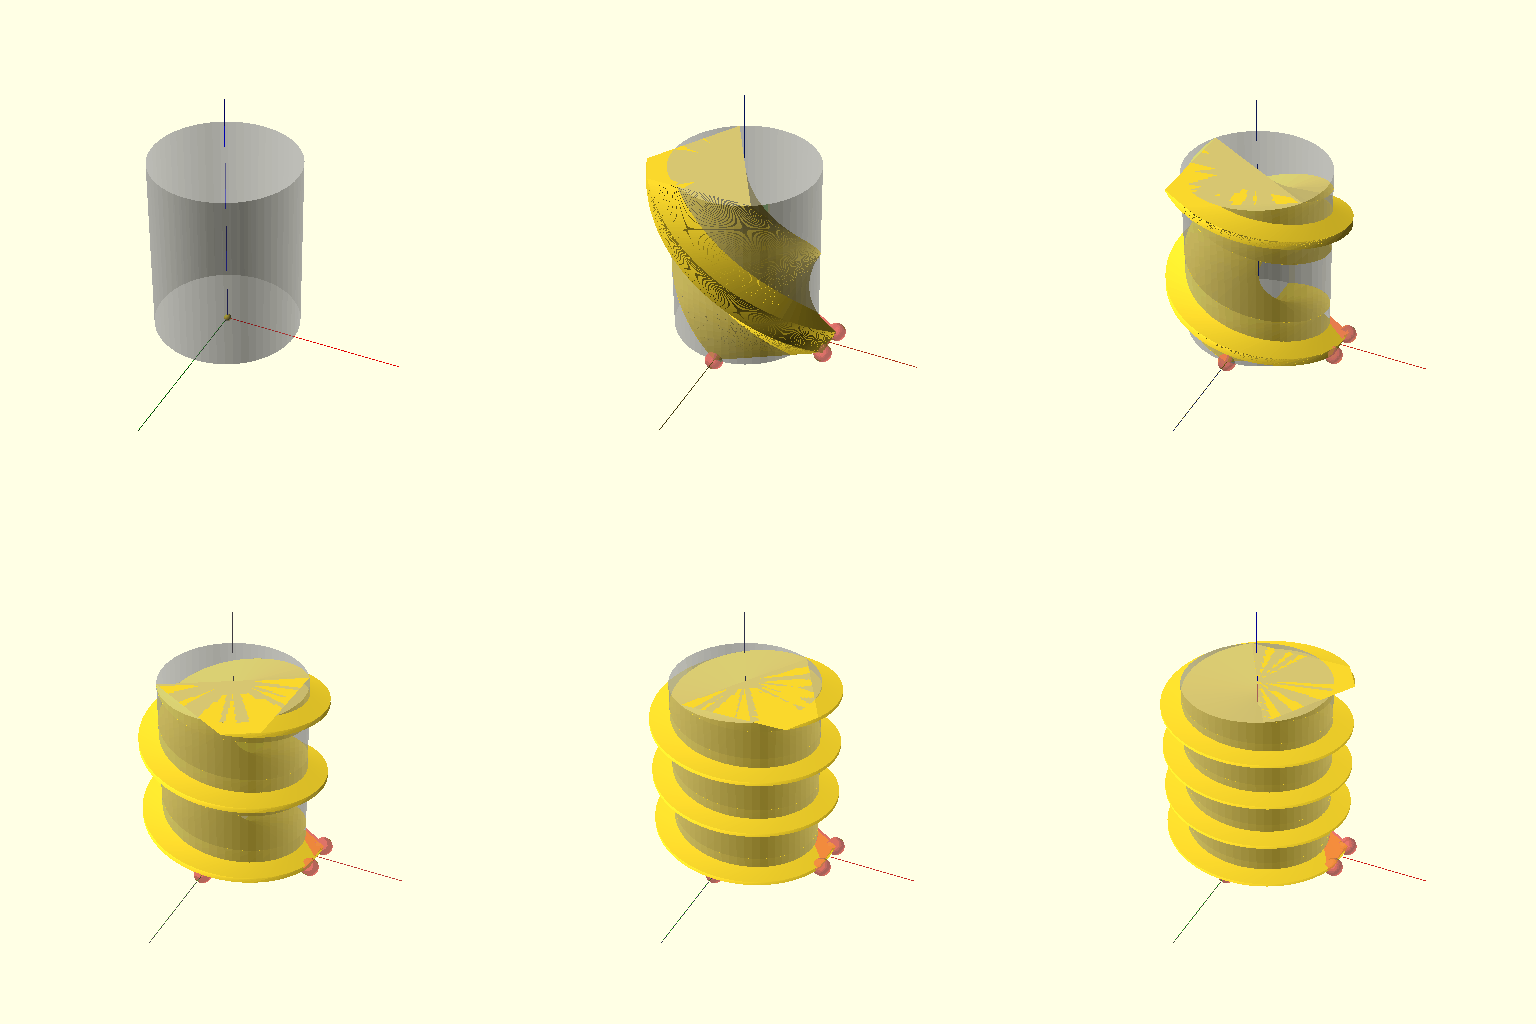
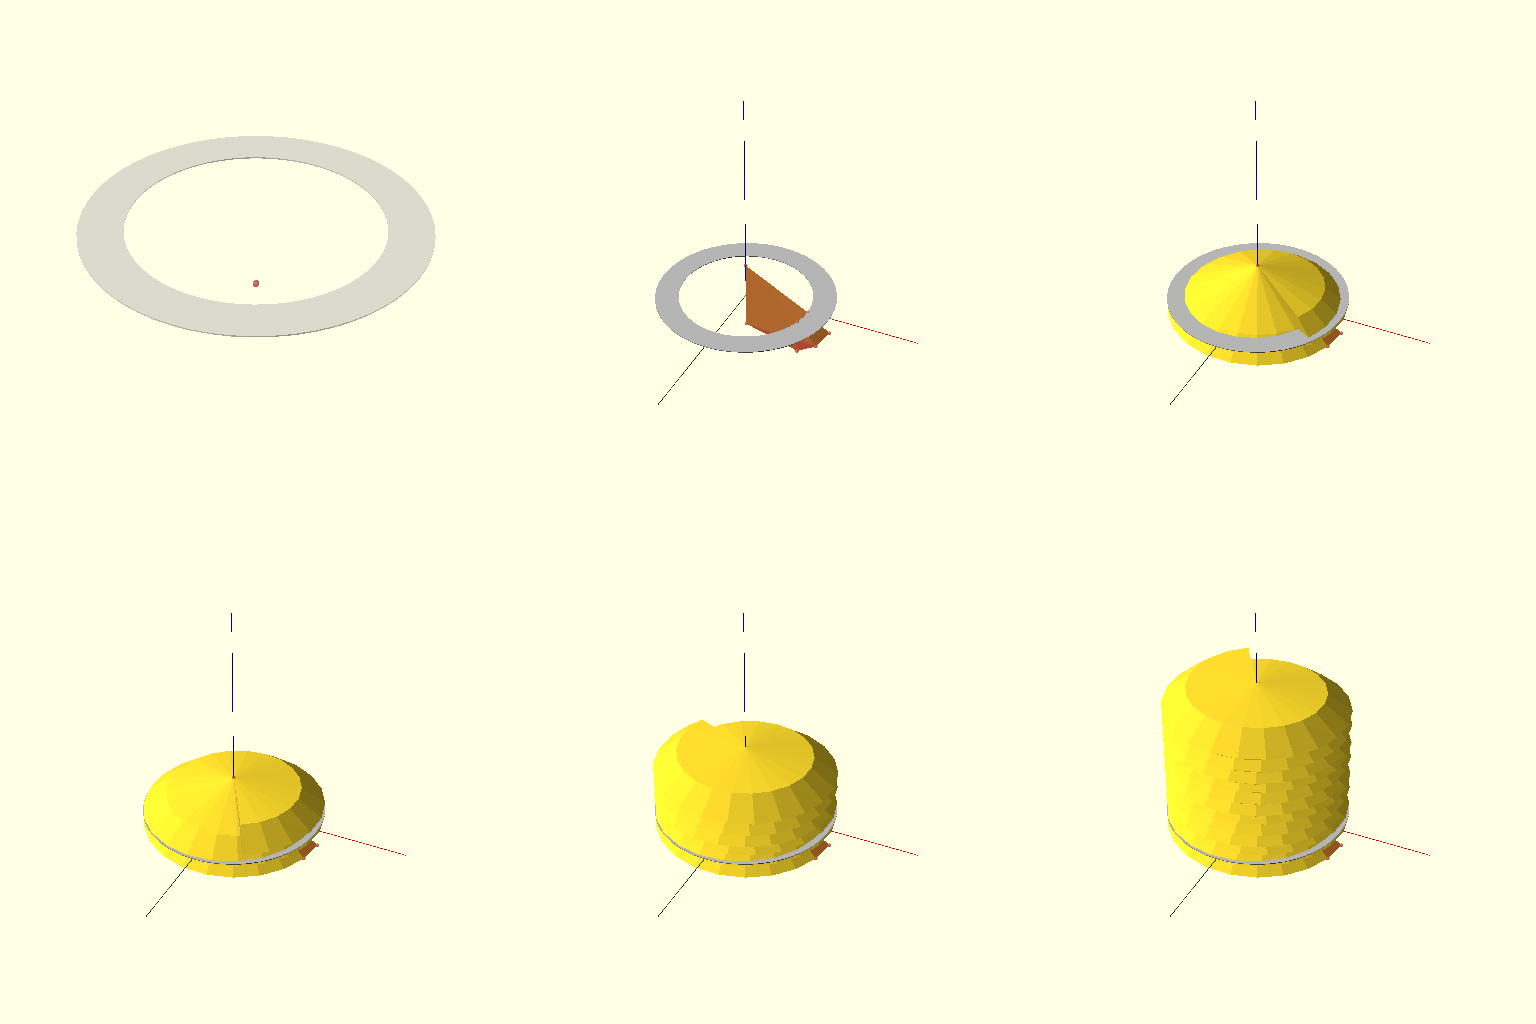
上面的代码用到了linear_extrude)(height,center,convexity,twist,slices,scale),其中的twist参数就是:将P2(多边形)挤出3d形状的度数。设置参数twist = 360将通过一次旋转挤出。扭转方向遵循左手规则。加下来我试着应用动画的形式来演示一下建模过程:
from solid import *
from solid.utils import *
import viewscad
import os
import sys
import subprocess
import shutil
import imageio
import glob
import numpy as np
def P32gif(Po, Fa, Ro):
    num = 1
    c = Sp(.1, segments=60)
    c += C("Blue")(Cy(.01,length+2))
    c += C("Red")(Ry(90)(Cy(.01, outside_radius*2)))
    c += C("Green")(Rx(90)(Cy(.01, outside_radius*2)))
    c += bac(Cy(h=length, r=inner_radius, segments = 60))
    PNGFILE = './pngxx/'#创建文件夹保存scad和png
    if not os.path.exists(PNGFILE):
        os.mkdir(PNGFILE)
    else:
        shutil.rmtree(PNGFILE)
        os.mkdir(PNGFILE)
    for x in Po:#第一圈点位置演示
        c += deb(translate(x)(Sp(.25, segments=60)))
        scadfile = PNGFILE + "test" + '%03d' %num + ".scad"
        pngfile = PNGFILE + "test" + '%03d' %num + ".png"
        scad_render_to_file(c,scadfile)
        num = num + 1
        pngf = "openscad --preview -o " + pngfile + " " + scadfile
        subprocess.call(pngf, shell=True)
    for y in Fa:# 第一个多面体每个面演示
        c += deb(Le(.1)(P2(Po,[y])))
        scadfile = PNGFILE + "test" + '%03d' %num + ".scad"
        pngfile = PNGFILE + "test" + '%03d' %num + ".png"
        scad_render_to_file(c,scadfile)
        num = num + 1
        pngf = "openscad --preview -o " + pngfile + " " + scadfile
        subprocess.call(pngf, shell=True)
    for z in np.arange(0, Ro-1, 1/12):# 第一个多面体每个面演示
        s = c + Le(height=length, center=False, convexity=10, twist=360*z, slices = 500)(P2(Po, Fa))
        scadfile = PNGFILE + "test" + '%03d' %num + ".scad"
        pngfile = PNGFILE + "test" + '%03d' %num + ".png"
        scad_render_to_file(s,scadfile)
        num = num + 1
        pngf = "openscad --preview -o " + pngfile + " " + scadfile
        subprocess.call(pngf, shell=True)
    png_filenames = sorted(glob.glob("./pngxx/*.png"))#读取并排序png
    buf=[]
    for png_file in png_filenames:
        buf.append(png_file)
    frames = []
    for image_name in buf:
        frames.append(imageio.imread(image_name))
    #Save them as frames into a gif
    imageio.mimsave('testxx.gif', frames, 'GIF', duration = 1)#生成pig动图
    return(s)
#     shutil.rmtree(PNGFILE)#删除文件夹
P32gif(points,paths, rotations)

下面是gif动图:

好了,今天先到这里
下节预告:


 514
514


 被折叠的 条评论
为什么被折叠?


