


参考 https://modelscope.cn/models/qwen/Qwen-VL-Chat-Int4/summary
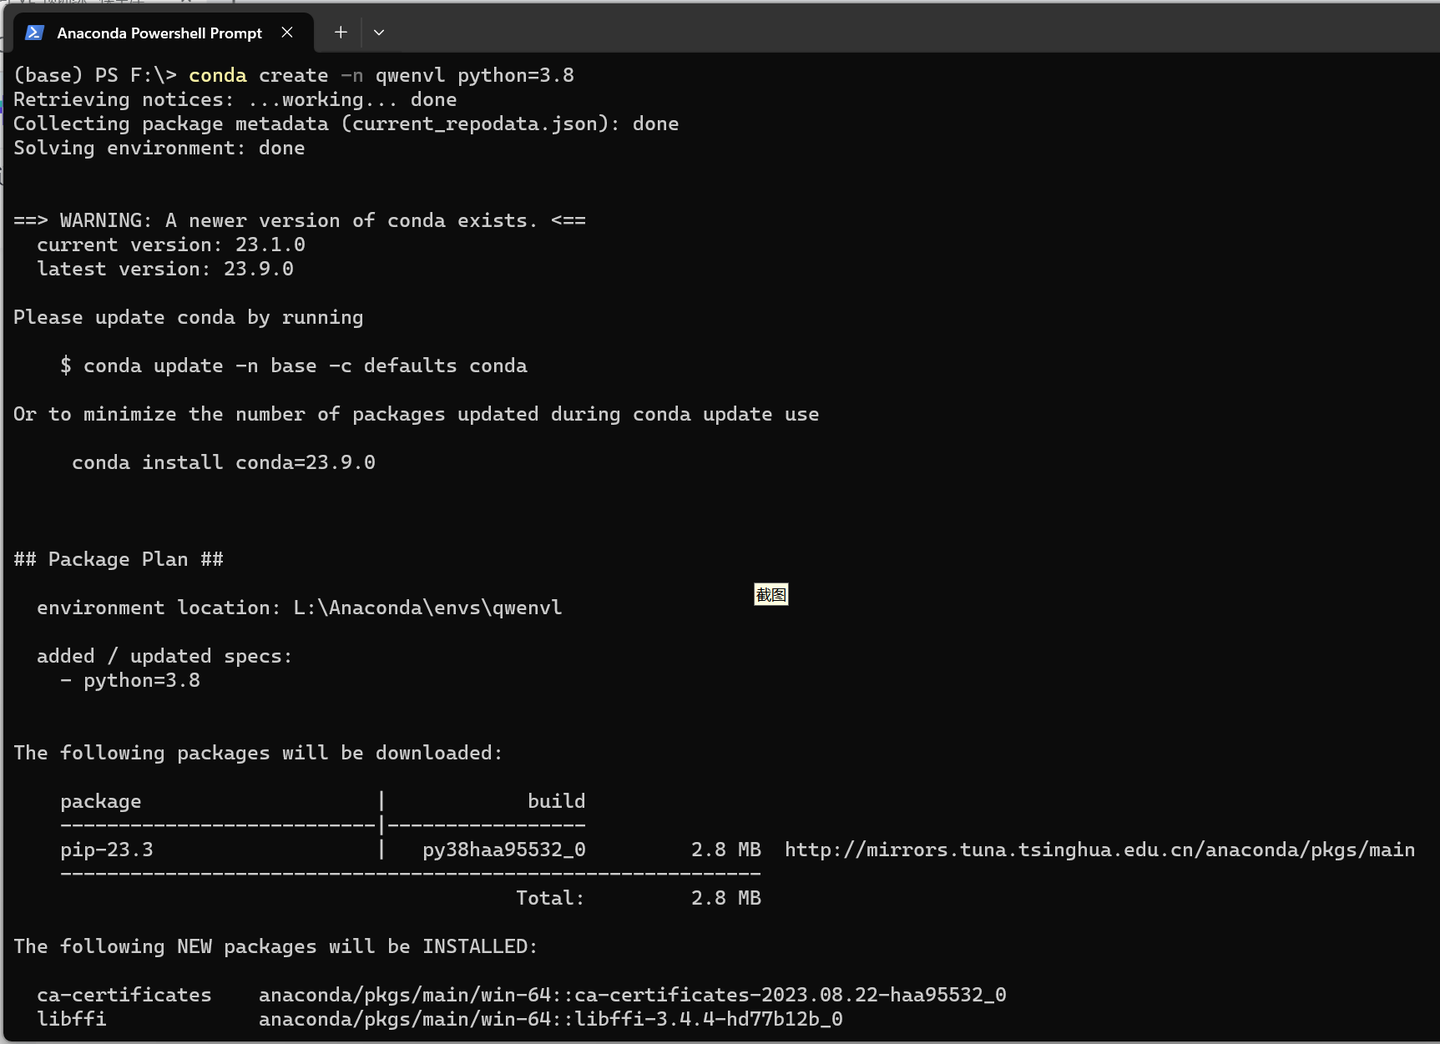
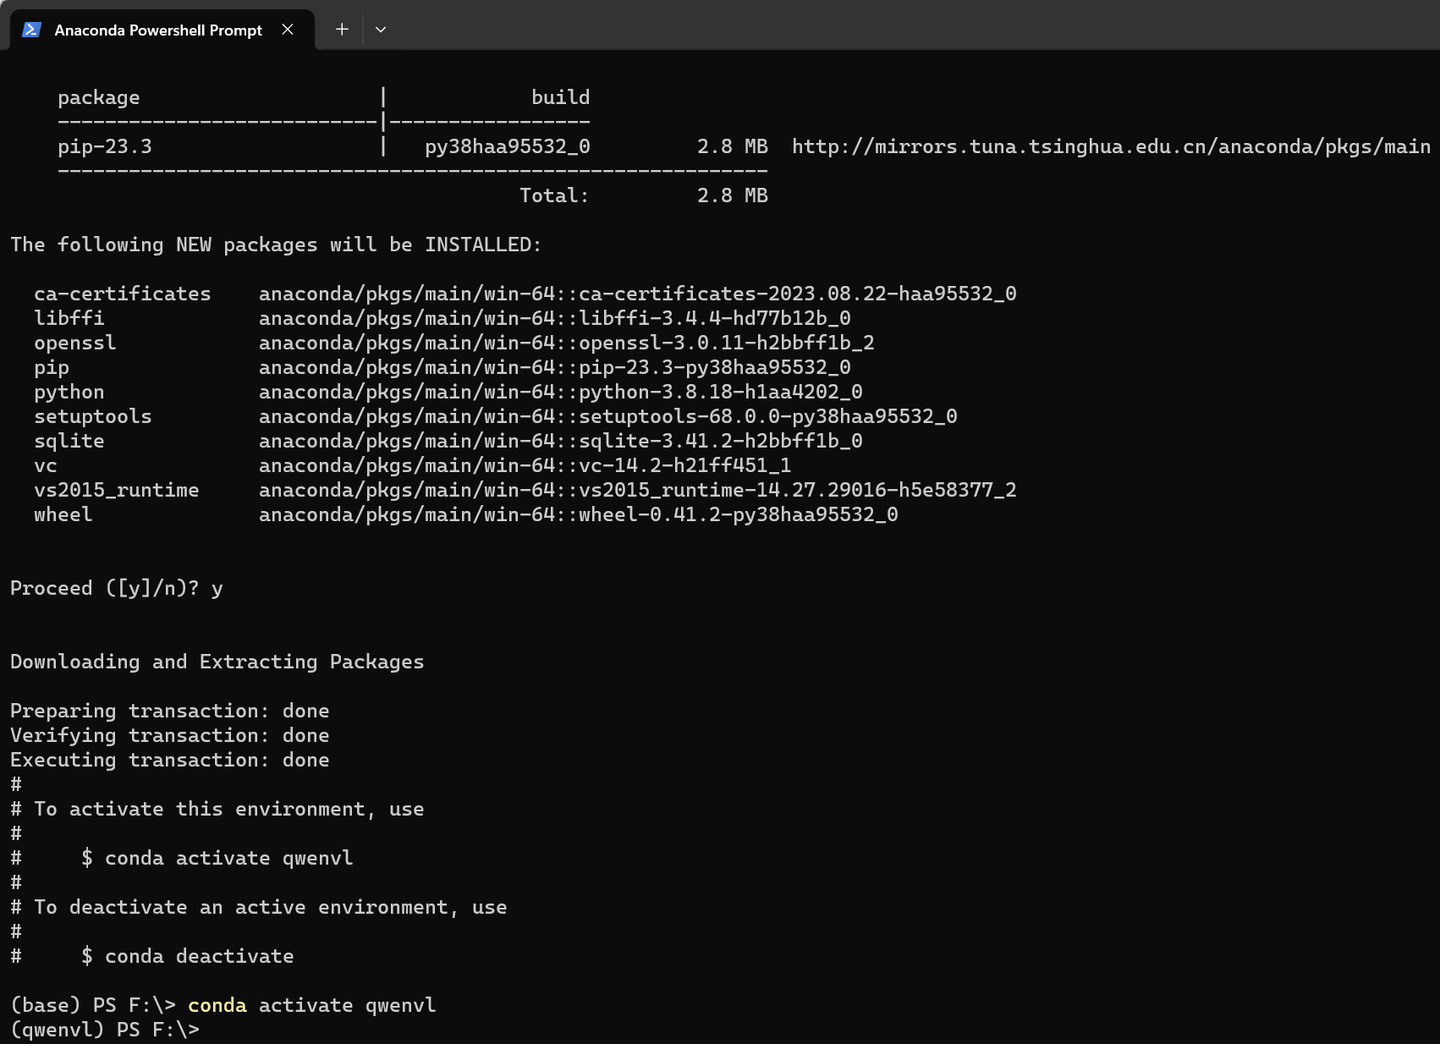
conda create -n qwenvl python=3.8
conda activate qwenvl
pip install modelscope -U


网络一如既往的不大好。。
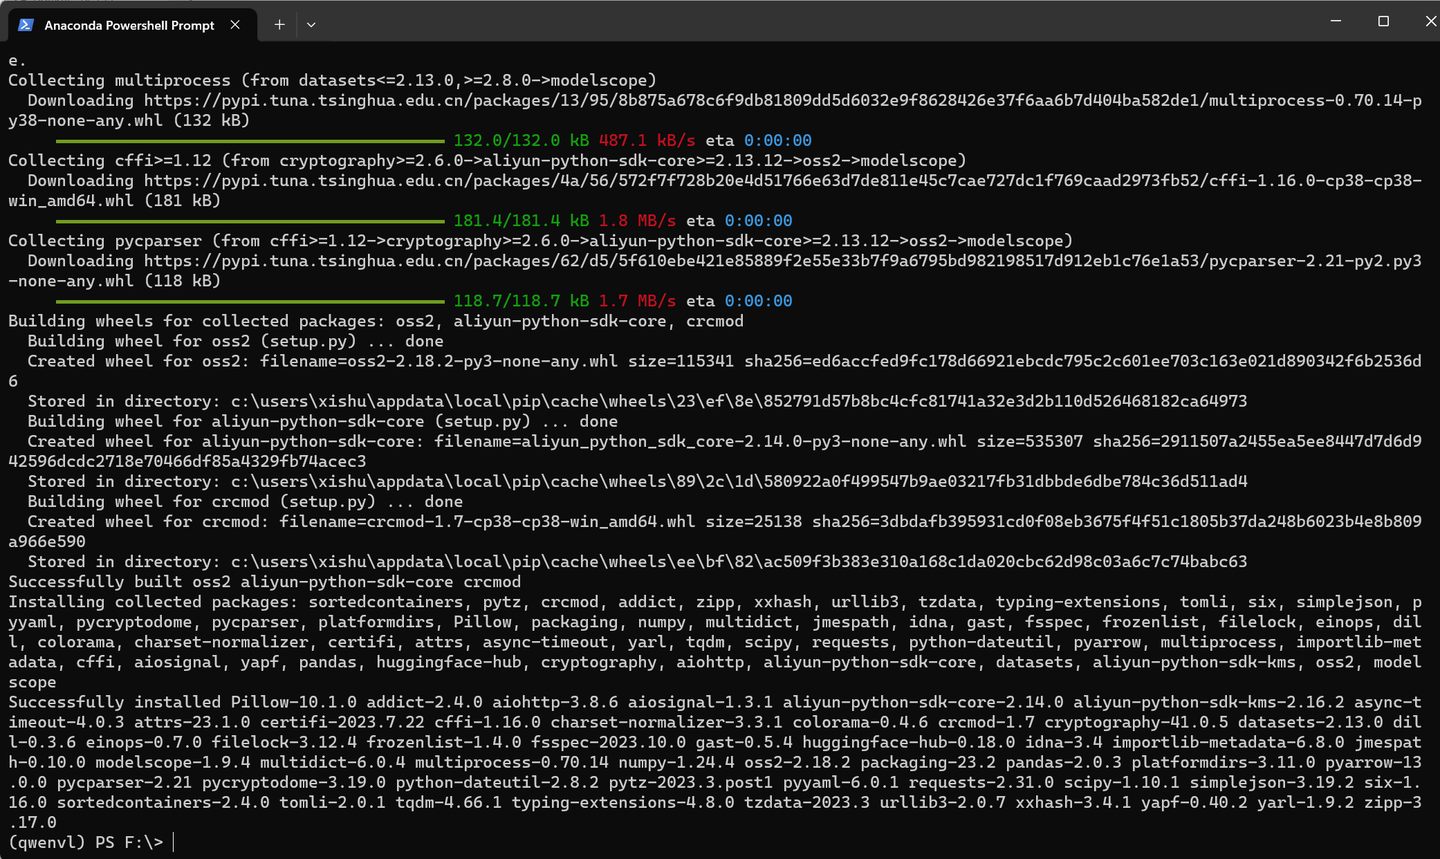
pip install modelscope -U -i https://pypi.tuna.tsinghua.edu.cn/simple

pip install transformers accelerate tiktoken -U -i https://pypi.tuna.tsinghua.edu.cn/simple


pip install einops transformers_stream_generator -U -i https://pypi.tuna.tsinghua.edu.cn/simple


pip install "pillow==9.*" -U -i https://pypi.tuna.tsinghua.edu.cn/simple

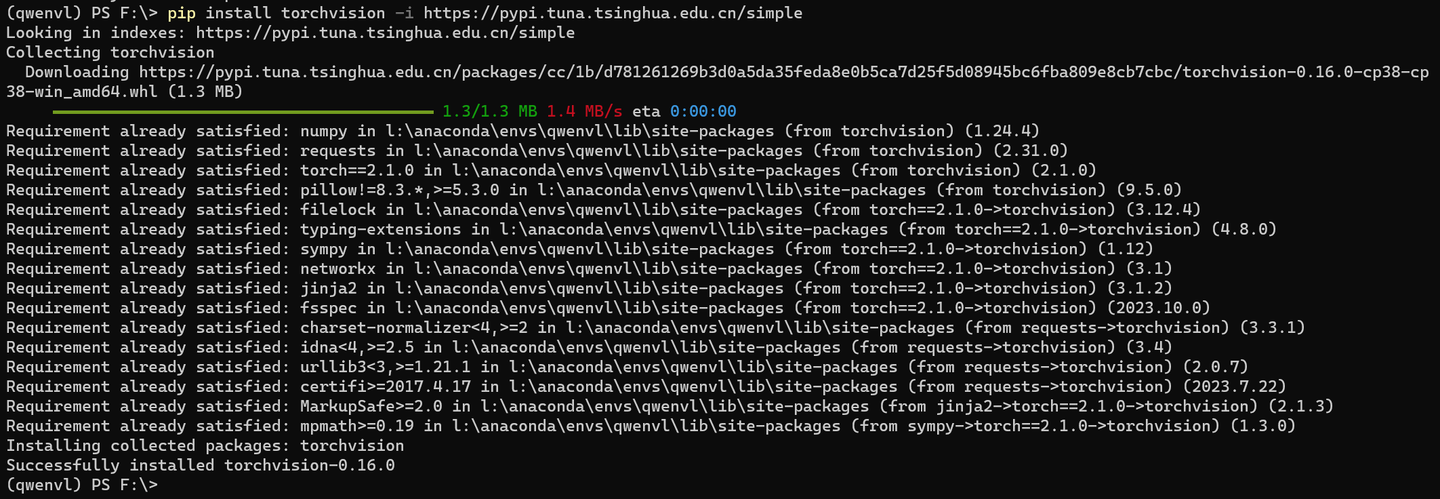
pip install torchvision -i https://pypi.tuna.tsinghua.edu.cn/simple
pip install matplotlib -U -i https://pypi.tuna.tsinghua.edu.cn/simple

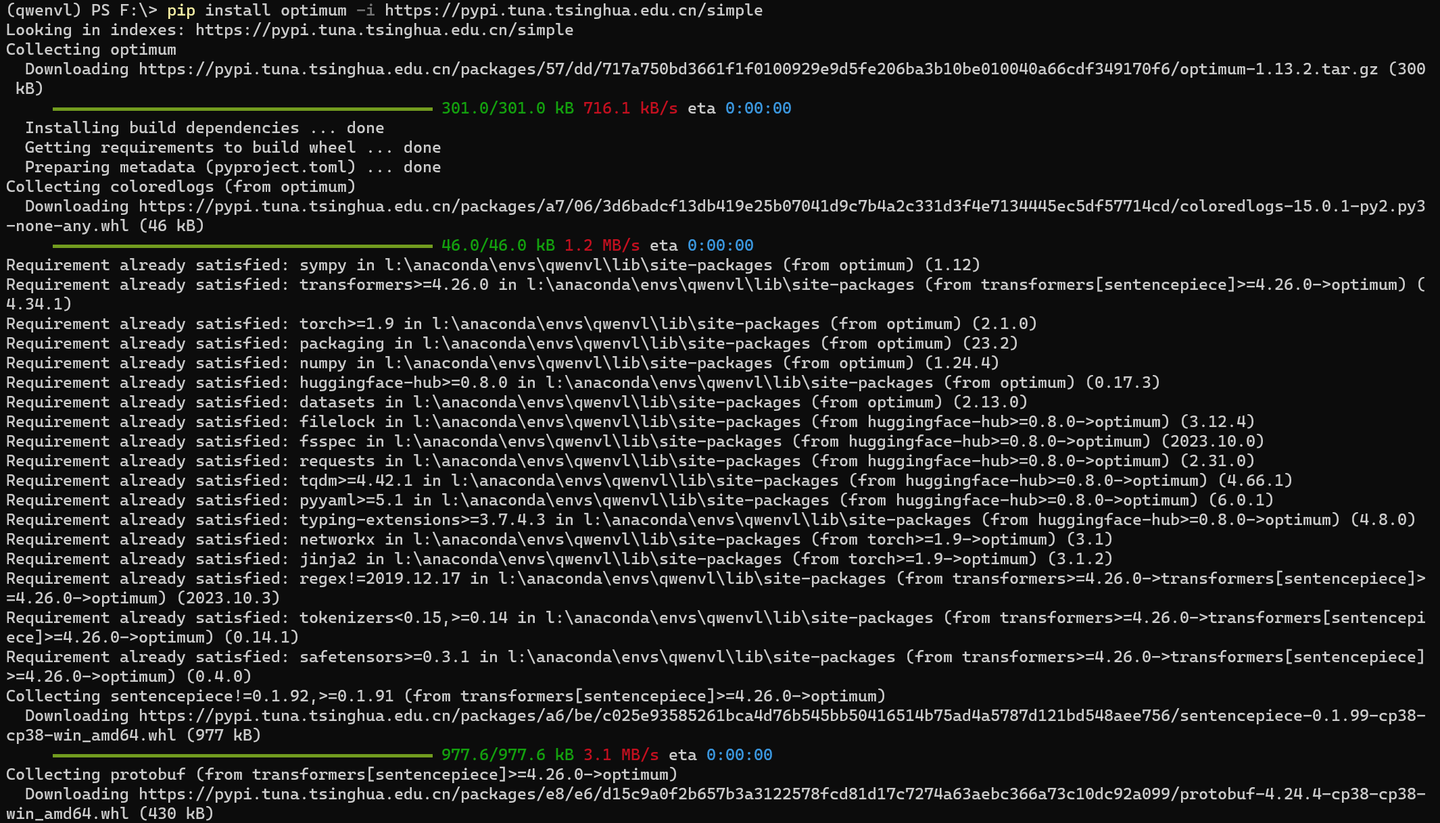
pip install optimum -i https://pypi.tuna.tsinghua.edu.cn/simple

pip install auto-gptq -i https://pypi.tuna.tsinghua.edu.cn/simple

#pip install transformers_stream_generator -i https://pypi.tuna.tsinghua.edu.cn/simple
mkdir Qwen-VL-Chat-Int4
cd Qwen-VL-Chat-Int4
下载模型权重文件:
python download.py
from modelscope import ( snapshot_download, AutoModelForCausalLM, AutoTokenizer, GenerationConfig ) from auto_gptq import AutoGPTQForCausalLM model_dir = snapshot_download("qwen/Qwen-VL-Chat-Int4", revision='v1.0.0')

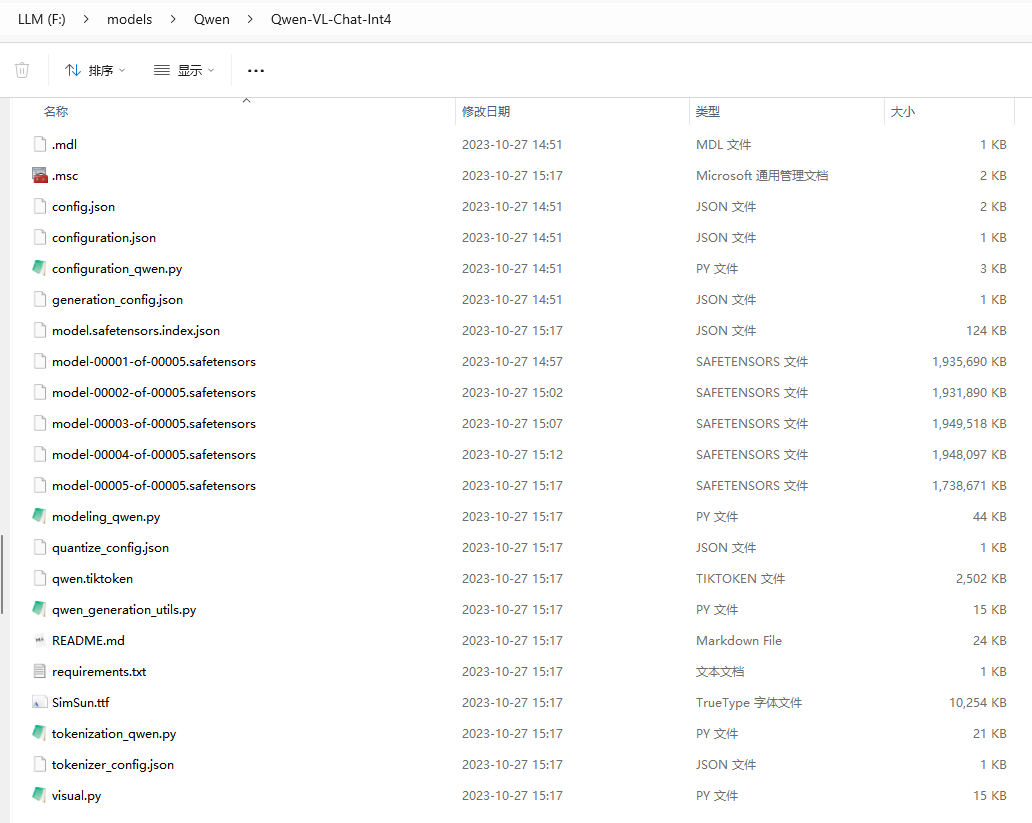
文件会下载到:C:\Users\xishu\.cache\modelscope\hub\qwen\Qwen-VL-Chat-Int4

为了节省C盘空间,可以将这个目录下的文件移到 F:\models\Qwen\Qwen-VL-Chat-Int4目录下。
python model_test.py
from modelscope import (
    snapshot_download, AutoModelForCausalLM, AutoTokenizer, GenerationConfig
)
from auto_gptq import AutoGPTQForCausalLM

import torch
torch.manual_seed(1234)

model_dir = "F:\\models\\Qwen\\Qwen-VL-Chat-Int4"

# Note: The default behavior now has injection attack prevention off.
tokenizer = AutoTokenizer.from_pretrained(model_dir, trust_remote_code=True)

# use cuda device
model = AutoModelForCausalLM.from_pretrained(model_dir, device_map="cuda", trust_remote_code=True,use_safetensors=True).eval()

# 1st dialogue turn
query = tokenizer.from_list_format([
    {'image': 'https://qianwen-res.oss-cn-beijing.aliyuncs.com/Qwen-VL/assets/demo.jpeg'},
    {'text': '这是什么'},
])
response, history = model.chat(tokenizer, query=query, history=None)
print(response)
# 图中是一名年轻女子在沙滩上和她的狗玩耍,狗的品种可能是拉布拉多。她们坐在沙滩上,狗的前腿抬起来,似乎在和人类击掌。两人之间充满了信任和爱。

# 2nd dialogue turn
response, history = model.chat(tokenizer, '输出"狗"的检测框', history=history)
print(response)

image = tokenizer.draw_bbox_on_latest_picture(response, history)
if image:
  image.save('1.jpg')
else:
  print("no box")
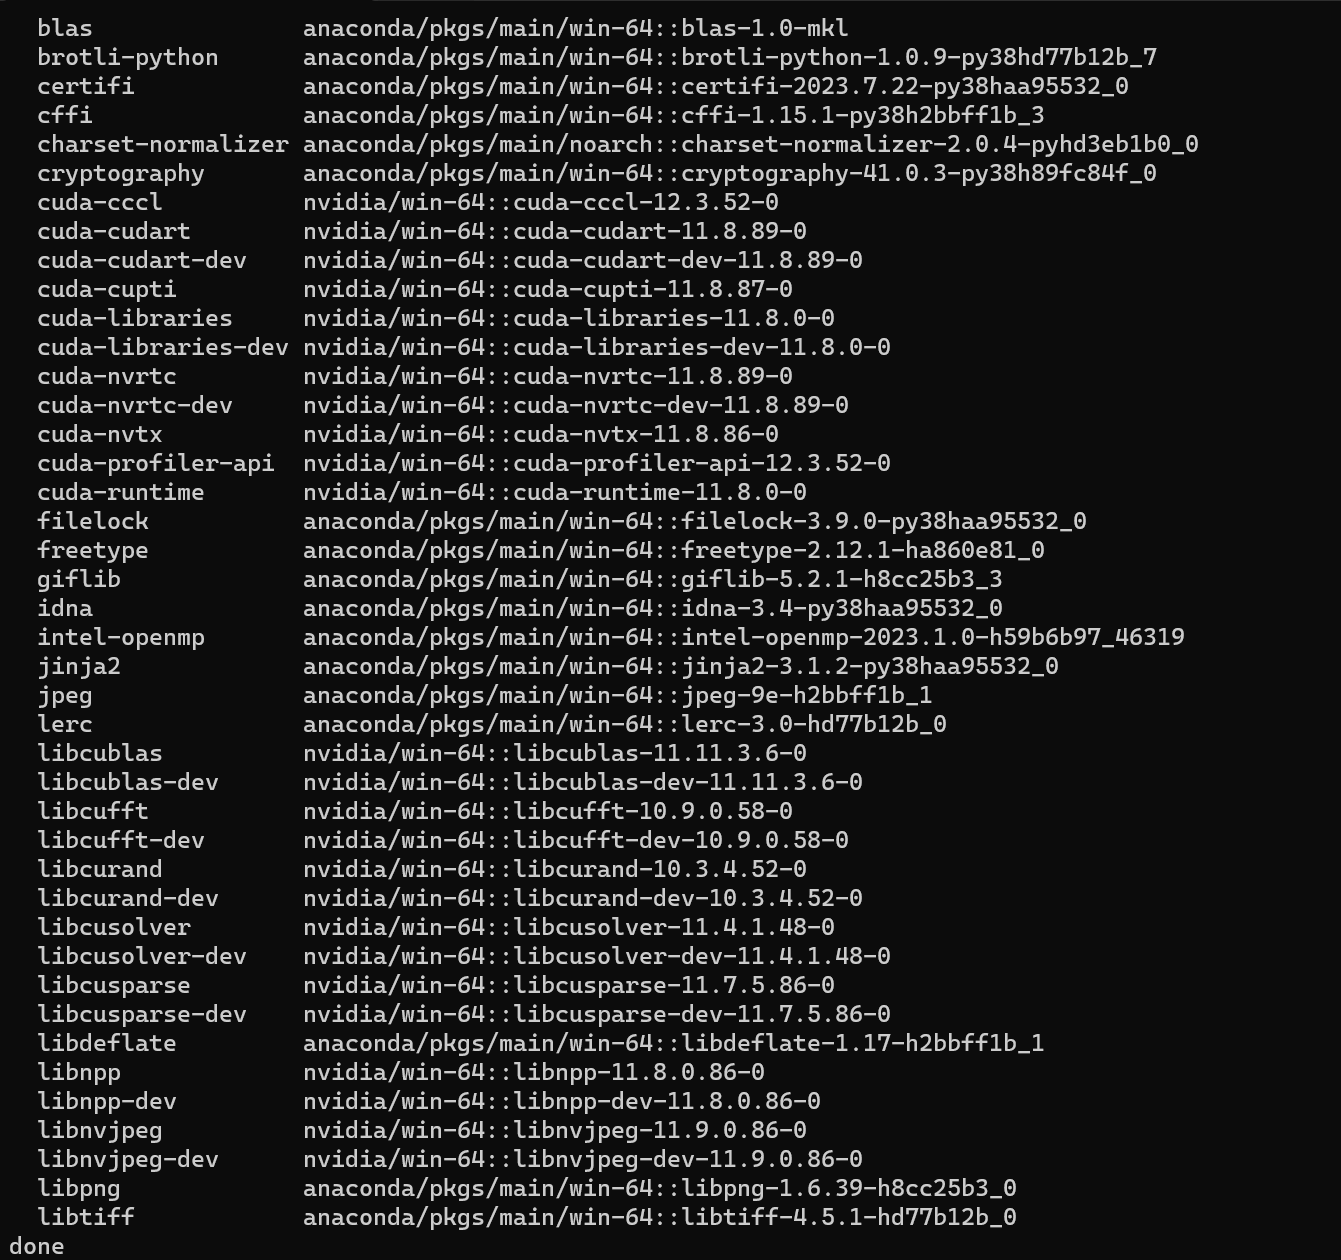
查看下:

确实不是GPU版本的torch 2.1.0
conda install pytorch==2.0.1 torchvision==0.15.2 torchaudio==2.0.2 pytorch-cuda=11.8 -c pytorch -c nvidia

pip install chardet -i https://pypi.tuna.tsinghua.edu.cn/simple

pip install cchardet -i https://pypi.tuna.tsinghua.edu.cn/simple

python model_test.py
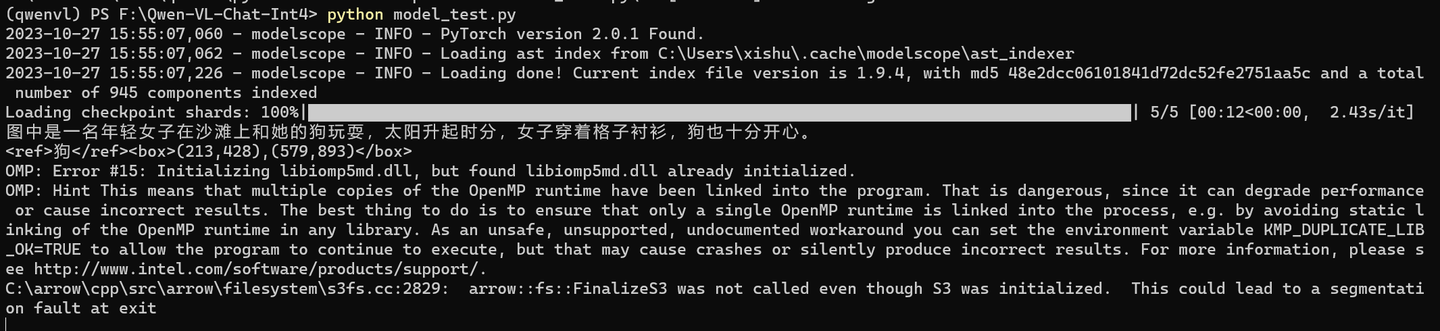
看看原图:
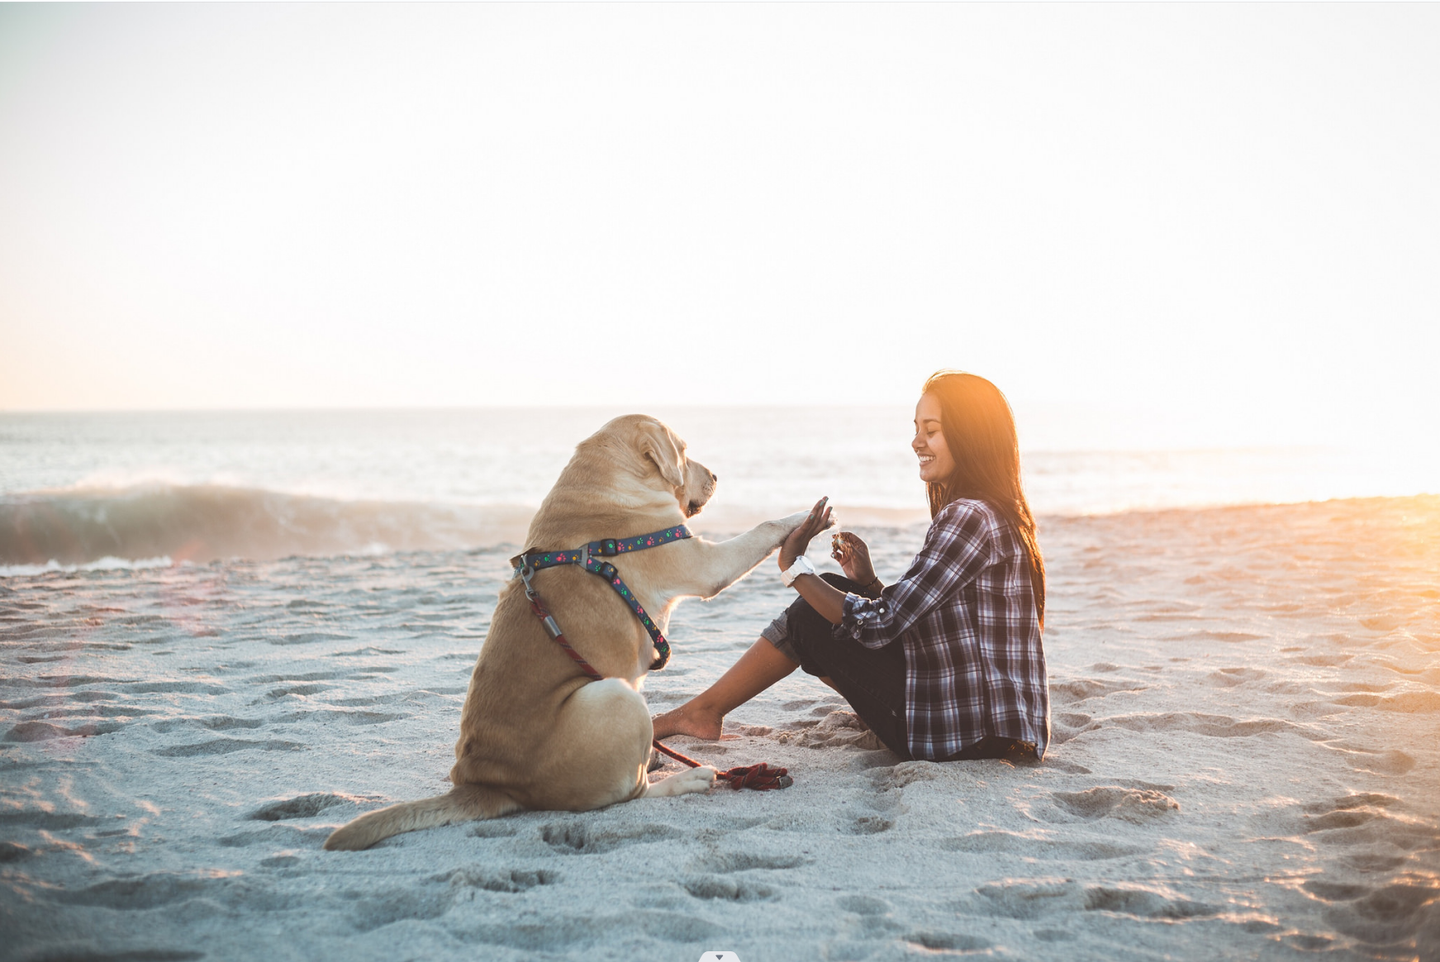
图中是一名年轻女子在沙滩上和她的狗玩耍,太阳升起时分,女子穿着格子衬衫,狗也十分开心。
换一张图试试,另外把最后一段执行不了的语句注释了,并将图片放在当前目录下:

python model_test.py
from modelscope import (
    snapshot_download, AutoModelForCausalLM, AutoTokenizer, GenerationConfig
)
from auto_gptq import AutoGPTQForCausalLM

import torch
torch.manual_seed(1234)

model_dir = "F:\\models\\Qwen\\Qwen-VL-Chat-Int4"

# Note: The default behavior now has injection attack prevention off.
tokenizer = AutoTokenizer.from_pretrained(model_dir, trust_remote_code=True)

# use cuda device
model = AutoModelForCausalLM.from_pretrained(model_dir, device_map="cuda", trust_remote_code=True,use_safetensors=True).eval()

# 1st dialogue turn
query = tokenizer.from_list_format([
#    {'image': 'https://qianwen-res.oss-cn-beijing.aliyuncs.com/Qwen-VL/assets/demo.jpeg'},
    {'image': 'F:\\Qwen-VL-Chat-Int4\\v001.png'},
    {'text': '这是什么'},
])
response, history = model.chat(tokenizer, query=query, history=None)
print(response)
# 图中是一名年轻女子在沙滩上和她的狗玩耍,狗的品种可能是拉布拉多。她们坐在沙滩上,狗的前腿抬起来,似乎在和人类击掌。两人之间充满了信任和爱。

# 2nd dialogue turn
response, history = model.chat(tokenizer, '输出"狗"的检测框', history=history)
print(response)


#image = tokenizer.draw_bbox_on_latest_picture(response, history)
#if image:
#  image.save('1.jpg')
#else:
#  print("no box")
(qwenvl) PS F:\Qwen-VL-Chat-Int4> python model_test.py
2023-10-27 16:04:01,190 - modelscope - INFO - PyTorch version 2.0.1 Found.
2023-10-27 16:04:01,191 - modelscope - INFO - Loading ast index from C:\Users\xishu\.cache\modelscope\ast_indexer
2023-10-27 16:04:01,372 - modelscope - INFO - Loading done! Current index file version is 1.9.4, with md5 48e2dcc06101841d72dc52fe2751aa5c and a total number of 945 components indexed
Loading checkpoint shards: 100%|█████████████████████████████████████████████████████████| 5/5 [00:04<00:00,  1.07it/s]
这张照片是泰坦尼克号电影的剧照,展示的是男主角 Jack 和女主角 Rose 在船的栏杆旁伸出手臂,背靠背站立,身后是夕阳和大海。
<ref>狗</ref><box>(0,288),(759,983)</box>
(qwenvl) PS F:\Qwen-VL-Chat-Int4>
不过,,这图片里面并没有狗。。。难道”舔狗“也算狗?
下面看看怎么做成网页方式。
cd F:\Langchain-Chatchat\
conda deactivate
conda activate chatchat
pythonstartup.py--all-webui
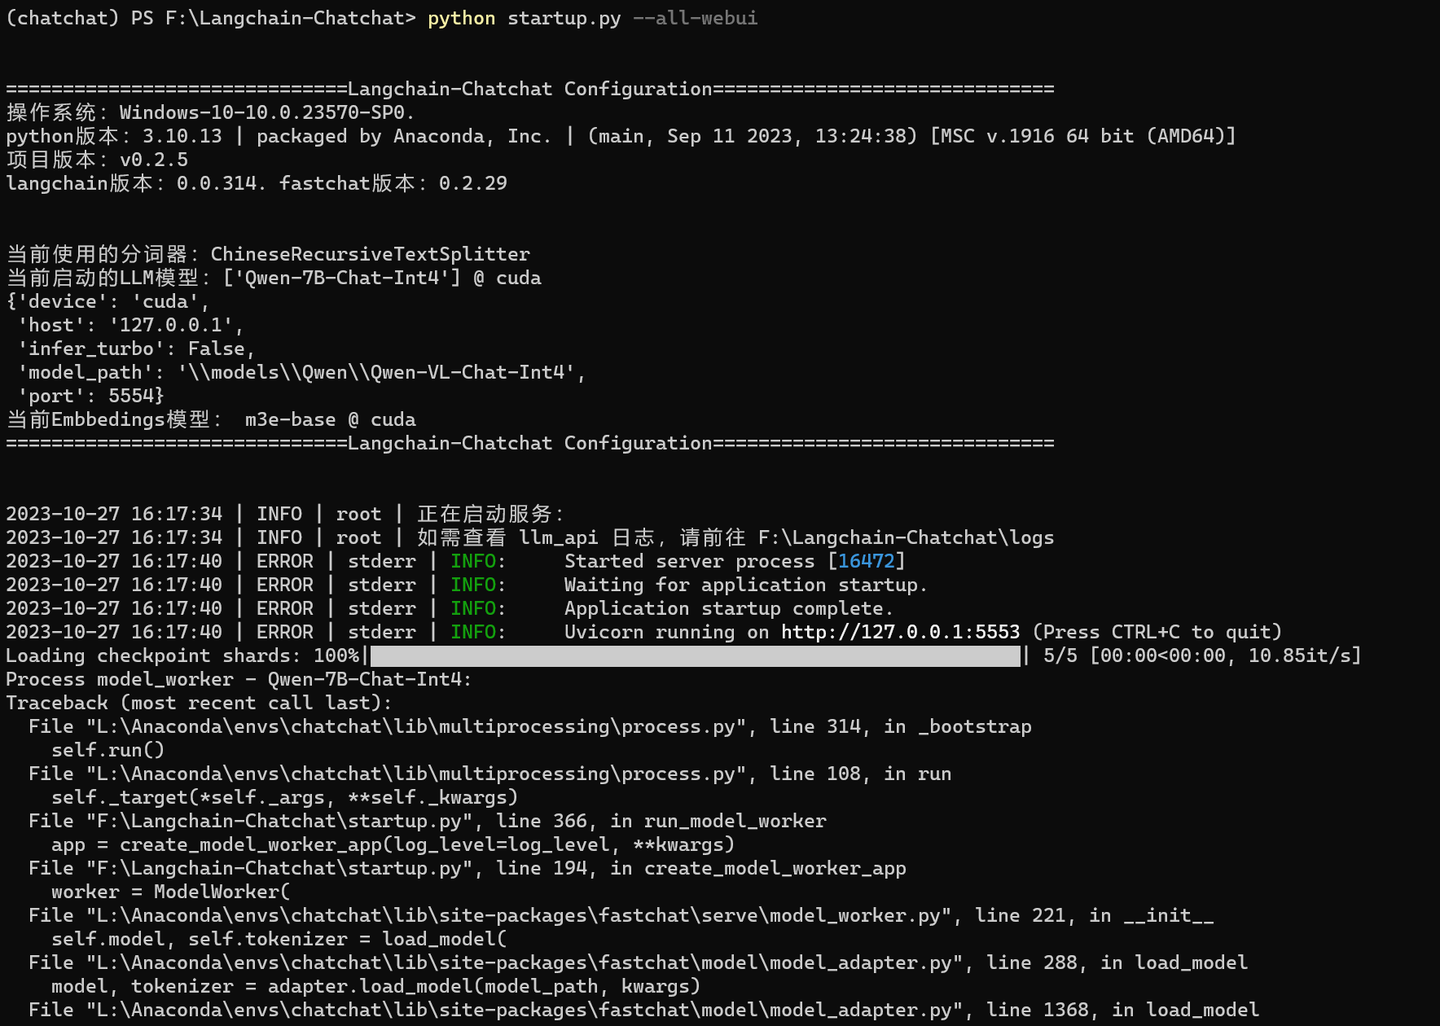

ValueError: Found modules on cpu/disk. Using Exllama backend requires all the modules to be on GPU.You can deactivate exllama backend by setting `disable_exllama=True` in the quantization config object
查看
https://github.com/lm-sys/FastChat/issues/2459github.com/lm-sys/FastChat/issues/2459
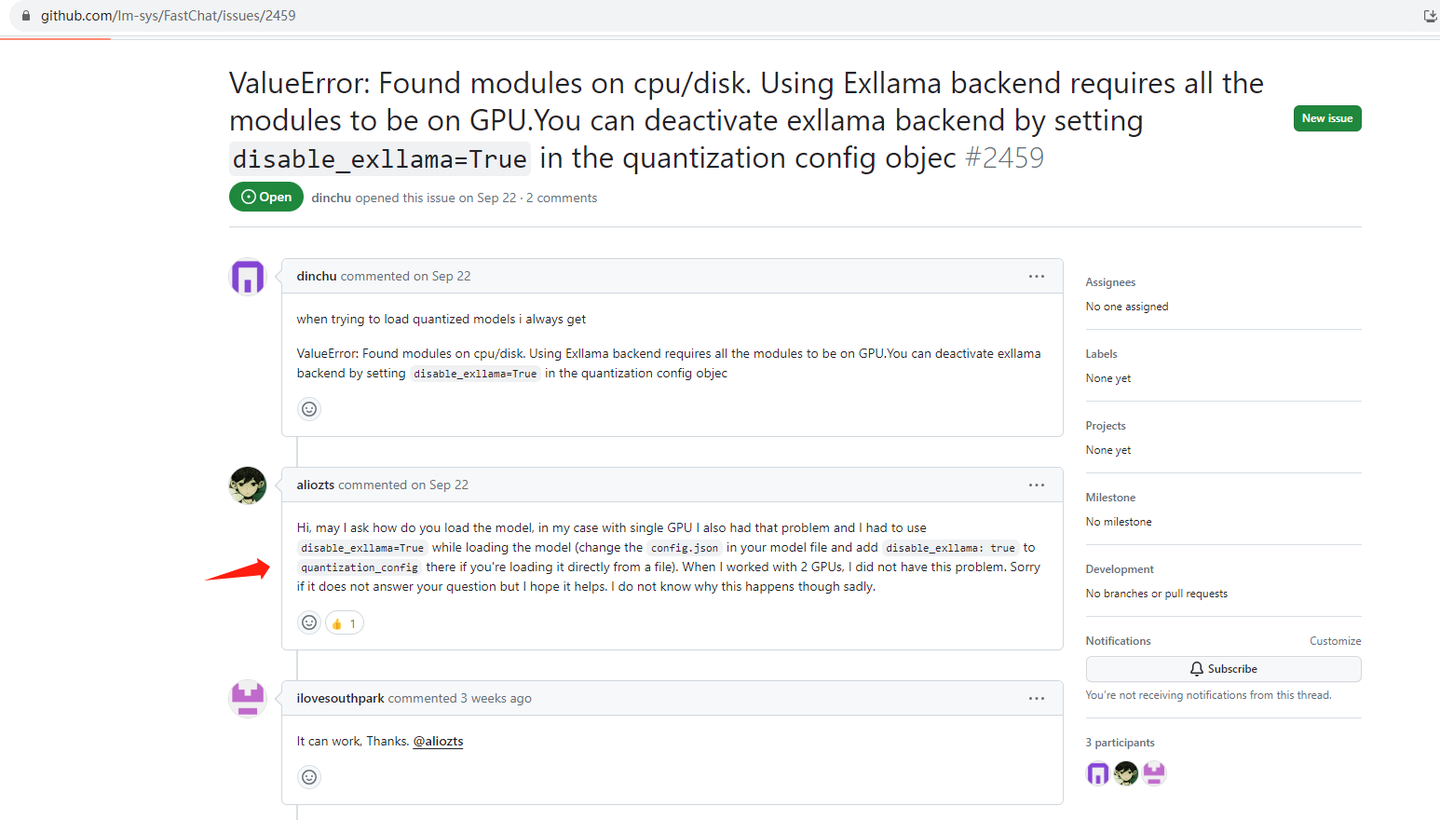
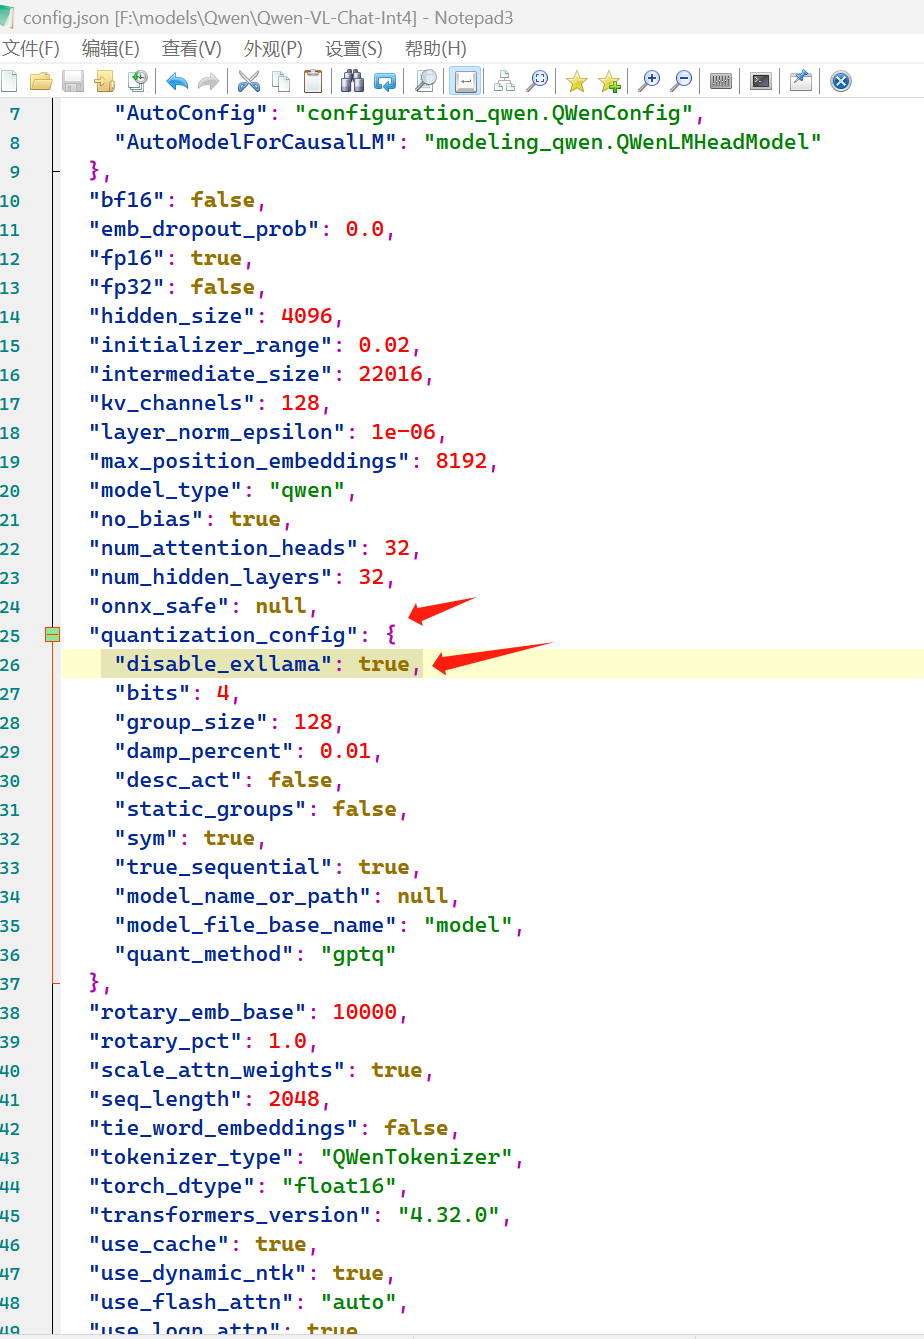
需要修改一下模型下的文件:config.json
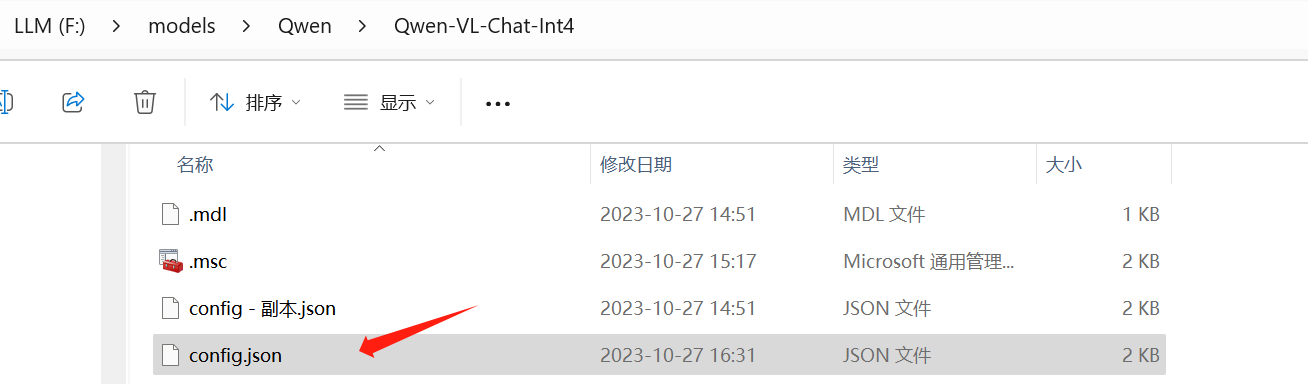
在 quantization_config 增加一行: "disable_exllama": true,
重新执行:
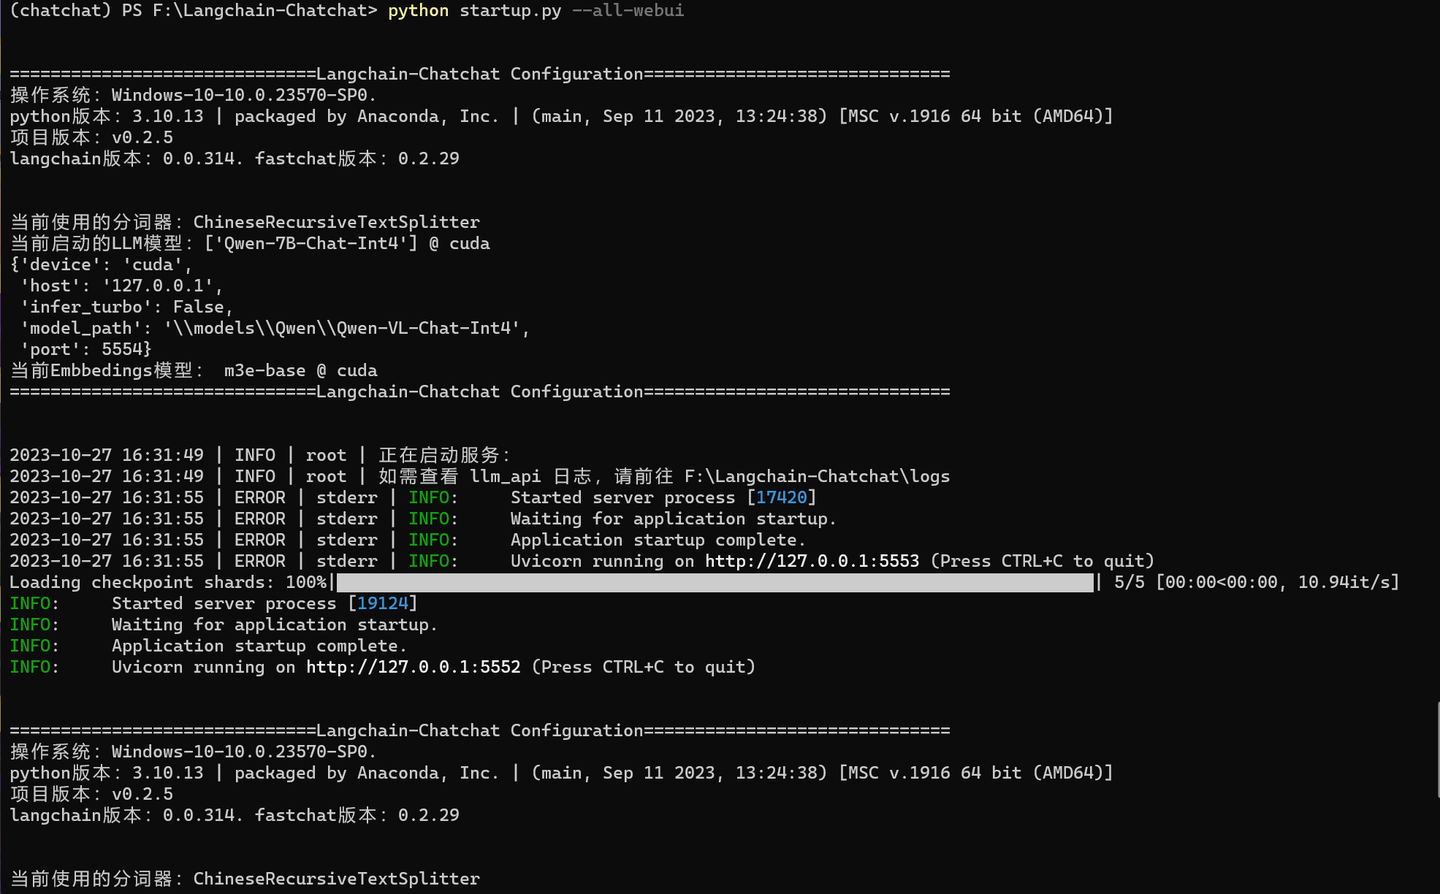


网页也加载了。不过还不知道怎么输入图片。
输入对话:
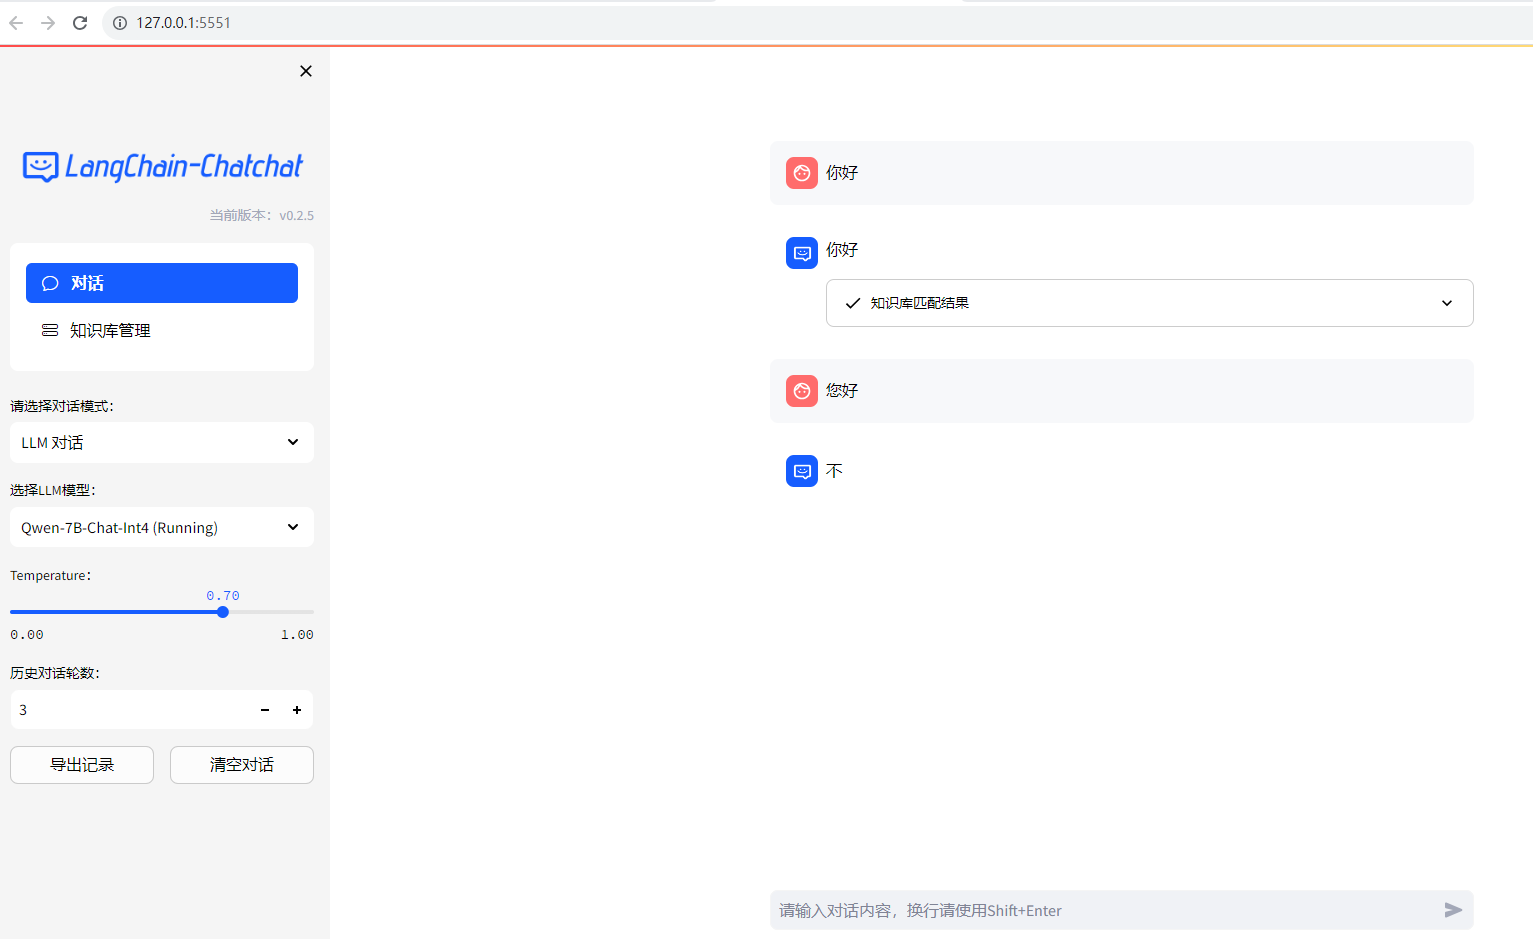
貌似还有点问题:

可能还得想别的办法搞页面了。
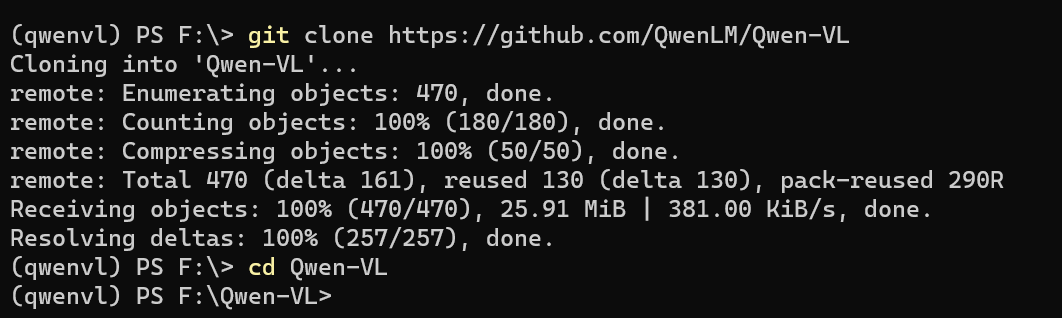
下载github代码仓:
F:
cd \
git clone https://github.com/QwenLM/Qwen-VL
cd Qwen-VL
pip install -r requirements_web_demo.txt -i https://pypi.tuna.tsinghua.edu.cn/simple


修改 web_demo_mm.py 中模型文件的路径:
将
DEFAULT_CKPT_PATH = 'Qwen/Qwen-VL-Chat'
改为:
DEFAULT_CKPT_PATH = '\\models\\Qwen\\Qwen-VL-Chat-Int4'
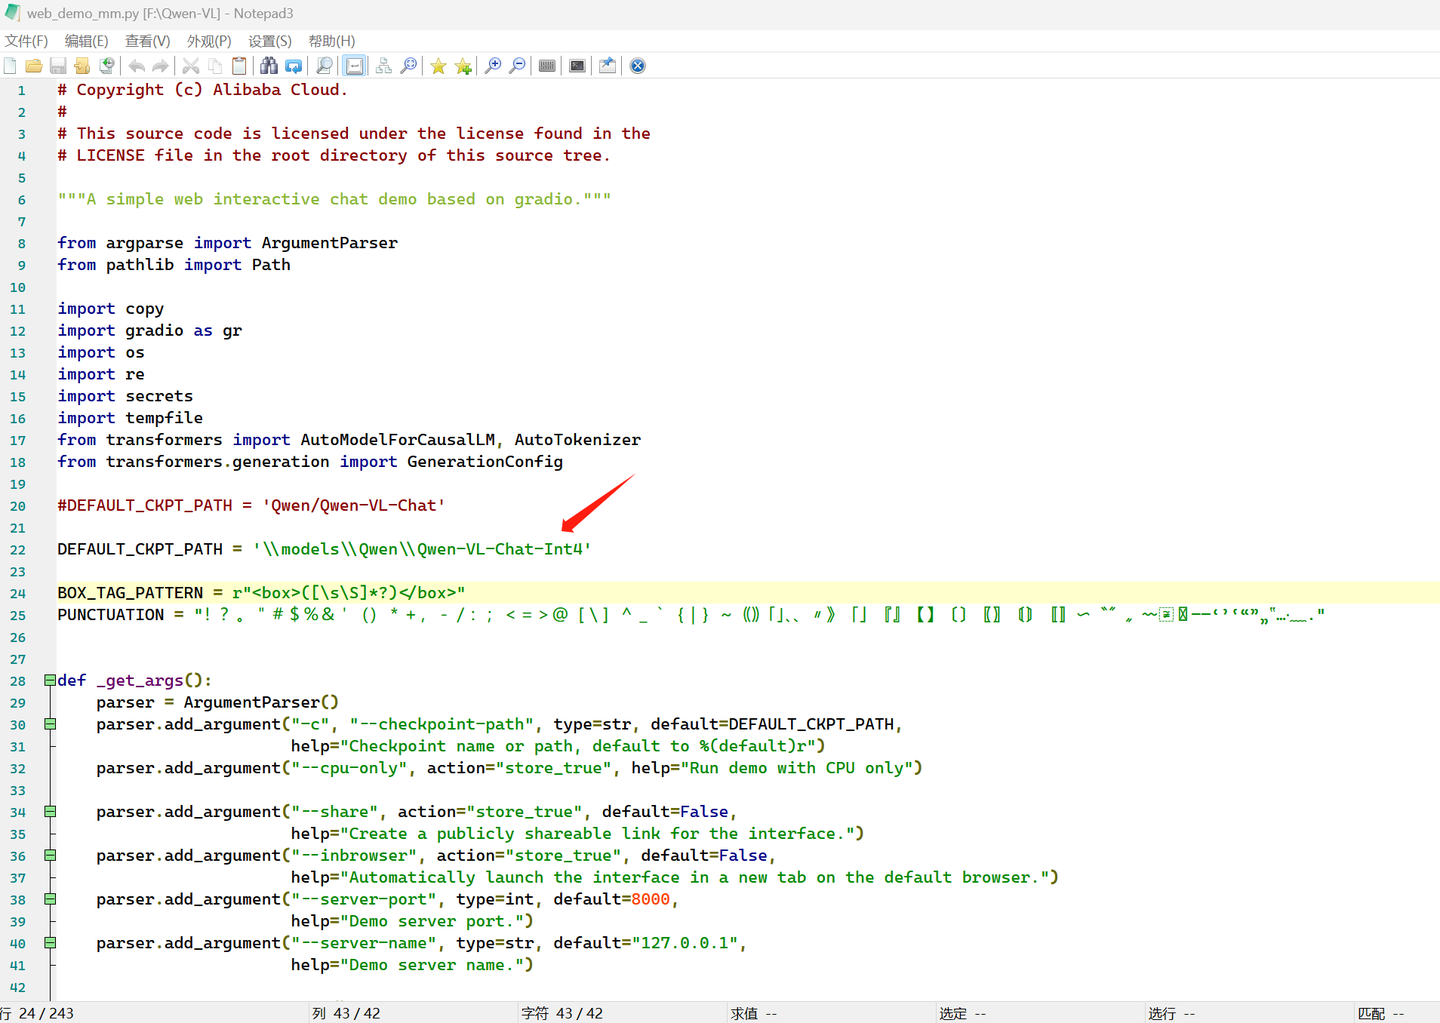
python web_demo_mm.py

打开网页:http://127.0.0.1:8000/
可以先点击upload上传一个图片,然后再问它这个图片是什么意思。


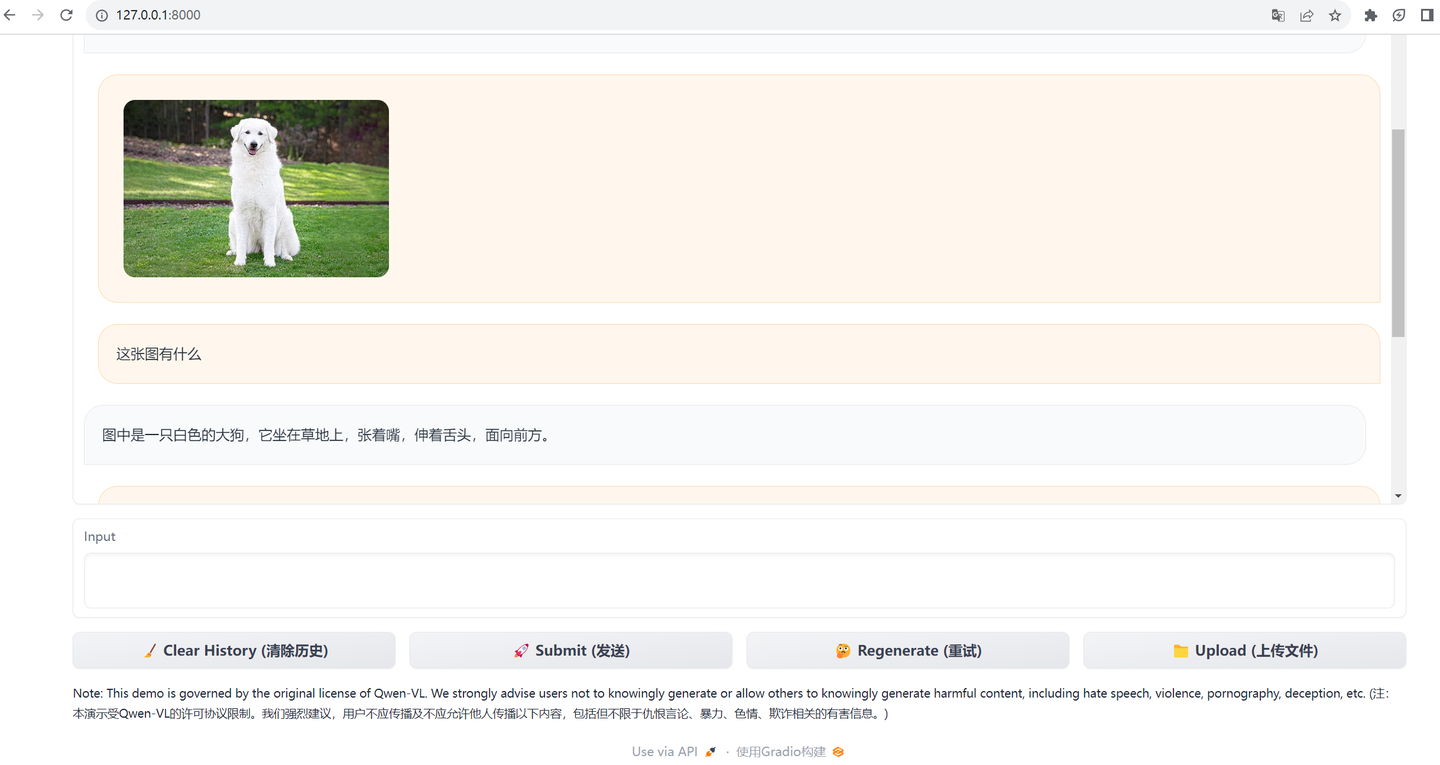

是的,可以发给它照片提问,但是不能以照片回答。
(全文完,谢谢阅读)


 5294
5294


 被折叠的 条评论
为什么被折叠?
被折叠的 条评论
为什么被折叠?
 到【灌水乐园】发言


