


文章目录
自定义模板和页面
后续章节都是基于AEM官方示例WKND来演示,示例可以从GitHub中获取,地址https://github.com/adobe/aem-guides-wknd,也可以访问我的代码库https://github.com/stevenzhaoj/AEM-Practice,欢迎大家Fork和提交PR来一起交流。
repo安装
在开始之前,需要在IDEA中安装repo工具,Eclipse也有对应的AEM插件可以使用,有需要的可以自行百度,这里只讲IDEA中的使用方法。可以参考官网文档,也可以按照我下面的步骤安装
cygwin安装
从cygwin官网中下载安装包
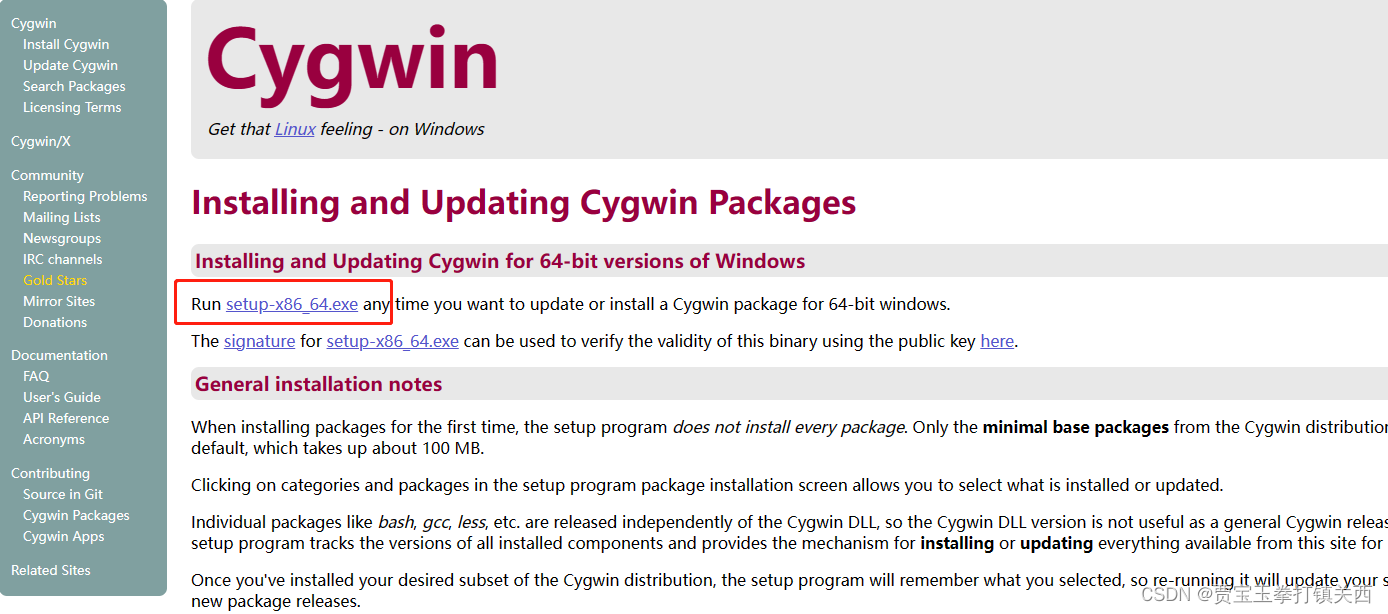
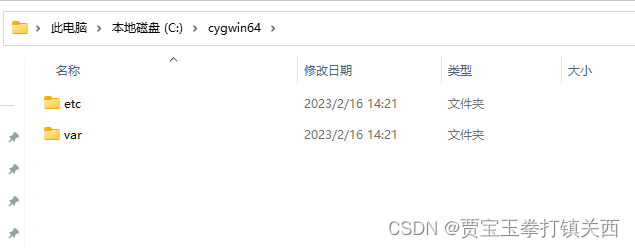
下载后安装到默认位置
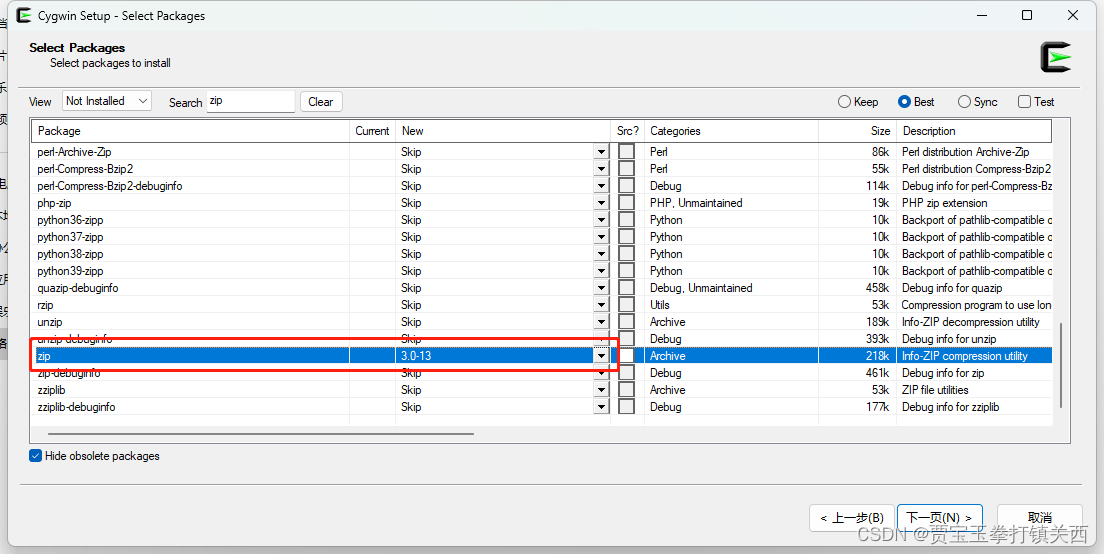
打开界面需要继续安装几个Package(zip, unzip, curl, rsync),搜索框输入要安装的包名,如zip,找到红色框中的zip,在New这一列中选择最新版本即可。
注意:选择一个后不要点下一页,继续搜索其他包并选中版本后在点击下一页
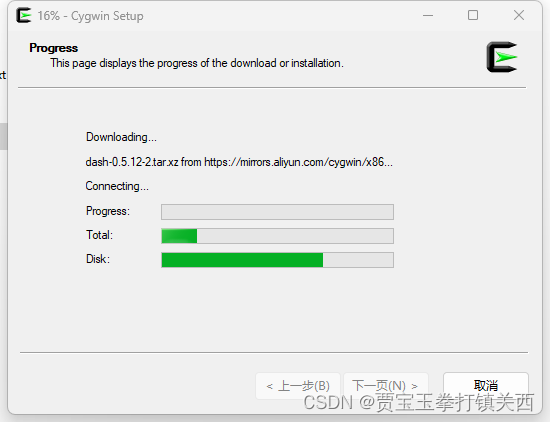
点击下一页后会进入安装阶段,直到安装完成
下一步在官方文档中下载repo文件,并将repo文件放到C:\cygwin64\bin目录下
PS:用编辑器打开repo文件会发现如下配置信息
server="http://localhost:4502"
credentials="admin:admin"
force=false
quiet=false
packmgr="/crx/packmgr/service/.json"
packageGroup="tmp/repo"
配置中的server与author实例的地址一致,credentials与启动author实例时设置的账号密码一致,如果在01 AEM安装及Author实例的启动中使用的端口和账号密码不是上述信息则需要修改repo文件
IDEA中安装repo工具
打开IDEA左上角的File->Settings->Tools->External Tools,点击+号新增工具集repo,在点+号新增工具项
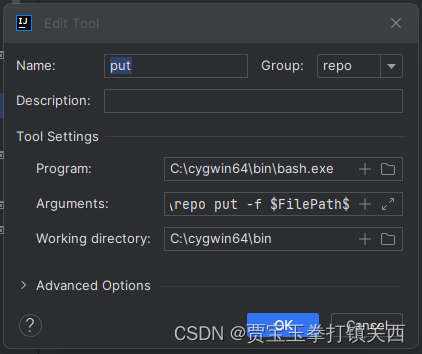
Program: C:\cygwin64\bin\bash.exe
Arguments: -l C:\cygwin64\bin\repo put -f $FilePath$
Working directory:C:\cygwin64\bin
也可以按照官方文档中的描述设置环境变量,简化路径。到此,repo工具就已经安装完成了。
在WKND中自定义模板和页面
部署WKND示例到author实例
在https://github.com/stevenzhaoj/AEM-Practice下载代码后,需要配置一些环境变量,如JDK、Maven、Nodejs、Npm
| WKND Version | AEM as a Cloud Service | AEM 6.5 | Java SE | Maven |
|---|---|---|---|---|
| Latest (main branch) | Continual | 6.5.13.0+ | 8, 11 | 3.3.9+ |
| v1.1.0 | Continual | 6.5.10+ | 8, 11 | 3.3.9+ |
| v1.0.0 | Continual | 6.5.4+ | 8, 11 | 3.3.9+ |
Maven、JDK、Npm的安装请自行百度。在maven安装时需要修改maven的配置文件,需要从adobe的官方库中下载所需依赖
<?xml version="1.0" encoding="UTF-8"?>
<settings xmlns="https://maven.apache.org/SETTINGS/1.0.0"
          xmlns:xsi="https://www.w3.org/2001/XMLSchema-instance"
          xsi:schemaLocation="https://maven.apache.org/SETTINGS/1.0.0
          https://maven.apache.org/xsd/settings-1.0.0.xsd">
	<localRepository>D:\workspace\aem-repository</localRepository>
    <profiles>
        <!-- ====================================================== -->
        <!-- A D O B E   P U B L I C   P R O F I L E                -->
        <!-- ====================================================== -->
        <profile>
            <id>adobe-public</id>
            <activation>
                <activeByDefault>true</activeByDefault>
            </activation>
            <properties>
                <releaseRepository-Id>adobe-public-releases</releaseRepository-Id>
                <releaseRepository-Name>Adobe Public Releases</releaseRepository-Name>
                <releaseRepository-URL>https://repo.adobe.com/nexus/content/groups/public</releaseRepository-URL>
            </properties>
            <repositories>
                <repository>
                    <id>adobe-public-releases</id>
                    <name>Adobe Public Repository</name>
                    <url>https://repo.adobe.com/nexus/content/groups/public</url>
                    <releases>
                        <enabled>true</enabled>
                        <updatePolicy>never</updatePolicy>
                    </releases>
                    <snapshots>
                        <enabled>false</enabled>
                    </snapshots>
                </repository>
            </repositories>
            <pluginRepositories>
                <pluginRepository>
                    <id>adobe-public-releases</id>
                    <name>Adobe Public Repository</name>
                    <url>https://repo.adobe.com/nexus/content/groups/public</url>
                    <releases>
                        <enabled>true</enabled>
                        <updatePolicy>never</updatePolicy>
                    </releases>
                    <snapshots>
                        <enabled>false</enabled>
                    </snapshots>
                </pluginRepository>
            </pluginRepositories>
        </profile>
    </profiles>
    <activeProfiles>
        <activeProfile>adobe-public</activeProfile>
    </activeProfiles>
</settings>
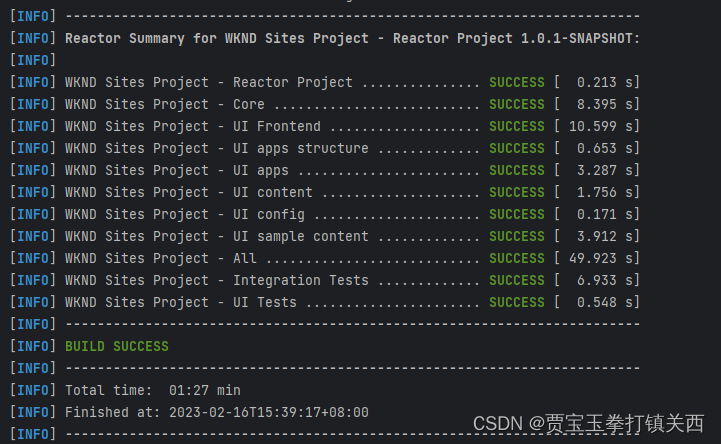
安装完成后,进入WKND目录下,使用maven命令构建项目
clean install -PautoInstallSinglePackage
在编译过程中可能出现如下问题:
- npm构建报错:node-sass@4.14.1 postinstall: node scripts/build.js
解决办法:打开CMD,输入下面的命令,修改npm源npm config set sass_binary_site=https://npm.taobao.org/mirrors/node-sass - Some Enforcer rules have failed
解决办法:打开项目根目录下的pom.xml,注释掉dispatcher
出现下面内容时表明已经构建成功<modules> <module>all</module> <module>core</module> <module>ui.frontend</module> <module>ui.apps</module> <module>ui.apps.structure</module> <module>ui.config</module> <module>ui.content</module> <module>ui.content.sample</module> <module>it.tests</module> <!-- <module>dispatcher</module>--> <module>ui.tests</module> </modules>
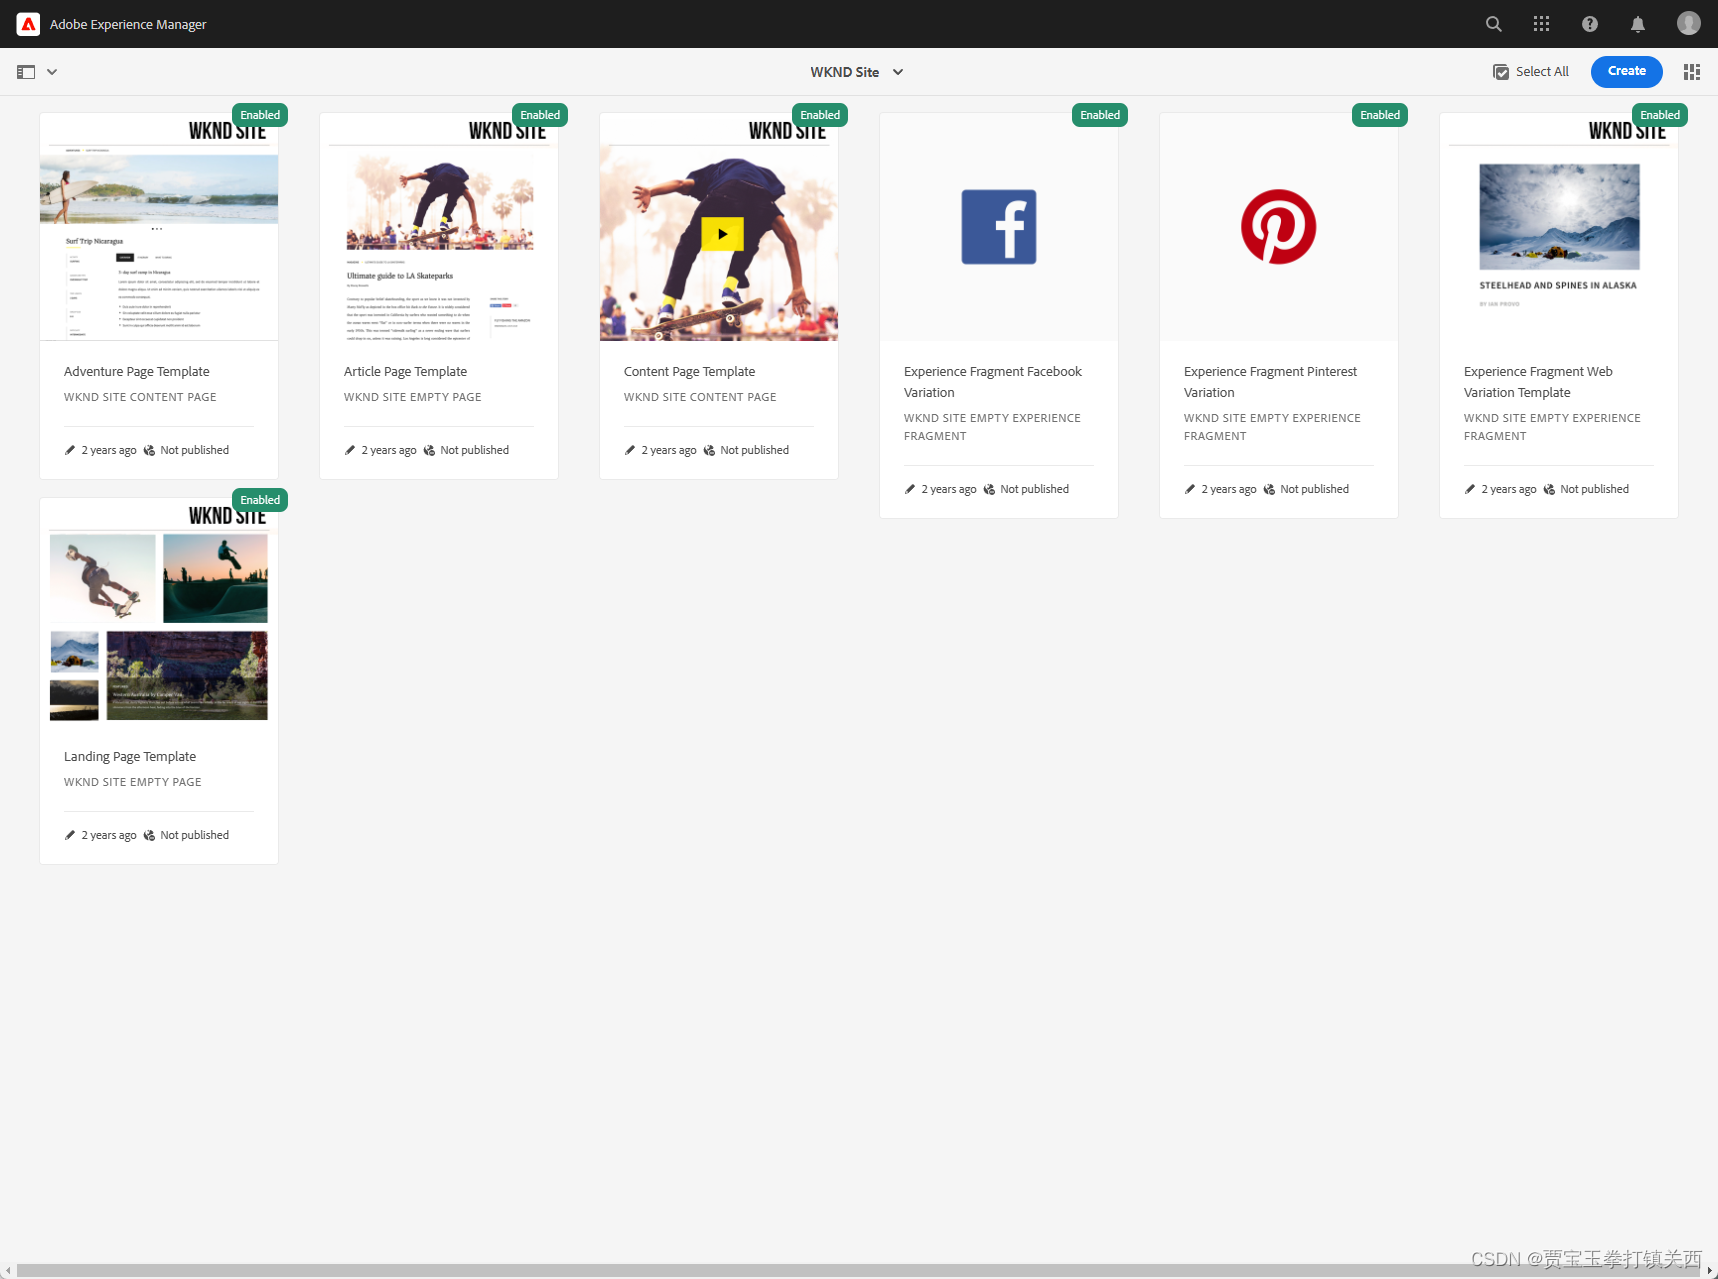
刷新http://localhost:4502,点击sites就可以看到WKND站点了
自定义模板
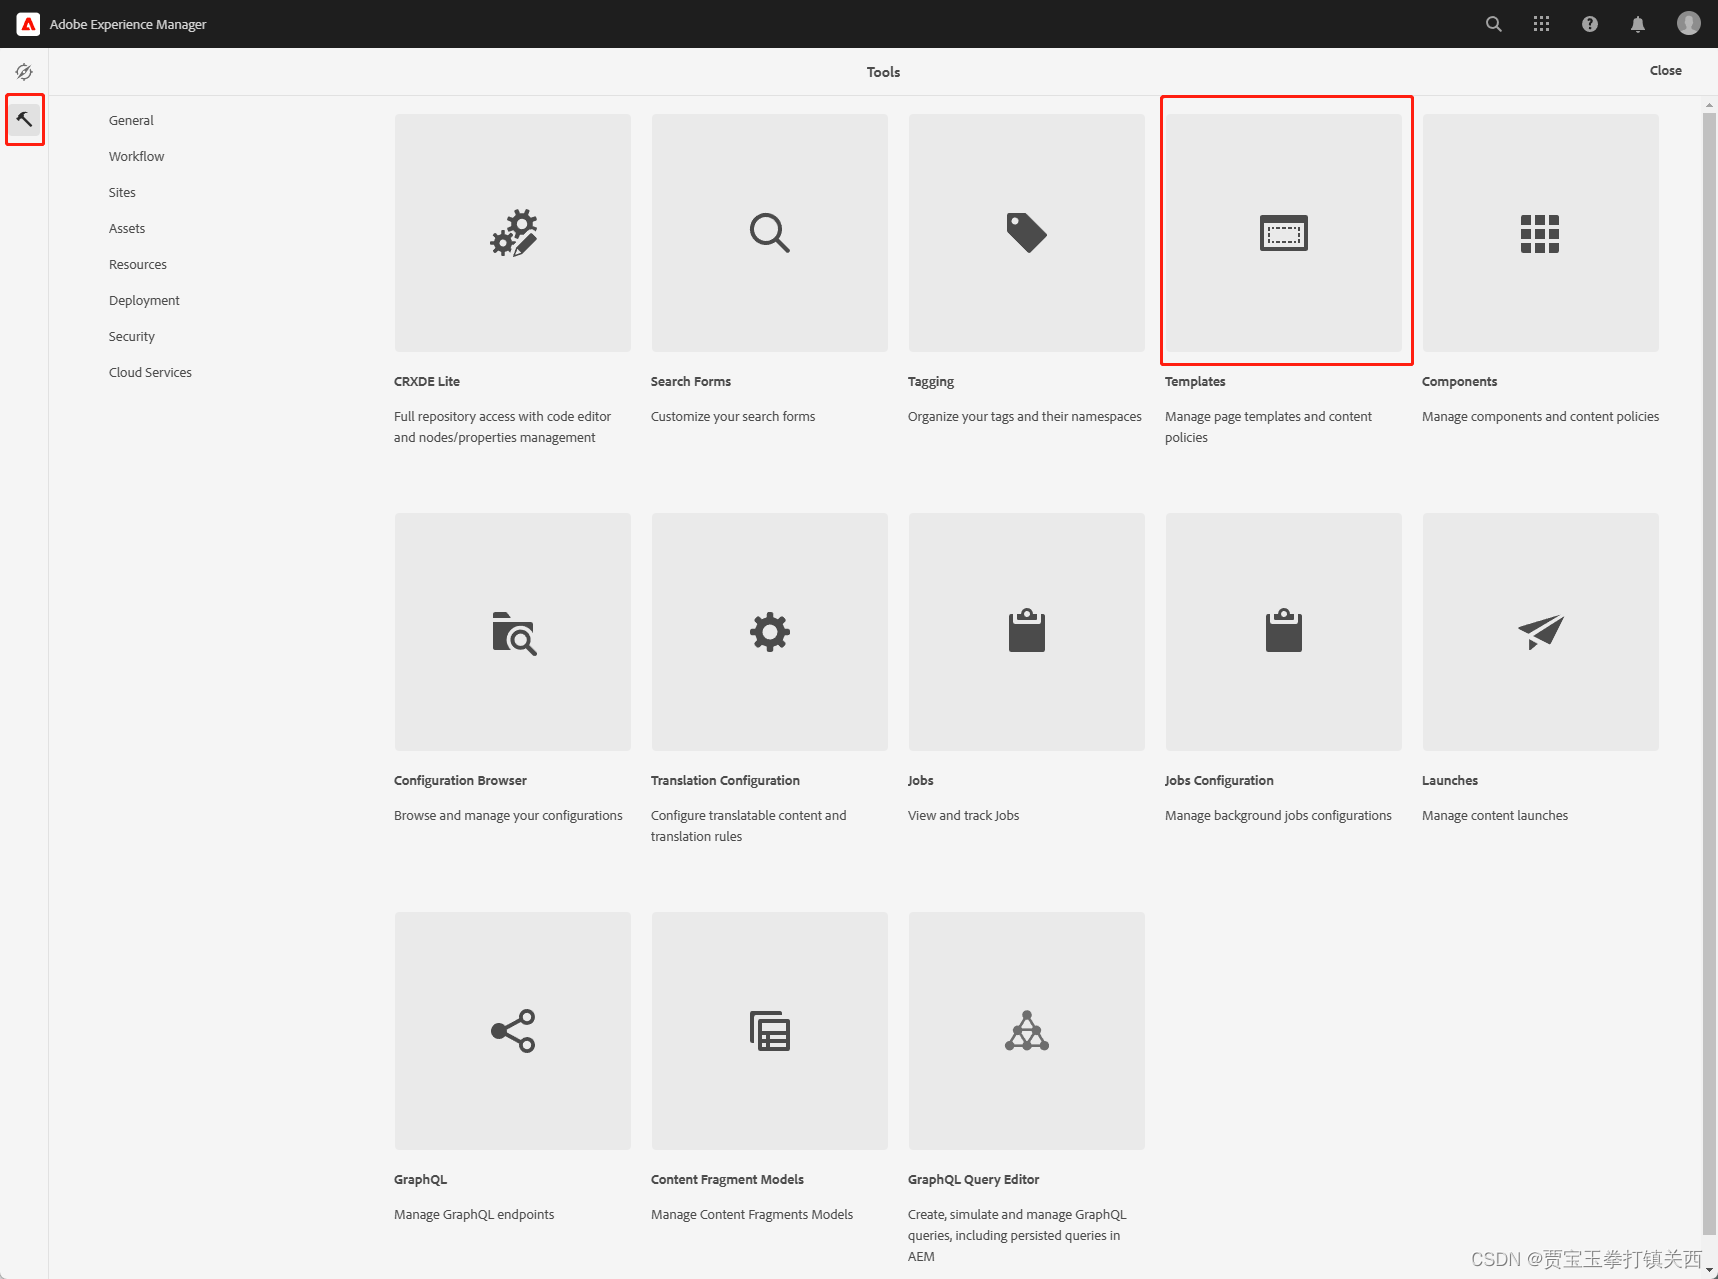
进入Tools页面,选择Templates
进入WKND Site目录
点击右上角create按钮,选择Empty Page

输入模板名称,点击Create按钮

模板编辑的三种模式
模板有三个角度进行编辑
- Structure模式,编辑模板的策略及模板的内容结构
- Initial Content模式,使用策略中配置的组件对页面的内容进行初始化
- Layout模式,对页面的大小及尺寸进行配置

Structure模式
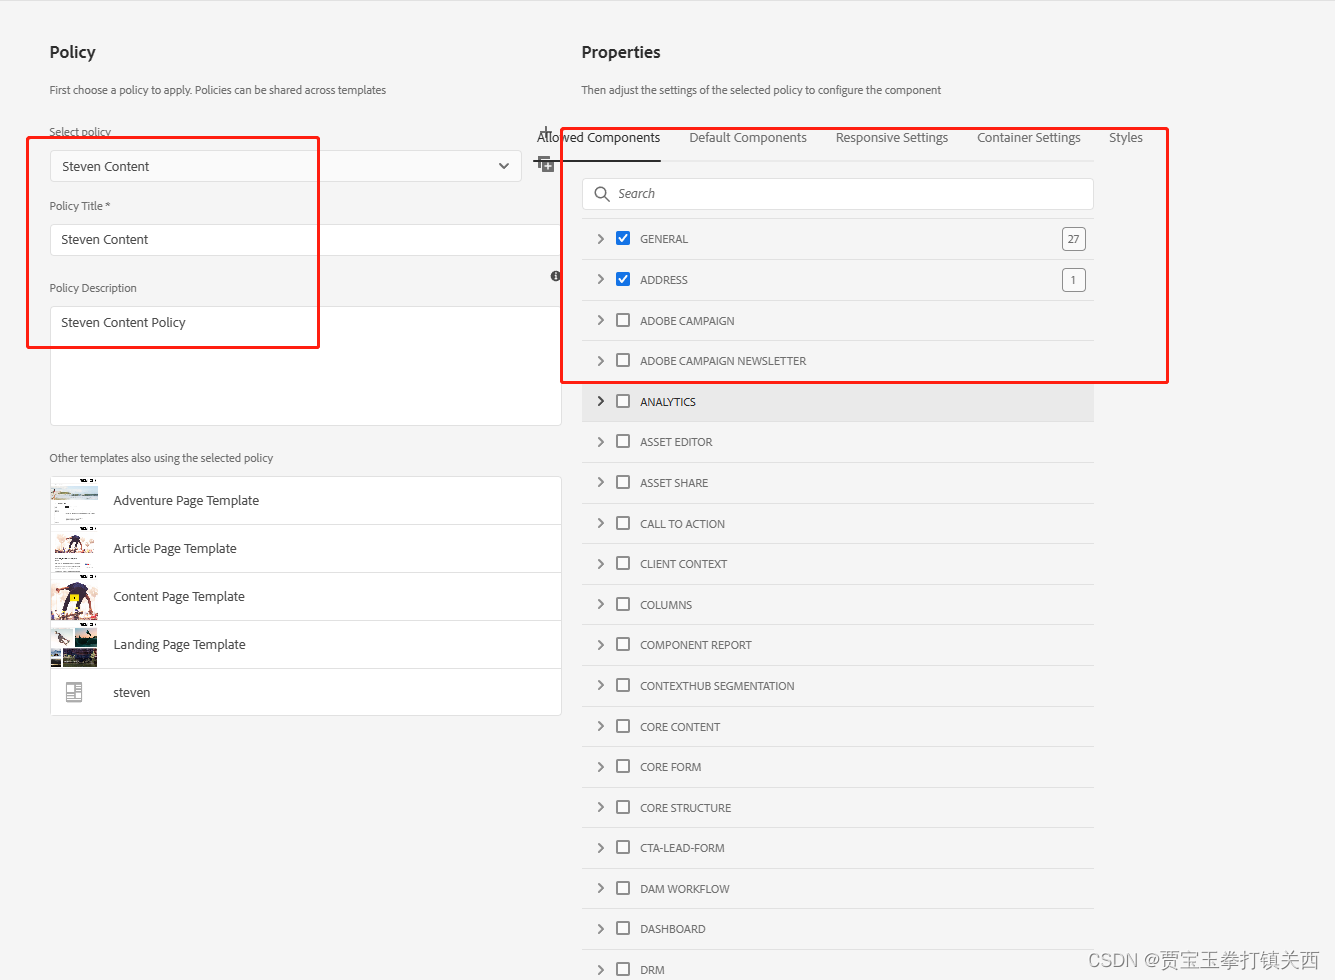
编辑模板策略,配置在此模板中可以使用的组件,如(标题、文本等)
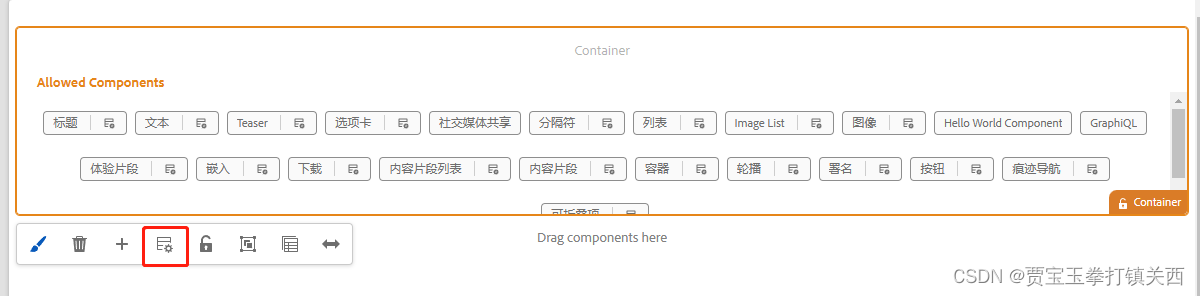
可以使用WKND自带的策略,也可以新增自己的策略,左侧新增自定义策略,右侧勾选所需的组件,点击右上角Done按钮完成编辑
Initial Content模式
进入初始化内容编辑模式,在每个页面都会出现固定的内容,点击Drag按钮选择需要的组件


新增了Image和Text组件,继续内容进行编辑,点击Image组件的扳手图标

选择图片,输入内容,点击Done保存

同样点击Text组件,并输入内容保存

Layout模式
进入Layout模式进行页面的布局调整

通过对布局的调整讲组件位置进行摆放


自定义模板就编辑完成了,回到模板列表页面开启模板


使用自定义模板创建页面
回到站点,选中站点目录,打开properties页面,需要更改站点所允许的模板文件,WKND默认只允许自带的4个模板

选择Advanced页签,找到Templates Settings,点击add按钮新增我们刚才添加的自定义模板steven,路径为/conf/wknd/settings/wcm/templates/steven,点击Save&Close按钮

返回站点,选中任意目录,点击Create按钮创建页面

选中自定义模板,点击next,输入Title即页面名称


打开页面后,如下图,出现了我们在模板中定义的结构、内容、布局

还可以继续在此页面上添加特定的组件和内容,可以从左侧拖动组件到右侧编辑框内

编辑byline组件,放入图片,输入文字

点击View as Published按钮查看页面完成效果


这样自定义模板和页面就完成了,那么我们怎么把模板和页面保存在代码中呢?可以使用我们开头讲到的repo工具。
打开IDEA,找到目录ui.content/src/main/content/jcr_root/conf/wknd/settings/wcm/templates,在目录上右键使用repo的get工具

repo-get工具会从JCR中将我们定义的模板同步到代码中


initial目录为模板的初始化内容,policies为策略目录,structure为结构目录,.content.xml为各自的内容,就是我们在模板添加的结构、内容、布局。在这个模板和页面中我们用到的组件都是AEM自带和WKND编写好的基础组件,下一章我们会开始讲解如何通过代码实现自定义组件。


 3512
3512

 被折叠的 条评论
为什么被折叠?
被折叠的 条评论
为什么被折叠?
 到【灌水乐园】发言


