


更新部分
1.支持选择字体;
2.支持选择词云图形状
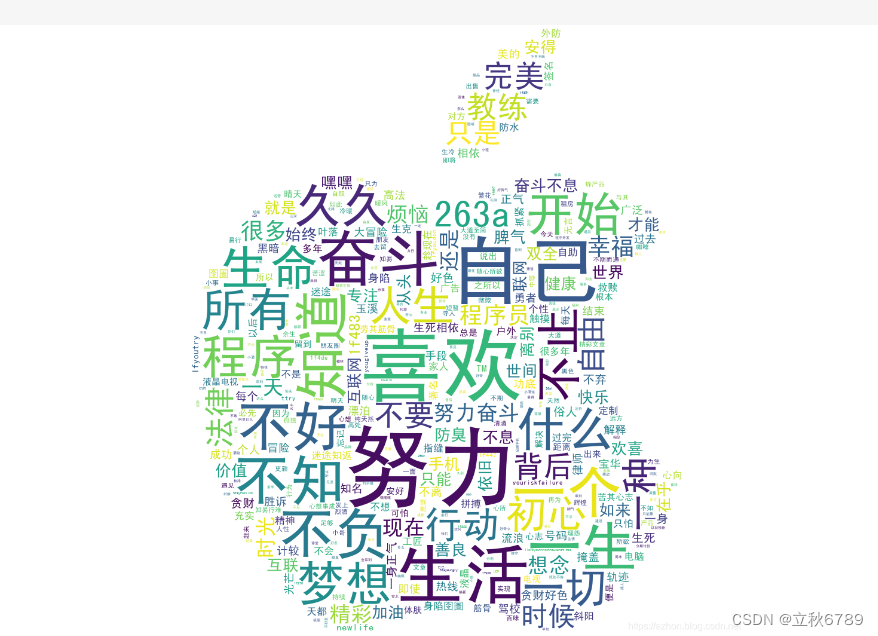
词云图
词云图啊,简单来说,它可以把文本数据中的高频关键词变成不同大小、颜色的词汇,然后像云朵一样聚集在一起。如下图所示:

主要三方库
- pyqt开发gui界面
- jieba库进行分词
- matplotlib库展示词云图
- wordcloud库生成词云图
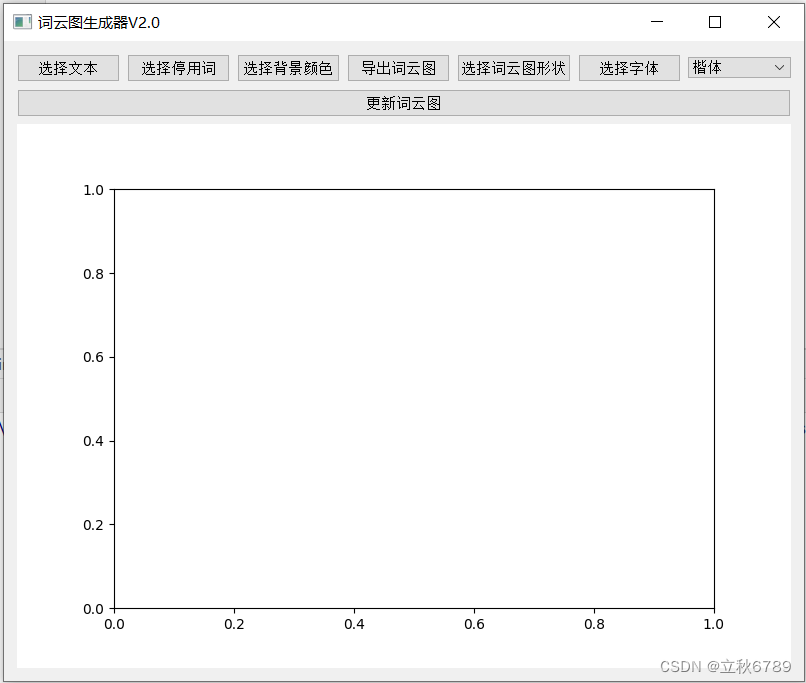
工具介绍和效果
工具界面:
代码
"""
楷体:simkai.ttf
隶书:SIMLI.TTF
宋体:simsun.ttc
黑体:simhei.ttf
微软雅黑:msyh.ttc


"""
import sys
from PyQt5.QtWidgets import QApplication, QWidget, QVBoxLayout, QHBoxLayout, QPushButton, QSizePolicy, QFileDialog, \
    QColorDialog, QComboBox
from matplotlib.backends.backend_qt5agg import FigureCanvasQTAgg as FigureCanvas
from matplotlib.figure import Figure
from wordcloud import WordCloud
import jieba
import numpy as np
from PIL import Image


class MainWindow(QWidget):
    def __init__(self):
        super().__init__()
        self.color_code = None
        self.mask_shape = None
        self.ch_font = None
        self.initUI()

    def initUI(self):
        self.font_dict = {'楷体': 'simkai.ttf', '隶书': 'SIMLI.TTF', '宋体': 'simsun.ttc', '黑体': 'simhei.ttf',
                          '微软雅黑': 'msyh.ttc'}
        # 创建布局
        vbox = QVBoxLayout()
        # 第一部分:横向排列的四个按钮
        button_list = ["选择文本", "选择停用词", "选择背景颜色", "导出词云图", "选择词云图形状", "选择字体"]
        self.font_type = QComboBox(self)
        # 遍历字典的键,并将它们添加到 QComboBox 中
        for key in self.font_dict:
            self.font_type.addItem(key)
        hbox1 = QHBoxLayout()
        for i in range(6):
            btn = QPushButton(button_list[i])
            if button_list[i] == "选择文本":
                btn.clicked.connect(self.openTextFile)
            elif button_list[i] == "选择停用词":
                btn.clicked.connect(self.openStopWordsFile)
            elif button_list[i] == "选择背景颜色":
                btn.setObjectName("选择背景颜色")
                btn.clicked.connect(self.selectBackgroundColor)
            elif button_list[i] == "选择词云图形状":
                btn.setObjectName("选择词云图形状")
                btn.clicked.connect(self.open_mask_img)
            else:
                btn.clicked.connect(self.save_wordcloud_image)
            hbox1.addWidget(btn)
        hbox1.addWidget(self.font_type)
        vbox.addLayout(hbox1)

        # 第二部分:一个按钮
        btn_single = QPushButton('更新词云图')
        btn_single.clicked.connect(self.update_wordcloud)  # 连接点击事件
        vbox.addWidget(btn_single)

        # 第三部分:matplotlib绘制的折线图(假设MatplotlibCanvas已定义)
        self.fig = Figure(figsize=(8, 8), dpi=100)
        self.axes = self.fig.add_subplot(111)
        self.canvas = FigureCanvas(self.fig)
        vbox.addWidget(self.canvas)  # 将画布添加到布局中
        # 设置窗口属性
        self.setLayout(vbox)
        self.setWindowTitle('词云图生成器V2.0')
        self.setGeometry(500, 300, 800, 640)
        self.show()

    def open_mask_img(self):
        options = QFileDialog.Options()
        options |= QFileDialog.DontUseNativeDialog
        fileName, _ = QFileDialog.getOpenFileName(self, "选择词云图形状", "",
                                                  "Image Files (*.png *.xpm *.jpg *.jpeg)",
                                                  options=options)
        if fileName:
            self.mask_shape = np.array(Image.open(fileName))

    def save_wordcloud_image(self):
        options = QFileDialog.Options()
        options |= QFileDialog.DontUseNativeDialog
        fileName, _ = QFileDialog.getSaveFileName(self, "保存词云图", "",
                                                  "PNG Files (*.png);;JPG Files (*.jpg);;All Files (*)",
                                                  options=options)
        if fileName:
            self.fig.savefig(fileName, dpi=100, bbox_inches='tight')
            print(f"词云图已保存为 {fileName}")

    def update_wordcloud(self):
        # 字体选择
        selected_text = self.font_type.currentText()
        # 使用字典的键来检索对应的值
        self.ch_font = self.font_dict[selected_text]
        # 使用jieba进行分词
        word_list = jieba.cut(self.text, cut_all=False)
        words = " ".join(word_list)
        # 设置matplotlib使用支持中文的字体
        # 创建WordCloud对象并生成词云图
        print(self.color_code)
        wordcloud = WordCloud(width=800, height=800,
                              background_color=self.color_code if self.color_code is not None else "white", \
                              stopwords=None, font_path=self.ch_font if self.ch_font is not None else 'msyh.ttc',
                              mask=self.mask_shape if self.mask_shape is not None else None).generate(
            words)

        # 清除之前的图像并绘制新的词云图
        self.axes.clear()
        self.axes.imshow(wordcloud, interpolation='bilinear')
        self.axes.axis("off")
        self.canvas.draw()

    def openTextFile(self):
        """打开文件选择对话框,选择文本文件"""
        self.file_path, _ = QFileDialog.getOpenFileName(self, "选择文本文件", "", "Text Files (*.txt)")
        if self.file_path:  # 确保文件路径不为空
            with open(self.file_path, 'r', encoding='utf-8') as file:  # 读取文本文件内容
                self.text = file.read()
                # 自动更新词云图
        else:
            print("未选择文件")

    def openStopWordsFile(self):
        """打开文件选择对话框,选择停用词文件"""
        file_path, _ = QFileDialog.getOpenFileName(self, "选择停用词文件", "", "Text Files (*.txt)")
        # 这里添加处理文件路径的逻辑
        with open(file_path, 'r', encoding='utf-8') as f:
            stopwords = set(f.read().splitlines())
        print(stopwords)

    def selectBackgroundColor(self):
        """打开颜色选择器,选择背景颜色"""
        color = QColorDialog.getColor()
        if color.isValid():
            # 更新按钮文本为颜色代码
            self.color_code = color.name()
            button = self.findChild(QPushButton, "选择背景颜色")
            button.setText(self.color_code)
            # 更新按钮文本颜色
            button.setStyleSheet(f"color: {self.color_code};")
            # 这里添加使用所选颜色的逻辑


if __name__ == '__main__':
    app = QApplication(sys.argv)
    ex = MainWindow()
    sys.exit(app.exec_())


 1988
1988


 被折叠的 条评论
为什么被折叠?
被折叠的 条评论
为什么被折叠?
 到【灌水乐园】发言


