


1、创建一个按钮对象,如下代码所示:
let btn=UIButton(type:UIButtonType.System);
其中 UIButtonType 还有以下几种类型,如下说明以及运行效果图:
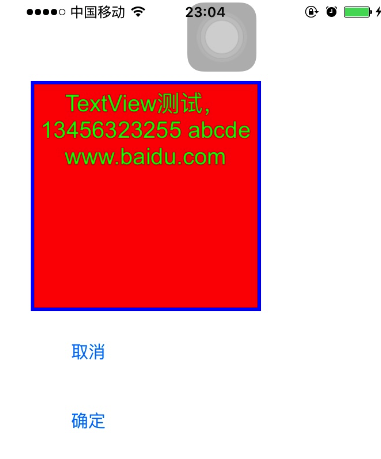
//Custom //表示没有按钮类型,如果使用此类型,字体颜色为白色,如果在白色背景下是看不到该按钮的
//System //使用系统的标准按钮
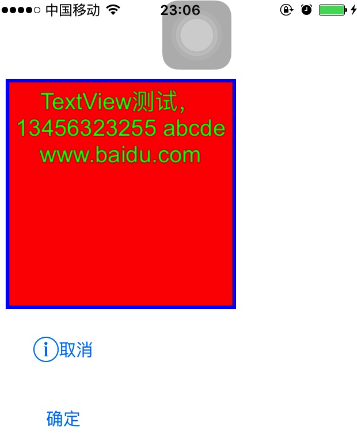
//DetailDisclosure //前面带“!”图标按钮,默认文字颜色为蓝色,有触摸时的高亮效果
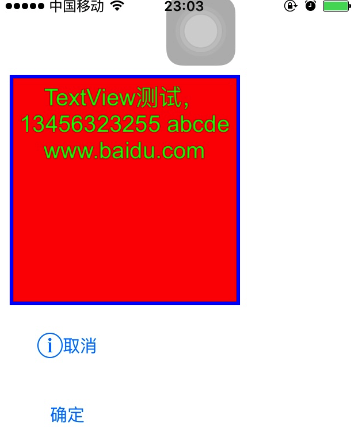
//InfoLight //为感叹号“!”圆形按钮
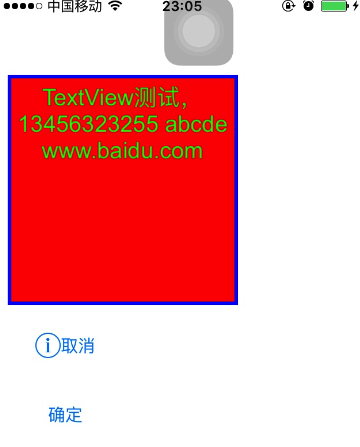
//InfoDark //为感叹号“!”圆形按钮
//ContactAdd //前面带“+”图标按钮,默认文字颜色为蓝色,有触摸时的高亮效果
2、设置按钮的位置,如以下代码:
btn.frame=CGRectMake(10,280,100,50)//设置按钮的位置
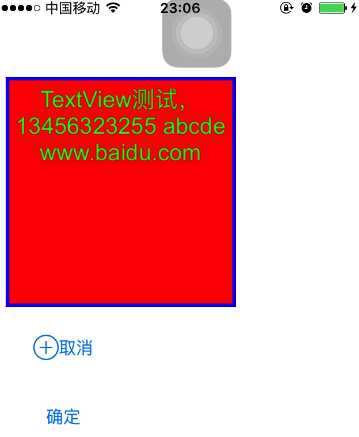
3、设置按钮上文字的样式,如以下代码所示:
btn.setTitle("取消", forState:UIControlState.Normal)
其中 forState有以下几种:
Normal:表示普通状态下得按钮文字
Highlighted: 表示只有触摸状态下按钮的文字
Disabled: 表示禁用状态下得按钮的文字
Selected: 表示选择状态下按钮的文字
Focused: // Applicable only when the screen supports focus
Application: // additional flags available for application use
Reserved: // flags reserved for internal framework use
4、设置按钮上文字的颜色,如下代码所示,设置的是在触摸时文字的颜色,如下代码:
btn.setTitleColor(UIColor.redColor(), forState:UIControlState.Highlighted)//设置触摸状态下得按钮的颜色
如下图所示:

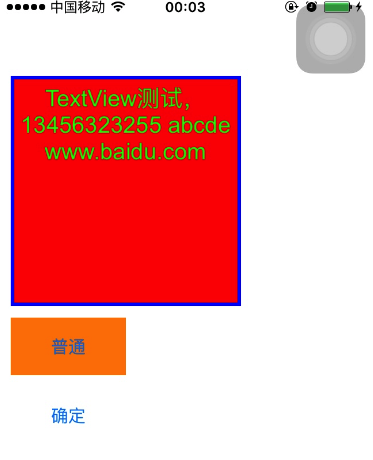
5、设置普通文字下得阴影背景颜色,如下代码:
btn.setTitleShadowColor(UIColor.greenColor(), forState:UIControlState.Normal)//设置普通文字下得阴影颜色
6、设置按钮的背景颜色,如下代码所示:
btn.backgroundColor=UIColor.orangeColor() //设置按钮的背景颜色
其效果图如下所示:
7、使触摸模式下按钮也不会变暗
btn.adjustsImageWhenHighlighted=false//使触摸模式下按钮也不会变暗
8、使禁用模式下按钮也不会变暗button.adjustsImageWhenDisabled=false //使禁用模式下按钮也不会变暗
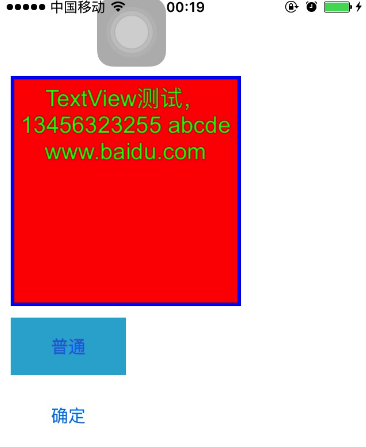
9、设置图片的背景颜色,如下代码:
btn.setBackgroundImage(UIImage(named:"background"),forState:UIControlState.Normal)//设置图片的背景颜色
效果图如下:
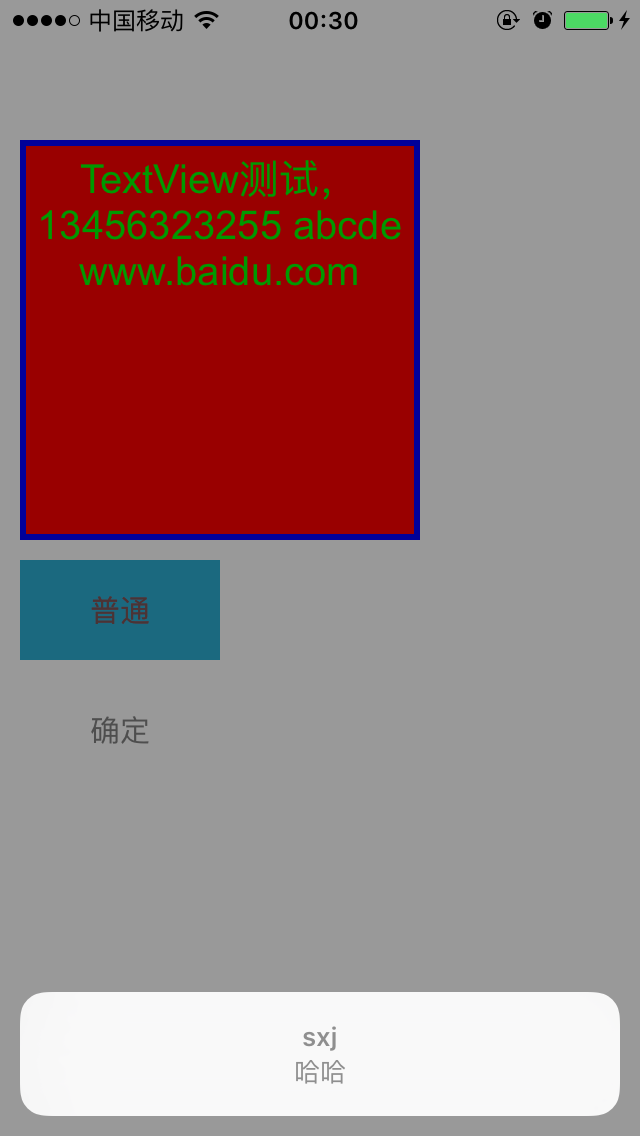
10、设置按钮的单击事件,如下代码所示:
btn.addTarget(self, action:"tapped", forControlEvents:UIControlEvents.TouchDown)
此代码所对应的事件方法函数定义为:
func tapped()
{
let alert=UIAlertController()
alert.title="sxj"
alert.message="哈哈"
self.presentViewController(alert, animated:true, completion: nil)
print("哈哈")
}
btn.addTarget(self, action:"tapped:", forControlEvents: UIControlEvents.TouchDown)
此代码所对应的事件方法函数定义为:
func tapped(button:UIButton)
{
}
其中self是根对象,action后边是当触发事件时要调用的方法,此时有两种一种是方法名加冒号,一个是不加,如以上代码所示,注意:必须要一一对象,否则会执行异常UIControlEvents.TouchDown是触发了什么事件,它有如下事件:
如下效果图所示:
11、最后是所有代码:
//
// ViewController.swift
// TextView
//
// Created by sunxj on 15/11/29.
// Copyright © 2015年 sunxj. All rights reserved.
//
import UIKit
class ViewController: UIViewController {
override func viewDidLoad() {
super.viewDidLoad()
// Do any additional setup after loading the view, typically from a nib.
let inputTextView=UITextView(frame:CGRectMake(10,70,200,200))
inputTextView.text="TextView测试,13456323255 abcde www.baidu.com"//设置view中的默认文字
inputTextView.backgroundColor=UIColor.redColor()//设置view的背景颜色
inputTextView.textColor=UIColor.greenColor()//设置view的文字颜色
inputTextView.layer.borderWidth=3//设置view的边框粗细
inputTextView.layer.borderColor=UIColor.blueColor().CGColor//设置边框的颜色
inputTextView.font=UIFont(name:"Arial",size:20)//设置字体的样式和字号
inputTextView.textAlignment=NSTextAlignment.Center//设置对其方式,居中对齐
//inputTextView.dataDetectorTypes=UIDataDetectorTypes.None//表示对文字中的电话号和网址度不加链接
//inputTextView.dataDetectorTypes=UIDataDetectorTypes.PhoneNumber//表示只对文字中的电话号加链接
//inputTextView.dataDetectorTypes=UIDataDetectorTypes.Link//表示只对文字中的网址加链接
//inputTextView.dataDetectorTypes=UIDataDetectorTypes.All//表示对文字中的电话号和网址度都加链接
//inputTextView.selectable=false//是否可选择
//inputTextView.secureTextEntry=true//是否以密码方式显示
//inputTextView.editable=false//设置view是否可以编辑
//inputTextView.keyboardType=UIKeyboardType.PhonePad//以手机号为模式弹出键盘
//inputTextView.keyboardType=UIKeyboardType.DecimalPad
inputTextView.autocapitalizationType=UITextAutocapitalizationType.None//表示不设置大写
inputTextView.autocapitalizationType=UITextAutocapitalizationType.Words//表示每个单词大写
inputTextView.autocapitalizationType=UITextAutocapitalizationType.Sentences//每个句子的第一个字母大写
inputTextView.autocapitalizationType=UITextAutocapitalizationType.AllCharacters//所有字母都大写
self.view.addSubview(inputTextView)
let btn=UIButton(type:UIButtonType.System);//
//Custom //表示没有按钮类型,如果使用此类型,字体颜色为白色,如果在白色背景下是看不到该按钮的
//System //使用系统的标准按钮
//DetailDisclosure //前面带“!”图标按钮,默认文字颜色为蓝色,有触摸时的高亮效果
//InfoLight //为感叹号“!”圆形按钮
//InfoDark //为感叹号“!”圆形按钮
//ContactAdd //前面带“+”图标按钮,默认文字颜色为蓝色,有触摸时的高亮效果
btn.frame=CGRectMake(10,280,100,50)//设置按钮的位置
btn.setTitle("普通", forState:UIControlState.Normal)//设置按钮上显示的文字
/*
Normal:表示普通状态下得按钮文字
Highlighted: 表示触摸状态下按钮的文字
Disabled: 表示禁用状态下得按钮的文字
Selected: 表示选择状态下按钮的文字
Focused: // Applicable only when the screen supports focus
Application: // additional flags available for application use
Reserved: // flags reserved for internal framework use
*/
btn.setTitleColor(UIColor.redColor(), forState:UIControlState.Highlighted)//设置触摸状态下得按钮的颜色
btn.setTitleShadowColor(UIColor.redColor(), forState:UIControlState.Normal)//设置普通文字下得阴影颜色
btn.backgroundColor=UIColor.orangeColor() //设置按钮的背景颜色
btn.adjustsImageWhenHighlighted=false//使触摸模式下按钮也不会变暗
btn.adjustsImageWhenDisabled=false//使禁用模式下按钮也不会变暗
btn.setBackgroundImage(UIImage(named:"background"),forState:UIControlState.Normal)//设置图片的背景颜色
btn.addTarget(self, action:"tapped", forControlEvents:UIControlEvents.TouchDown)
self.view.addSubview(btn)
let button = UIButton(type: UIButtonType.System)
button.frame = CGRectMake(10,340,100, 50)
button.setTitle("确定", forState:UIControlState.Normal)
button.addTarget(self, action:"buttonPressed:", forControlEvents: UIControlEvents.TouchDown)
self.view.addSubview(button)
}
override func didReceiveMemoryWarning() {
super.didReceiveMemoryWarning()
// Dispose of any resources that can be recreated.
}
func buttonPressed(button: UIButton) {
print("haha")
}
func tapped()
{
let alert=UIAlertController()
alert.title="sxj"
alert.message="哈哈"
self.presentViewController(alert, animated:true, completion: nil)
print("哈哈")
}
}


 1万+
1万+

 被折叠的 条评论
为什么被折叠?
被折叠的 条评论
为什么被折叠?
 到【灌水乐园】发言


