


安装wordcloud:
pip3 install wordcloud
1.词云生成(基础)
from wordcloud import WordCloud as wc
import  matplotlib.pyplot as plt
导入包
text=open('AI2017.txt','r').read()
读取txt文件
此处可能会出现报错,原因是中文字符,则更改为(我的电脑没出现这个问题):
text=open('AI2017.txt','r',encoding='utf-8').read()设置词云字体+生成词云:
生成词云使用 wc.generate()
mywc=wc(font_path='/System/Library/Fonts/Hiragino Sans GB.ttc').generate(text)
显示词云+关闭坐标轴:
plt.imshow(mywc)
plt.axis('off')
plt.show() 
2.使用jieba进行分词
导入jieba,打开txt文件:
import jieba
with open('AI2017.txt','r')as f:
    renmin=f.read()
加载分词txt进行分词,生成列表(jieba自带):
jieba.load_userdict('dict.txt')
seg_list=jieba.cut(renmin,cut_all=False)
建立字典进行分词储存:
分词如果不在字典中就储存一个,如果已经在字典中就+1
tf={}
for seg in seg_list:
    if seg in tf:
        tf[seg]+=1
    else:
        tf[seg]=1
读取字典中的键,去除stopword:
此处需要导入stopword的txt文档进行筛选(jieba自带)
出现报错:需添加encoding='gb18030'
ci=list(tf.keys())
with open('chineseStopWords.txt','r',encoding='gb18030')as ft:
    stopword=ft.read()
将不符合要求的词踢出字典,打印:
去除字典中的键值对:tf.pop()
for seg in ci:
    if tf[seg]<5 or len(seg)<2 or seg in stopword or "一" in seg:
        tf.pop(seg)

print(tf)
3.根据分词生成词云
导入包:
import os
print(os.getcwd())
from wordcloud import WordCloud
import matplotlib.pyplot as plt
导入中文字体,根据分词生成词云:
font=r'/System/Library/Fonts/Hiragino Sans GB.ttc'
wc=WordCloud(font_path=font,width=1000,height=600).generate_from_frequencies(tf)
输出:
plt.imshow(wc)
plt.axis('off')
plt.show()
wc.to_file('AI.jpg')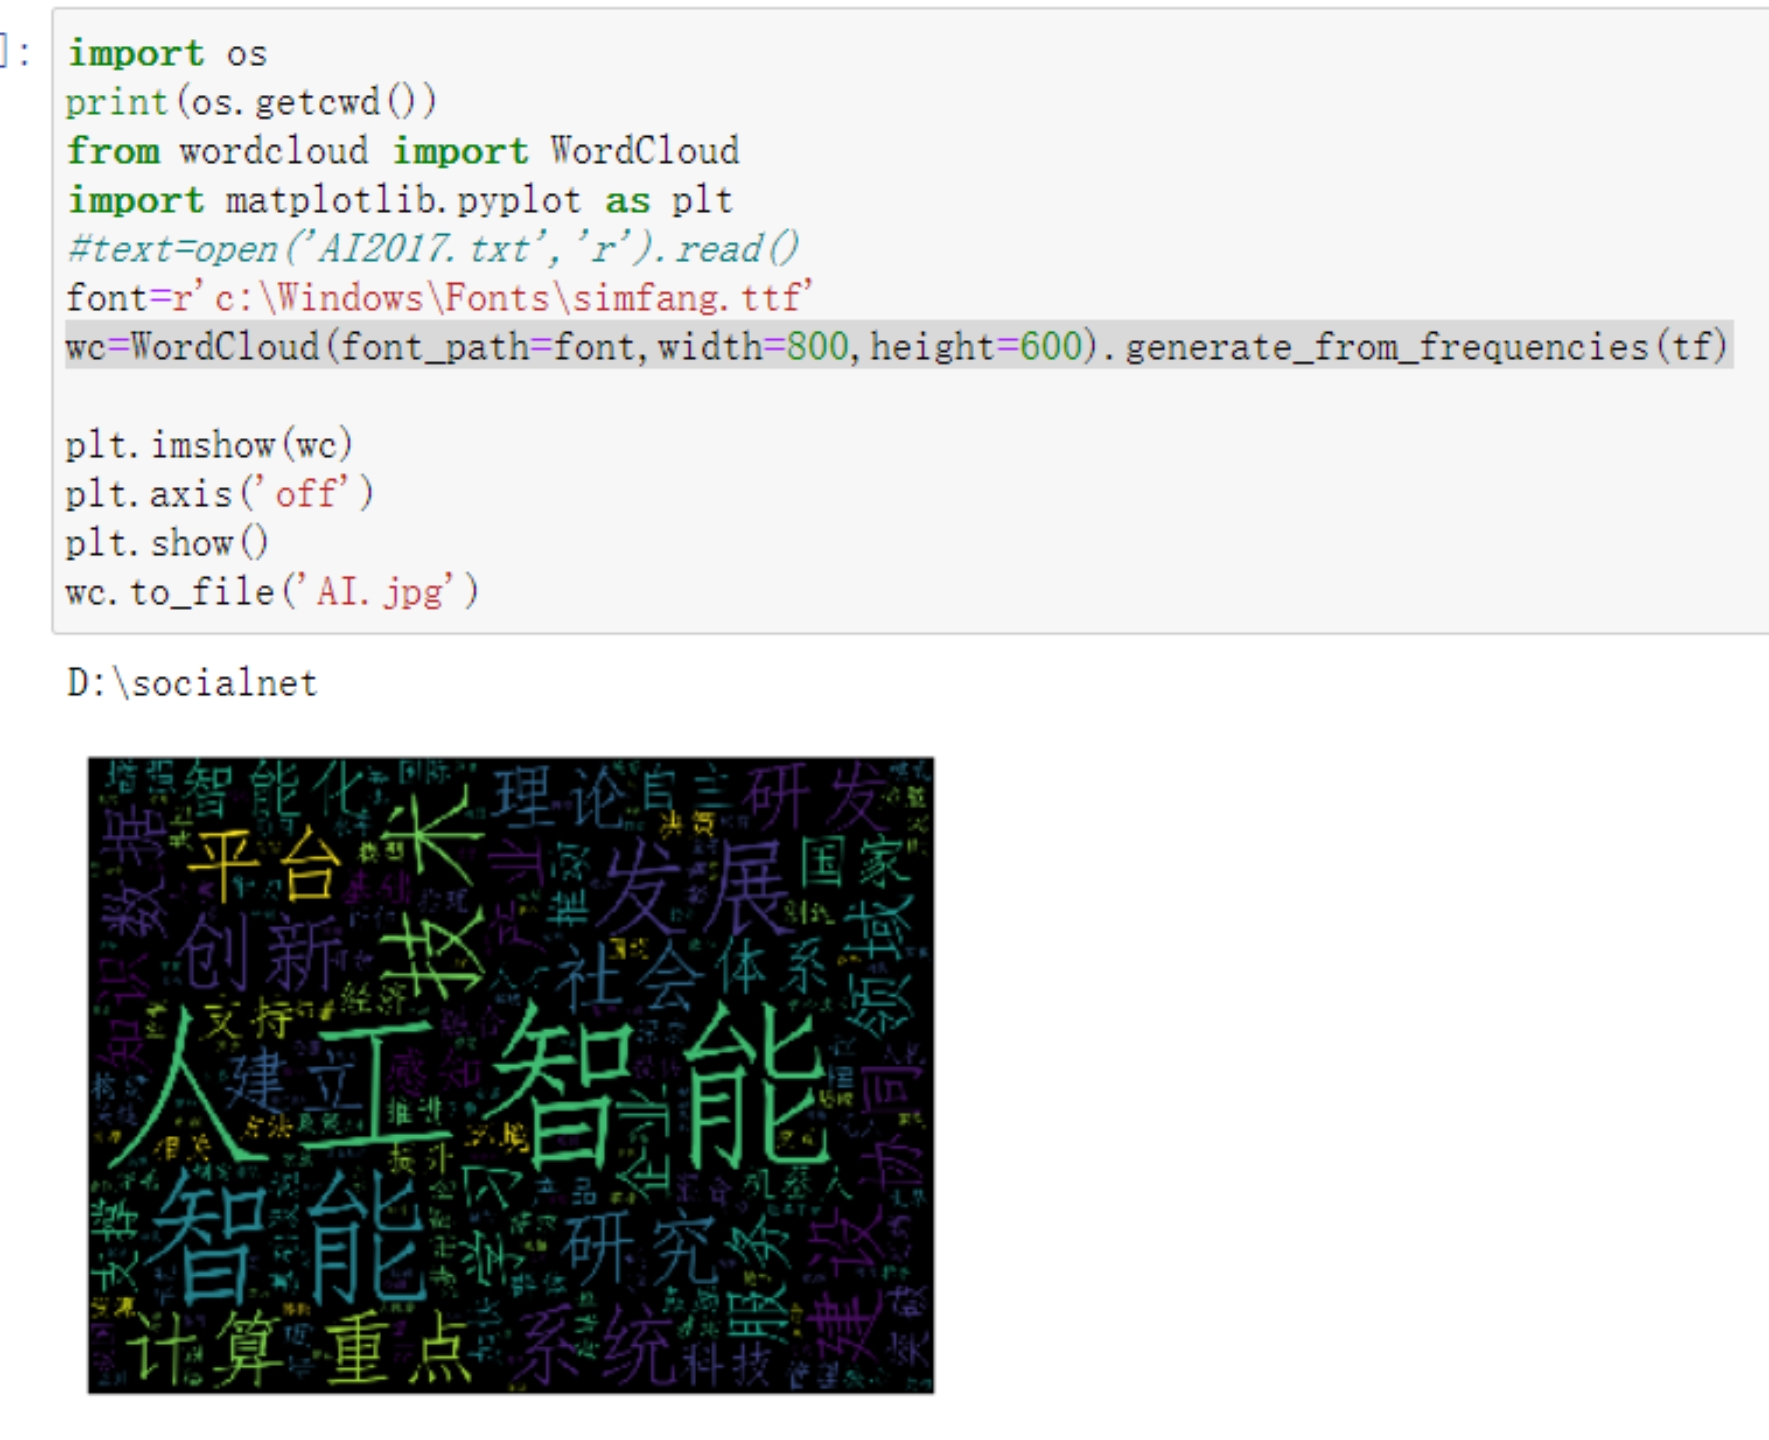

套图形:
from PIL import Image
import numpy as np
mask=np.array(Image.open("heart.png"))调整背景颜色:
wc=WordCloud(background_color="white",mask=mask,font_path=font,width=1000,height=600).generate_from_frequencies(tf)
从原图提取色彩:
from wordcloud import WordCloud,ImageColorGenerator
image_colors=ImageColorGenerator(mask)
plt.imshow(wc.recolor(color_func=image_colors))
4.心得
(1)mac系统没有专门的txt软件,最开始储存的格式有问题就无法打开,最后在word里面另存为txt就成功了。
(2) 导入中文字体的代码和Windows系统不一样,需要使用'/System/Library/Fonts/Hiragino Sans GB.ttc',并且在我的系统中不需要输入encoding=utf-8解决中文字符问题
(3)导入分词字典txt和stopword txt都出现报错,可能是因为缓存速度太慢的原因,最终在网上下载了现成的这两个文档,解决了问题。
(4)导入stopword的txt的时候在encoding=utf-8这里也出现报错,在网上查了一下是因为数据量太大了utf-8无法处理所以改成了encoding='gb18030',就运行成功了。


 490
490


 被折叠的 条评论
为什么被折叠?
被折叠的 条评论
为什么被折叠?
 到【灌水乐园】发言


