


以下内容是从SpringBoot官网中学到:
https://docs.spring.io/spring-boot/docs/2.0.0.M3/reference/htmlsingle/#boot-features-spring-application
1.系统需求
Spring Boot 2.0.0.M3需要Java8 和 Spring 5.0.0.RC3或者更高版本。指定的支持的编译工具是Maven 3.2+和Gradle 3(3.4 或 更高版本)
2.创建一个新项目
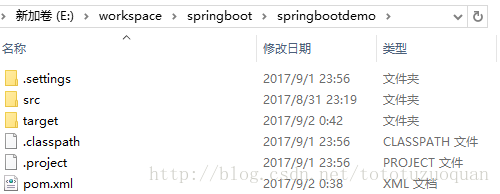
mvn archetype:generate -DgroupId=com.example -DartifactId=myproject -DarchetypeArtifactId=maven-archetype-quickstart -DinteractiveMode=false最终生成的项目结构如下:
3.编写一个简单的pom文件
<?xml version="1.0" encoding="UTF-8"?>
<project xmlns="http://maven.apache.org/POM/4.0.0" xmlns:xsi="http://www.w3.org/2001/XMLSchema-instance"
         xsi:schemaLocation="http://maven.apache.org/POM/4.0.0 http://maven.apache.org/xsd/maven-4.0.0.xsd">
  <modelVersion>4.0.0</modelVersion>

  <groupId>com.example</groupId>
  <artifactId>myproject</artifactId>
  <version>0.0.1-SNAPSHOT</version>

  <!-- Inherit defaults from Spring Boot -->
  <parent>
    <groupId>org.springframework.boot</groupId>
    <artifactId>spring-boot-starter-parent</artifactId>
    <version>2.0.0.M3</version>
  </parent>

  <!-- Add typical dependencies for a web application -->
  <dependencies>
    <dependency>
      <groupId>org.springframework.boot</groupId>
      <artifactId>spring-boot-starter-web</artifactId>
    </dependency>
  </dependencies>

  <!-- Package as an executable jar :为了创建一个可执行的jar,需要添加spring-boot-maven-plugin到我们的pom文件-->
  <build>
    <plugins>
      <plugin>
        <groupId>org.springframework.boot</groupId>
        <artifactId>spring-boot-maven-plugin</artifactId>
      </plugin>
    </plugins>
  </build>

  <!-- Add Spring repositories -->
  <!-- (you don't need this if you are using a .RELEASE version) -->
  <repositories>
    <repository>
      <id>spring-snapshots</id>
      <url>http://repo.spring.io/snapshot</url>
      <snapshots><enabled>true</enabled></snapshots>
    </repository>

    <repository>
      <id>spring-milestones</id>
      <url>http://repo.spring.io/milestone</url>
    </repository>
  </repositories>

  <pluginRepositories>
    <pluginRepository>
      <id>spring-snapshots</id>
      <url>http://repo.spring.io/snapshot</url>
    </pluginRepository>

    <pluginRepository>
      <id>spring-milestones</id>
      <url>http://repo.spring.io/milestone</url>
    </pluginRepository>
  </pluginRepositories>

</project>
将项目导入进Eclipse中,项目结构如下:
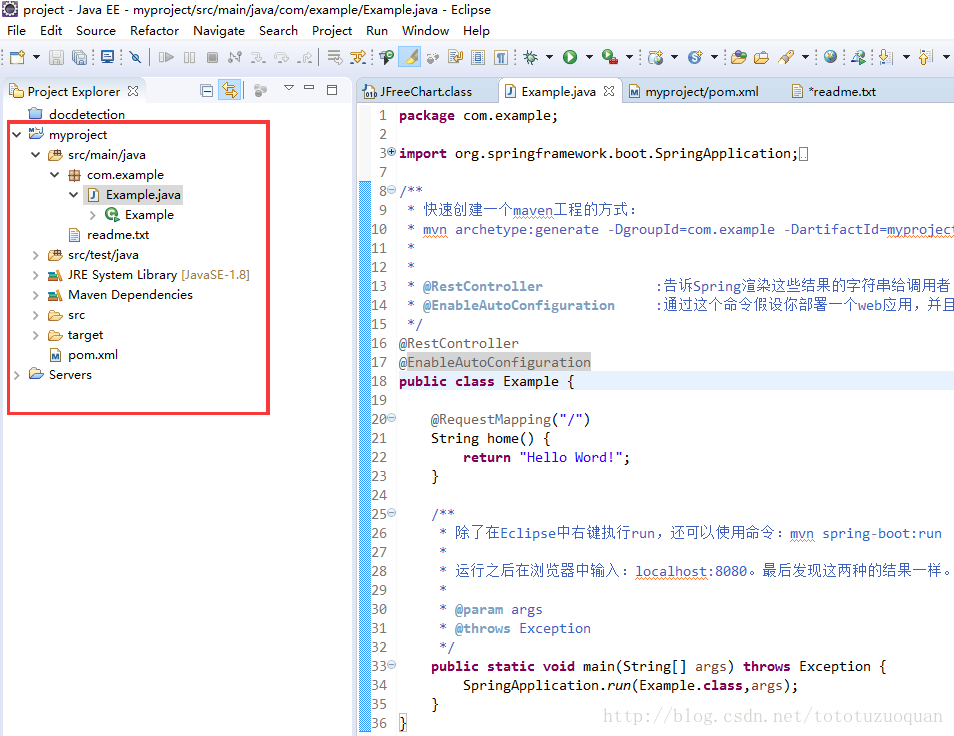
4.编写Example代码
package com.example;
import org.springframework.boot.SpringApplication;
import org.springframework.boot.autoconfigure.EnableAutoConfiguration;
import org.springframework.web.bind.annotation.RequestMapping;
import org.springframework.web.bind.annotation.RestController;
/**
* 快速创建一个maven工程的方式:
* mvn archetype:generate -DgroupId=com.example -DartifactId=myproject -DarchetypeArtifactId=maven-archetype-quickstart -DinteractiveMode=false
*
*
* @RestController :告诉Spring渲染这些结果的字符串给调用者
* @EnableAutoConfiguration :通过这个命令假设你部署一个web应用,并且为你设置了spring的参数配置
*/
@RestController
@EnableAutoConfiguration
public class Example {
@RequestMapping("/")
String home() {
return "Hello Word!";
}
/**
* 除了在Eclipse中右键执行run,还可以使用命令:mvn spring-boot:run
*
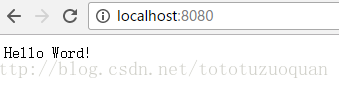
* 运行之后在浏览器中输入:http://localhost:8080/。最后发现这两种的结果一样。
*
* @param args
* @throws Exception
*/
public static void main(String[] args) throws Exception {
SpringApplication.run(Example.class,args);
}
}
最后在浏览器中看到的内容如下:
5.其它命令行
1、通过  mvn dependency:tree 这个命令可以查看当前spring-boot程序依赖哪些jar包,并打印成树形的列表。
2、将程序打成一个jar包,使用的插件是:
<build>
    <plugins>
        <plugin>
            <groupId>org.springframework.boot</groupId>
            <artifactId>spring-boot-maven-plugin</artifactId>
        </plugin>
    </plugins>
</build>

接着执行命令:mvn package,查看target目录,可以看到myproject-0.0.1-SNAPSHOT.jar这个jar包。
这个文件大约在10M左右,如果你想瞥一下这个包里面的东西。你可以使用jar tvf命令。
E:\workspace\springboot\springbootdemo>jar tvf target\myproject-0.0.1-SNAPSHOT.jar
     0 Sat Sep 02 00:42:06 GMT+08:00 2017 META-INF/
   518 Sat Sep 02 00:42:06 GMT+08:00 2017 META-INF/MANIFEST.MF
     0 Sat Sep 02 00:42:06 GMT+08:00 2017 BOOT-INF/
     0 Sat Sep 02 00:42:06 GMT+08:00 2017 BOOT-INF/classes/
     0 Fri Sep 01 23:56:26 GMT+08:00 2017 BOOT-INF/classes/com/
     0 Fri Sep 01 23:56:26 GMT+08:00 2017 BOOT-INF/classes/com/example/
     0 Fri Sep 01 23:56:26 GMT+08:00 2017 META-INF/maven/
     0 Fri Sep 01 23:56:26 GMT+08:00 2017 META-INF/maven/com.example/
     0 Fri Sep 01 23:56:26 GMT+08:00 2017 META-INF/maven/com.example/myproject/
   979 Sat Sep 02 00:27:46 GMT+08:00 2017 BOOT-INF/classes/com/example/Example.class
  1965 Sat Sep 02 00:38:04 GMT+08:00 2017 META-INF/maven/com.example/myproject/pom.xml

你还可以看到一个更小的文件,这个文件是在target目录文件夹下的:myproject-0.0.1-SNAPSHOT.jar.original
这个文件是spring-boot在它之前重新打包后的内容。

如果想运行这个应用程序,使用java -jar命令行:java -jar target\myproject-0.0.1-SNAPSHOT.jar
看到的效果如下:
E:\workspace\springboot\springbootdemo>java -jar target\myproject-0.0.1-SNAPSHOT.jar

  .   ____          _            __ _ _
 /\\ / ___'_ __ _ _(_)_ __  __ _ \ \ \ \
( ( )\___ | '_ | '_| | '_ \/ _` | \ \ \ \
 \\/  ___)| |_)| | | | | || (_| |  ) ) ) )
  '  |____| .__|_| |_|_| |_\__, | / / / /
 =========|_|==============|___/=/_/_/_/
 :: Spring Boot ::             (v2.0.0.M3)
6 使用@SpringBootApplication注解
@SpringBootApplication等价:@Configuration @EnableAutoConfiguration @ComponentScan
代码内容如下:
package com.example.myproject;

import org.springframework.boot.SpringApplication;
import org.springframework.boot.autoconfigure.SpringBootApplication;

/**
 * 等价 @Configuration @EnableAutoConfiguration @ComponentScan
 * @author toto
 *
 */
@SpringBootApplication
public class Application {

    public static void main(String[] args) {
        SpringApplication.run(Application.class, args);
    }
}
上面的代码等价:
package com.example;

import org.springframework.boot.SpringApplication;
import org.springframework.boot.autoconfigure.EnableAutoConfiguration;
import org.springframework.context.annotation.ComponentScan;
import org.springframework.context.annotation.Configuration;

@Configuration
@EnableAutoConfiguration
@ComponentScan
public class Application {

    public static void main(String[] args) {
        SpringApplication.run(Application.class, args);
    }
}
7、SpringBoot还可以运行带有远程调试支持的打包应用程序
$ java -Xdebug -Xrunjdwp:server=y,transport=dt_socket,address=8000,suspend=n -jar target/myproject-0.0.1-SNAPSHOT.jar8、SpringBoot运行应用
mvn spring-boot:run 这个命令可以直接运行springboot应用
如果想要使用操作系统变量,可以类似下面的方式使用:export MAVEN_OPTS=-Xmx1024m
9、SpringBoot热部署
SpringBoot还要有一个额外的部署工具集,让热部署体验更加舒服,减少调试时间,在这个过程中需要的插件是:
<dependencies>
    <dependency>
        <groupId>org.springframework.boot</groupId>
        <artifactId>spring-boot-devtools</artifactId>
        <optional>true</optional>
    </dependency>
</dependencies>
如果想让重启功能完全失效(这样在修改完内容之后,不会立即显示出效果),可以在SpringApplication.run(Example.class,args);下配置:
//System.setProperty("spring.devtools.restart.enabled", "false");
SpringApplication.run(Example.class,args);


 125
125


 被折叠的 条评论
为什么被折叠?
被折叠的 条评论
为什么被折叠?
 到【灌水乐园】发言


