


python cv2 通过物体轮廓裁剪图片中的物体
参考文献:
(1)python-opencv2利用cv2.findContours()函数来查找检测物体的轮廓:
https://blog.csdn.net/hjxu2016/article/details/77833336
(2)使用Python中的OpenCV访问轮廓边界内的像素值(Access pixel values within a contour boundary using OpenCV in Python)
https://www.it1352.com/897283.html
(3)python使用opencv通过掩码提取彩色图片感兴趣区域
https://blog.csdn.net/hjxu2016/article/details/77833336
本人在课题研究中,需要将一个零件从图片中裁剪出来,放到纯白的背景中,零件图片如下图所示。

想要实现的效果:(阴影部分没有完全去掉,留待后续研究)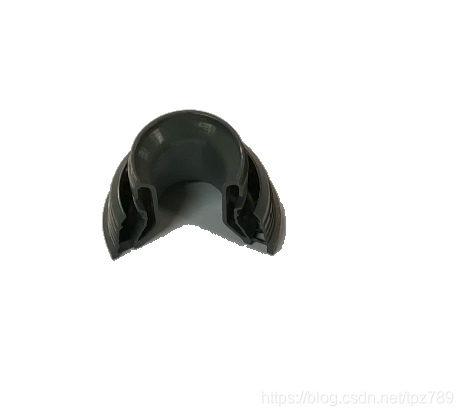
实现代码如下:
import cv2
import numpy as np
import copy

img = cv2.imread('123.jpg')
img2 = copy.deepcopy(img)
img3 = copy.deepcopy(img)
img4 = copy.deepcopy(img)
img5 = copy.deepcopy(img)

cv2.imshow('1', img)  # 原图
cv2.waitKey(0)

gray = cv2.cvtColor(img, cv2.COLOR_BGR2GRAY)
ret, binary = cv2.threshold(gray, 127, 255, cv2.THRESH_BINARY_INV)  # opencv里面画轮廓是根据白色像素来画的,所以反转一下。
#ret, binary = cv2.threshold(gray, 127, 255, cv2.THRESH_BINARY)
contours, hierarchy = cv2.findContours(binary, cv2.RETR_TREE, cv2.CHAIN_APPROX_SIMPLE)
cv2.drawContours(img2, contours, -1, (0, 0, 255), 3)
cv2.imshow('2', img2)  # 初始轮廓
cv2.waitKey(0)

area = map(cv2.contourArea, contours)
area_list = list(area)
area_max = max(area_list)
post = area_list.index(area_max)

cv2.drawContours(img4, contours, post, (0, 0, 255), 3)

cv2.imshow('4', img4)  # 只显示零件外轮廓
cv2.waitKey(0)

cimg = np.zeros_like(img)
cimg[:, :, :] = 255
cv2.drawContours(cimg, contours, post, color=(0, 0, 0), thickness=-1)
cv2.imshow('5', cimg)  # 将零件区域像素值设为(0, 0, 0)
cv2.waitKey(0)

final = cv2.bitwise_or(img5, cimg)

cv2.imshow('6', final)  # 执行或操作后生成想要的图片
cv2.waitKey(0)


 6916
6916


 被折叠的 条评论
为什么被折叠?
被折叠的 条评论
为什么被折叠?
 到【灌水乐园】发言


