


上传Xcode代码到Github(本文全部基于命令行)
1.新建Xcode工程(GitUploadTest)
建议:初学者应新建工程,然后再按本文所述一步一步来。
注意:有很多网友通过下面的联系方式找到我,为我为什么不好使,有一部分的原因是由于没有配置SSH,本文中尚未提及,我的博客中有一篇关于如何生成SSH的介绍,但不够详尽,有机会我会将其补充完整。
2.切换到工程目录
$cd .../GitUploadTest3.初始化代码仓库
$git init4.添加文件到仓库的缓存区(从工作目录添加到缓存区)。
在此之前需要做的是添加gitignore文件,如果不添加的话会在将来的开发使用中造成很多不必要的错误。添加方法也很简单,在Github上下载对应的gitignore文件,此处对应的是Objective-C.gitignore。下载完成后把文件放到对应的工程目录根目录下,并将文件名删除。
在此之前我们可以先看看文件的状态:
$git status
On branch master

Initial commit

Untracked files:
  (use "git add <file>..." to include in what will be committed)

    .gitignore
    GitUploadTest.xcodeproj/
    GitUploadTest/
    GitUploadTestTests/
    GitUploadTestUITests/
Untracked files:表示下面所显示的文件都没有添加到git,git无法对其进行跟踪。
下面就把上面的Untracked files add 到git的版本管理中。
$ git add .
$ git status
On branch master

Initial commit

Changes to be committed:
  (use "git rm --cached <file>..." to unstage)

    new file:   .gitignore
    new file:   GitUploadTest.xcodeproj/project.pbxproj
    new file:   GitUploadTest.xcodeproj/project.xcworkspace/contents.xcworkspacedata
    new file:   GitUploadTest/AppDelegate.swift
    new file:   GitUploadTest/Assets.xcassets/AppIcon.appiconset/Contents.json
    new file:   GitUploadTest/Base.lproj/LaunchScreen.storyboard
    new file:   GitUploadTest/Base.lproj/Main.storyboard
    new file:   GitUploadTest/Info.plist
    new file:   GitUploadTest/ViewController.swift
    new file:   GitUploadTestTests/GitUploadTestTests.swift
    new file:   GitUploadTestTests/Info.plist
    new file:   GitUploadTestUITests/GitUploadTestUITests.swift
    new file:   GitUploadTestUITests/Info.plist
“git add .”表示把当前目录下的所有文件,文件夹及文件夹中的子文件,以此类推,简单点说,也就是把当前目录下的所有文件都纳入git的管理中。
5.将所做的更改从缓存区提交到HEAD
$git commit -m "init project"
[master (root-commit) 4c7691a] init project
 13 files changed, 875 insertions(+)
 create mode 100644 .gitignore
 create mode 100644 GitUploadTest.xcodeproj/project.pbxproj
 create mode 100644 GitUploadTest.xcodeproj/project.xcworkspace/contents.xcworkspacedata
 create mode 100644 GitUploadTest/AppDelegate.swift
 create mode 100644 GitUploadTest/Assets.xcassets/AppIcon.appiconset/Contents.json
 create mode 100644 GitUploadTest/Base.lproj/LaunchScreen.storyboard
 create mode 100644 GitUploadTest/Base.lproj/Main.storyboard
 create mode 100644 GitUploadTest/Info.plist
 create mode 100644 GitUploadTest/ViewController.swift
 create mode 100644 GitUploadTestTests/GitUploadTestTests.swift
 create mode 100644 GitUploadTestTests/Info.plist
 create mode 100644 GitUploadTestUITests/GitUploadTestUITests.swift
 create mode 100644 GitUploadTestUITests/Info.plist

$git status
On branch master
nothing to commit, working directory clean
此时我们已经把所做的更改从缓存区提交到了HEAD。
6.创建Github仓库
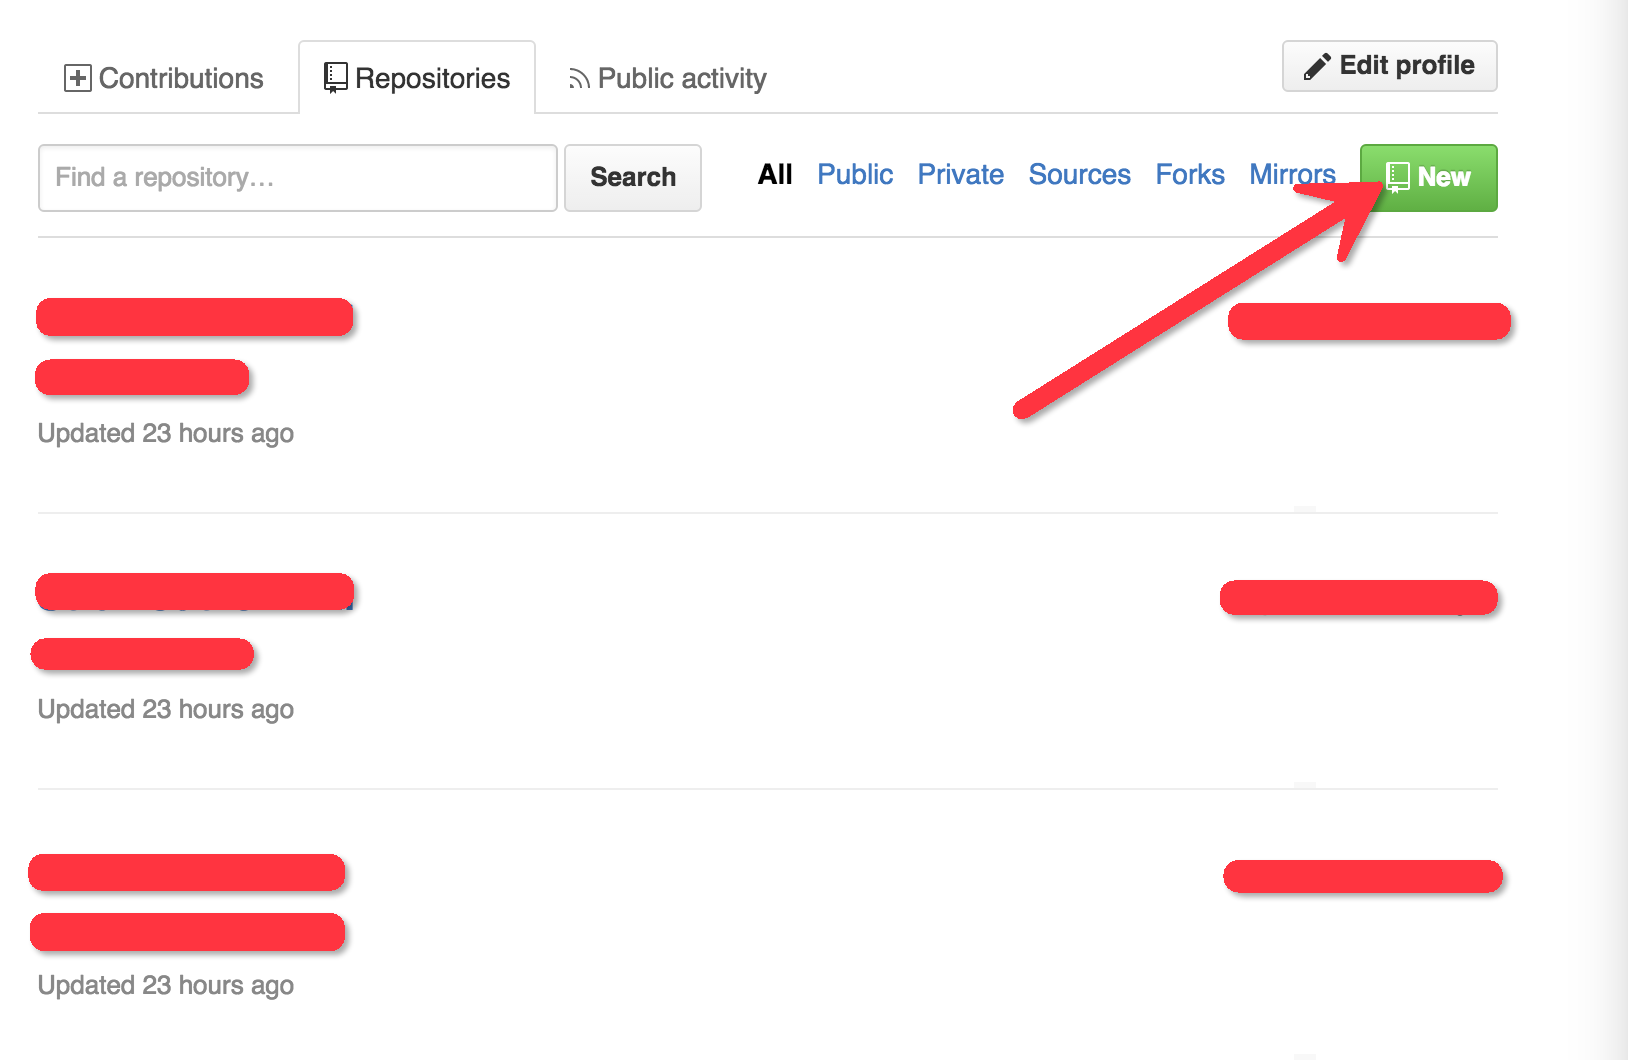
StepOne:
在浏览器中输入https://github.com/wdxgtsh?tab=repositories,点击右上角的New,如图所示:
StepTwo:输入Repositories name:GitUploadTest ;再输入Description(可选): GitUploadTest; 选择Public repository,Private repository需要付费。如图所示:

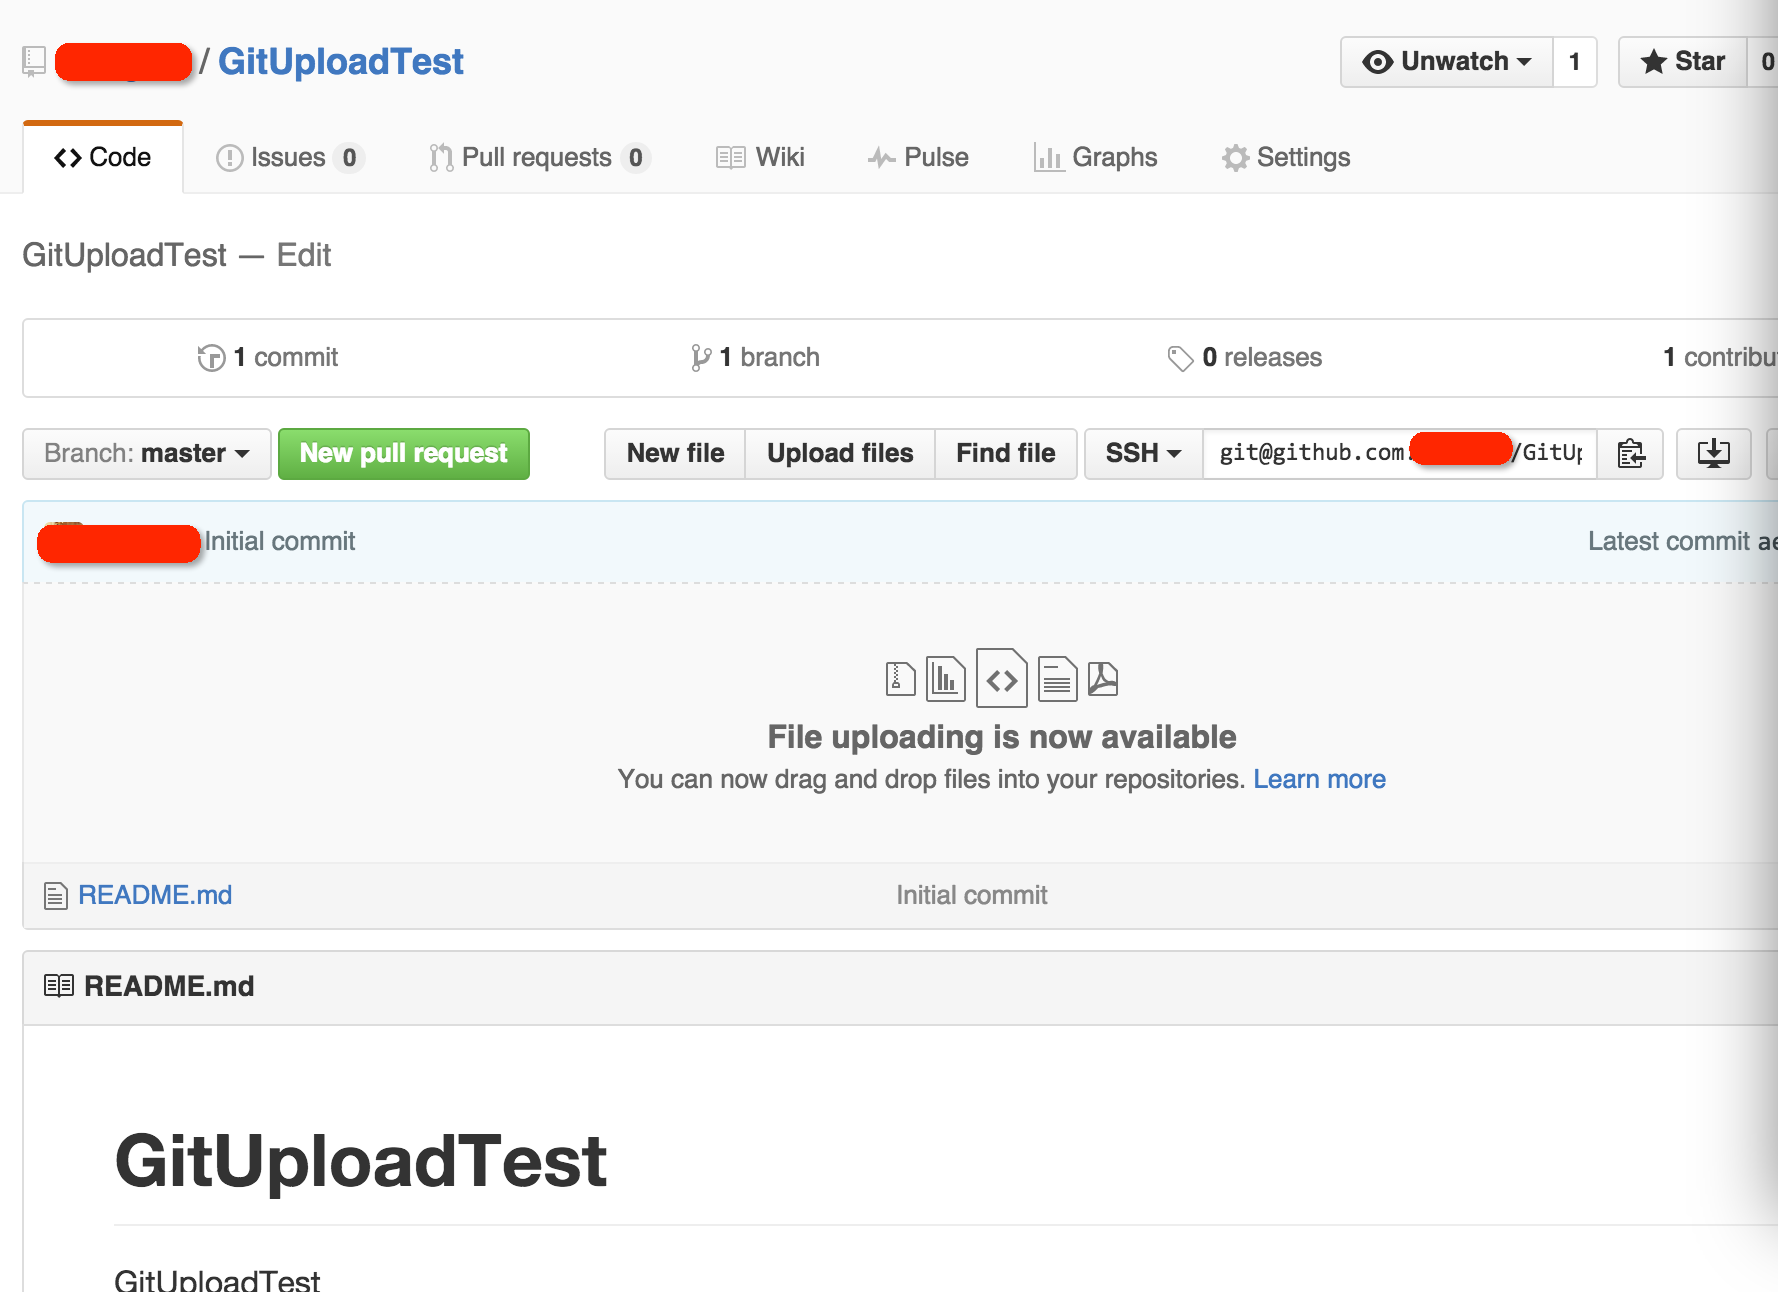
StepThree:点击Create repository,就创建好仓库了。获取到SSH:git@github.com:wdxgtsh/GitUploadTest.git。结果如图所示:
7.在git中创建主干线
在git中创建主干线有两种方式,一种是SSH方式,需要配置SSH,在这里就不再赘述,不知道怎么配置的可以自行谷歌。另外一种是https,此法比较繁琐。再次也不予介绍(需要多次输入账户和密码)。
$git remote add origin git@github.com:wdxgtsh/GitUploadTest.git
8.将本地的项目push到Github上。
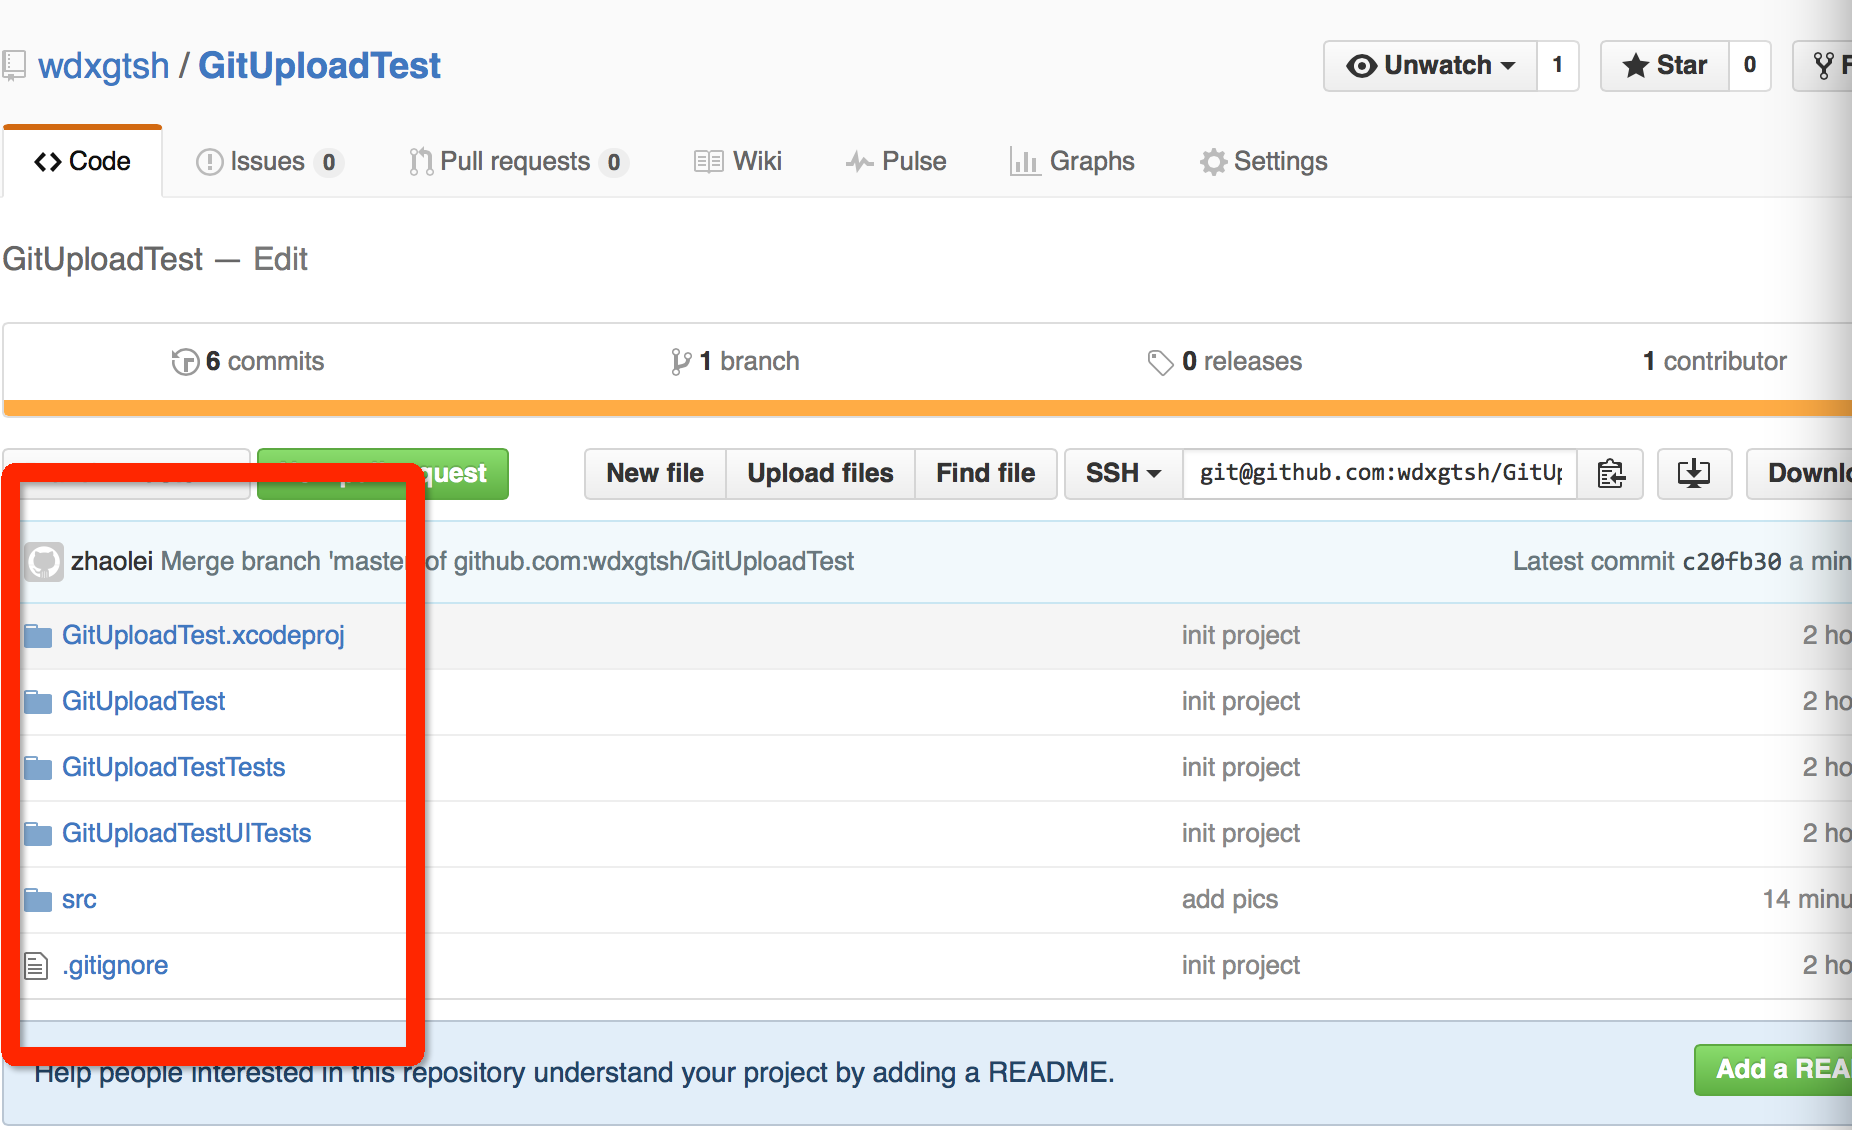
$git push origin master此时,查看Github上的仓库。如下所示:
9.将Github上的代码更新到本地
$git pull origin master注:以上所有在命令行中输入的命令都是在XCode项目的根目录下。
- QQ:729376398
- QQ群:541862523
欢迎大家一起交流,not just 技术!!!嘿嘿…….


 482
482

 被折叠的 条评论
为什么被折叠?
被折叠的 条评论
为什么被折叠?
 到【灌水乐园】发言


