


Android集成FFmpeg
参考:https://www.jianshu.com/p/2c9918546edc
上一篇文章我们在mac下编译出了供Android平台使用的FFmpeg产物,这篇文章继续讲怎么在Android平台上集成FFmepg。
本文是参考别的文章写的,出处已在文首和文末处说明。之所以说只参考,而不是转载,一是我对原文进行了精简,二是因为我在自己尝试时发现了两个问题,并解决了这两个问题,可以说是一种补充吧。
实现步骤
一、新建工程
在Android Studio中选择新建Native C++功能,我的Android Studio版本是4.1.2
二、导入FFmepg文件
-
在main下新建
nativeLibs/armeabi-v7a目录,将上篇文章的so导入为什么是nativeLibs而不是jniLibs,是因为我按原文新建jniLibs后编译报错。后经搜索发现在AS升级4.0.1后会有报Android Studio带C++项目提示More than one file was found with OS independent path问题
详见:https://blog.k-res.net/archives/2592.html
-
导入头文件
在cpp文件夹下新建
ffmpeg/include目录在其中导入上篇文章中的include文件下的所有文件夹 -
修改CMakeList.txt
注意so文件的目录,本文是nativeLibs# For more information about using CMake with Android Studio, read the # documentation: https://d.android.com/studio/projects/add-native-code.html # Sets the minimum version of CMake required to build the native library. cmake_minimum_required(VERSION 3.10.2) # 支持gnu++11 set(CMAKE_CXX_FLAGS "${CMAKE_CXX_FLAGS} -std=gnu++11") # 1. 定义so库和头文件所在目录,方面后面使用,注意!!是nativeLibs set(ffmpeg_lib_dir ${CMAKE_SOURCE_DIR}/../nativeLibs/${ANDROID_ABI}) set(ffmpeg_head_dir ${CMAKE_SOURCE_DIR}/ffmpeg) # 2. 添加头文件目录 include_directories(${ffmpeg_head_dir}/include) # 3. 添加ffmpeg相关的so库 add_library( avutil SHARED IMPORTED ) set_target_properties( avutil PROPERTIES IMPORTED_LOCATION ${ffmpeg_lib_dir}/libavutil.so ) add_library( swresample SHARED IMPORTED ) set_target_properties( swresample PROPERTIES IMPORTED_LOCATION ${ffmpeg_lib_dir}/libswresample.so ) add_library( avcodec SHARED IMPORTED ) set_target_properties( avcodec PROPERTIES IMPORTED_LOCATION ${ffmpeg_lib_dir}/libavcodec.so ) add_library( avfilter SHARED IMPORTED) set_target_properties( avfilter PROPERTIES IMPORTED_LOCATION ${ffmpeg_lib_dir}/libavfilter.so ) add_library( swscale SHARED IMPORTED) set_target_properties( swscale PROPERTIES IMPORTED_LOCATION ${ffmpeg_lib_dir}/libswscale.so ) add_library( avformat SHARED IMPORTED) set_target_properties( avformat PROPERTIES IMPORTED_LOCATION ${ffmpeg_lib_dir}/libavformat.so ) add_library( avdevice SHARED IMPORTED) set_target_properties( avdevice PROPERTIES IMPORTED_LOCATION ${ffmpeg_lib_dir}/libavdevice.so ) # 查找代码中使用到的系统库 find_library( # Sets the name of the path variable. log-lib # Specifies the name of the NDK library that # you want CMake to locate. log ) # 配置目标so库编译信息 add_library( # Sets the name of the library. native-lib # Sets the library as a shared library. SHARED # Provides a relative path to your source file(s). native-lib.cpp ) # 指定编译目标库时,cmake要链接的库 target_link_libraries( # 指定目标库,native-lib 是在上面 add_library 中配置的目标库 native-lib # 4. 连接 FFmpeg 相关的库 avutil swresample avcodec avfilter swscale avformat avdevice # Links the target library to the log library # included in the NDK. ${log-lib} ) -
新建测试方法
在nateive-lib.cpp中添加测试方法
这里是我遇到的第二个问题,原文中使用的方法av_codec_next在我这个环境中已经失效了,于是搜索后,找到解决方案:https://www.coder.work/article/1988131
#include <jni.h> #include <string> #include <unistd.h> extern "C" { #include <libavcodec/avcodec.h> #include <libavformat/avformat.h> #include <libavfilter/avfilter.h> #include <libavcodec/jni.h> JNIEXPORT jstring JNICALL Java_com_hdym_myapplication_MainActivity_ffmpegInfo(JNIEnv *env, jobject /* this */) { char info[40000] = {0}; const AVCodec *c_temp = nullptr; void *i = 0; while ((c_temp = av_codec_iterate(&i))) { if (c_temp->decode != NULL) { sprintf(info, "%sdecode:", info); switch (c_temp->type) { case AVMEDIA_TYPE_VIDEO: sprintf(info, "%s(video):", info); break; case AVMEDIA_TYPE_AUDIO: sprintf(info, "%s(audio):", info); break; default: sprintf(info, "%s(other):", info); break; } sprintf(info, "%s[%10s]\n", info, c_temp->name); } else { sprintf(info, "%sencode:", info); } } return env->NewStringUTF(info); } } -
测试使用
import android.os.Bundle import android.widget.TextView import androidx.appcompat.app.AppCompatActivity class MainActivity : AppCompatActivity() { companion object { // Used to load the 'native-lib' library on application startup. init { System.loadLibrary("native-lib") } } override fun onCreate(savedInstanceState: Bundle?) { super.onCreate(savedInstanceState) setContentView(R.layout.activity_main) // Example of a call to a native method val tv = findViewById<TextView>(R.id.sample_text) tv.text = ffmpegInfo() } private external fun ffmpegInfo(): String } -
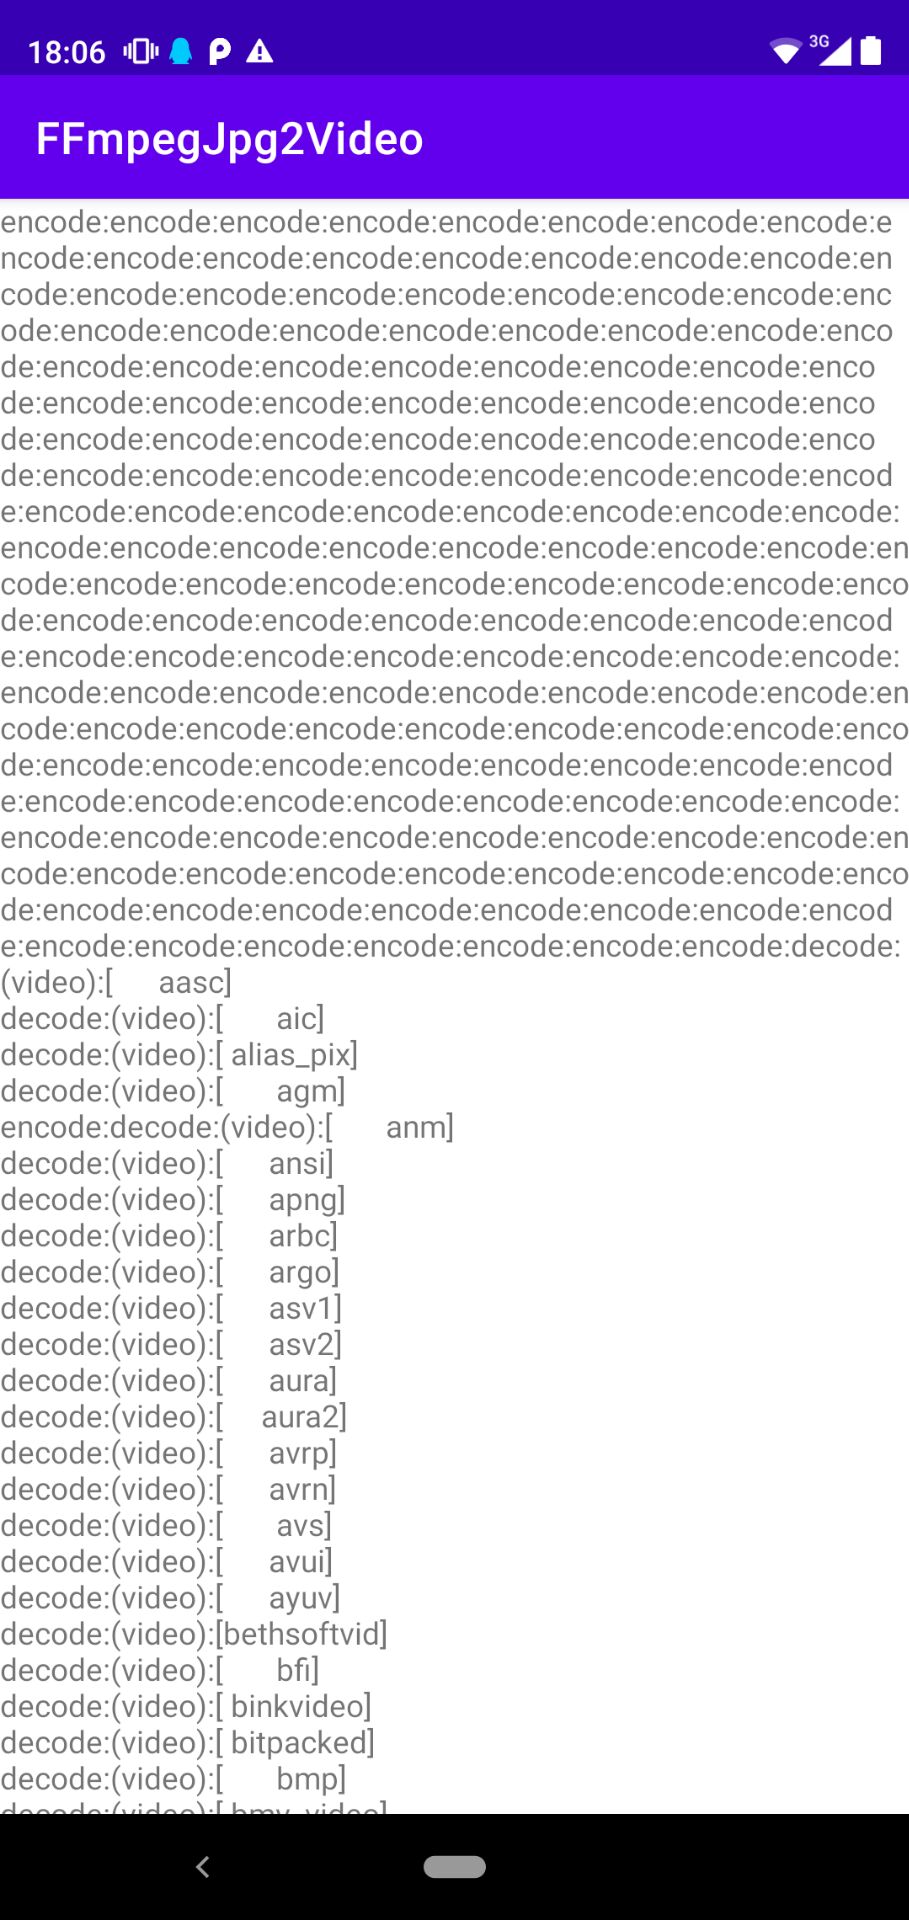
运行结果
以上
参考:https://www.jianshu.com/p/2c9918546edc


 703
703


 被折叠的 条评论
为什么被折叠?
被折叠的 条评论
为什么被折叠?
 到【灌水乐园】发言


