


该控件效果基于PullZoomView源码改动的而来,感谢Frank-Zhu的开源代码.该控件具有下拉放大背景图和贝塞尔曲线的效果.
github:https://github.com/X-FAN/PullBezierZoomView 欢迎star
我主要写了一个自定义的贝塞尔曲线的效果的控件并整合到了Frank-Zhu的项目中的一个子项中.
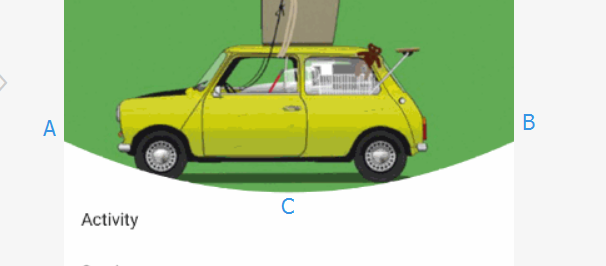
这里面有个小数学知识的求解,因为效果要贝赛尔曲线的曲线顶点要恰好在控件底部边界的中点.所以我们是知道ABC三点,去求贝塞尔曲线的控制点.具体求解过程就不分析了,大家google二阶贝塞尔曲线的公式,很容易就可以推算出来.
源码如下:
public class BezierView extends View {

    private int mWidth = 500;
    private int mHeight = 500;
    private float mMaxHeight = Integer.MAX_VALUE;
    private float mY = 0;

    private Paint mPaint;
    private Path mPath;


    public BezierView(Context context) {
        this(context, null);
    }

    public BezierView(Context context, AttributeSet attrs) {
        this(context, attrs, 0);
    }

    public BezierView(Context context, AttributeSet attrs, int defStyleAttr) {
        super(context, attrs, defStyleAttr);
        mPath = new Path();
        mPaint = new Paint();
        mPaint.setAntiAlias(true);
        mPaint.setColor(Color.WHITE);
    }

    @Override
    protected void onMeasure(int widthMeasureSpec, int heightMeasureSpec) {
        int widthMode = MeasureSpec.getMode(widthMeasureSpec);
        int widthSize = MeasureSpec.getSize(widthMeasureSpec);
        int heightMode = MeasureSpec.getMode(heightMeasureSpec);
        int heightSize = MeasureSpec.getSize(heightMeasureSpec);
        int width;
        int height;

        if (widthMode == MeasureSpec.EXACTLY) {
            width = widthSize;
        } else if (widthMode == MeasureSpec.AT_MOST) {
            width = Math.min(mWidth, widthSize);
        } else {
            width = mWidth;
        }

        if (heightMode == MeasureSpec.EXACTLY) {
            height = heightSize;
        } else if (heightMode == MeasureSpec.AT_MOST) {
            height = Math.min(mHeight, heightSize);
        } else {
            height = mHeight;
        }
        setMeasuredDimension(width, height);
    }


    @Override
    protected void onSizeChanged(int w, int h, int oldw, int oldh) {
        super.onSizeChanged(w, h, oldw, oldh);
        mWidth = w;
        mHeight = h;
    }


    @Override
    protected void onDraw(Canvas canvas) {
        super.onDraw(canvas);
        mPath.reset();//绘制的主要逻辑代码
        mPath.moveTo(0, mHeight - mY);
        mPath.quadTo(mWidth / 2, mHeight + mY, mWidth, mHeight - mY);
        mPath.lineTo(mWidth, mHeight);
        mPath.lineTo(0, mHeight);
        mPath.close();
        canvas.drawPath(mPath, mPaint);
    }

    public void setArcHeight(float height) {
        if (Math.abs(height) < mMaxHeight) {
            mY = height;
            invalidate();
        }
    }

    public float getArcHeight() {
        return mY;
    }

    public void setColor(int color) {
        mPaint.setColor(color);
    }

    public void setMaxHeight(float height) {
        mMaxHeight = height;
    }
这里提下Frank-Zhu的项目中放大缩小功能的实现是相当的聪明,看了源码发现他是利用ImagView中的scaleType=”centerCrop”属性,只要改变控件的高度,就具有了放大缩小的效果.不用自己写额外的代码,确实很方便.
效果图:


 3954
3954

 被折叠的 条评论
为什么被折叠?
被折叠的 条评论
为什么被折叠?
 到【灌水乐园】发言


