


先创建一个ios的Single View Application工程
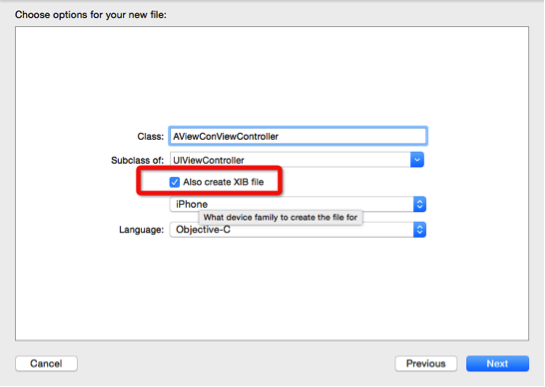
在创建3个类
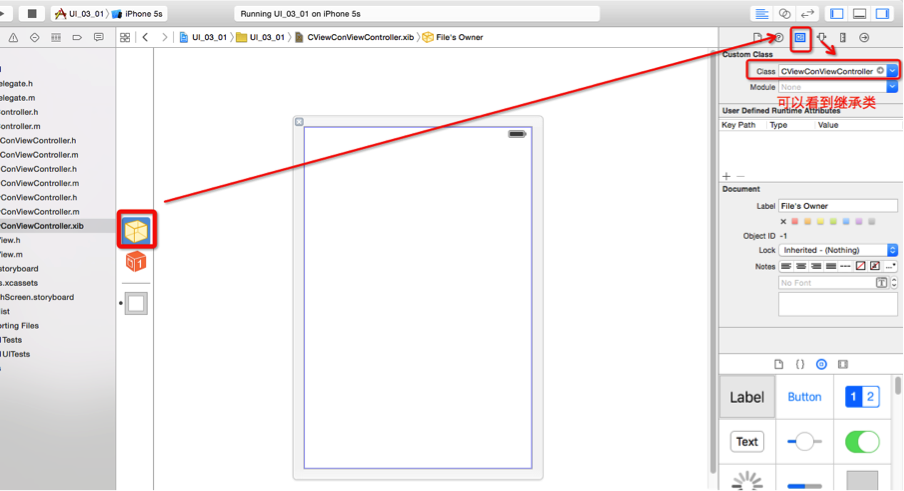
AViewConViewController继承于UIViewController
BViewConViewController继承于UIViewController
CViewConViewController继承与UIViewController
和
先到AppDelegate.m
- (BOOL)application:(UIApplication *)application didFinishLaunchingWithOptions:(NSDictionary *)launchOptions再到这个方法
#import "AppDelegate.h"
#import "ViewController.h"
@interface AppDelegate ()
@end
@implementation AppDelegate
- (BOOL)application:(UIApplication *)application didFinishLaunchingWithOptions:(NSDictionary *)launchOptions {
ViewController *viewController=[[ViewController alloc] init];
//有一个viewController才能有导航控制器
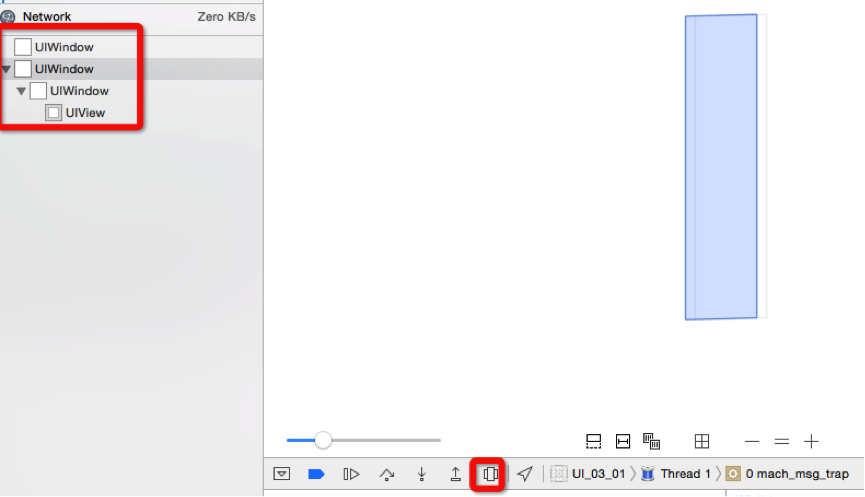
self.window=[[UIWindow alloc] initWithFrame:[UIScreen mainScreen].bounds];//1
//创建一个新的UIWindow
self.window.rootViewController=viewController;//2
/*
1,2效果一样的但会多了一层
*/
[self.window makeKeyAndVisible];
return YES;
}
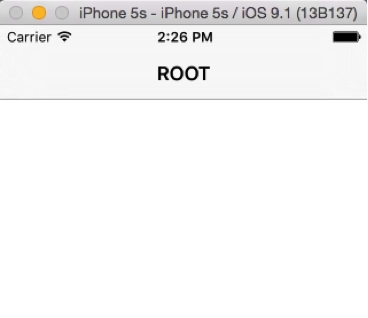
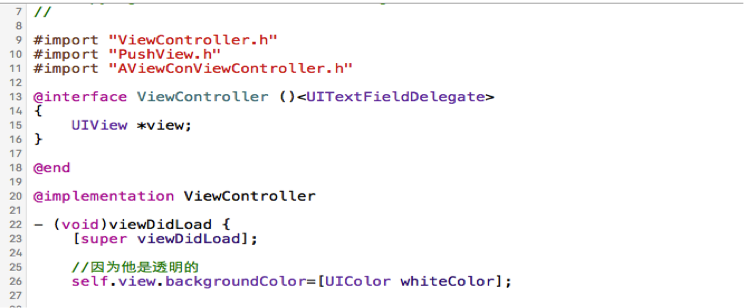
然后然后找到ViewController.m
在里面添加上给被背景添加上颜色应为view是透明的所有会显示UIwindow
    self.view.backgroundColor=[UIColor whiteColor];
    self.title=@"ROOT";
然后再AppDelegate.m添加上
self.window.rootViewController=[[UINavigationController alloc] initWithRootViewController:viewController];//创建了一个导航栏多了一个UINavigationBar代码:
#import "AppDelegate.h"
#import "ViewController.h"

@interface AppDelegate ()

@end

@implementation AppDelegate


- (BOOL)application:(UIApplication *)application didFinishLaunchingWithOptions:(NSDictionary *)launchOptions {
    ViewController *viewController=[[ViewController alloc] init];

    self.window.rootViewController=[[UINavigationController alloc] initWithRootViewController:viewController];//创建了一个导航栏多了一个UINavigationBar

    [self.window makeKeyAndVisible];
    return YES;
}
然后创建一个封装一个按钮
在创建一个类名字叫PushView继承于UIView
在PushView.h
文件定义了一个按钮和一个方法
#import <UIKit/UIKit.h>

@interface PushView : UIView

@property(nonatomic,strong)UIButton *but;

-(instancetype)initWithFrame:(CGRect)frame;

@end

再到PushView.m实现
#import "PushView.h"

@implementation PushView

-(instancetype)initWithFrame:(CGRect)frame
{
    if (self=[super initWithFrame:frame])
    {
        self.but=[UIButton buttonWithType:UIButtonTypeCustom];
        [self.but setTitle:@"push" forState:UIControlStateNormal];
        [self.but setTitleColor:[UIColor purpleColor] forState:UIControlStateNormal];

        self.but.translatesAutoresizingMaskIntoConstraints=NO;
        [self addSubview:self.but];

        NSLayoutConstraint *but_cont=[NSLayoutConstraint constraintWithItem:self.but
                                                                  attribute:NSLayoutAttributeCenterX
                                                                  relatedBy:NSLayoutRelationEqual
                                                                     toItem:self
                                                                  attribute:NSLayoutAttributeCenterX
                                                                 multiplier:1
                                                                   constant:0];
        [self addConstraint:but_cont];
        NSLayoutConstraint *but_cont1=[NSLayoutConstraint constraintWithItem:self.but                                                               attribute:NSLayoutAttributeCenterY
                                                                   relatedBy:NSLayoutRelationEqual
                                                                      toItem:self
                                                                   attribute:NSLayoutAttributeCenterY
                                                                  multiplier:1
                                                                    constant:0];
        [self addConstraint:but_cont1];
        NSLayoutConstraint *but_cont2=[NSLayoutConstraint constraintWithItem:self.but
                                                                 attribute:NSLayoutAttributeWidth
                                                                  relatedBy:NSLayoutRelationEqual
                                                                      toItem:self
                                                                 attribute:NSLayoutAttributeWidth
                                                                  multiplier:1
                                                                    constant:0];
        [self addConstraint:but_cont2];
        NSLayoutConstraint *but_cont3=[NSLayoutConstraint constraintWithItem:self.but
                                                                   attribute:NSLayoutAttributeHeight
                                                                   relatedBy:NSLayoutRelationEqual
                                                                      toItem:self
                                                                   attribute:NSLayoutAttributeHeight
                                                                  multiplier:1
                                                                    constant:0];
        [self addConstraint:but_cont3];
    }
    return self;

}

@end
居中且长和宽由self决定
在ViewController.m文件导入PushView.h
通过pushView创建一个按钮
#import “PushView.h”导入AViewConViewController的头文件
#import “AViewConViewController.h”然后再Viewcontroller里面创建一个按钮
PushView *push=[[PushView alloc] initWithFrame:CGRectMake([UIScreen mainScreen].bounds.size.width/2-30, [UIScreen mainScreen].bounds.size.height/2-15, 60, 30)];然后通过PushView里面定义的Button按钮,为该按钮添加事件
[push.but addTarget:self action:@selector(pushBtnAction:) forControlEvents:UIControlEventTouchUpInside];然后把控件放到View上
[self.view addSubview:push];然通过创建的按钮点击事件定义的方法来跳转页面
-(void)pushBtnAction:(UIButton *)sender
{
    AViewConViewController *Aview=[[AViewConViewController alloc] init];

    //当视图控制器被压入导航器中,就具备navigationController,就有此方法

    [self.navigationController pushViewController:Aview animated:YES];
}
然后然ViewController->跳到AViewConViewController->跳转到BViewConViewController
->跳转CViewConViewController
并在每个页面添加不同的背景颜色,通过title给导航控制器添加文本属性
self.title=@"CViewController";通过栈的方法对每个视图进行判断
NSArray *allViewArray = self.navigationController.viewControllers;

    for (UIViewController *viewController in allViewArray)
    {
        //iskindOfClass检测高I类是否是该类或派生类的成员
        if ([viewController isKindOfClass:[AViewConViewController class]])
        {
            //返回到指定页面
            [self.navigationController popToViewController:viewController animated:YES];
        }
    }
返回前一个视图
- (IBAction)popToRootView:(id)sender
{
[self.navigationController popToRootViewControllerAnimated:YES];
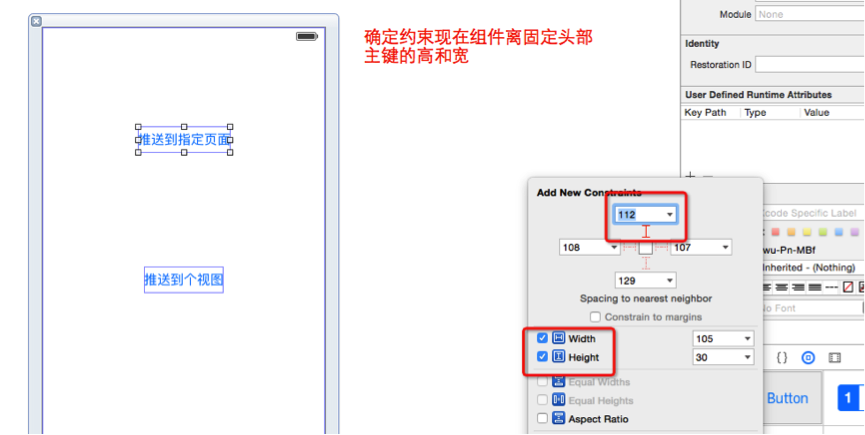
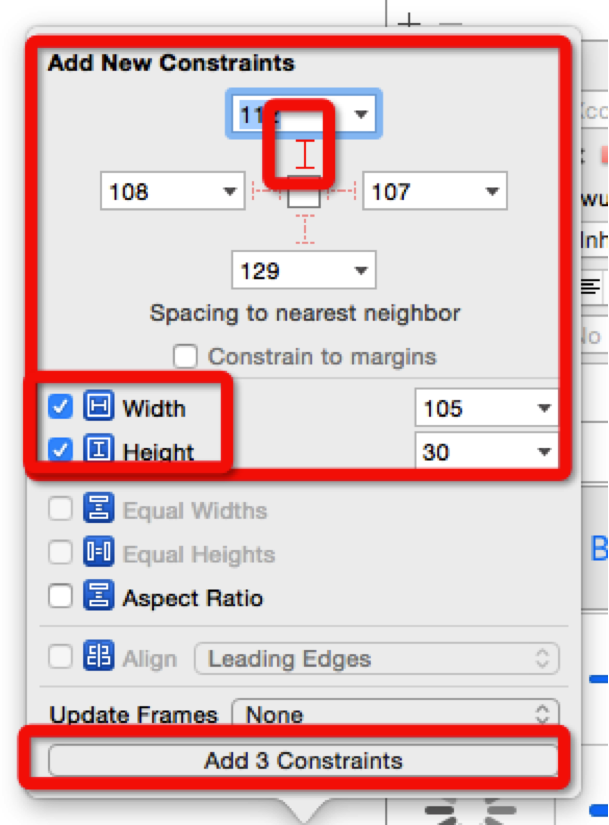
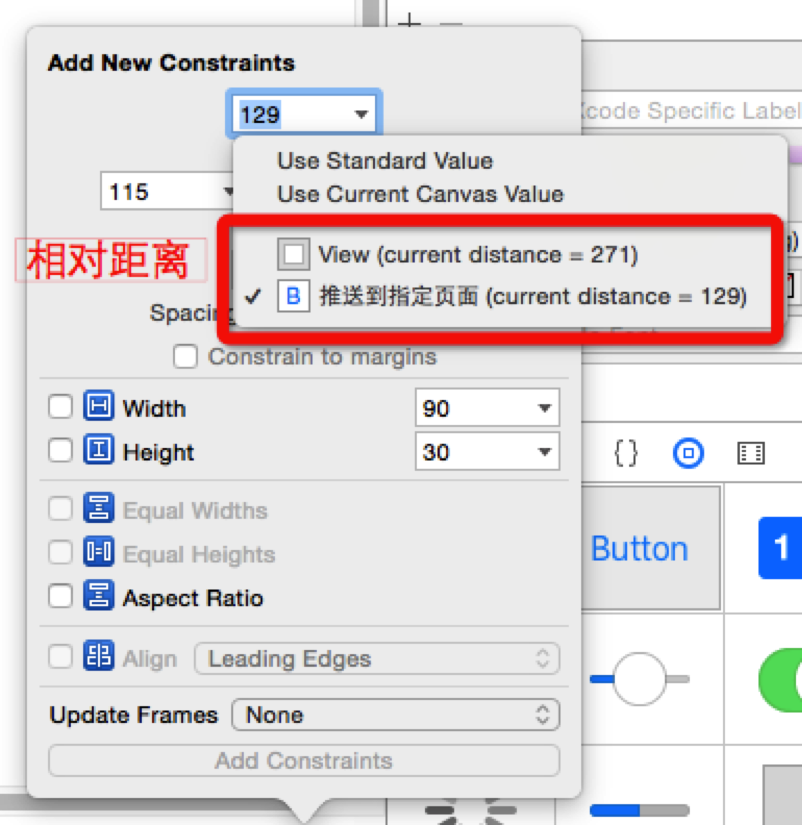
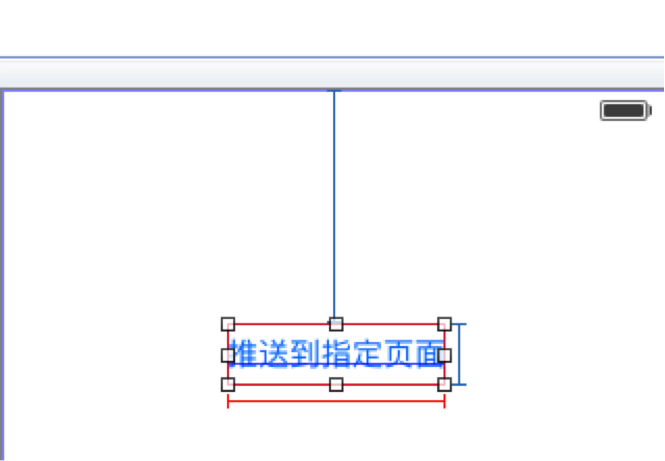
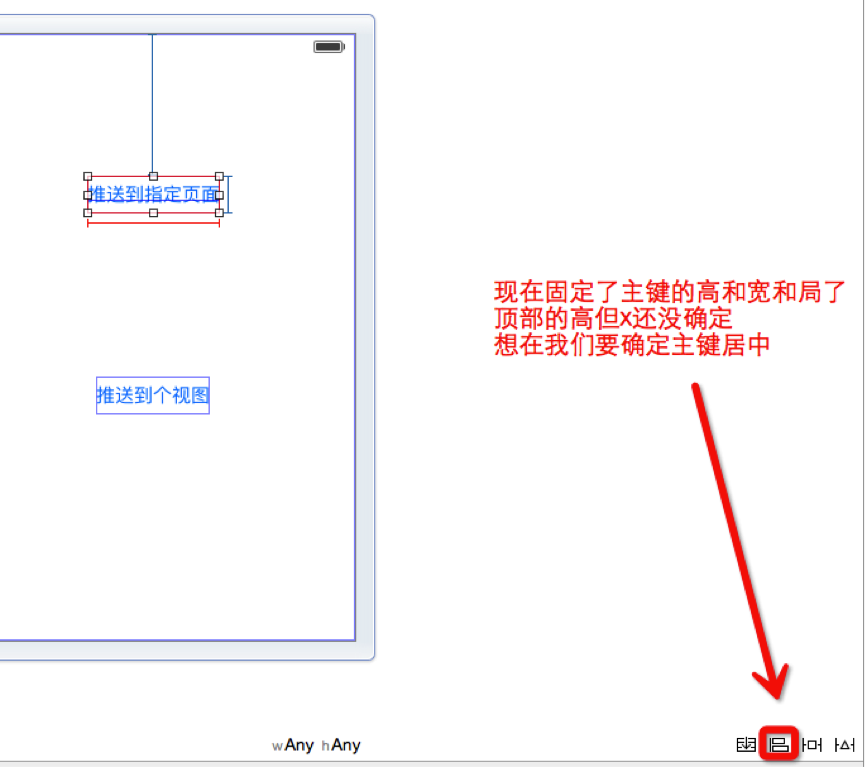
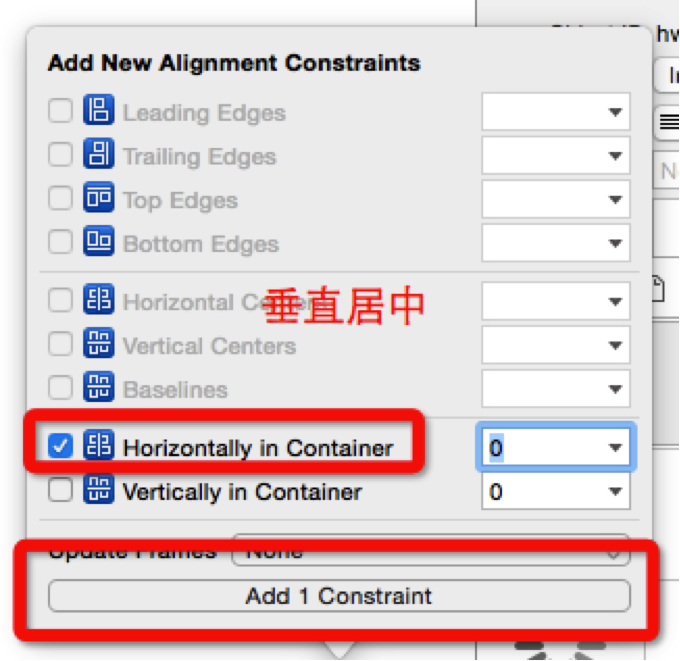
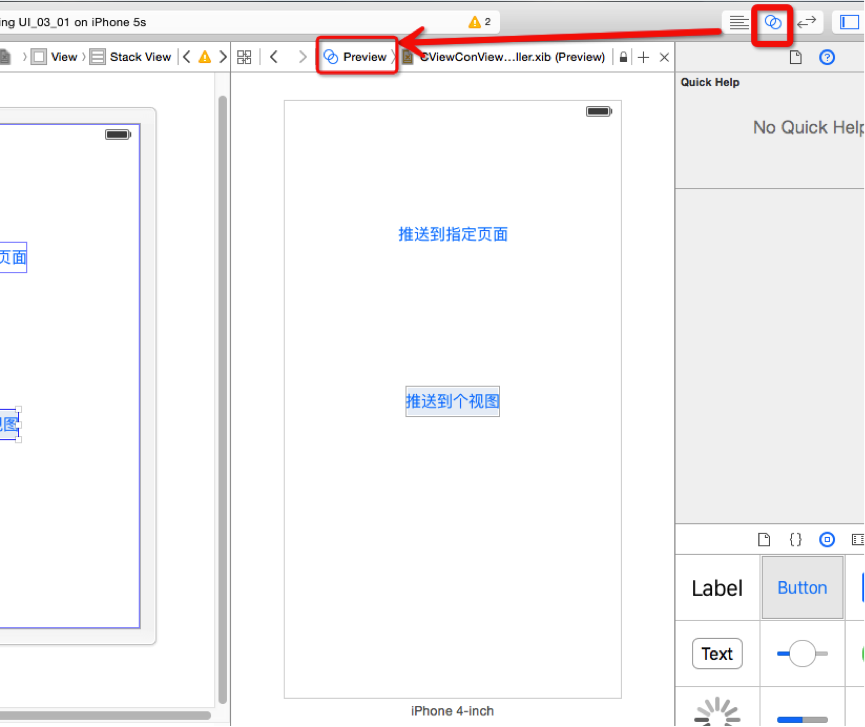
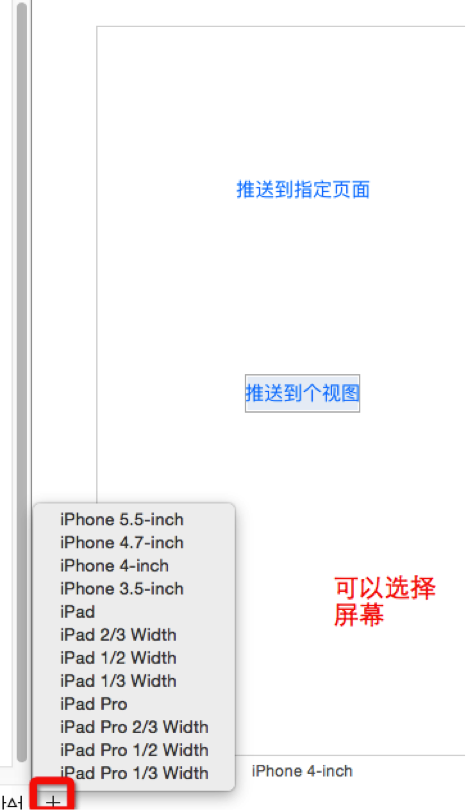
}设计视图的大小


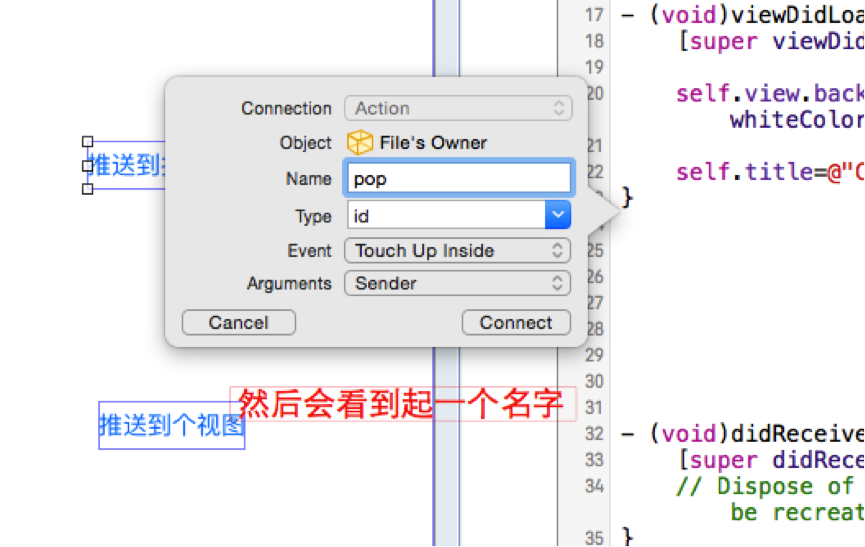
给推送到指定按钮事件
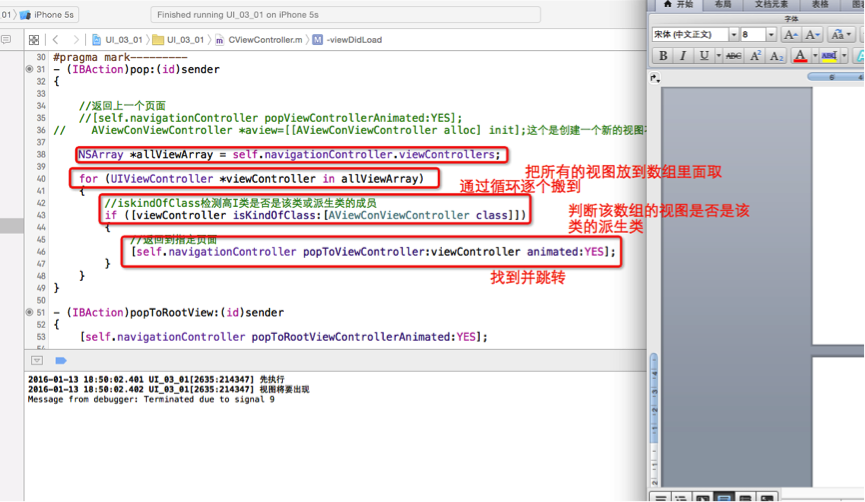
- (IBAction)pop:(id)sender
{
    NSArray *array=self.navigationController.viewControllers;
    /*
        循环便利一下数组 把他存储到ViewController对象
        判断是不是[AViewConViewController class]该类的父类
    */
    for (UIViewController *viewController in array)
    {
        if ([viewController isKindOfClass:[AViewConViewController class]])
        {
        //如果是就跳转
            [self.navigationController popToViewController:viewController animated:YES];
        }
    }
}
推送到根视图事件
- (IBAction)popToRootView:(id)sender
{
    [self.navigationController popToRootViewControllerAnimated:YES];
}

    //默认导航控制器的toolbar是隐藏的
    self.navigationController.toolbarHidden=NO;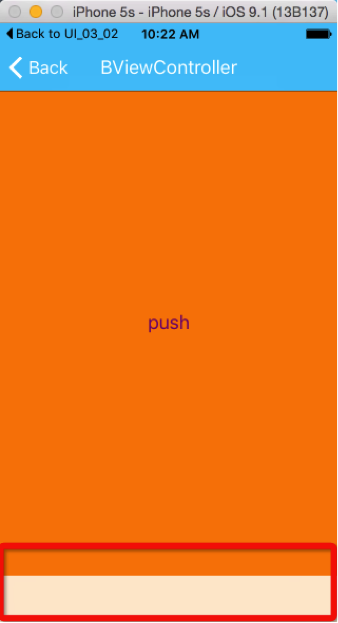
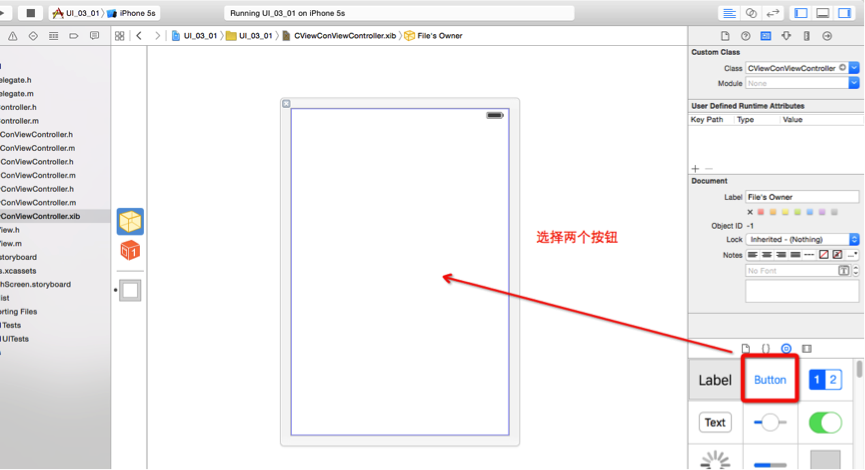
添加一个按钮
    //point的位置不会起效果
    titleButton.frame=CGRectMake(0, 0, 60, 30);

    [titleButton addTarget:self action:@selector(titleButtonAction:) forControlEvents:UIControlEventTouchUpInside];
    self.navigationItem.titleView=titleButton;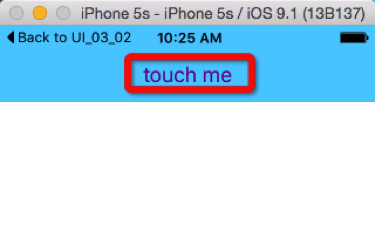
添加一个导航控制器上的下拉view(微博效果)
    view=[[UIView alloc]initWithFrame:CGRectMake([UIScreen mainScreen].bounds.size.width/2-75, 40, 150, 300) ];

    view.backgroundColor=[UIColor blackColor];
    view.alpha=0.5;
view.hidden=YES;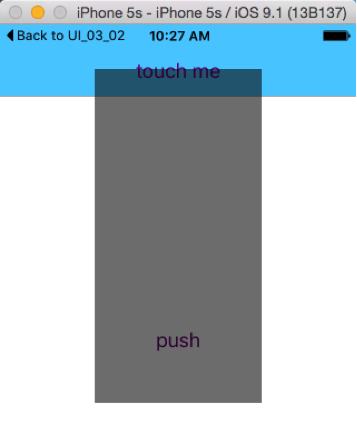
把View放到window上
    UIWindow *window=[[UIApplication sharedApplication].windows objectAtIndex:0];

    [window addSubview:view];
如果不放的window上话view就会再导航控制器在上面会覆盖view
在导航控制器上放入返回和+按钮分别位于左右两边
    //导航栏的左边存在BarButtonItem
    UIBarButtonItem *barButtonItem=[[UIBarButtonItem alloc] initWithTitle:@"返回" style:UIBarButtonItemStylePlain target:self action:nil];//action为nil为无响应方法

    self.navigationItem.leftBarButtonItem=barButtonItem;

    UIBarButtonItem *barButtonItem1=[[UIBarButtonItem alloc] initWithBarButtonSystemItem:UIBarButtonSystemItemAdd target:nil action:nil] ;

    self.navigationItem.rightBarButtonItem=barButtonItem1;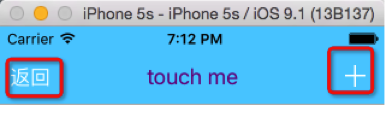
灵活的UIBarButtonSystemItemFlexibleSpace
    //导航栏的左边存在BarButtonItem
    UIBarButtonItem *barButtonItem=[[UIBarButtonItem alloc] initWithTitle:@"返回" style:UIBarButtonItemStylePlain target:self action:nil];//action为nil为无响应方法

    self.navigationItem.leftBarButtonItem=barButtonItem;

    UIBarButtonItem *barButtonItem1=[[UIBarButtonItem alloc] initWithBarButtonSystemItem:UIBarButtonSystemItemSearch target:nil action:nil] ;//搜索符号


    UIBarButtonItem *barButtonItem2=[[UIBarButtonItem alloc] initWithBarButtonSystemItem:UIBarButtonSystemItemFlexibleSpace target:nil action:nil];

   self.navigationItem.rightBarButtonItems=@[barButtonItem,barButtonItem2,barButtonItem1];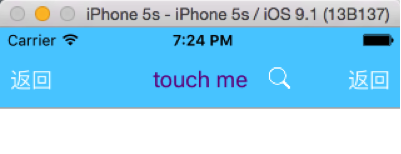
固定的UIBarButtonSystemItemFixedSpace
 //导航栏的左边存在BarButtonItem
    UIBarButtonItem *barButtonItem=[[UIBarButtonItem alloc] initWithTitle:@"返回" style:UIBarButtonItemStylePlain target:self action:nil];//action为nil为无响应方法

    self.navigationItem.leftBarButtonItem=barButtonItem;

    UIBarButtonItem *barButtonItem1=[[UIBarButtonItem alloc] initWithBarButtonSystemItem:UIBarButtonSystemItemSearch target:nil action:nil] ;//搜索符号
    UIBarButtonItem *barButtonItem3=[[UIBarButtonItem alloc] initWithBarButtonSystemItem:UIBarButtonSystemItemFixedSpace target:nil action:nil];

    //设置间距为60
    barButtonItem3.width=10;
   self.navigationItem.rightBarButtonItems=@[barButtonItem,barButtonItem3,barButtonItem1];//添加多个BarButtonItem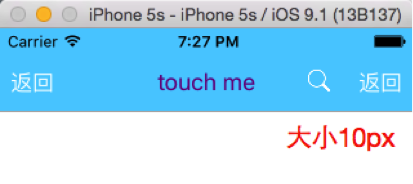
UIToolbar
工具栏:
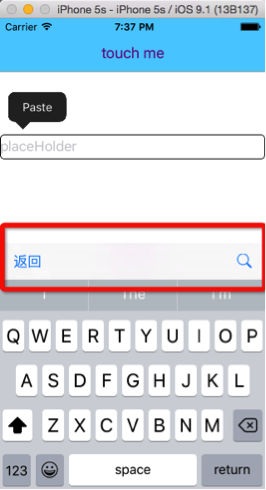
向创建一个文本框
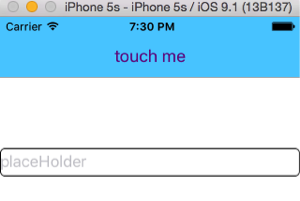
 UITextField *textField=[[UITextField alloc] initWithFrame:CGRectMake(0, 140, [UIScreen mainScreen].bounds.size.width, 30)];
    textField.layer.cornerRadius=5.0;
    textField.layer.borderWidth=1.0;
    textField.placeholder=@"placeHolder";
    textField.inputAccessoryView=toolBar;
    textField.delegate=self;
    [self.view addSubview:textField];


然后创建一个灵活的工具栏

    UIBarButtonItem *barButtonItem=[[UIBarButtonItem alloc] initWithTitle:@"返回" style:UIBarButtonItemStylePlain target:self action:nil];//action为nil为无响应方法

    self.navigationItem.leftBarButtonItem=barButtonItem;

    UIBarButtonItem *barButtonItem1=[[UIBarButtonItem alloc] initWithBarButtonSystemItem:UIBarButtonSystemItemSearch target:nil action:nil] ;//搜索符号

    UIBarButtonItem *barButtonItem2=[[UIBarButtonItem alloc] initWithBarButtonSystemItem:UIBarButtonSystemItemFlexibleSpace target:nil action:nil];

    UIToolbar *toolBar=[[UIToolbar alloc] initWithFrame:CGRectMake(0, 200, [UIScreen mainScreen].bounds.size.width, 44)];
    toolBar.items=@[barButtonItem,barButtonItem2,barButtonItem1];
然后添加一个协议实现协议里面的方法
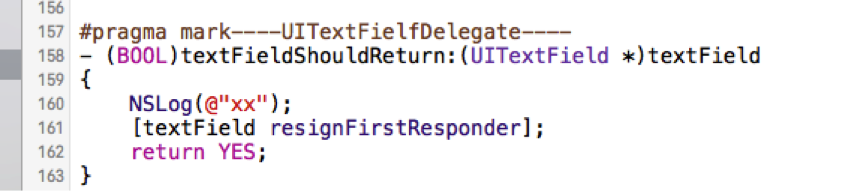
然后把上面的注释
  //给toolBarItem添加元素
    self.toolbarItems=@[barButtonItem,barButtonItem2,barButtonItem1];//中间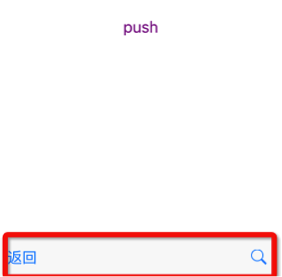


 1109
1109


 被折叠的 条评论
为什么被折叠?
被折叠的 条评论
为什么被折叠?
 到【灌水乐园】发言


