FFmpeg滤镜(基础篇-第一章水印)
环境说明
android studio版本4.0以上
ndk16
cmake3.6
demo下载
初始化滤镜
滤镜步骤
1、创建graph
2、创建buffer filter的上下文(要输入帧的载体)
3、创建buffersink filter(要输出帧的载体)
/**
 * 初始化滤镜
 * @param filters_descr  要做对应的滤镜的效果
 * @param ifmt_ctx  AVFormatContext上下文
 * @param dec_ctx AVCodecContext上下文
 * @param video_stream_index
 * @param buffersink_ctx_param
 * @param buffersrc_ctx_param
 * @param filter_graph_param
 * @return
 */
 int init_filters(const char *filters_descr,AVFormatContext *ifmt_ctx,  AVCodecContext *dec_ctx,int video_stream_index,
                        AVFilterContext **buffersink_ctx_param, AVFilterContext **buffersrc_ctx_param, AVFilterGraph **filter_graph_param)
{

    AVFilterContext *buffersink_ctx;
    AVFilterContext *buffersrc_ctx;
    AVFilterGraph *filter_graph;

    char args[512];
    int ret = 0;
    const AVFilter *buffersrc  = avfilter_get_by_name("buffer");
    const AVFilter *buffersink = avfilter_get_by_name("buffersink");
    AVFilterInOut *outputs = avfilter_inout_alloc();
    AVFilterInOut *inputs  = avfilter_inout_alloc();
    AVRational time_base = ifmt_ctx->streams[video_stream_index]->time_base;
    enum AVPixelFormat pix_fmts[] = { AV_PIX_FMT_YUV420P, AV_PIX_FMT_NONE };

    filter_graph = avfilter_graph_alloc();
    if (!outputs || !inputs || !filter_graph) {
        ret = AVERROR(ENOMEM);
        goto end;
    }

    filter_graph->nb_threads = 8;


    /* buffer video source: the decoded frames from the decoder will be inserted here. */
    snprintf(args, sizeof(args),
             "video_size=%dx%d:pix_fmt=%d:time_base=%d/%d:pixel_aspect=%d/%d",
             dec_ctx->width, dec_ctx->height, dec_ctx->pix_fmt,
             time_base.num, time_base.den,
             dec_ctx->sample_aspect_ratio.num, dec_ctx->sample_aspect_ratio.den);

    ret = avfilter_graph_create_filter(&buffersrc_ctx, buffersrc, "in",
                                       args, NULL, filter_graph);
    if (ret < 0) {

        MGTED_ERROR( "Cannot create buffer source\n");
        goto end;
    }

    /* buffer video sink: to terminate the filter chain. */
    ret = avfilter_graph_create_filter(&buffersink_ctx, buffersink, "out",
                                       NULL, NULL, filter_graph);
    if (ret < 0) {

        MGTED_ERROR( "Cannot create buffer sink\n");
        goto end;
    }

    ret = av_opt_set_int_list(buffersink_ctx, "pix_fmts", pix_fmts,
                              AV_PIX_FMT_NONE, AV_OPT_SEARCH_CHILDREN);
    if (ret < 0) {

        MGTED_ERROR( "Cannot set output pixel format\n");
        goto end;
    }

    /*
     * Set the endpoints for the filter graph. The filter_graph will
     * be linked to the graph described by filters_descr.
     */

    /*
     * The buffer source output must be connected to the input pad of
     * the first filter described by filters_descr; since the first
     * filter input label is not specified, it is set to "in" by
     * default.
     */
    outputs->name       = av_strdup("in");
    outputs->filter_ctx = buffersrc_ctx;
    outputs->pad_idx    = 0;
    outputs->next       = NULL;

    /*
     * The buffer sink input must be connected to the output pad of
     * the last filter described by filters_descr; since the last
     * filter output label is not specified, it is set to "out" by
     * default.
     */
    inputs->name       = av_strdup("out");
    inputs->filter_ctx = buffersink_ctx;
    inputs->pad_idx    = 0;
    inputs->next       = NULL;

    if ((ret = avfilter_graph_parse_ptr(filter_graph, filters_descr,
                                        &inputs, &outputs, NULL)) < 0)
    {

        goto end;
    }

    if ((ret = avfilter_graph_config(filter_graph, NULL)) < 0)
    {

        goto end;
    }

    end:
    avfilter_inout_free(&inputs);
    avfilter_inout_free(&outputs);

    *buffersink_ctx_param = buffersink_ctx;
    *buffersrc_ctx_param = buffersrc_ctx;
    *filter_graph_param = filter_graph;


    return ret;
}
水印
"snprintf(filter_args, sizeof(filter_args), “movie=%s[wm];[in][wm]overlay=5:5[out]”, logoPath);"解说:
[in]表示 初始化滤镜的 inputs->name = av_strdup(“in”);
[out]表示 初始化滤镜的 outputs->name = av_strdup(“out”);
%s 是格式化字符串中的占位符,它将被 logoPath 的值替代。logoPath 是标志图像文件的路径或URL。
movie=%s[wm] 表示将加载 logoPath 指定的图像文件作为一个片段,并将其命名为 [wm]。
[in][wm]overlay=5:5[out] 表示将输入视频与 [wm] 进行叠加操作,即将 [wm] 以左上角坐标 (5, 5) 的位置叠加到输入流上,生成最终的输出流 [out]。
addLogo步骤解说:
1、打开视频open_input_video
2、初始化滤镜init_filters
3、读包解码视频av_read_frame、avcodec_decode_video2
4、传入和穿出滤镜视频帧av_frame_get_best_effort_timestamp、av_buffersink_get_frame
5、这里直接保存yuv数据 save_yuv420p_file
int addLogo(const char *srcPath,const char *logoPath, const char *dstPath)
{
    int ret;
    AVPacket packet;
    AVFrame *pFrame;
    AVFrame *pFrame_out;

    AVFilterContext *buffersink_ctx = NULL;
    AVFilterContext *buffersrc_ctx = NULL;
    AVFilterGraph *filter_graph= NULL;;
    int num=0;
    media_info *entity;
    int got_frame;
    char filter_args[512];
    av_register_all();
    avfilter_register_all();


    snprintf(filter_args, sizeof(filter_args),
             "movie=%s[wm];[in][wm]overlay=5:5[out]",logoPath);
    char *ss = "boxblur";
    LOGE("=====filter_args=%s=",filter_args);

    if ((ret =  open_input_video(srcPath,&entity,0)) < 0)
    {
        LOGE("==open_input_file===ret=%d=",ret);
        goto end;
    }


    if ((ret = init_filters(filter_args,entity->dec_fmt_ctx,entity->video_dec_ctx,entity->in_video_stream_index,
                            &buffersink_ctx, &buffersrc_ctx, &filter_graph)) < 0){
        LOGE("==init_filters===ret=%d=",ret);
        goto end;
    }


    pFrame=av_frame_alloc();
    pFrame_out=av_frame_alloc();


    /* read all packets */
    while (1) {

        ret = av_read_frame(entity->dec_fmt_ctx, &packet);
        if (ret< 0)
            break;

        if (packet.stream_index == entity->in_video_stream_index) {
            got_frame = 0;
            ret = avcodec_decode_video2(entity->video_dec_ctx, pFrame, &got_frame, &packet);
            if (ret < 0) {
                LOGE( "====Error decoding video\n");
                break;
            }

            if (got_frame) {

                pFrame->pts = av_frame_get_best_effort_timestamp(pFrame);

                /* push the decoded frame into the filtergraph */
                if (av_buffersrc_add_frame(buffersrc_ctx, pFrame) < 0) {
                    LOGE( "Error while feeding the filtergraph\n");
                    break;
                }

                /* pull filtered pictures from the filtergraph */
                while (1) {

                    ret = av_buffersink_get_frame(buffersink_ctx, pFrame_out);
                    if (ret < 0)
                        break;

                    if (num<200){
                        num++;
                        save_yuv420p_file(pFrame_out->data[0], pFrame_out->data[1],
                                          pFrame_out->data[2],pFrame_out->linesize[0],
                                          pFrame_out->linesize[1],pFrame_out->width,pFrame_out->height,(char *)dstPath);
                    }

                    av_frame_unref(pFrame_out);
                }
            }
            av_frame_unref(pFrame);
        }
        av_free_packet(&packet);
    }


    end:
    if (filter_graph!=NULL){
        avfilter_graph_free(&filter_graph);
    }
    if (entity->video_dec_ctx)
        avcodec_close(entity->video_dec_ctx);
    avformat_close_input(&entity->dec_fmt_ctx);


    if (ret < 0 && ret != AVERROR_EOF) {
        char buf[1024];
        av_strerror(ret, buf, sizeof(buf));
        printf("Error occurred: %s\n", buf);
        return -1;
    }

    return 0;
}
demo说明:
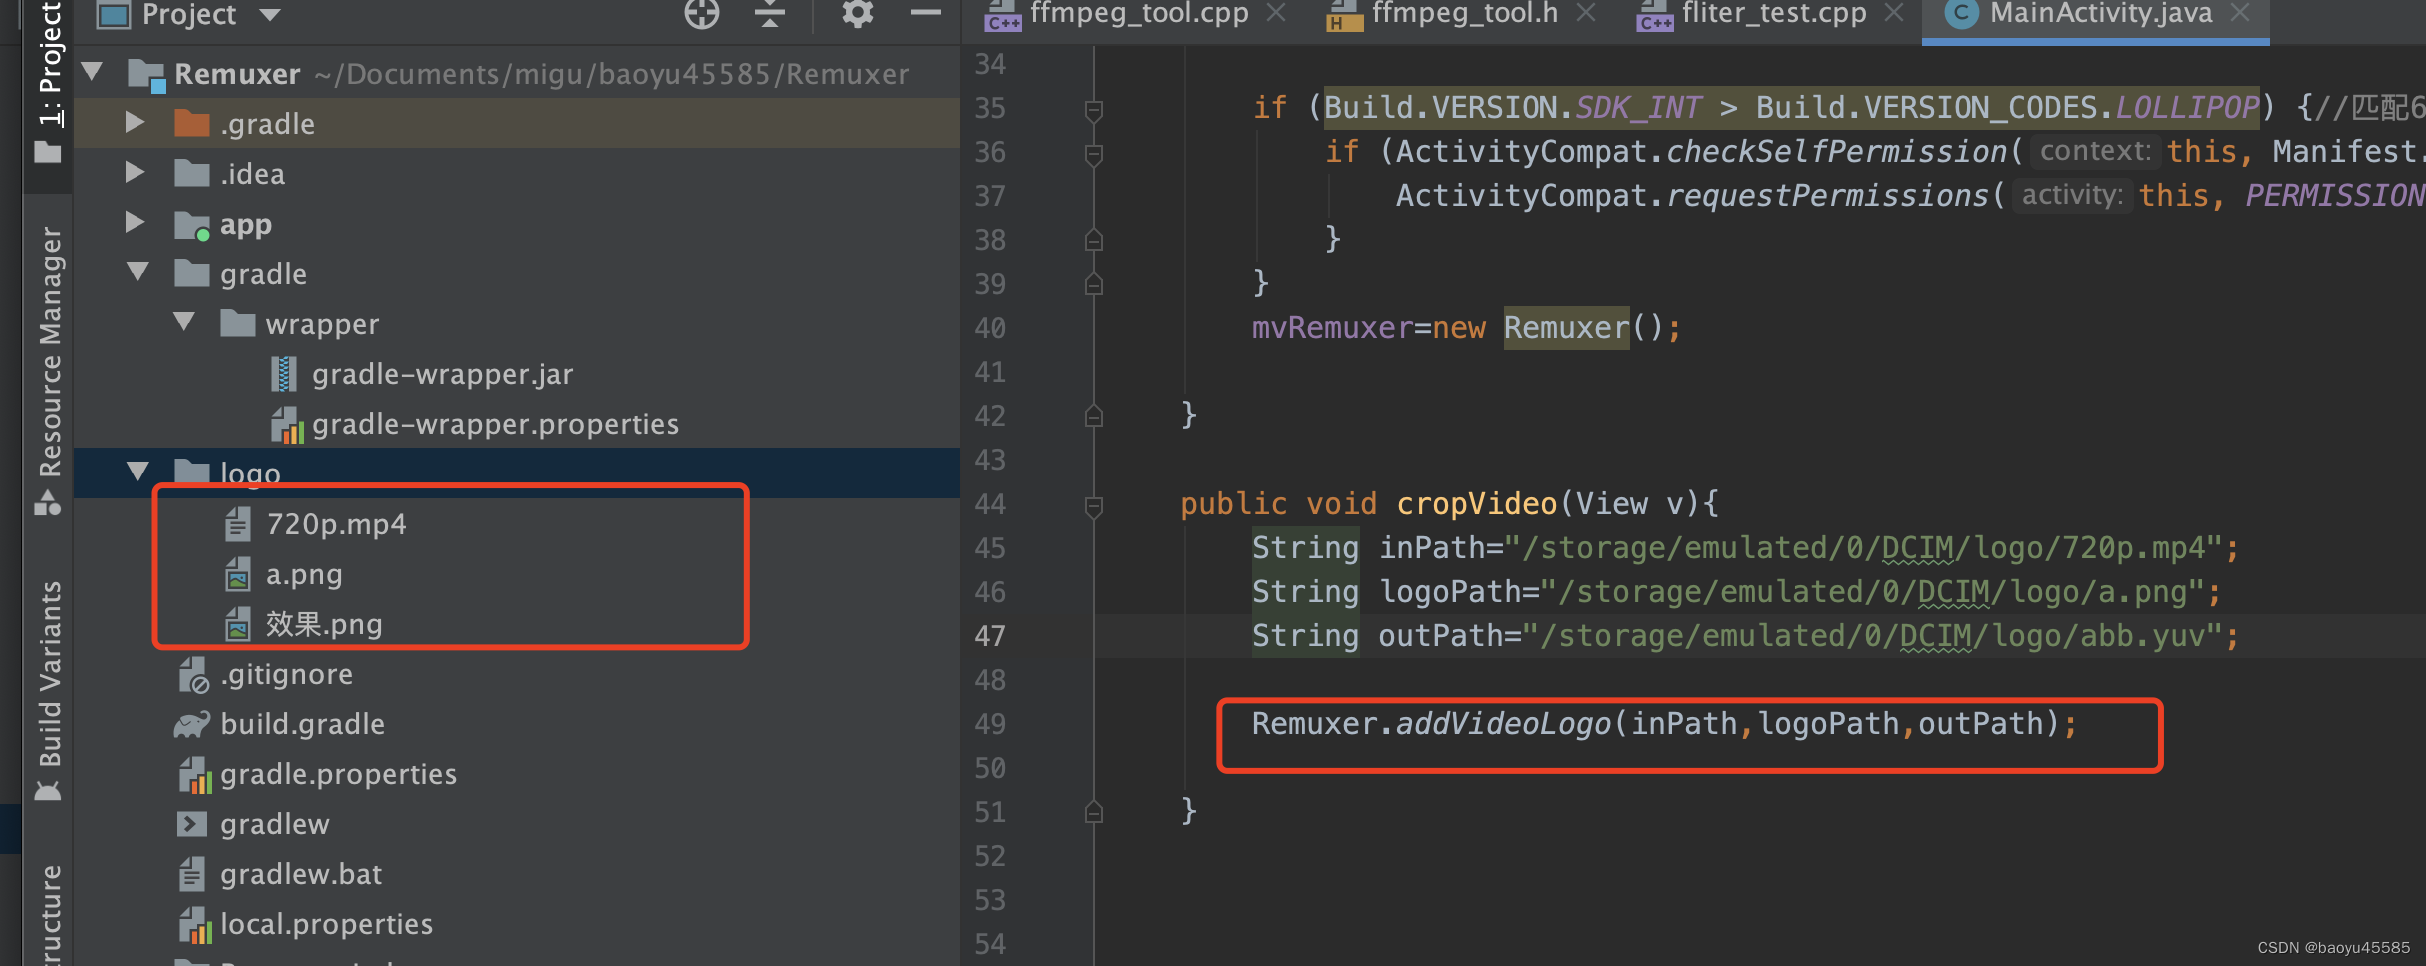
demo是在android环境,对应素材在demo的logo文件夹

效果
mac安装ffmpeg命令打开终端:
brew install ffmpeg
把手机的yuv数据拷贝电脑 /Users/Downloads/abb.yuv
测试保存yuv数据:
ffplay -video_size 720x1280 -i /Users/Downloads/abb.yuv


要在Windows上安装FFmpeg命令行工具,可以按照以下步骤进行操作:
访问FFmpeg官方网站:前往FFmpeg的官方网站(https://ffmpeg.org/)。
下载静态构建版本:在官方网站的下载页面中,找到最新的“Windows Builds”部分。根据你的系统架构(32位或64位),选择相应的静态构建版本下载。
解压缩下载的文件:将下载的压缩文件解压到你喜欢的位置,例如创建一个名为ffmpeg的文件夹,并将解压后的文件放入其中。
配置环境变量:将FFmpeg的可执行文件所在目录添加到系统的环境变量中,以便能够在任何位置运行FFmpeg命令。
右键点击计算机/此电脑,然后选择“属性”。
点击左侧的“高级系统设置”,然后选择“环境变量”按钮。
在“系统变量”下面找到名为“Path”的变量,并双击进行编辑。
在弹出的编辑窗口中,点击“新建”并添加FFmpeg的可执行文件所在目录的路径,例如 C:\path\to\ffmpeg\bin。
确认所有打开的对话框,使更改生效。
验证安装:在命令提示符中输入以下命令,并按下回车键执行:
ffmpeg -version
如果安装成功,将显示FFmpeg的版本信息和其他相关信息。
现在,你已经在Windows上成功安装了FFmpeg命令行工具。你可以在命令提示符或PowerShell中运行FFmpeg命令来进行音视频处理和转码等操作。
QQ:455853625


 4784
4784


 被折叠的 条评论
为什么被折叠?


